新建.vscode文件夹,创建launch.json和tasks.json
{
    "version": "0.2.0",
    "configurations": [
        {
            "name": "C/C++ Launch",
            "type": "cppdbg",
            "request": "launch",
            "program": "${workspaceFolder}/src/redis-cli", // 调试输出的可执行文件
            "args": [],
            "stopAtEntry": false,
            "cwd": "${workspaceFolder}",
            "environment": [],
            "externalConsole": false,
            "MIMode": "gdb",
            "setupCommands": [
                {
                    "description": "Enable pretty-printing for gdb",
                    "text": "-enable-pretty-printing",
                    "ignoreFailures": true
                }
            ],
            "preLaunchTask": "build", // 用于构建代码的任务名称,
            "miDebuggerPath": "/usr/bin/gdb" // gdb 的路径(根据你的系统)
        }
    ]
}
{
    "version": "2.0.0",
    "tasks": [
        {
            "label": "build",
            "type": "shell",
            "command": "make",
            "args": ["redis-cli"],
            "group": {
                "kind": "build",
                "isDefault": true
            },
			"options": {
                "cwd": "${workspaceFolder}" // 设置工作目录为根目录
            },
            "problemMatcher": []
        }
    ]
}
如上就可以了,
其实就是先在当前目录执行make redis-cli
然后找到生成的可执行文件,对该可执行文件进行debug
那是怎么根据可执行文件,知道是哪个源文件中的哪一行,应该就是GDB的原理了。
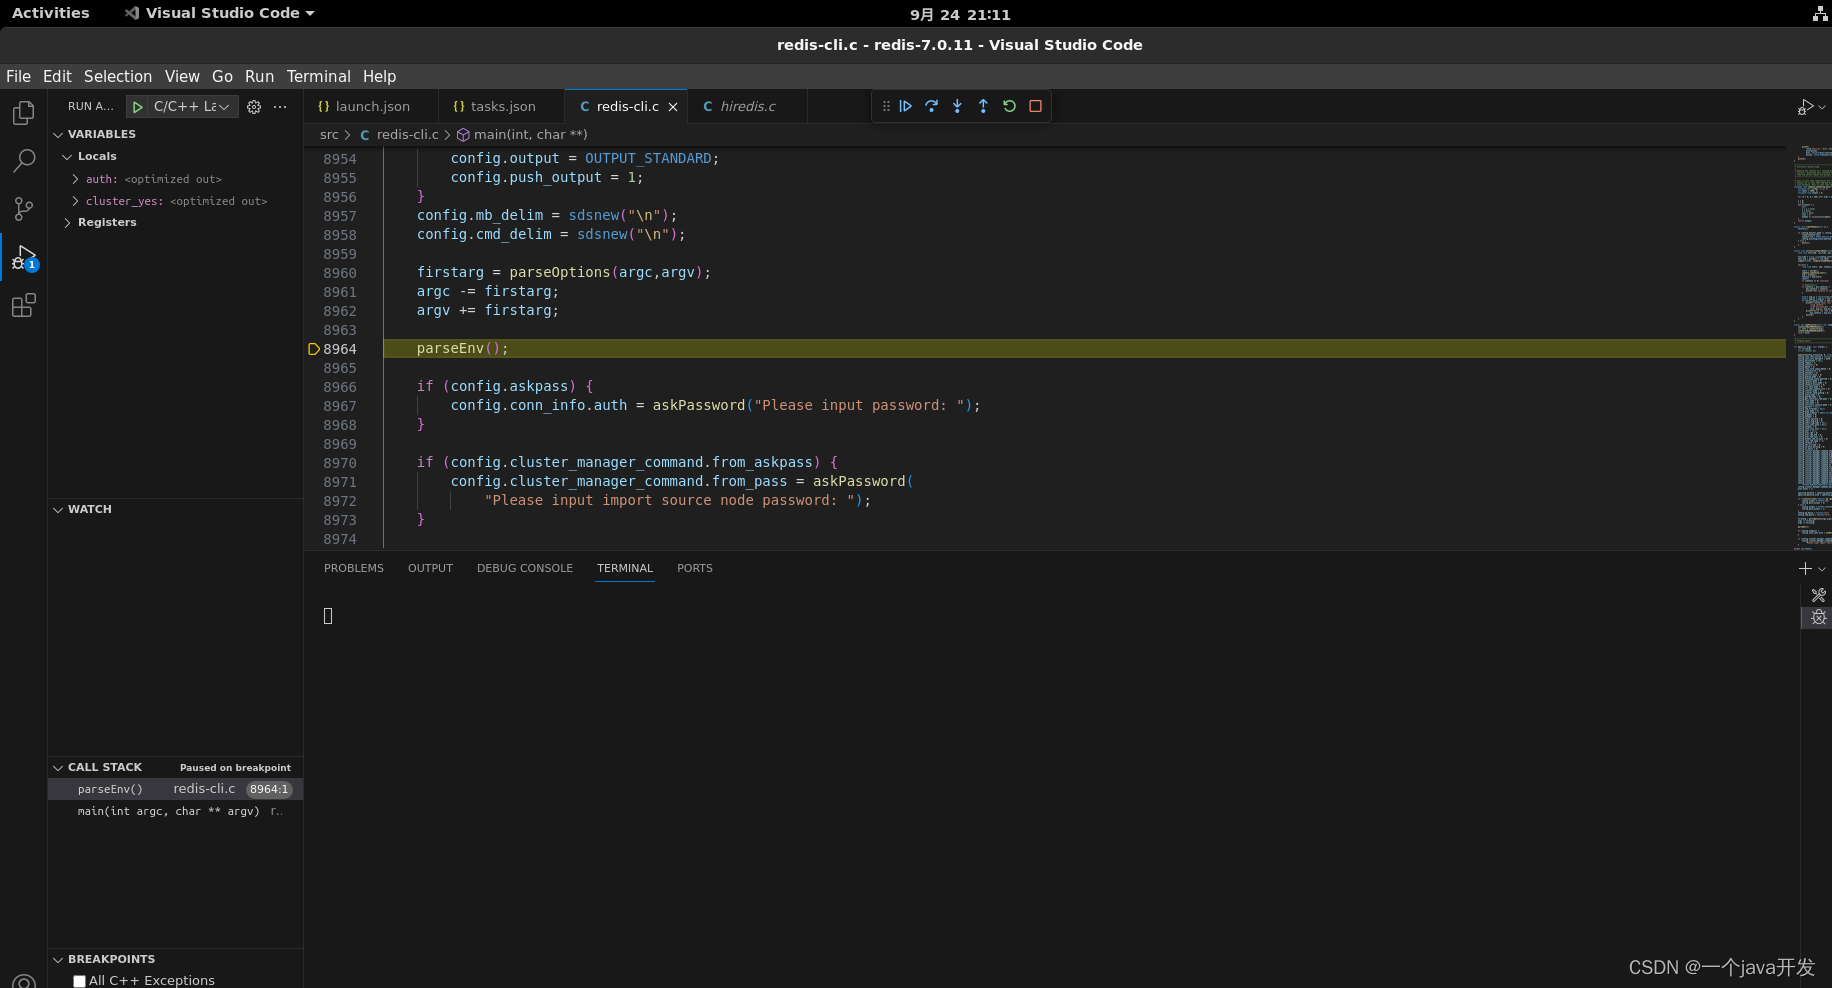
启动,成功进入断点
