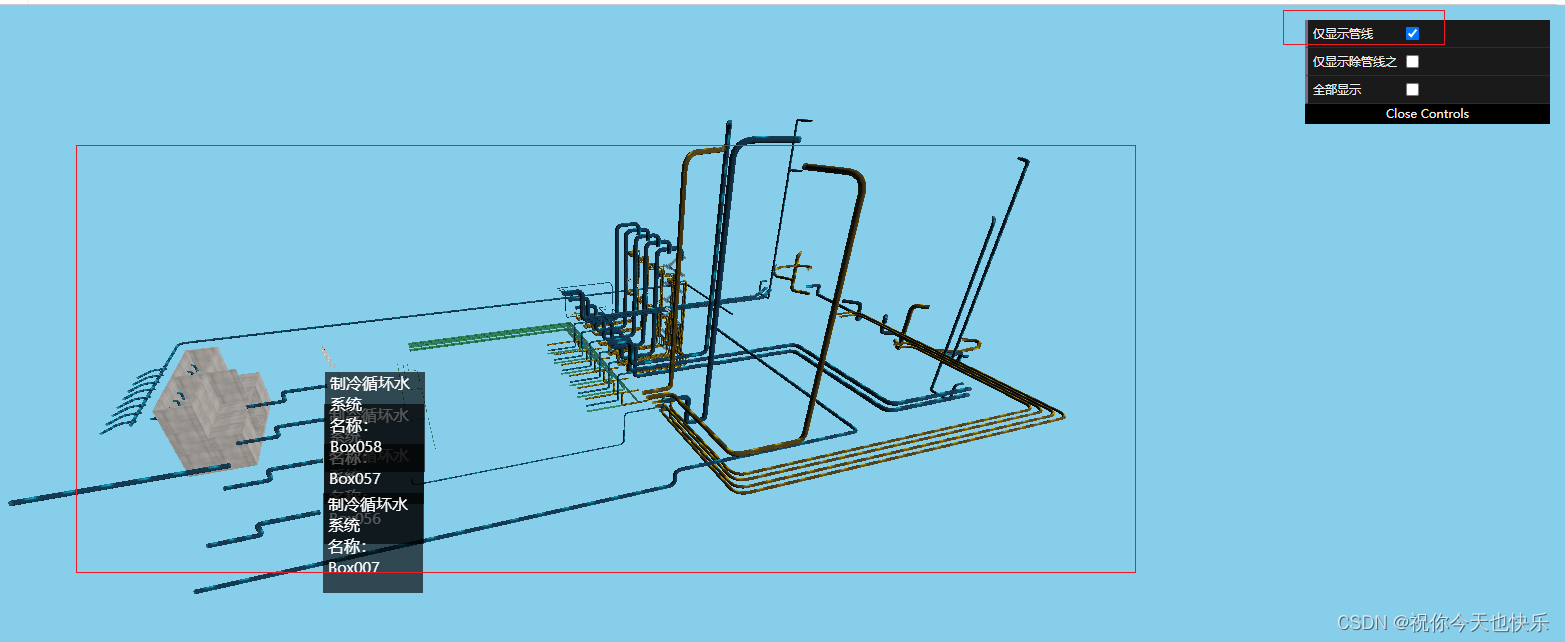
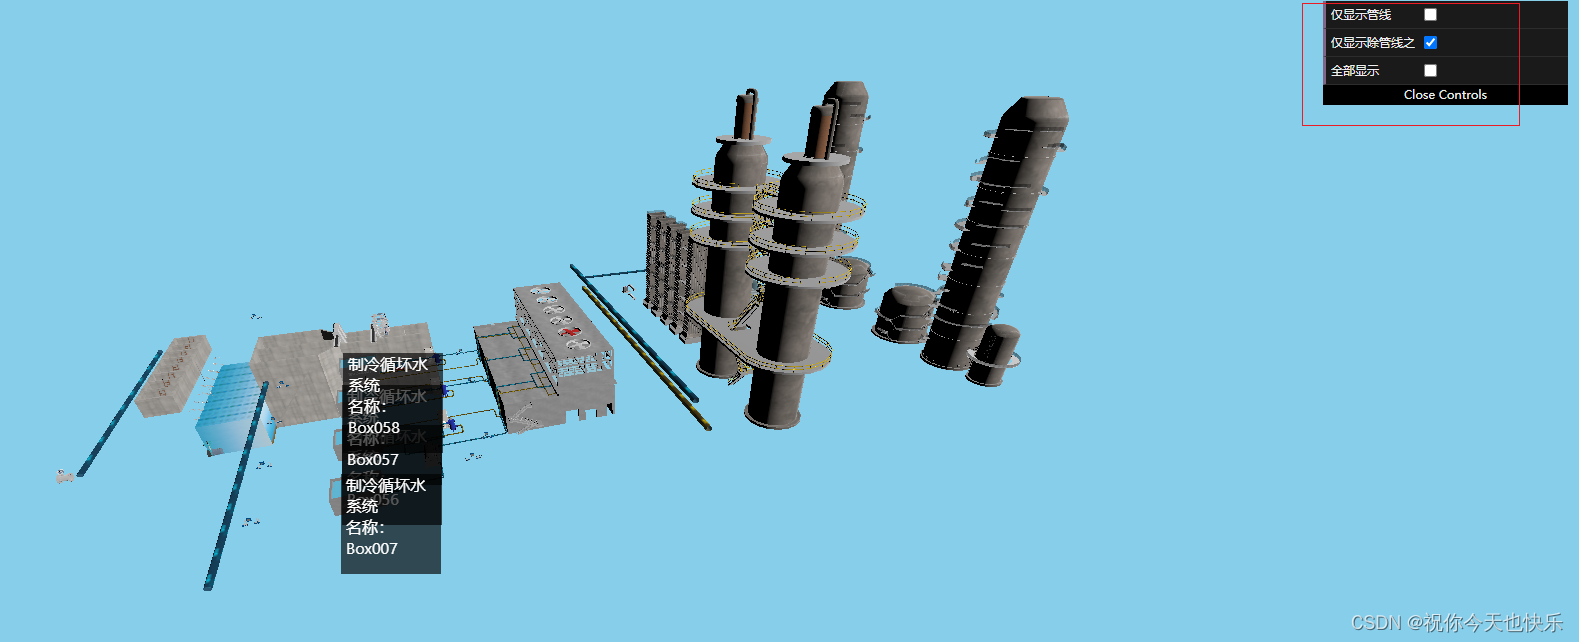

效果如上,就是可以通过dat.gui控制3D模型中仅仅显示管线或者是仅仅显示除了管线之外的模型。
1.在模型导入的时候就按照类型(分层的类别标识) 区别开(我这里是按照是否是管线)
这里是new THREE.Object3D();必须的否则会报错,以及后面再控制显隐的时候需要这个对象中的visible去控制哦
      // 加载3D模型
      const loader = new GLTFLoader();
      loader.load('/models/donghua.glb', (gltf) => {
        this.model = gltf.scene;
        this.model.children.forEach(element => {
          if (element.name.includes('Line')) {
            //将是管线的网格对象放在一起
            this.lineListModel.push(element)
          } else {
            //将不是管线的网格对象放在一起
            this.otherListModel.push(element)
          }
        });
        // 分层显示 这里是创建一个3d对象
        this.lineModel = new THREE.Object3D();
        this.otherModel = new THREE.Object3D();
        // 将类型为管网的网格对象添加到object3D对象中
        for (var i = 0; i < this.lineListModel.length; i++) {
          this.lineModel.add(this.lineListModel[i]);
        }
        // 将类型是其他的网格对象添加到object3D对象中
        for (var j = 0; j < this.otherListModel.length; j++) {
          this.otherModel.add(this.otherListModel[j]);
        }
        // 将层级添加到场景中
        this.scene.add(this.lineModel);
        this.scene.add(this.otherModel);
2.在mounted当中去初始化gui控件, 在beforeDestroy中去销毁,否则的话会出现多个gui控件;
document.querySelector('.dg')是默认的类名可以直接去修改gui控件的样式;
在修改显隐的时候let that = this很重要,之前一直修改不了 打印3D对象一直都是undefined,原来是this的原因
  mounted() {
    // 应用图形界面更改变量
    this.gui = new dat.GUI();
    const controls = {
      "仅显示管线": true,
      "仅显示除管线之外的其他": true,
      "全部显示": true,
    };
    let that = this
    this.gui.add(controls, '仅显示管线').onChange(function (value) {
     that.lineModel.visible=value
    });
    this.gui.add(controls, '仅显示除管线之外的其他').onChange(function (value) {
      that.otherModel.visible=value
    });
    this.gui.add(controls, '全部显示').onChange(function (value) {
      that.lineModel.visible=value
      that.otherModel.visible=value
    });
    const guiDOM = document.querySelector('.dg');
    guiDOM.style.position = 'absolute';
    guiDOM.style.top = '80px';
    guiDOM.style.left = '50px';
    guiDOM.style.zIndex = 9999;
  },
  beforeDestroy() {
    // 销毁GUI实例
    this.gui.destroy();
  }
然后就收工啦~


![计算机视觉与深度学习-全连接神经网络-训练过程-欠拟合、过拟合和Dropout- [北邮鲁鹏]](https://img-blog.csdnimg.cn/335ba2d4b4b3432fb8863d88060031ef.png)