华为云云服务器评测|在Docker环境下部署Mysql数据库
- 一、前言
- 1.1 云耀云服务器L实例简介
- 1.2 Mysql数据库简介
- 二、本次实践介绍
- 2.1 本次实践简介
- 2.2 本次环境规划
- 三、购买云耀云服务器L实例
- 3.1 登录华为云
- 3.2 购买云耀云服务器L实例
- 3.3 查看云耀云服务器L实例状态
- 3.4 重置服务器密码
- 四、检查Docker环境
- 4.1 查看弹性公网IP地址
- 4.2 Xshell连接服务器
- 4.3 检查Docker服务状态
- 四、下载mysql:8.0镜像
- 五、部署Mysql应用
- 5.1 创建Mysql容器
- 5.2 检查Mysql容器状态
- 5.3 检查容器运行日志
- 六、本地登录Mysql数据库
- 6.1 进入mysql容器内
- 6.2 本地登录连接mysql
- 6.3 设置用户名和密码
- 七、远程登录Mysql数据库
- 7.1 放行安全组端口
- 7.2 远程连接mysql数据库
- 7.3 写入数据
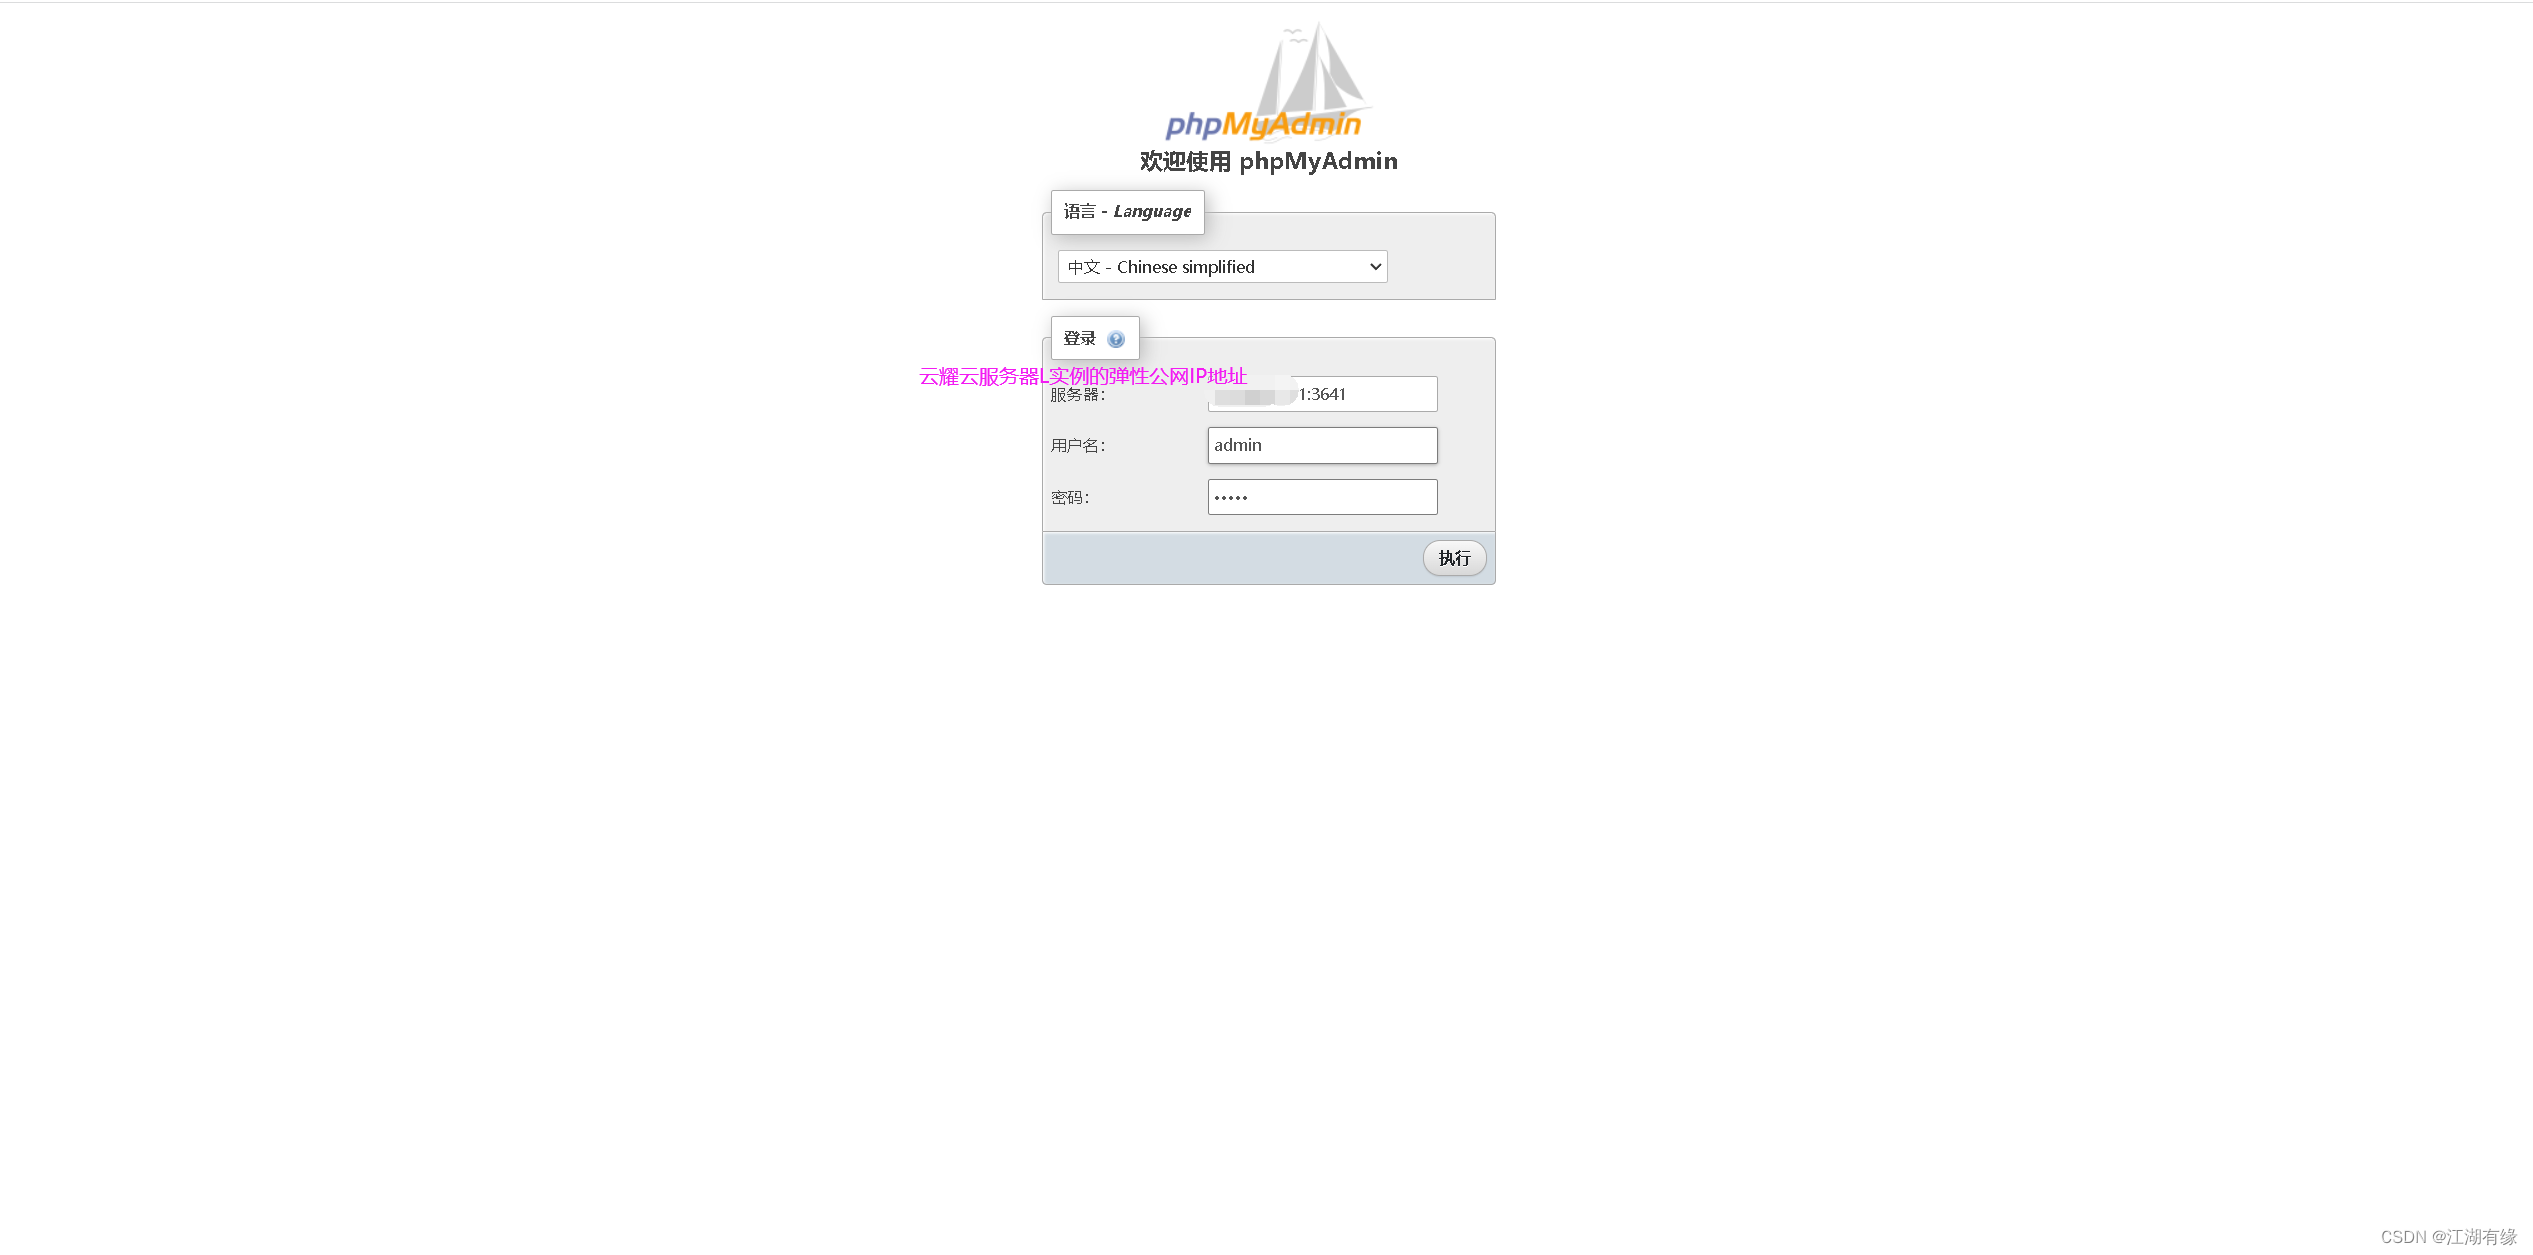
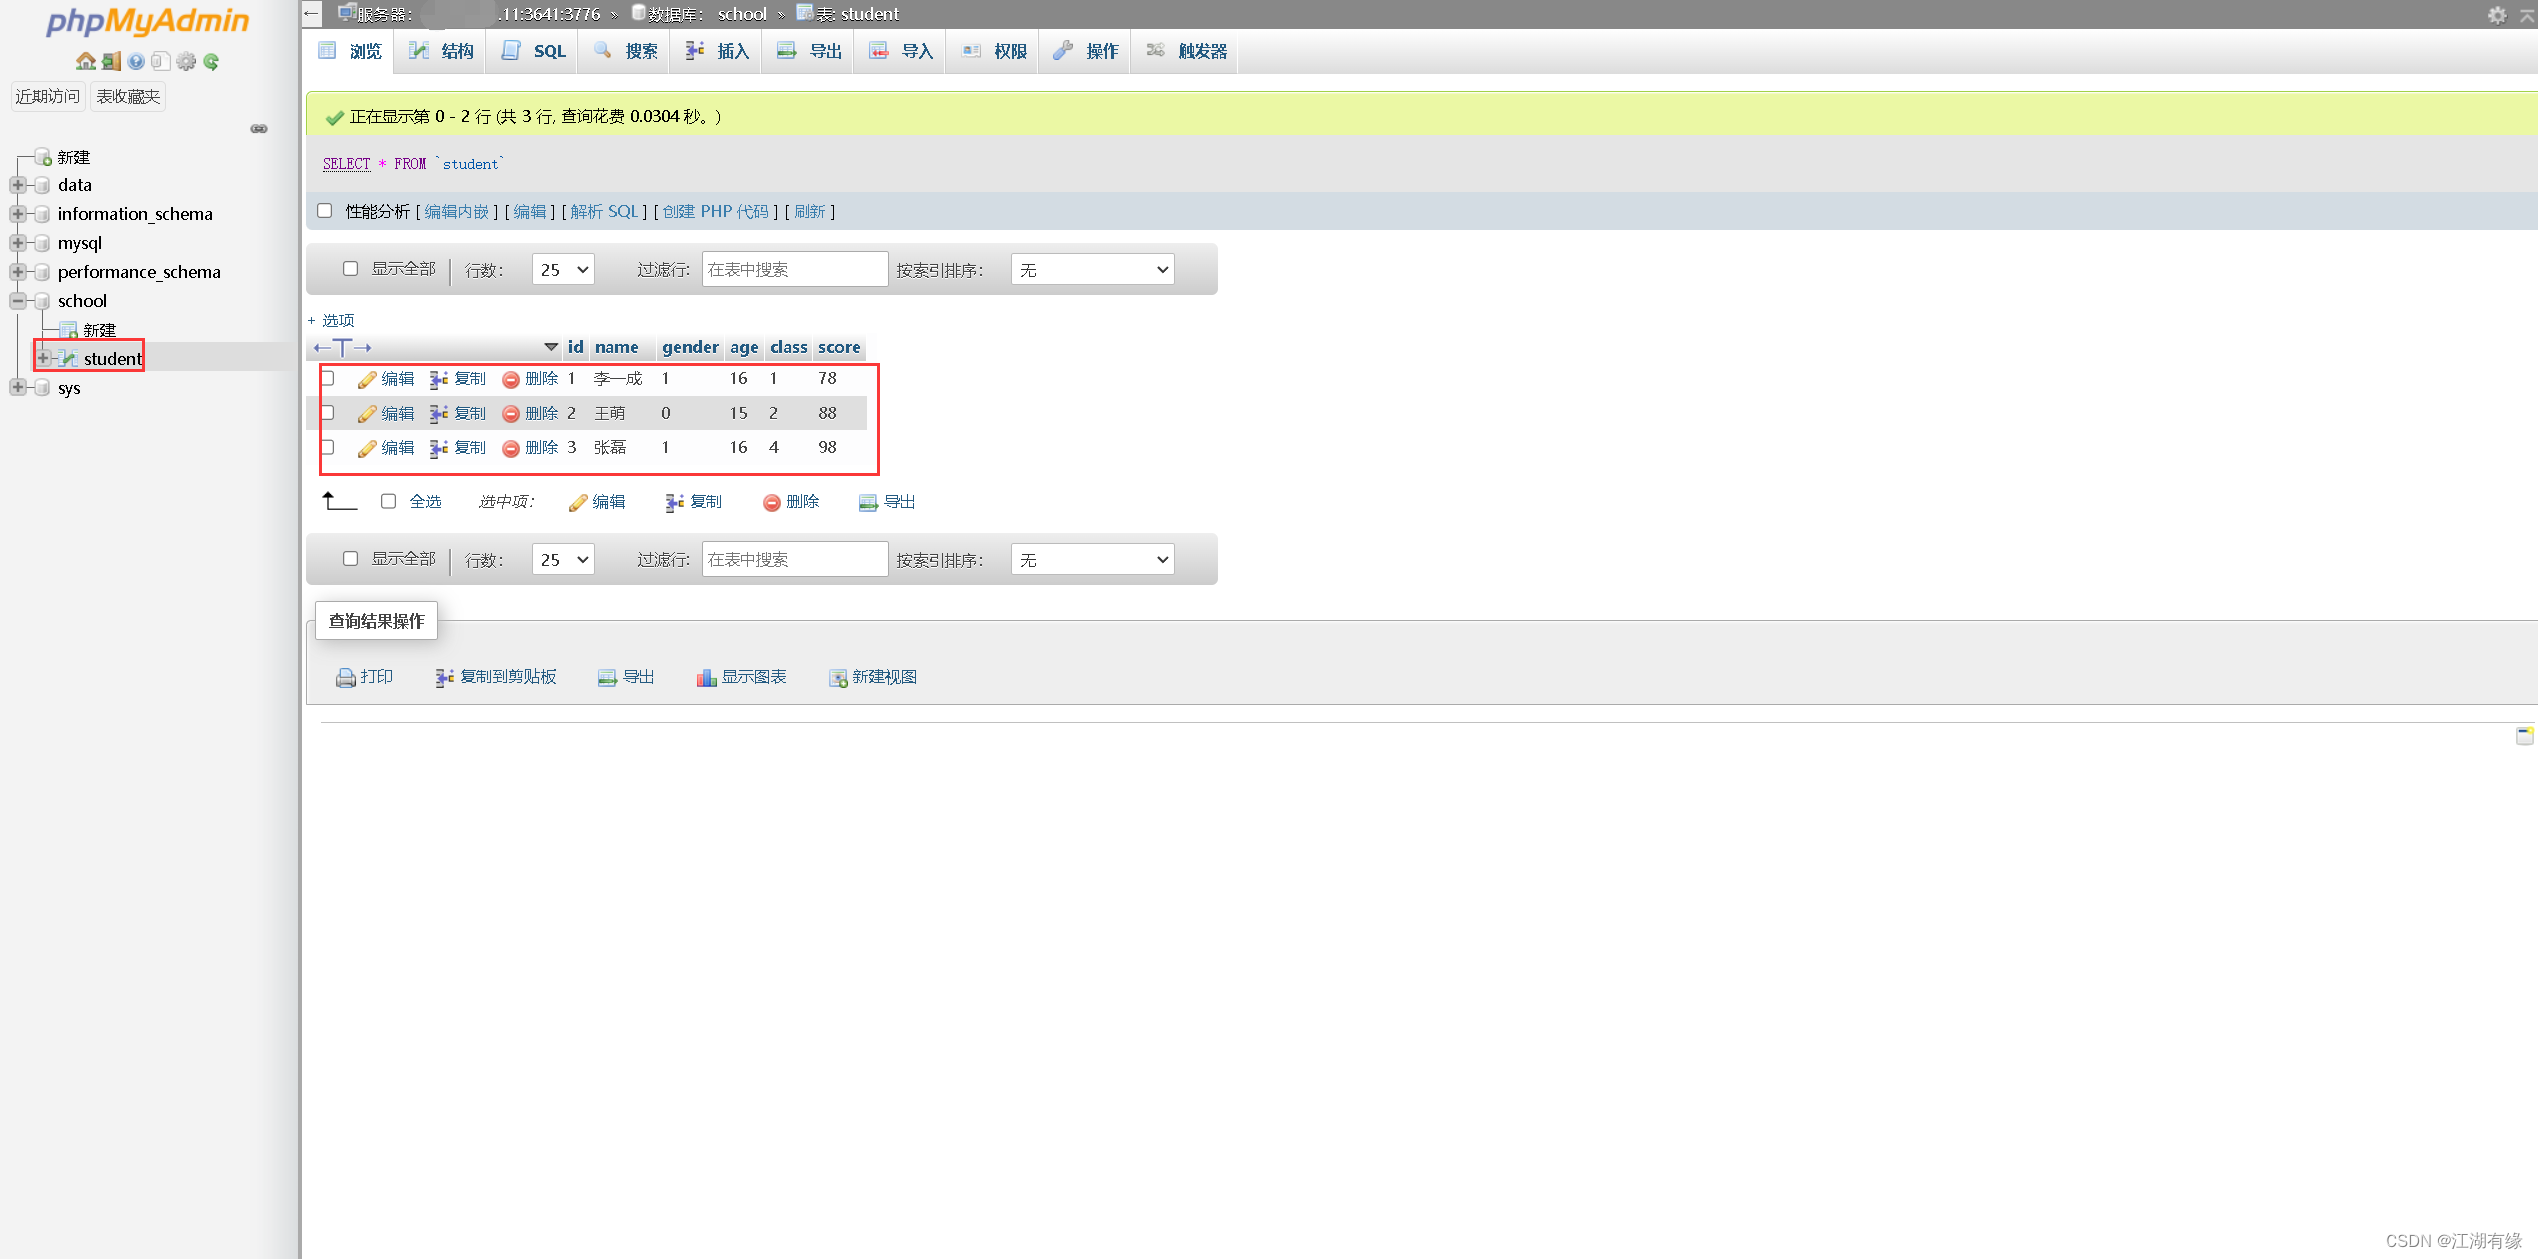
- 7.4 phpMyAdmin工具远程连接数据库
一、前言
1.1 云耀云服务器L实例简介
云耀云服务器L实例是新一代的轻量应用云服务器,专门为中小企业和开发者打造,提供开箱即用的便利性。云耀云服务器L实例提供丰富且经过严格挑选的应用镜像,可以一键部署应用,极大地简化了客户在云端构建电商网站、Web应用、小程序、学习环境以及各类开发测试等任务的过程。

1.2 Mysql数据库简介
MySQL是一种开源的关系型数据库管理系统(RDBMS),它采用了SQL (Structured Query Language) 作为其语言,允许用户通过SQL语句对数据进行操作和管理。MySQL由瑞典MySQL AB公司开发,现在是Oracle公司旗下的一个产品。MySQL是最流行的开源关系型数据库管理系统之一,广泛应用于Web应用程序的开发中。MySQL特点是速度快、安全性高、易于使用和管理,可以扩展性好。MySQL支持多种操作系统,包括Linux、Windows、Mac OS等。当前最新稳定版是MySQL 8.0。
二、本次实践介绍
2.1 本次实践简介
1.本次实践为个人测试学习环境,旨在快速部署应用,生产环境请谨慎;
2.本次实践环境为云耀云服务器L实例,使用的应用镜像为Portainer 2.18.4;
3.在Portainer平台上部署Mysql数据库。
2.2 本次环境规划
| 服务器类别 | 应用镜像 | 内网IP地址 | Docker版本 | Portainer版本 | Mysql版本 |
|---|---|---|---|---|---|
| 云耀云服务器L实例 | Docker可视化Portainer | 192.168.0.168 | 24.0.4 | 2.18.4 | 8.0 |
三、购买云耀云服务器L实例
3.1 登录华为云
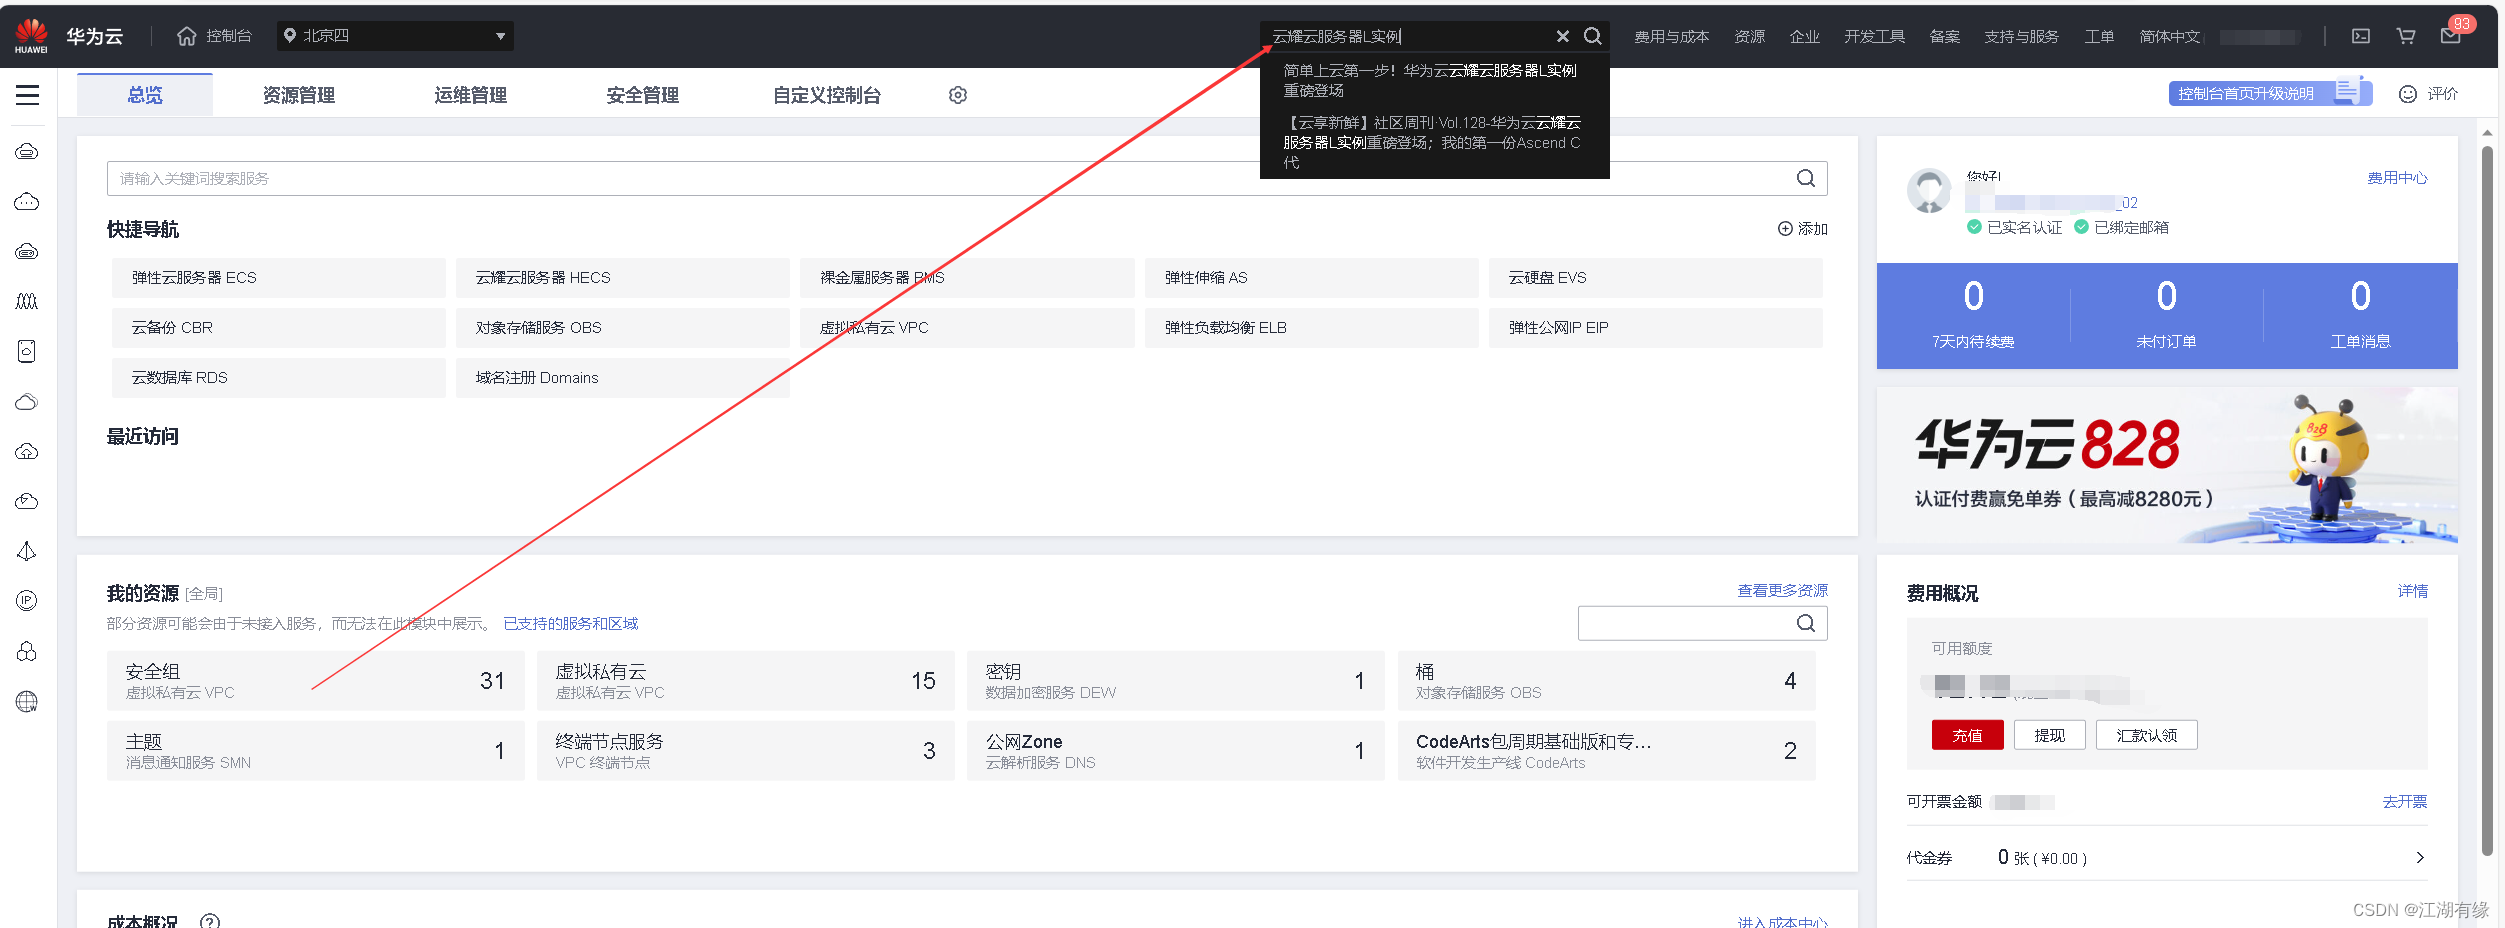
登录个人华为云账号,在搜索栏输入云耀云服务器L实例,按回车键确认,进入云耀云服务器L实例详情页。


3.2 购买云耀云服务器L实例
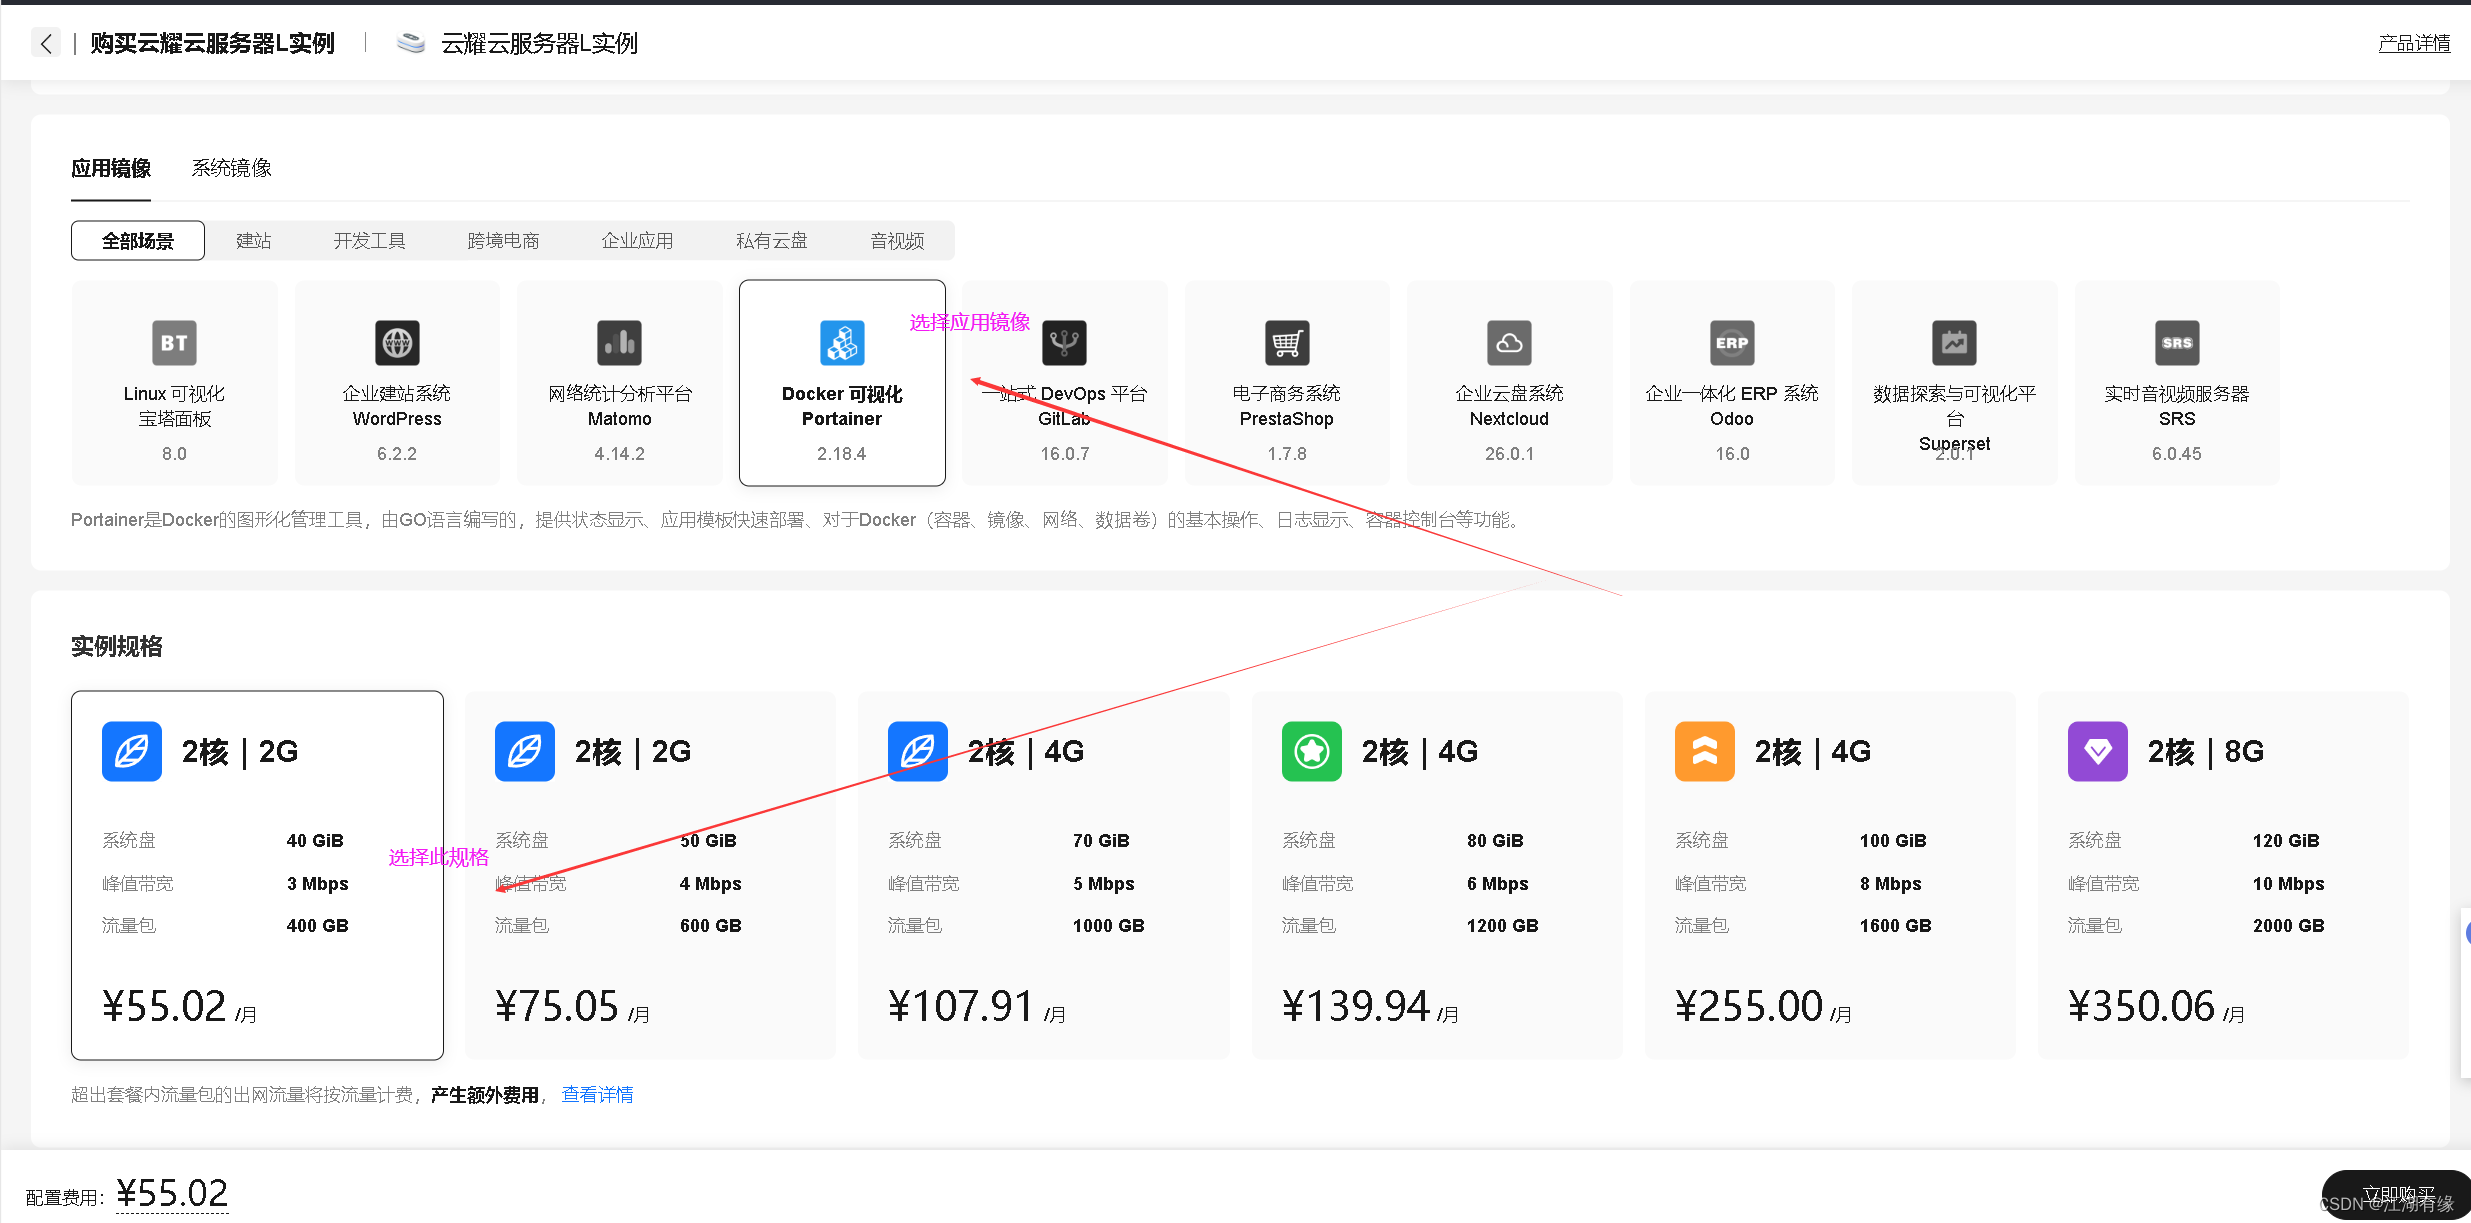
在云耀云服务器L实例详情页,点击购买。

区域:华北—北京四;
应用镜像:Docker可视化-Portainer;
实例规格:2核2G/系统盘40G/峰值带宽 3Mbps/流量包400G;
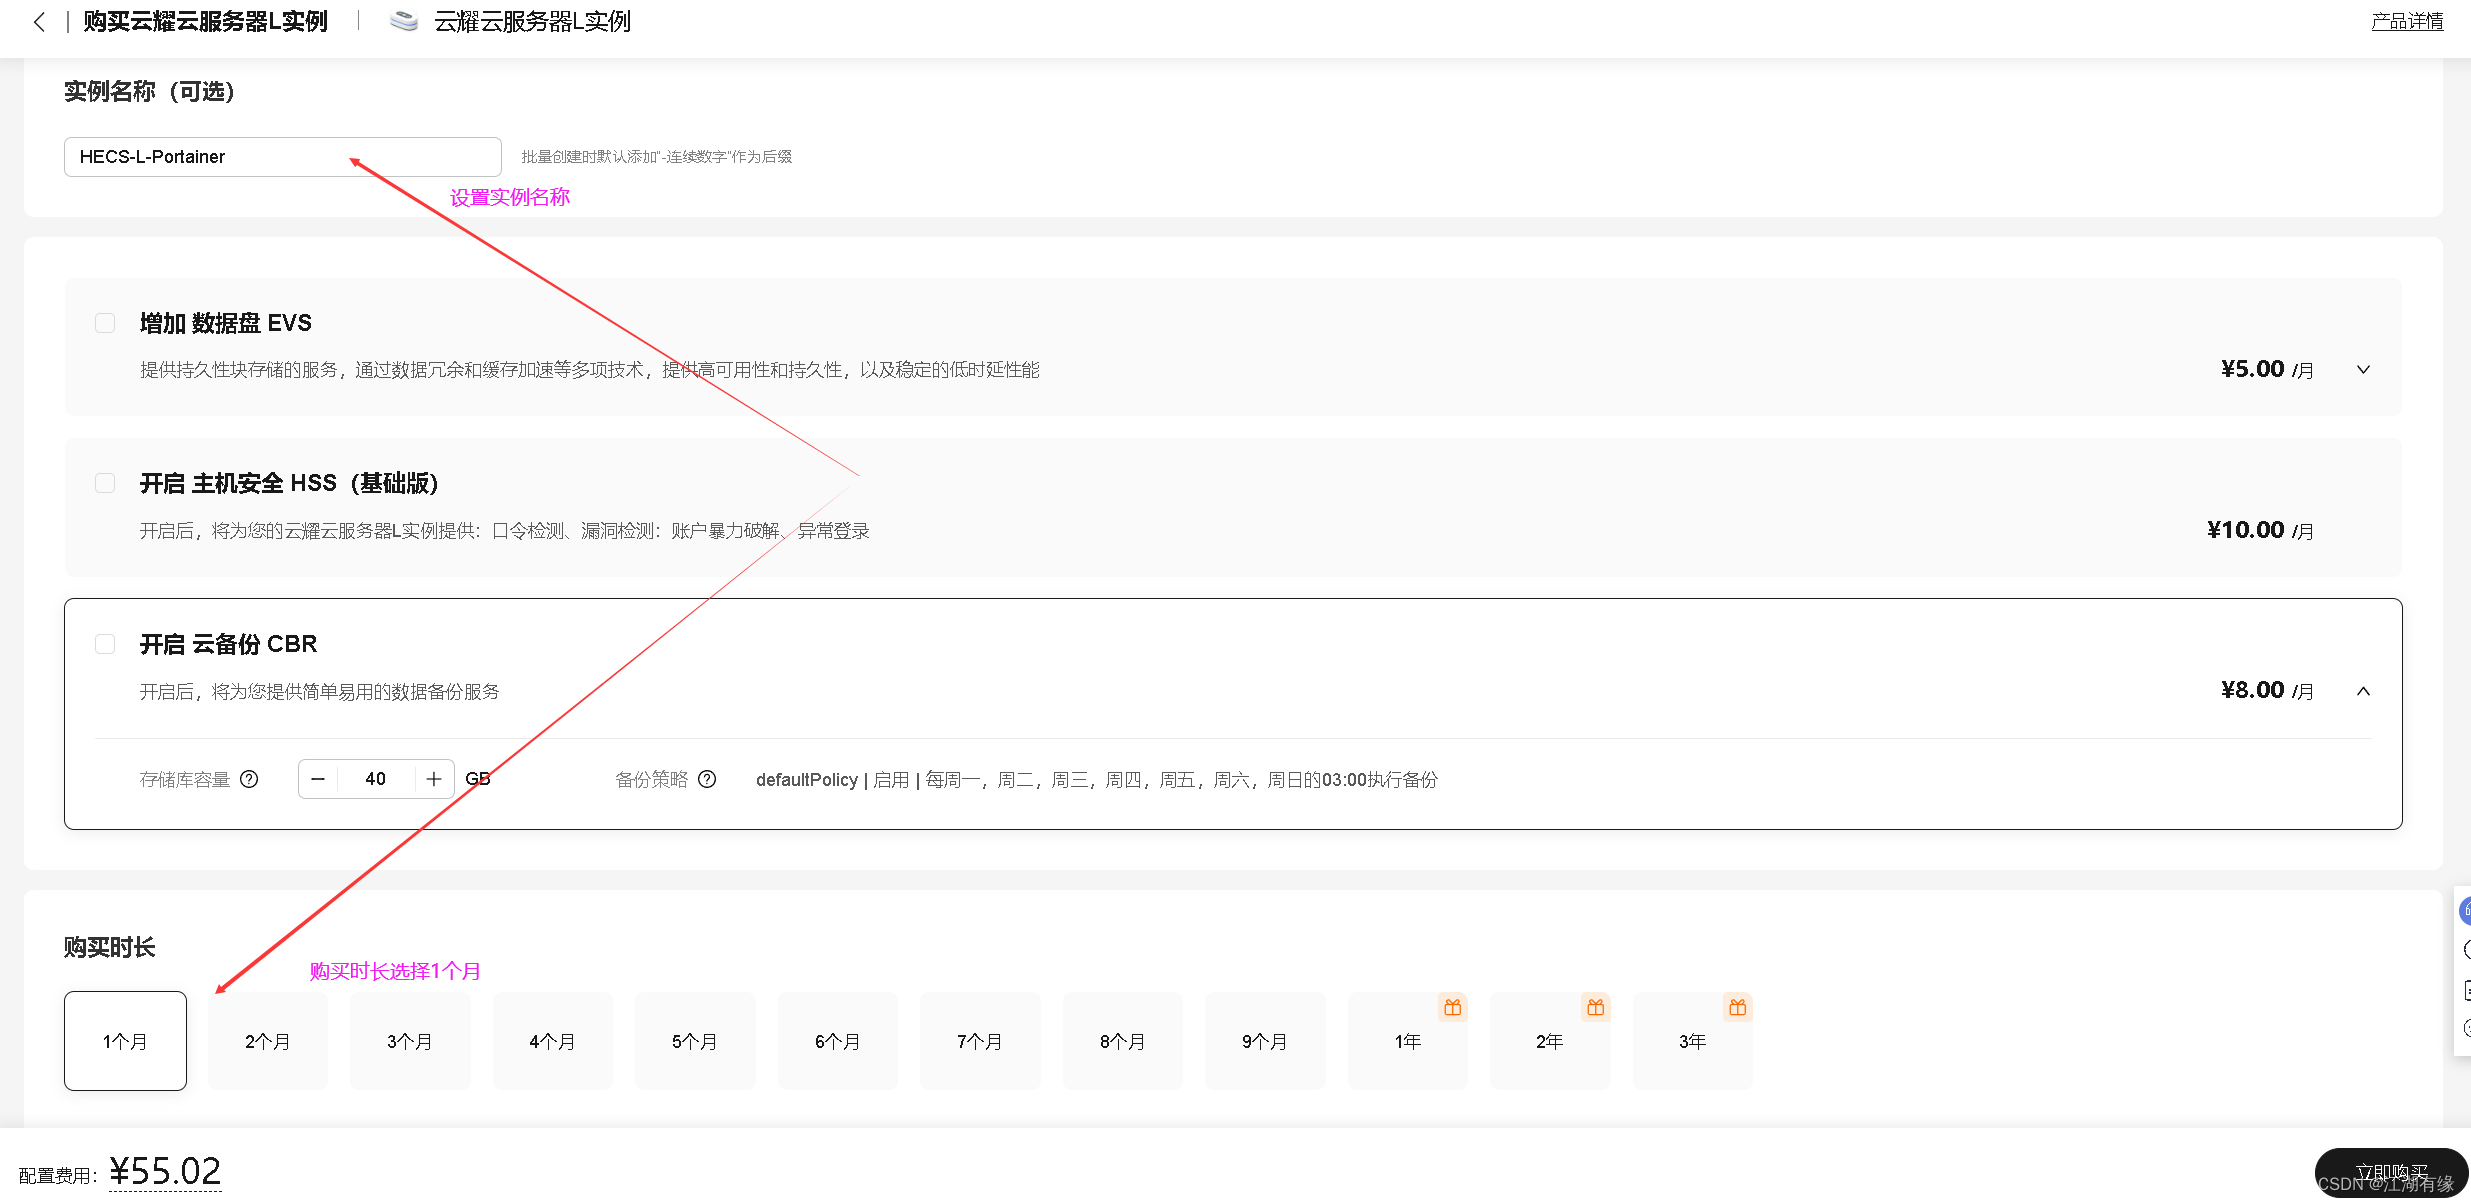
实例名称:自定义即可,这里编辑为HECS-L-Portainer;
购买时长:1个月;
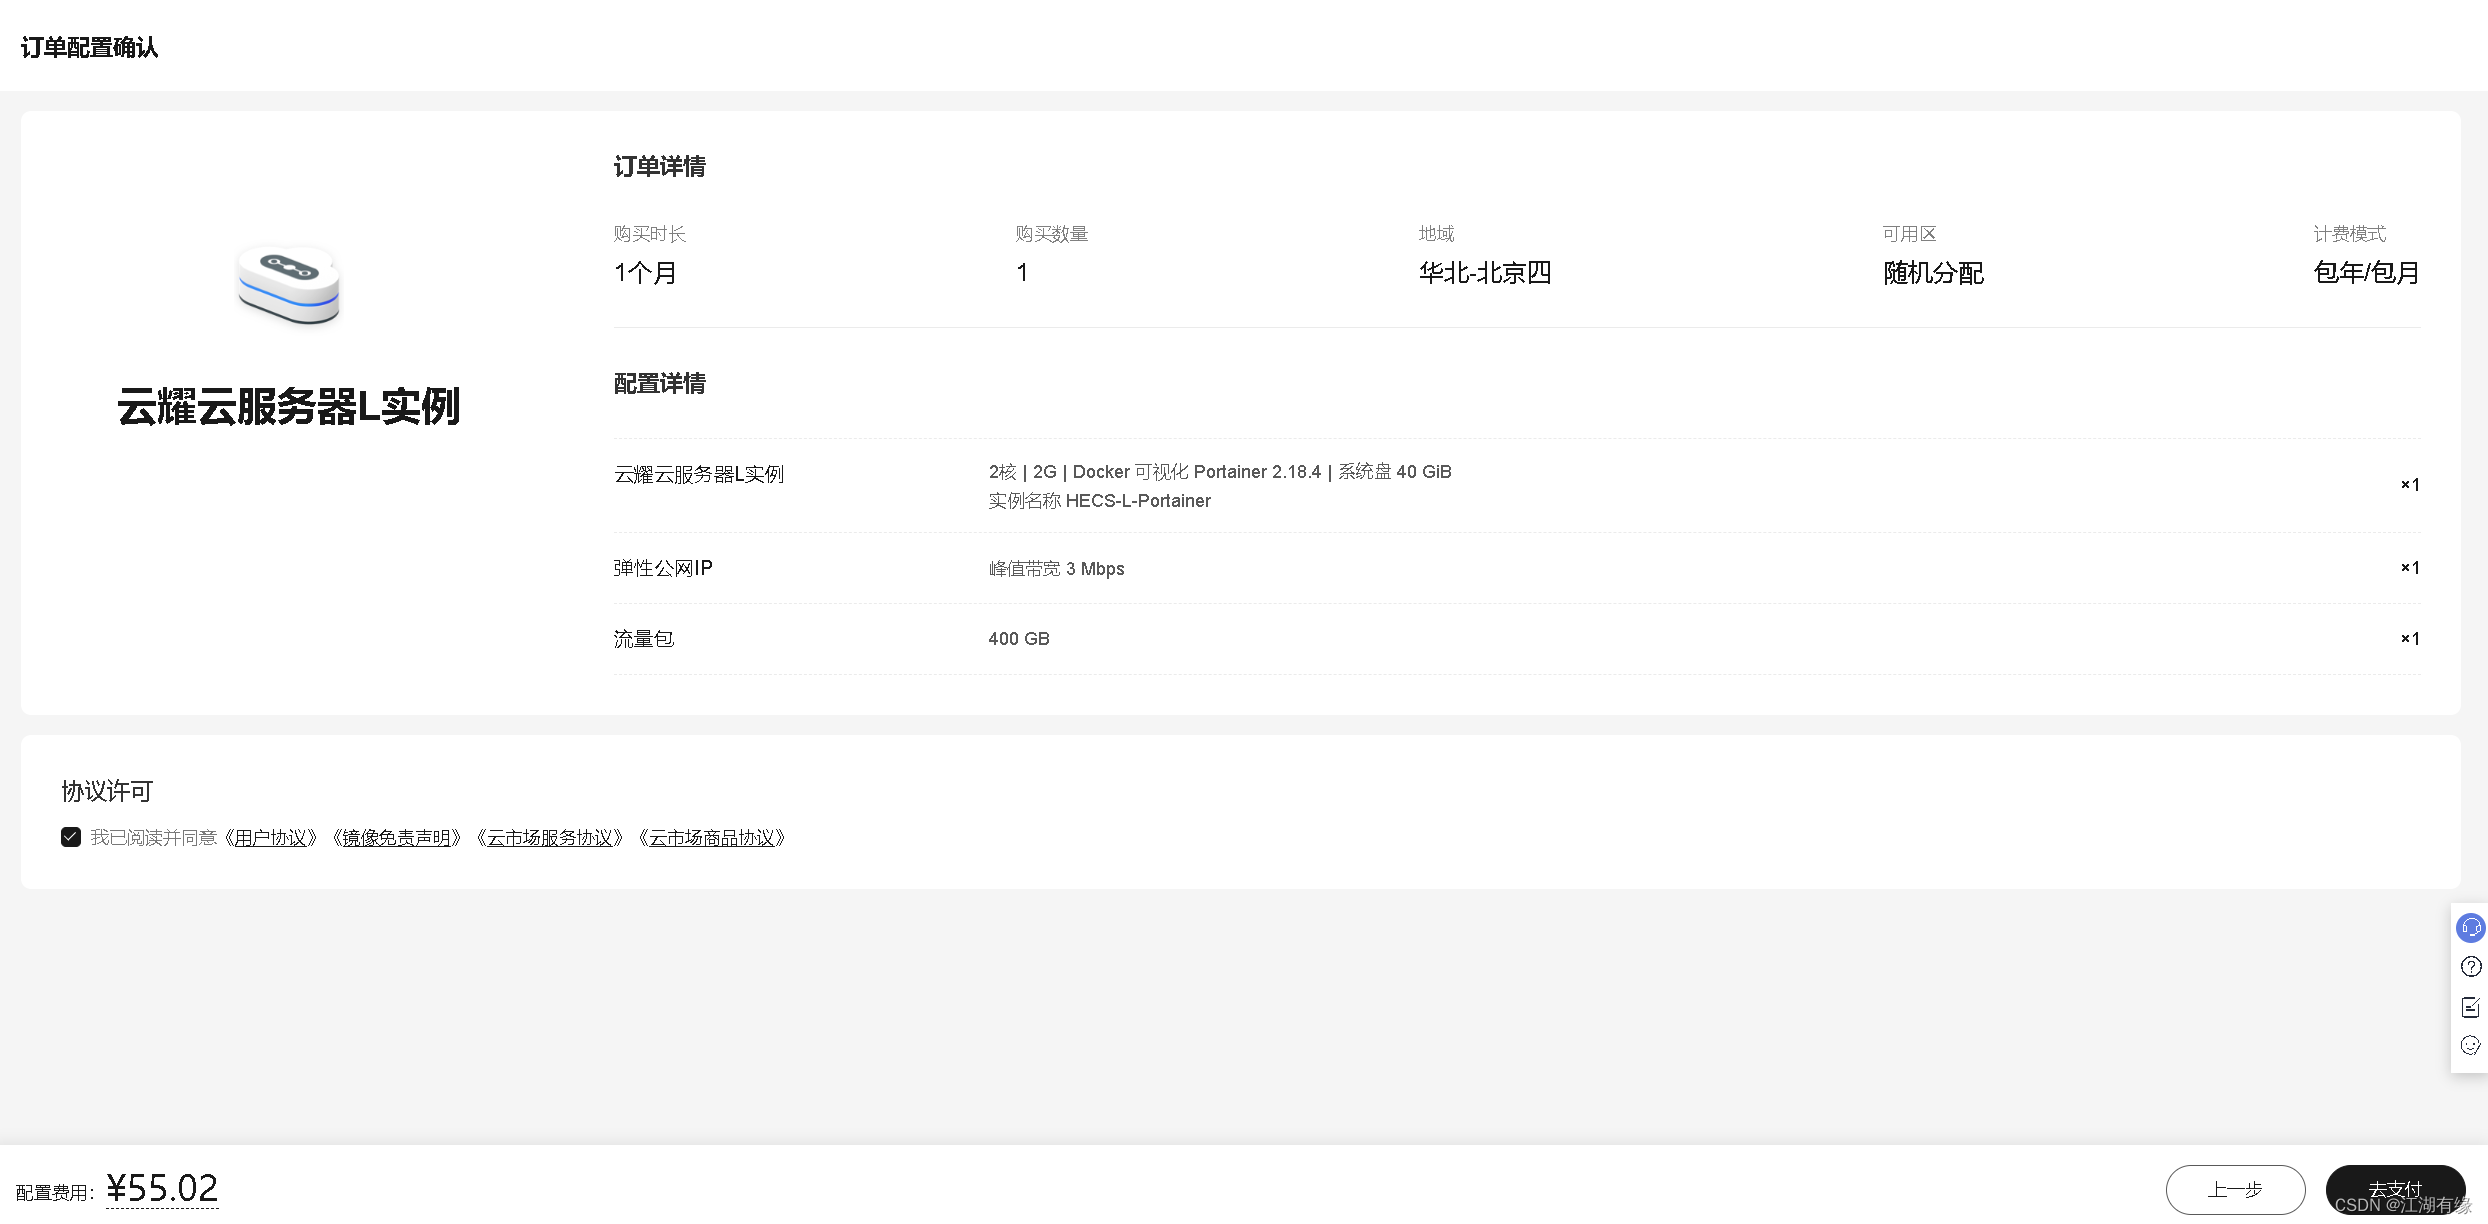
- 检查配置,确认购买。
3.3 查看云耀云服务器L实例状态
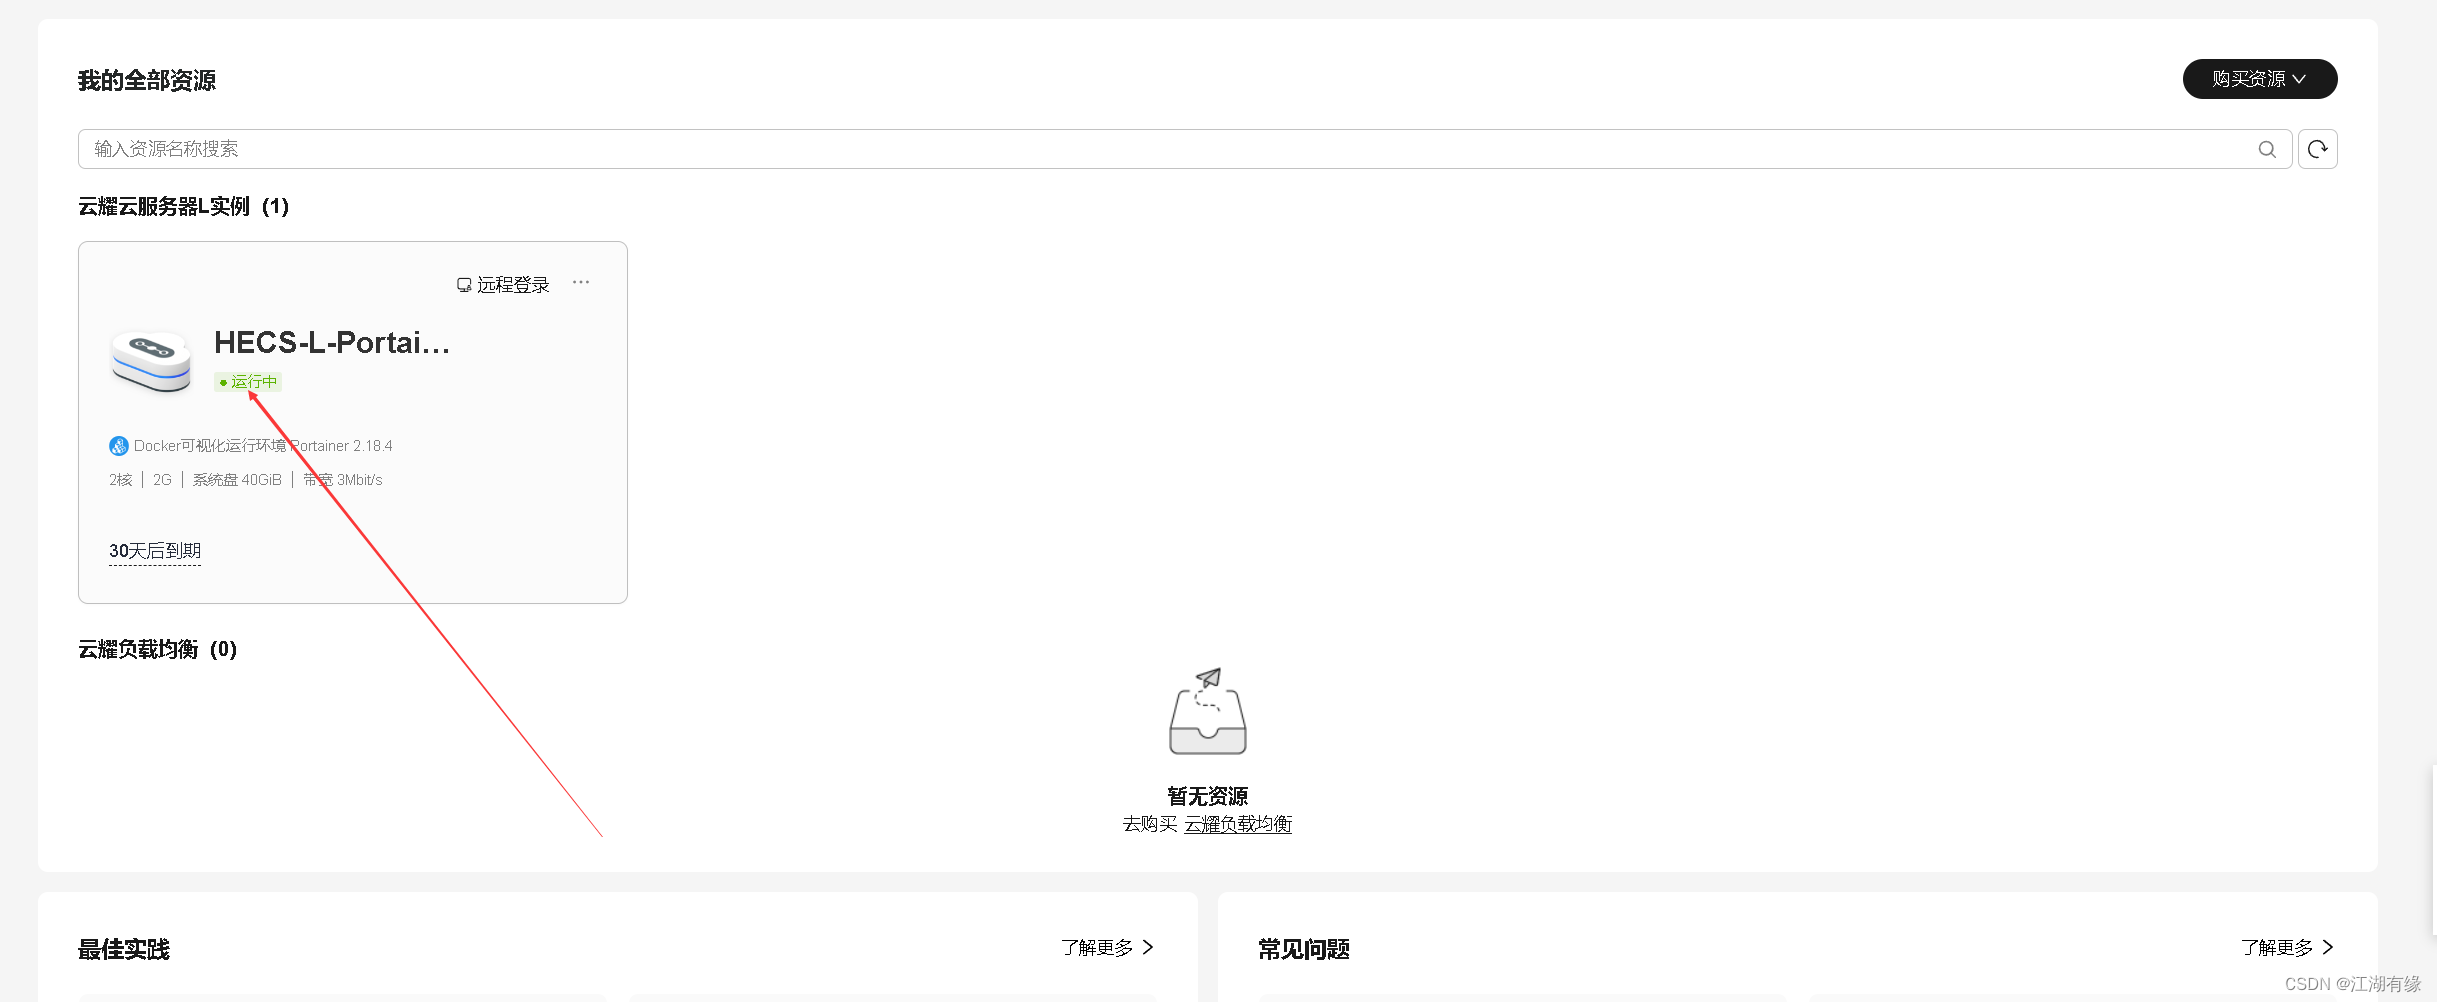
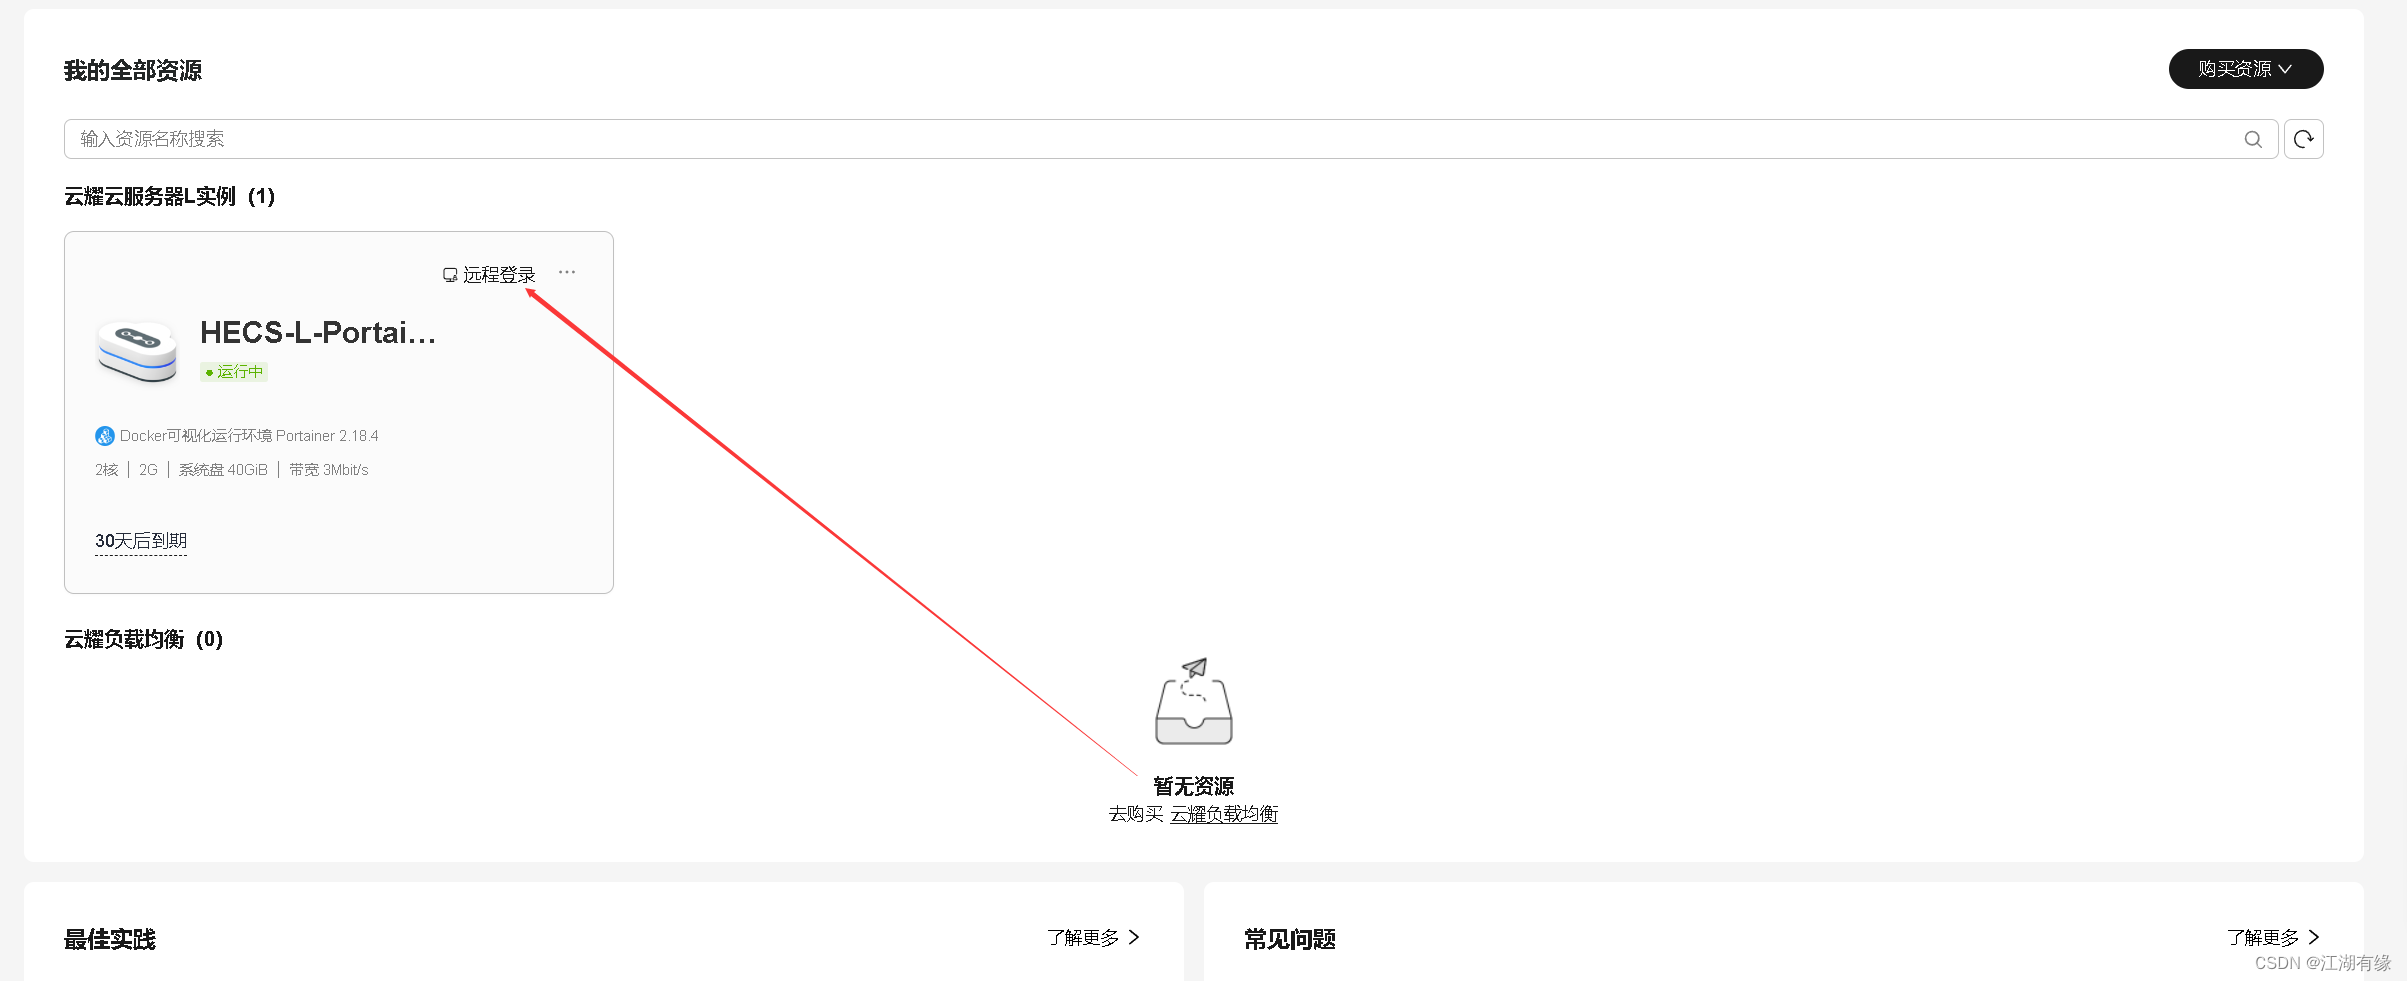
查看购买的云耀云服务器L实例状态,处在正常运行中。
3.4 重置服务器密码
点击远程登录云耀云服务器L实例
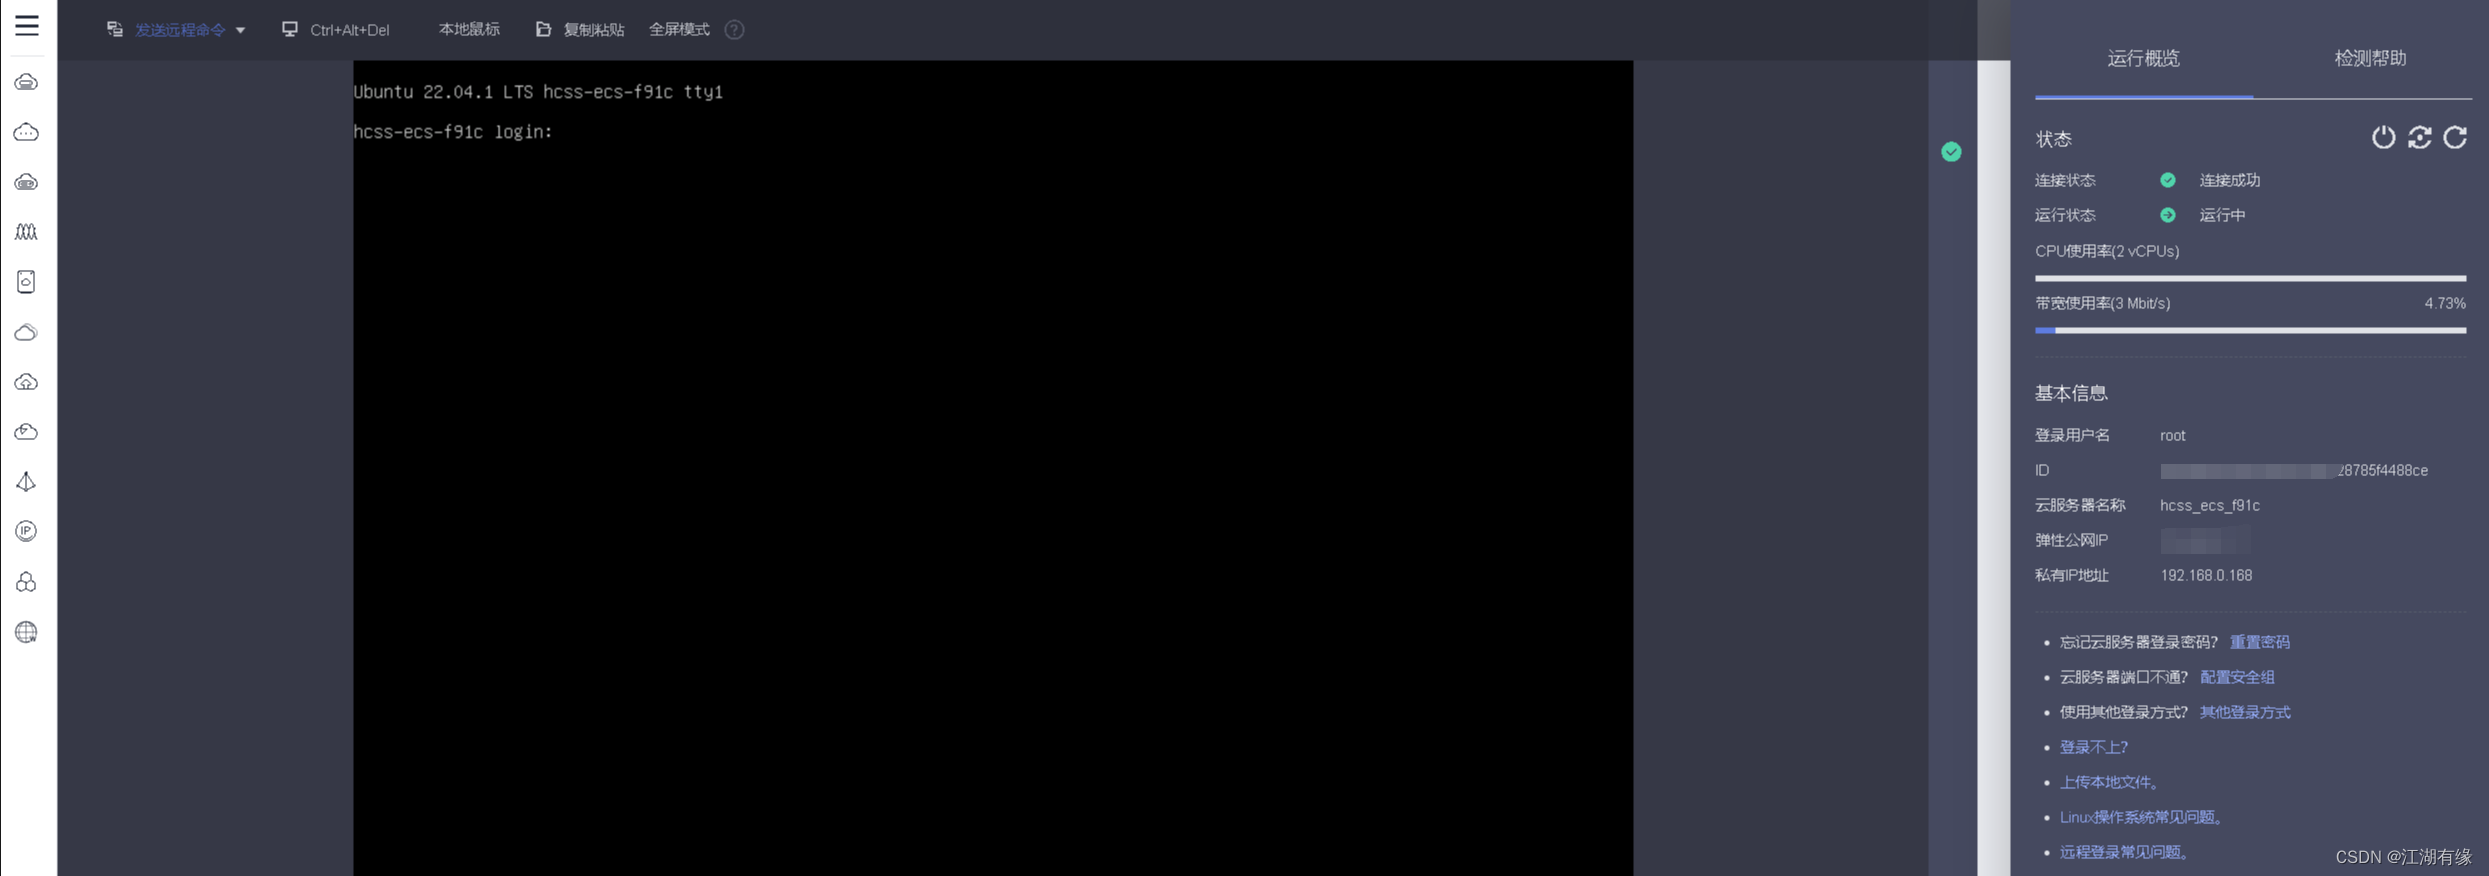
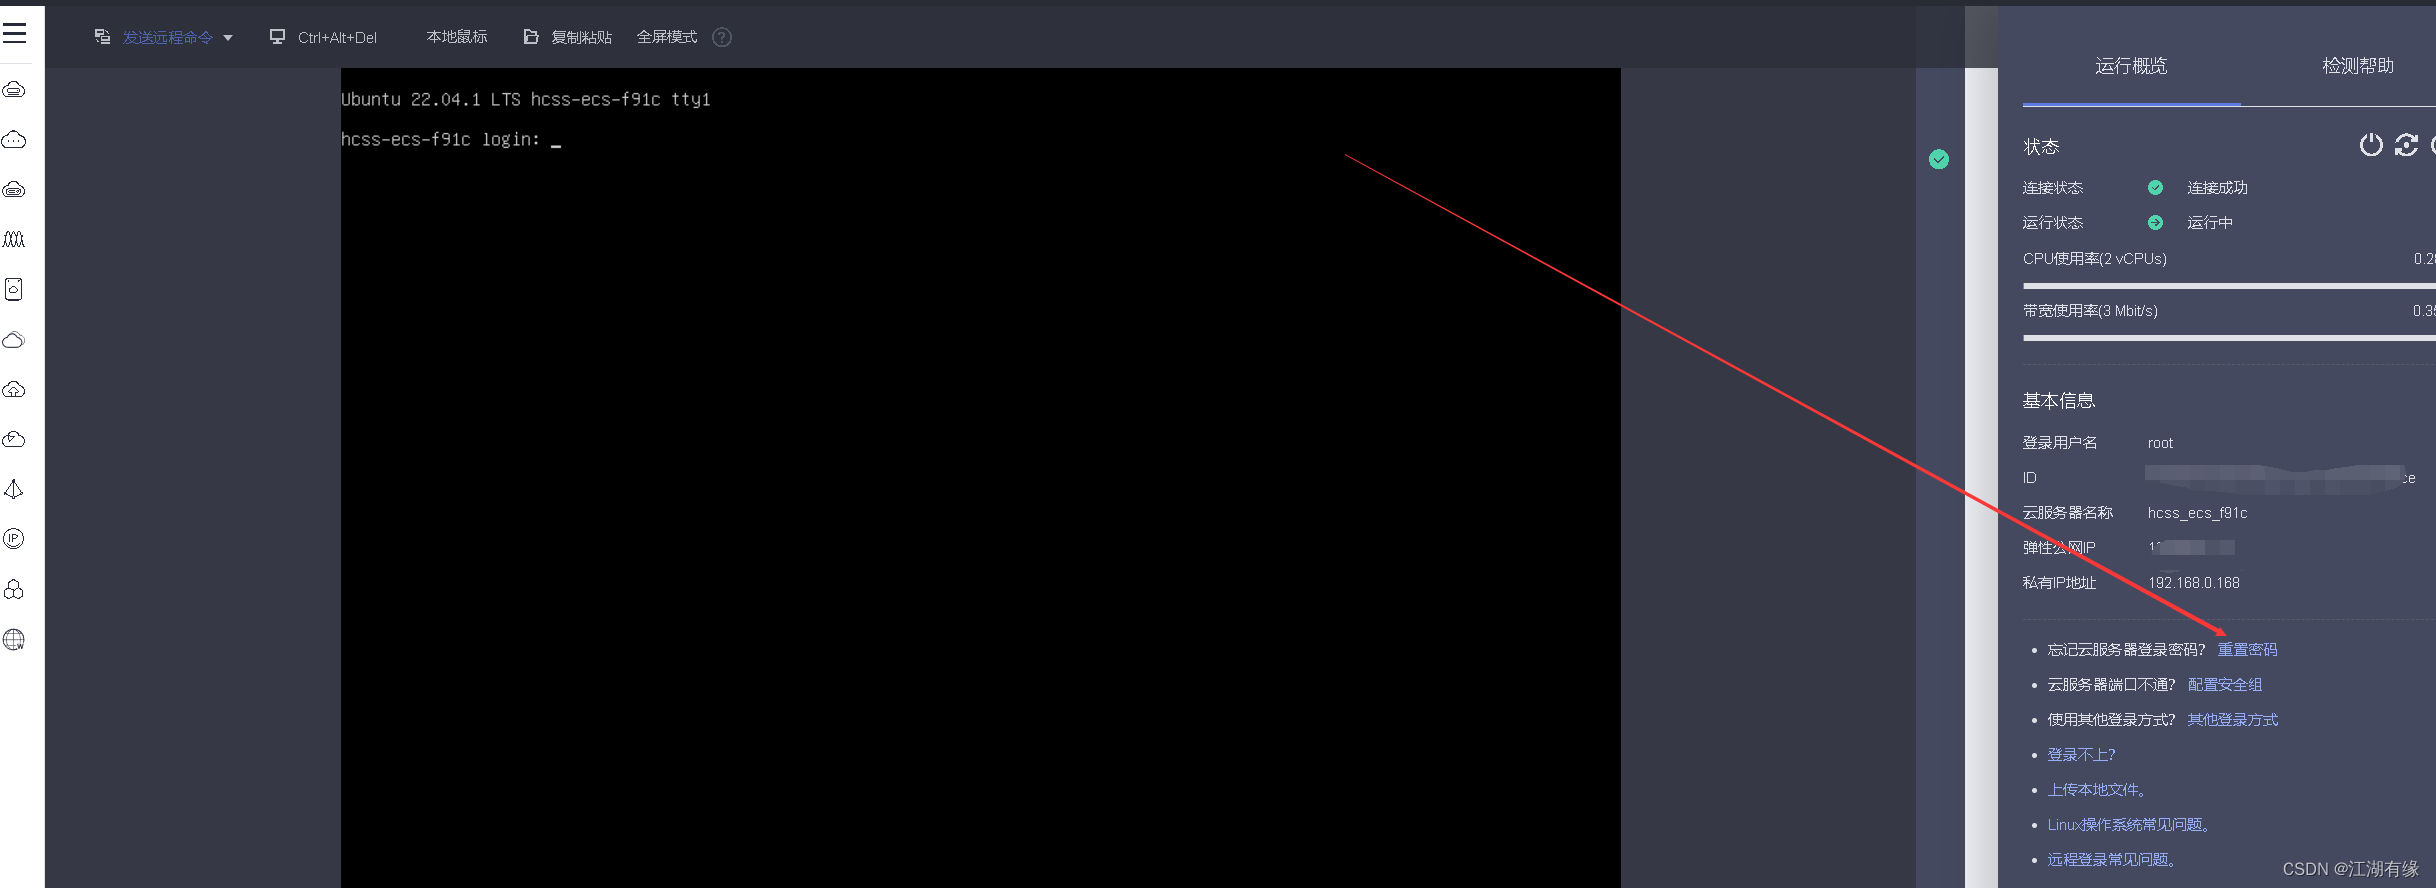
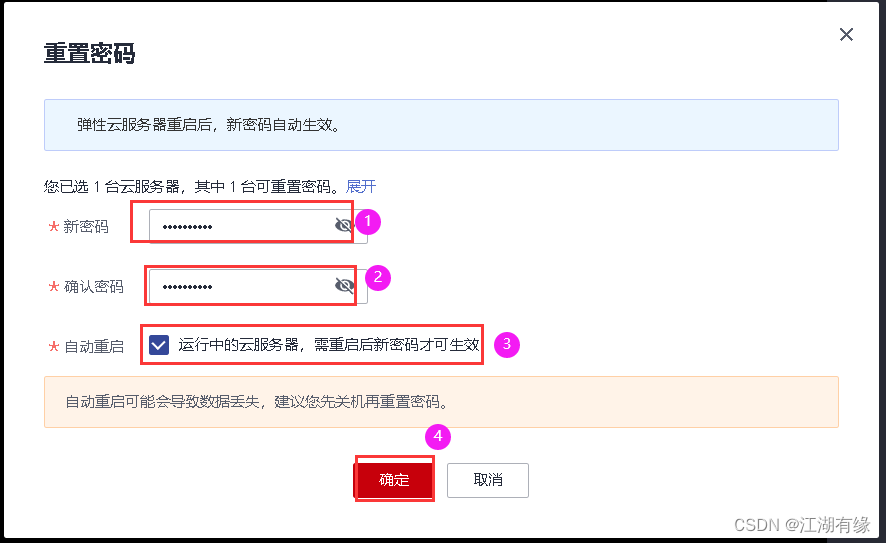
重置密码,点击右侧的重置密码选项,需要进行身份验证,选择手机验证后,即可重置密码成功。
四、检查Docker环境
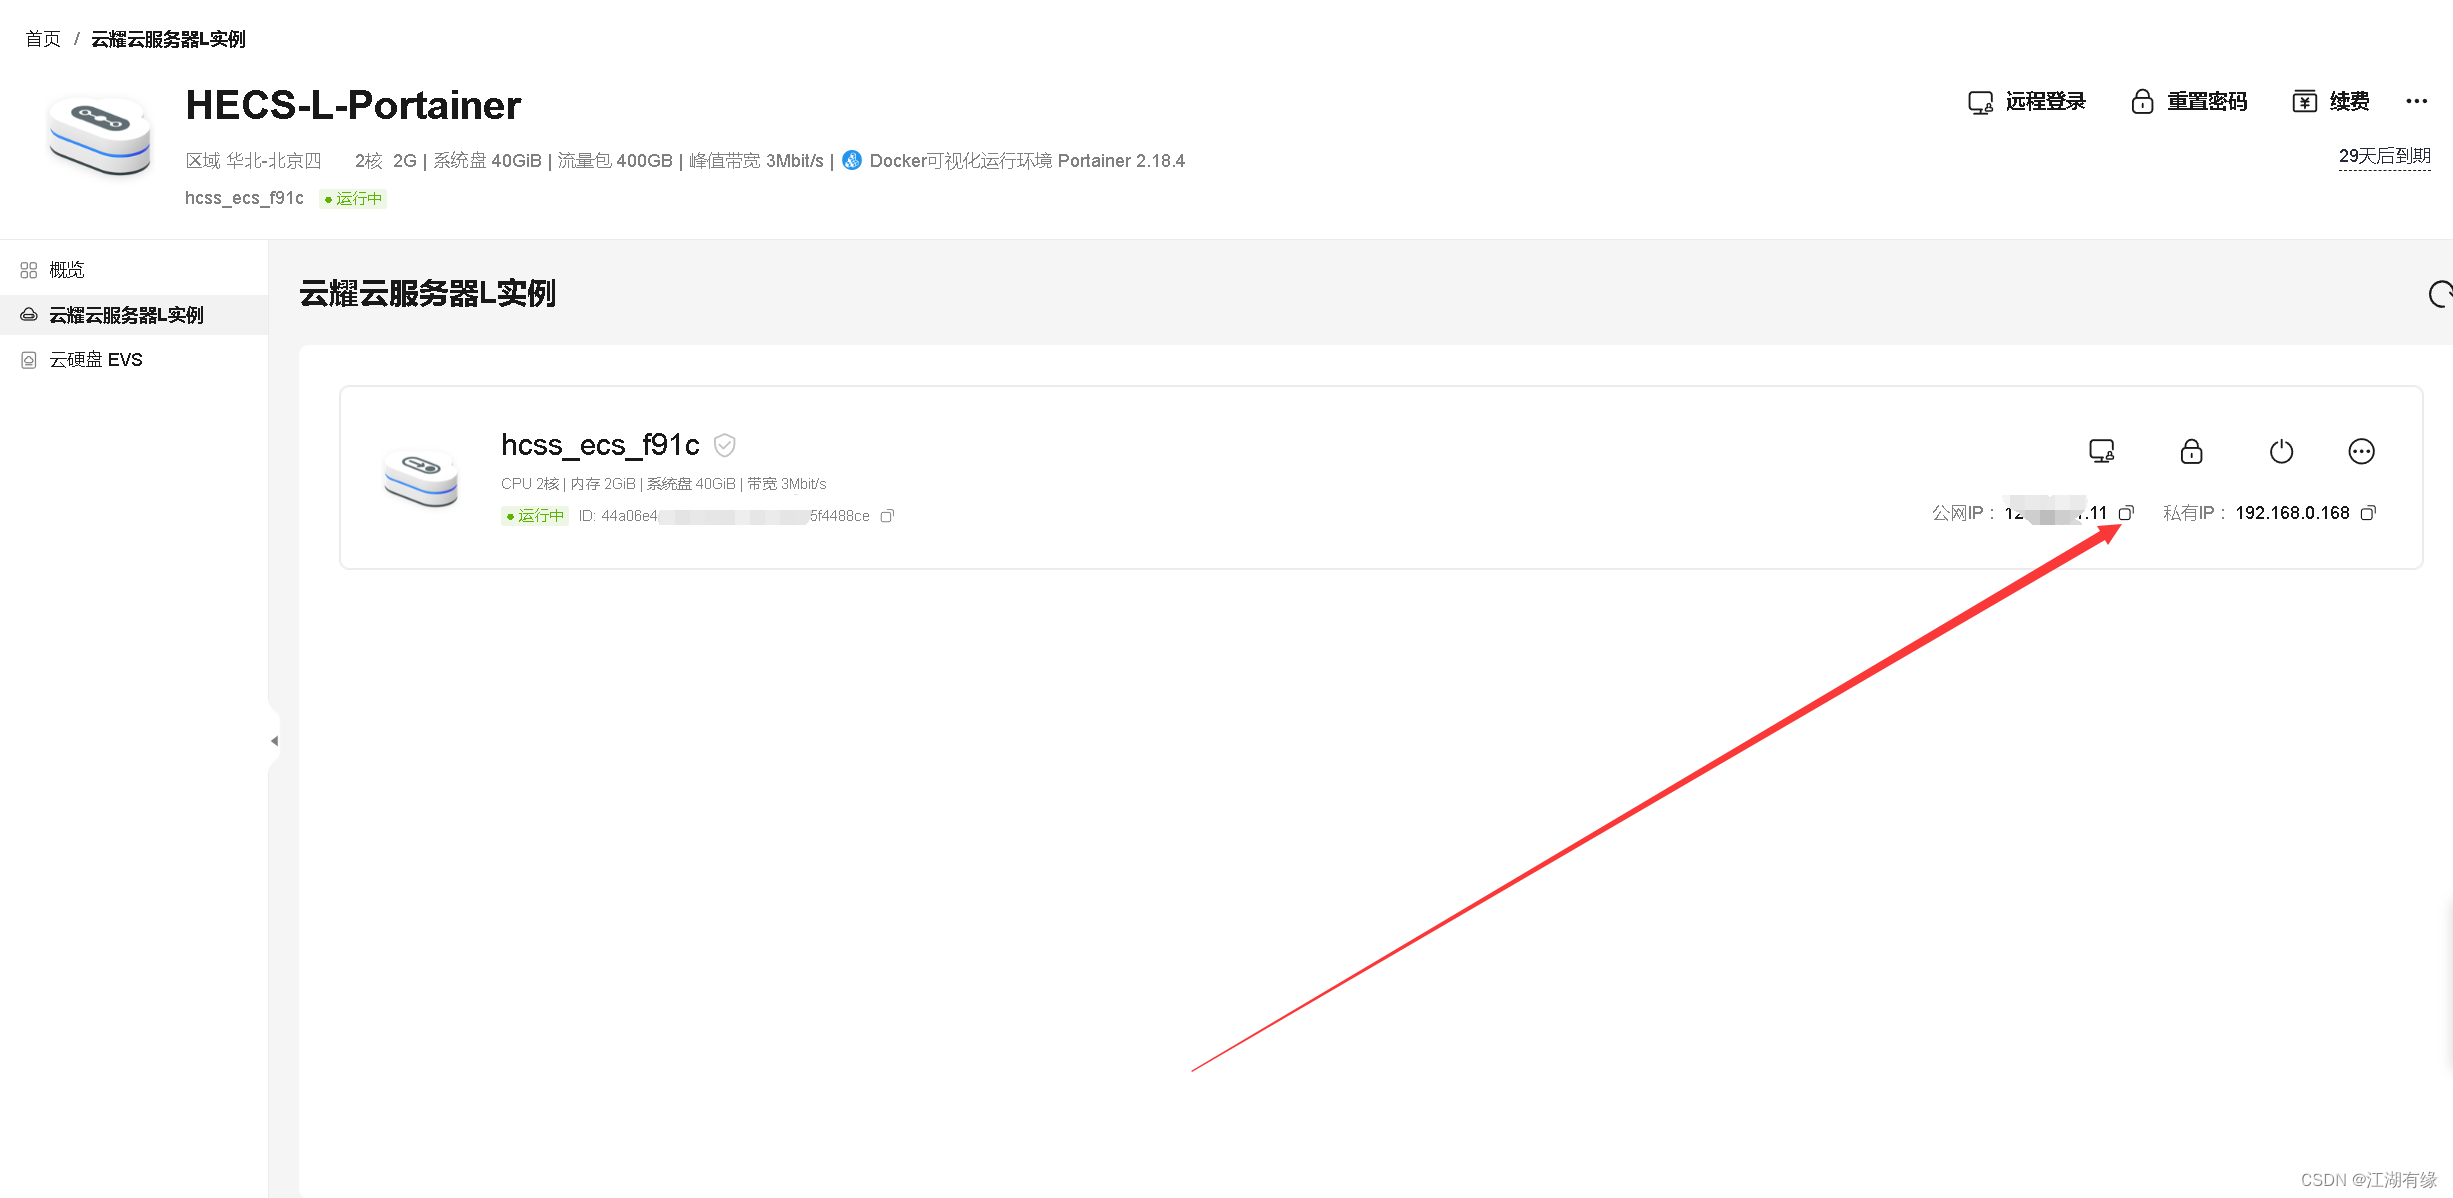
4.1 查看弹性公网IP地址
- 复制弹性公网IP地址,远程连接服务器时使用。
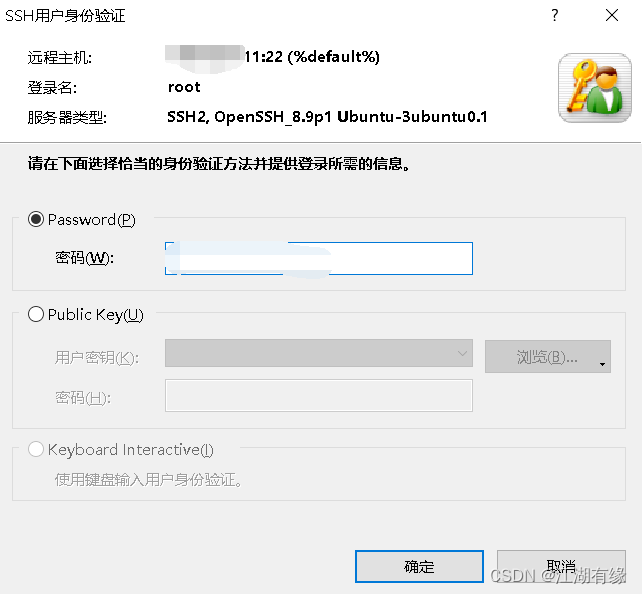
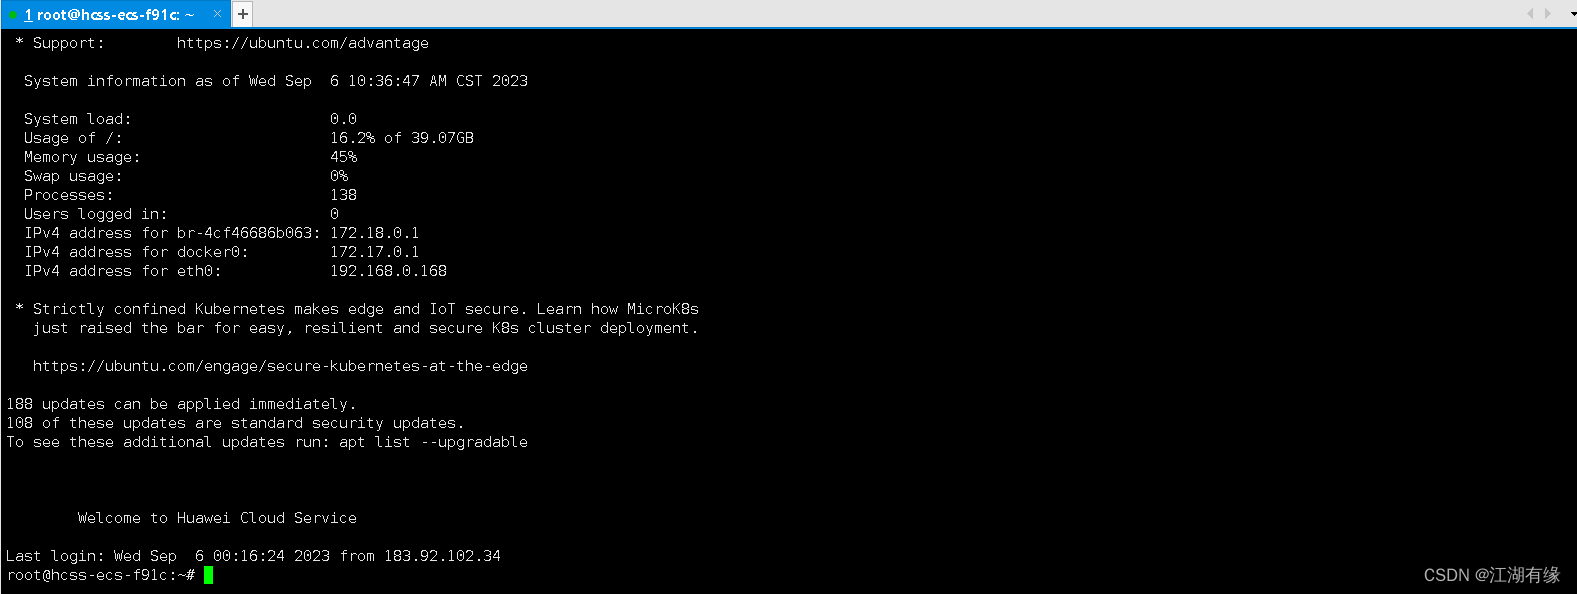
4.2 Xshell连接服务器
在Xshell工具中,填写服务器弹性公网IP地址、账号密码信息,ssh连接远程服务器。

4.3 检查Docker服务状态
由于云耀云服务器L实例使用的应用镜像为Portainer,Docker环境已经自动部署完毕,无需再重新配置Docker环境。
- 检查Docker版本
root@hcss-ecs-f91c:~# docker -v
Docker version 24.0.4, build 3713ee1
- 检查Docker服务状态
root@hcss-ecs-f91c:~# systemctl status docker
● docker.service - Docker Application Container Engine
     Loaded: loaded (/lib/systemd/system/docker.service; enabled; vendor preset: enabled)
     Active: active (running) since Tue 2023-09-05 21:51:04 CST; 16h ago
TriggeredBy: ● docker.socket
       Docs: https://docs.docker.com
   Main PID: 1061 (dockerd)
      Tasks: 88
     Memory: 519.8M
        CPU: 1min 956ms
     CGroup: /system.slice/docker.service
四、下载mysql:8.0镜像
从docker hub中拉取mysql:8.0镜像。
root@hcss-ecs-f91c:~# docker pull  mysql:8.0
8.0: Pulling from library/mysql
b193354265ba: Pull complete
14a15c0bb358: Pull complete
02da291ad1e4: Pull complete
9a89a1d664ee: Pull complete
a24ae6513051: Pull complete
5110d0b8df84: Pull complete
71def905d921: Pull complete
c29c4f8eb3c1: Pull complete
769af171cdaa: Pull complete
c1a0ba6abbff: Pull complete
5e7e1ae11403: Pull complete
Digest: sha256:f0e71f077bb27fe17b1b9551f75d1b35ad4dfe3a33c82412acf19684790f3a30
Status: Downloaded newer image for mysql:8.0
docker.io/library/mysql:8.0
五、部署Mysql应用
5.1 创建Mysql容器
使用docker-cli命令创建mysql容器。
docker run -d --name mysql_01 --restart always -v /data/mysql/:/var/lib/mysql -p 3641:3306 -e MYSQL_ROOT_PASSWORD=admin -e MYSQL_DATABASE=data mysql:8.0

5.2 检查Mysql容器状态
检查mysql容器状态,确保容器正常启动。
root@hcss-ecs-f91c:~# docker ps
CONTAINER ID   IMAGE                           COMMAND                  CREATED          STATUS          PORTS                     NAMES
c5962b2ee9f3   mysql:8.0                       "docker-entrypoint.s…"   12 minutes ago   Up 12 minutes   33060/tcp, 0.0.0.0:3641->3306/tcp, :::3641->3306/tcp                     mysql_01
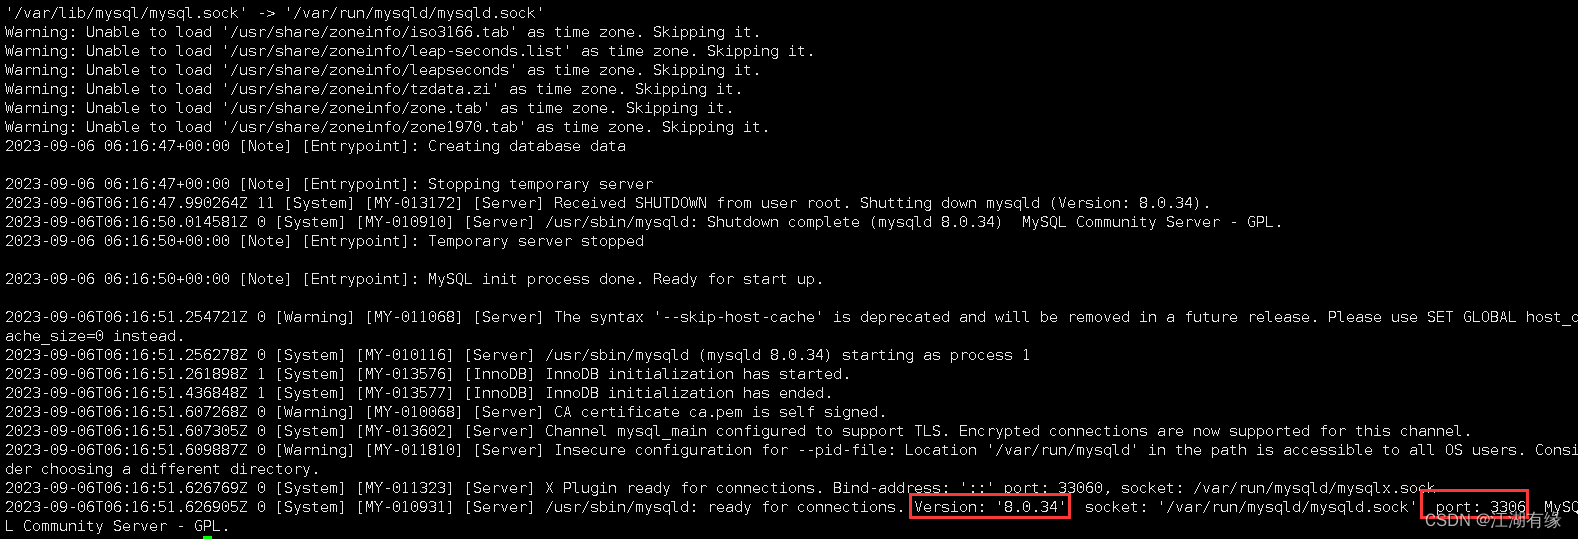
5.3 检查容器运行日志
检查mysql容器运行日志。
六、本地登录Mysql数据库
6.1 进入mysql容器内
进入mysql容器内
docker exec -it mysql_01 /bin/bash
6.2 本地登录连接mysql
本地登录连接mysql数据库
bash-4.4# mysql -uroot -padmin
mysql: [Warning] Using a password on the command line interface can be insecure.
Welcome to the MySQL monitor.  Commands end with ; or \g.
Your MySQL connection id is 11
Server version: 8.0.34 MySQL Community Server - GPL

Copyright (c) 2000, 2023, Oracle and/or its affiliates.

Oracle is a registered trademark of Oracle Corporation and/or its
affiliates. Other names may be trademarks of their respective
owners.

Type 'help;' or '\h' for help. Type '\c' to clear the current input statement.

mysql>
6.3 设置用户名和密码
- 新增用户
create user 'admin'@'%' identified WITH mysql_native_password BY 'admin';
- 设置用户权限
grant all on *.* to  'admin'@'%'    with GRANT OPTION;
flush privileges;

七、远程登录Mysql数据库
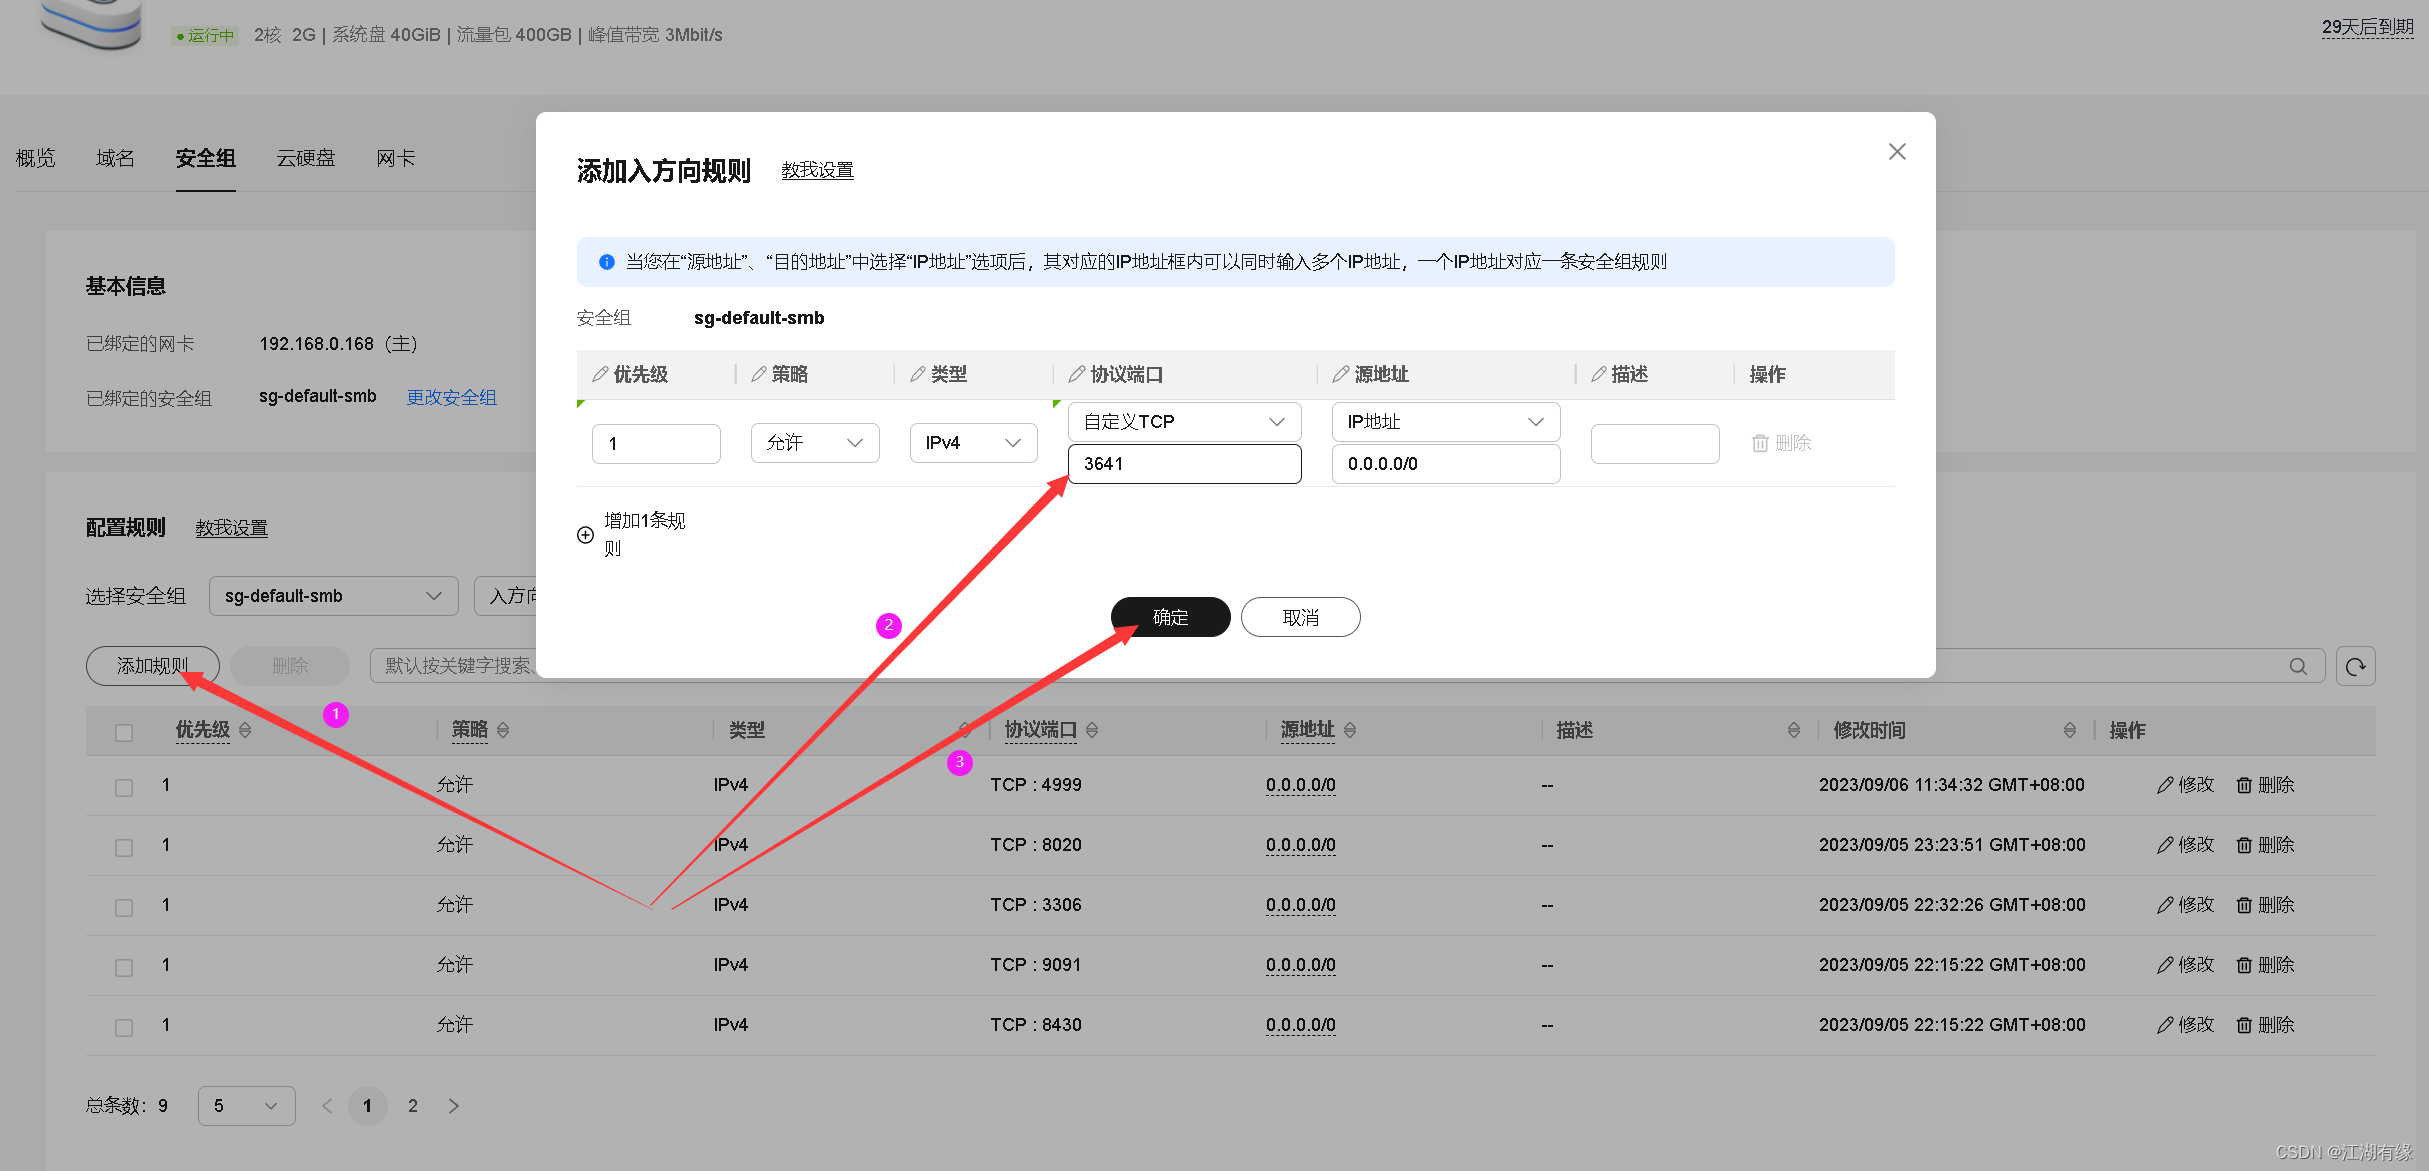
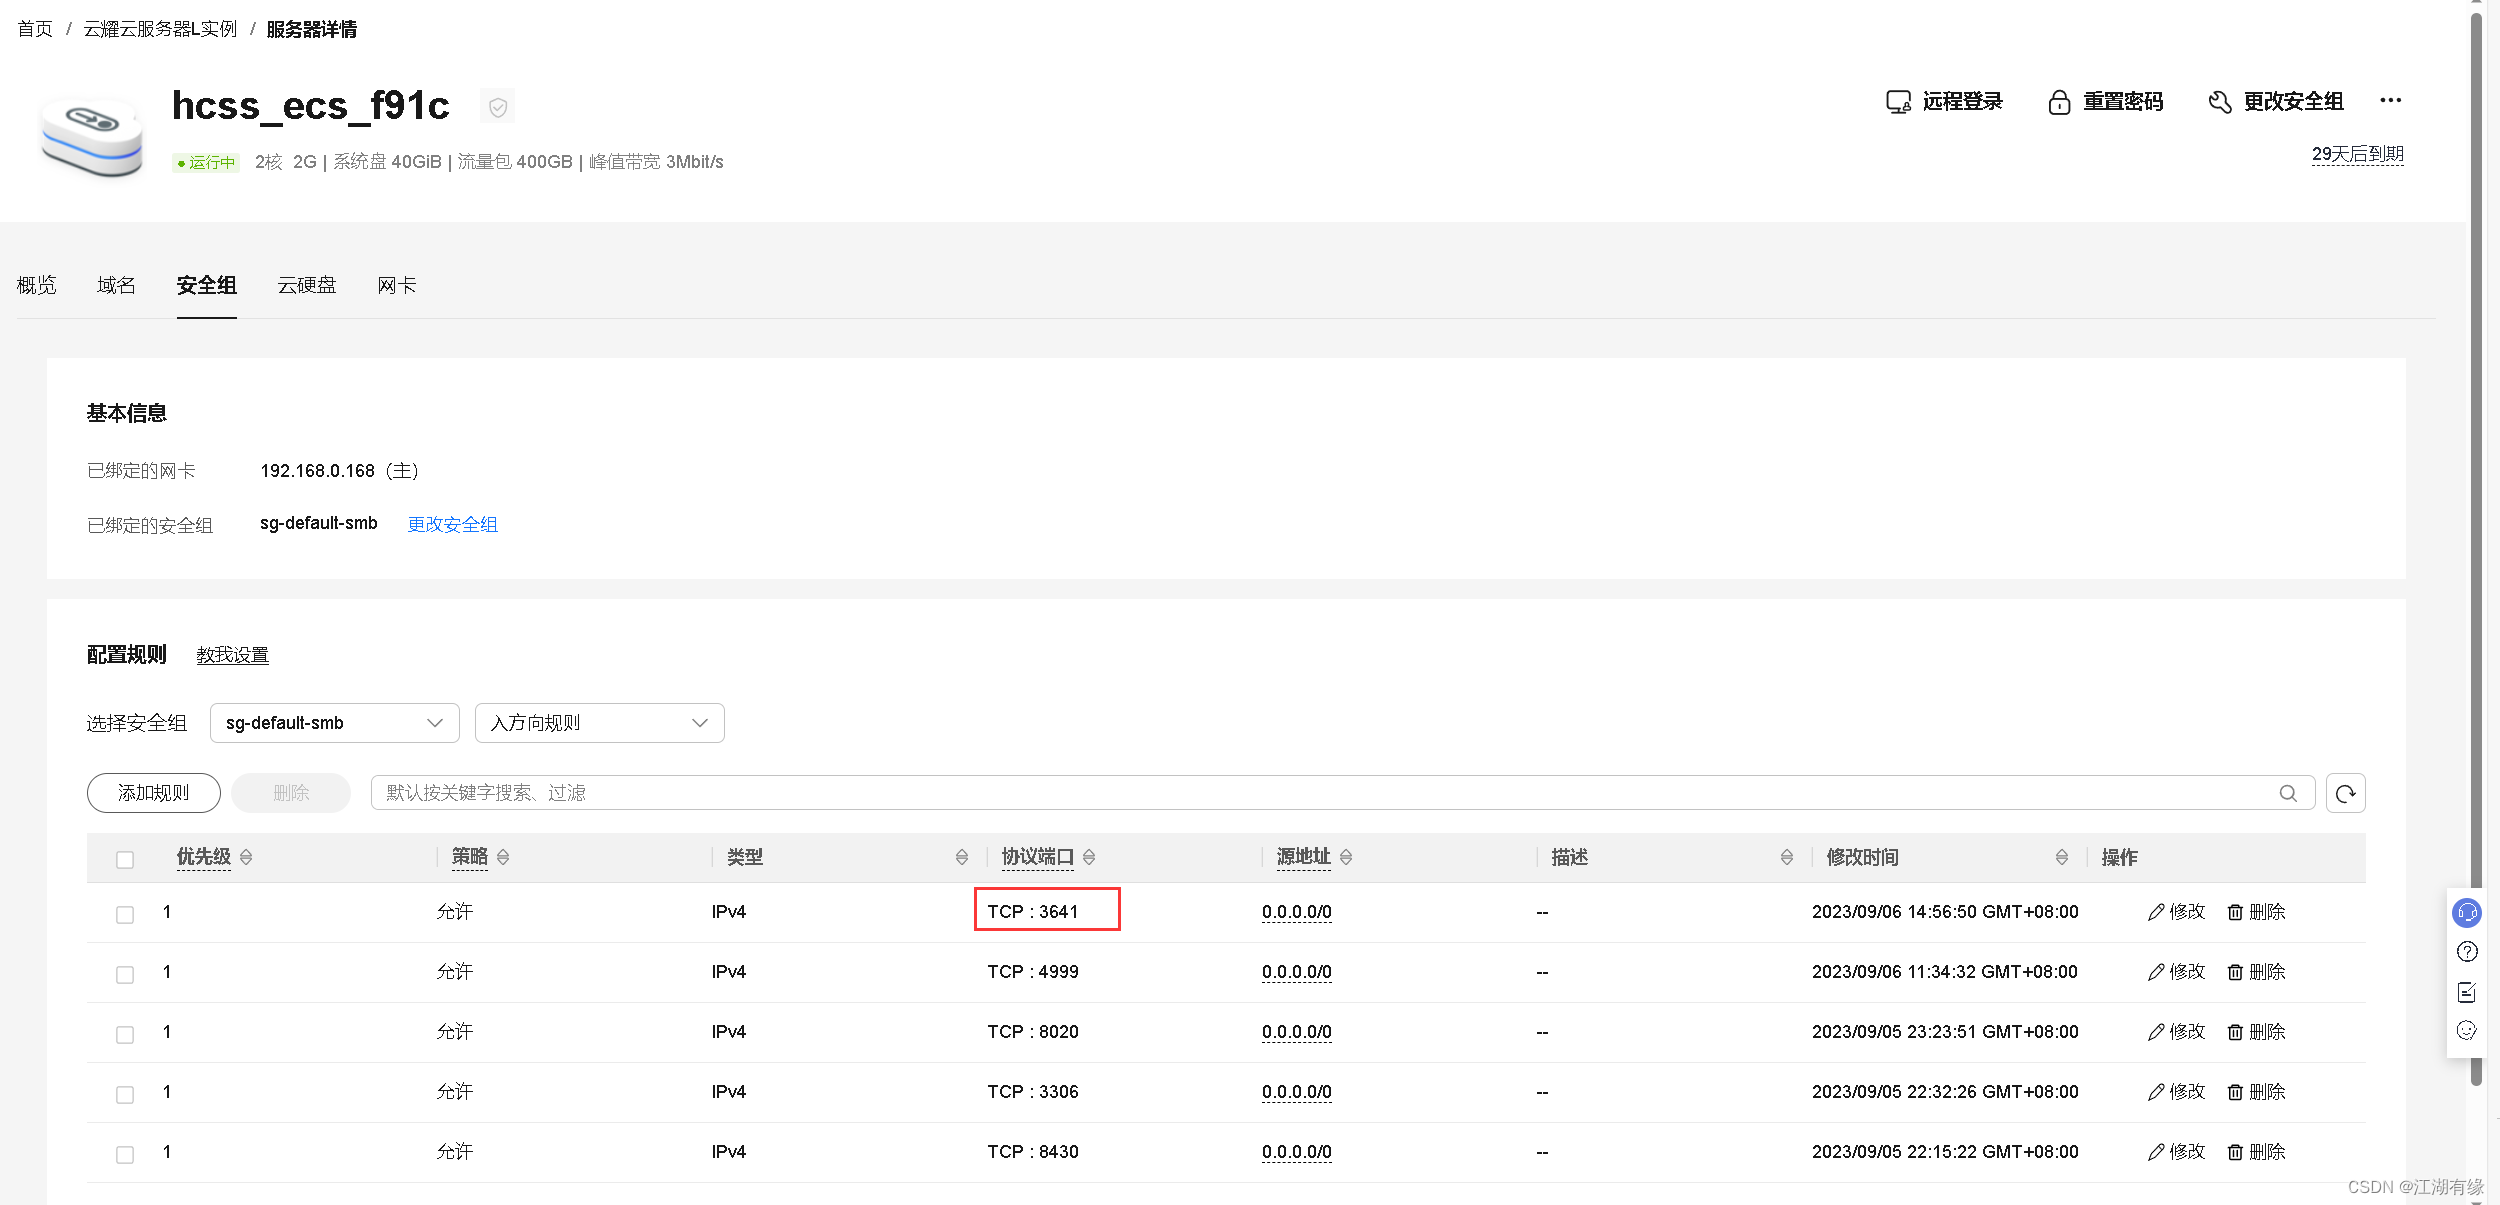
7.1 放行安全组端口
在云耀云服务器L实例的安全组配置管理中,放行入方向的3641端口。
7.2 远程连接mysql数据库
在其他Linux服务器的mysql客户端远程连接mysql数据库,其中-h后跟云耀云服务器L实例的弹性公网IP地址。
[root@server ~]# mysql -hxxxx -P 3641 -uadmin -p
Enter password:
Welcome to the MySQL monitor.  Commands end with ; or \g.
Your MySQL connection id is 12
Server version: 8.0.34 MySQL Community Server - GPL

Copyright (c) 2000, 2018, Oracle and/or its affiliates. All rights reserved.

Oracle is a registered trademark of Oracle Corporation and/or its
affiliates. Other names may be trademarks of their respective
owners.

Type 'help;' or '\h' for help. Type '\c' to clear the current input statement.

mysql>

7.3 写入数据
- 创建数据库
create database school;
- 查看新建数据库
mysql> show databases;
+--------------------+
| Database           |
+--------------------+
| data               |
| information_schema |
| mysql              |
| performance_schema |
| school             |
| sys                |
+--------------------+
6 rows in set (0.00 sec)
- 进入 school数据库
mysql> use school;
Database changed
- 新建数据表,创建一个空数据表。
 CREATE TABLE IF NOT EXISTS `student`(
     `id` INT UNSIGNED AUTO_INCREMENT,
      `name` VARCHAR(100) NOT NULL,
    `gender` TINYINT NOT NULL,
     `age` INT UNSIGNED,
    `class` INT UNSIGNED,
      `score` INT UNSIGNED,
      PRIMARY KEY ( `id` )
    )ENGINE=InnoDB DEFAULT CHARSET=utf8;

- 向数据表student写入数据。
 insert into student ( name, gender, age, class,  score ) values ( "李一成", "1", "16", "1", "78" );
 insert into student ( name, gender, age, class,  score ) values ( "王萌", "0", "15", "2", "88" );
 insert into student ( name, gender, age, class,  score ) values ( "张磊", "1", "16", "4", "98" );

- 查询数据表内容
mysql> select * from student;
+----+-----------+--------+------+-------+-------+
| id | name      | gender | age  | class | score |
+----+-----------+--------+------+-------+-------+
|  1 | 李一成    |      1 |   16 |     1 |    78 |
|  2 | 王萌      |      0 |   15 |     2 |    88 |
|  3 | 张磊      |      1 |   16 |     4 |    98 |
+----+-----------+--------+------+-------+-------+
3 rows in set (0.03 sec)
7.4 phpMyAdmin工具远程连接数据库
使用phpMyAdmin工具远程连接数据库,可以正常查询到数据表内容。
