基于Singularity 安装 AmpliconSuite-pipeline
按照AmpliconSuite-pipeline官网的Singularity安装方法遇到不少问题,好在都一一解决了,写个文档记录一下我基于Singularity 安装 AmpliconSuite-pipeline的过程。
step1 获取 Singularity镜像
镜像地址:Singularity Container Services | Artifacts: jluebeck/ampliconsuite-pipeline/ampliconsuite-pipeline/ (sylabs.io)
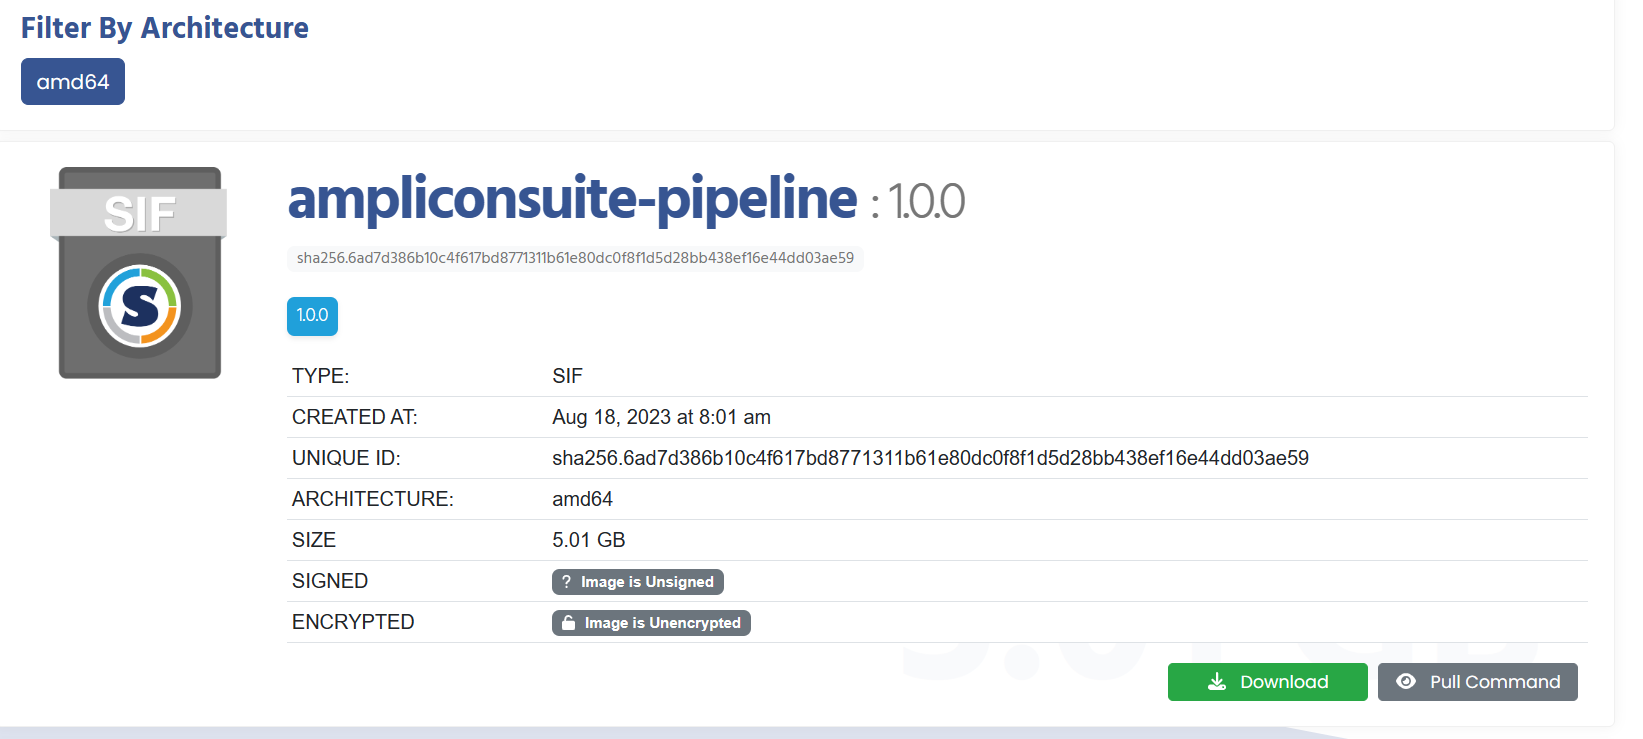
singularity build ampliconsuite-pipeline.sif library://jluebeck/ampliconsuite-pipeline/ampliconsuite-pipeline:1.0.0

镜像下载速度比较慢,平均200kb,建议在晚上网络稳定的时候下载,总共用时6-7h。
step2 获取 执行镜像的脚本并且配置AA_DATA_REPO的路径
git clone https://github.com/AmpliconSuite/AmpliconSuite-pipeline/archive/refs/tags/v1.0.0.tar.gz
cd AmpliconSuite-pipeline
# Can use ./install.sh -h to see help before installing
source ./install.sh --finalize_only
#执行source ./install.sh --finalize_only命令后会检查samtools,bwa,还有R等软件是否安装,并且在$HOME目录下创建mosek,data_repo等文件夹

检查一下AA_DATA_REPO的环境变量有没有配好,执行$AA_DATA_REPO,输出不为空就是正确的。
如果没有配好,执行下述命令:
cd $HOME/data_repo
echo export AA_DATA_REPO=$PWD >> ~/.bashrc
touch coverage.stats && chmod a+r coverage.stats
source ~/.bashrc
step3 获取mosek.lic证书
获取证书文件 mosek.lic (https://www.mosek.com/products/academic-licenses/). 用学校或者科研单位的邮箱地址进行注册就可以免费获得证书。
将文件放置在 $HOME/mosek/文件夹下 (i.e, the mosek/ folder that now exists in your home directory).
也可以放在你自己的文件夹,但是要设置相应的环境变量 :If you are not able to place the license in the default location, you can set a custom location by exporting the bash variable MOSEKLM_LICENSE_FILE=/custom/path/.
step4 下载参考基因组数据:
datasets.genepattern.org/?prefix=data/module_support_files/AmpliconArchitect/
 我选择的GRCh38_indexed.tar.gz
下载命令:
cd $AA_DATA_REPO
wget https://datasets.genepattern.org/data/module_support_files/AmpliconArchitect/GRCh38_indexed.tar.gz
tar zxf GRCh38_indexed.tar.gz
rm GRCh38_indexed.tar.gz
step5:配置AA_SRC路径
Github source code:
Note: In the rest of this document, we will refer to the path of the parent directory AmpliconArchitect/src as $AA_SRC
git clone https://github.com/jluebeck/AmpliconArchitect.git
cd AmpliconArchitect
echo export AA_SRC=$PWD/src >> ~/.bashrc
step6: 对bam文件进行去重复序列和排序
如果你的输入文件是bam文件,需要进行去重复序列和排序的操作
参考命令如下:
nohup time java -jar picard.jar MarkDuplicates REMOVE_DUPLICATES=true I=../alignment/bam/P368T.sorted.bam O=../alignment/bam/P368T.sorted.rmdup.bam M=../alignment/bam/P368T.rmdup_metrics.txt > ../alignment/log/P368T.rmdup.log 2>&1 &
samtools index -@ 20 P368T.sorted.markdup.bam
step7 : 执行命令
python AmpliconSuite-pipeline-1.0.0/singularity/run_paa_singularity.py --sif /home/chentao/project/ecDNA/ -o /home/chentao/project/ecDNA/output/ -s P368 -t 8 --bam /home/chentao/project/mutation_calling/alignment/bam/P368T.sorted.rmdup.bam --run_AA --run_AC
注意:–sif 的路径只需要精确到ampliconsuite-pipeline.sif的目录即可,镜像的名称一定要是ampliconsuite-pipeline.sif。
这是作者在run_paa_singularity.py 设置镜像路径的代码:

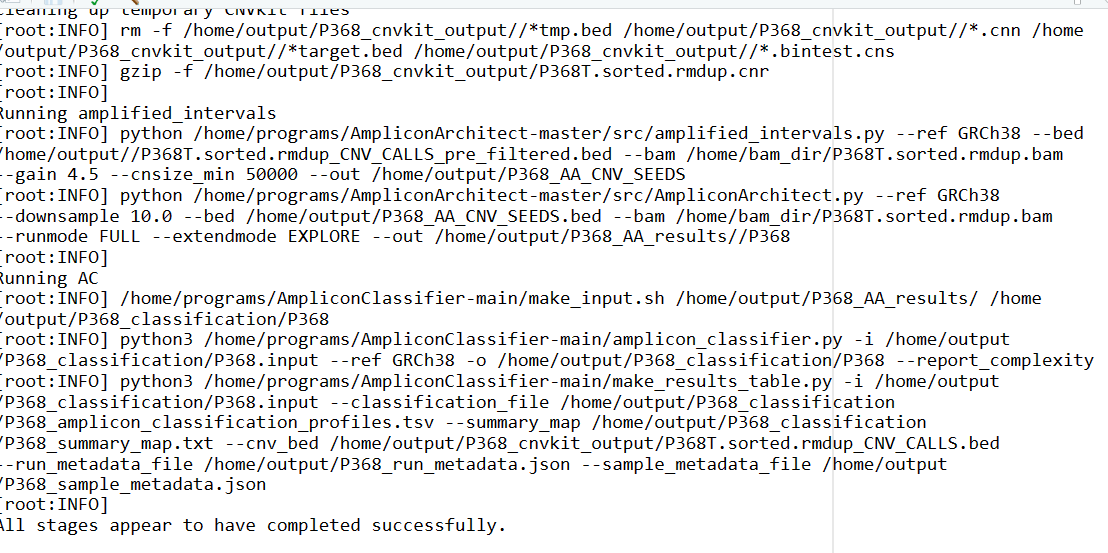
执行结果:
日志:

output:

