1. 轻量级容器管理工具 Containerd
2. Containerd的两种安装方式
3. Containerd容器镜像管理
4. Containerd数据持久化和网络管理
操作系统环境为centos7u6
1. YUM方式安装
1.1 获取YUM源
获取阿里云YUM源
# wget -O /etc/yum.repos.d/docker-ce.repo https://mirrors.aliyun.com/docker-ce/linux/centos/docker-ce.repo
查看YUM源中Containerd软件
# yum list | grep containerd
containerd.io.x86_64                        1.4.12-3.1.el7             docker-ce-stable
1.2 使用yum命令安装
安装Containerd.io软件,即可安装Containerd
# yum -y install containerd.io
1.3 验证安装及启动服务
使用rpm -qa命令查看是否安装
# rpm -qa | grep containerd
containerd.io-1.4.12-3.1.el7.x86_64
设置containerd服务启动及开机自启动
# systemctl enable containerd
# systemctl start containerd
查看containerd服务启动状态
# systemctl status containerd
● containerd.service - containerd container runtime
   Loaded: loaded (/usr/lib/systemd/system/containerd.service; enabled; vendor preset: disabled)
   Active: active (running) since 六 2023-08-05 19:25:57 CST; 46s ago
     Docs: https://containerd.io
  Process: 13319 ExecStartPre=/sbin/modprobe overlay (code=exited, status=0/SUCCESS)
 Main PID: 13323 (containerd)
    Tasks: 10
   Memory: 20.4M
   CGroup: /system.slice/containerd.service
           └─13323 /usr/bin/containerd
           ......
1.4 验证可用性
安装Containerd时ctr命令亦可使用,ctr命令主要用于管理容器及容器镜像等。
使用ctr命令查看Containerd客户端及服务端相关信息。
# ctr version
Client:
  Version:  1.6.22
  Revision: 8165feabfdfe38c65b599c4993d227328c231fca
  Go version: go1.19.11

Server:
  Version:  1.6.22
  Revision: 8165feabfdfe38c65b599c4993d227328c231fca
  UUID: a588fcfe-122c-4b3a-a25a-95eadd30d3a7
2. 二进制方式安装
Containerd有两种安装包:
- 第一种是
containerd-xxx,这种包用于单机测试没问题,不包含runC,需要提前安装。 - 第二种是
cri-containerd-cni-xxxx,包含runc和k8s里的所需要的相关文件。k8s集群里需要用到此包。虽然包含runC,但是依赖系统中的seccomp(安全计算模式,是一种限制容器调用系统资源的模式。)
2.1 获取安装包

下载Containerd安装包
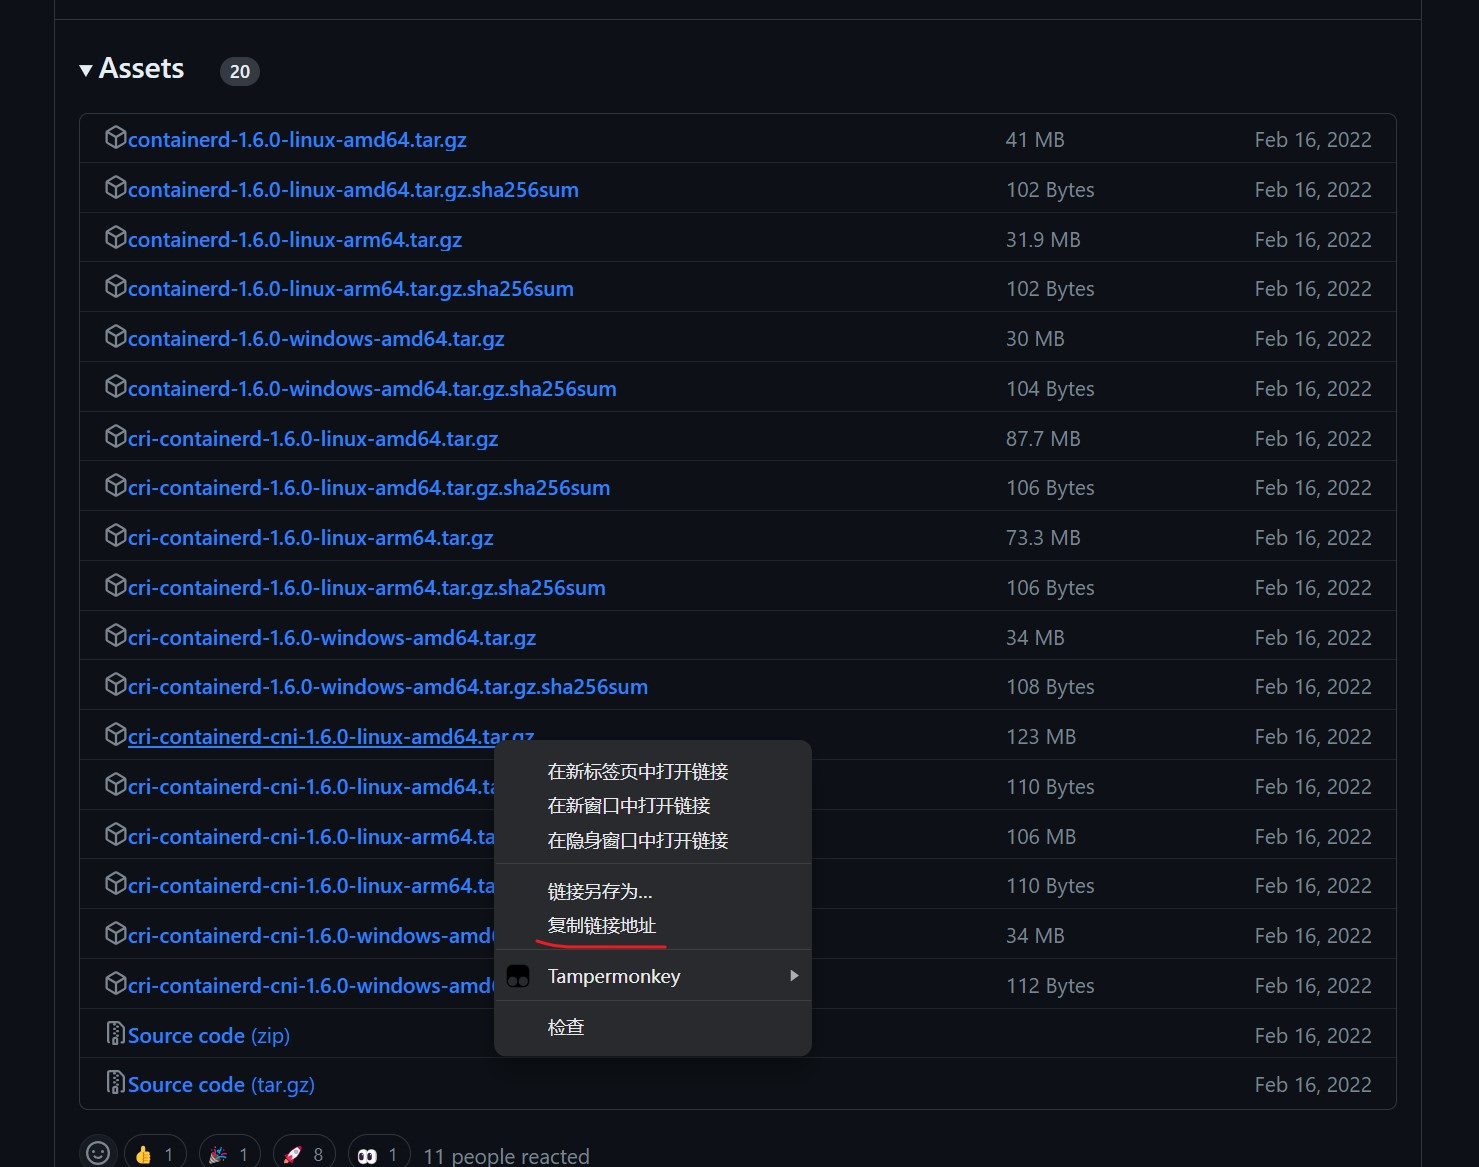
# wget https://github.com/containerd/containerd/releases/download/v1.6.0/cri-containerd-cni-1.6.0-linux-amd64.tar.gz
2.2 安装并测试可用性
2.2.1 安装containerd
查看已获取的安装包
# ls
cri-containerd-cni-1.6.0-linux-amd64.tar.gz
解压已下载的软件包
# tar xf cri-containerd-cni-1.6.0-linux-amd64.tar.gz
查看解压后目录
# ls
etc opt  usr
查看etc目录,主要为containerd服务管理配置文件及cni虚拟网卡配置文件
# ls etc
cni  crictl.yaml  systemd
# ls etc/systemd/
system
# ls etc/systemd/system/
containerd.service


查看opt目录,主要为gce环境中使用containerd配置文件及cni插件
# ls opt
cni  containerd
# ls opt/containerd/
cluster
# ls opt/containerd/cluster/
gce  version
# ls opt/containerd/cluster/gce
cloud-init  cni.template  configure.sh  env

查看usr目录,主要为containerd运行时文件,包含runc
# ls usr
local
# ls usr/local/
bin  sbin
# ls usr/local/bin
containerd  containerd-shim  containerd-shim-runc-v1  containerd-shim-runc-v2  containerd-stress  crictl  critest  ctd-decoder  ctr
# ls usr/local/sbin
runc
2.2.2 查看containerd安装位置
查看containerd.service文件,了解containerd文件安装位置
# cat etc/systemd/system/containerd.service


# Copyright The containerd Authors.
#
# Licensed under the Apache License, Version 2.0 (the "License");
# you may not use this file except in compliance with the License.
# You may obtain a copy of the License at
#
#     http://www.apache.org/licenses/LICENSE-2.0
#
# Unless required by applicable law or agreed to in writing, software
# distributed under the License is distributed on an "AS IS" BASIS,
# WITHOUT WARRANTIES OR CONDITIONS OF ANY KIND, either express or implied.
# See the License for the specific language governing permissions and
# limitations under the License.

[Unit]
Description=containerd container runtime
Documentation=https://containerd.io
After=network.target local-fs.target

[Service]
ExecStartPre=-/sbin/modprobe overlay
ExecStart=/usr/local/bin/containerd #查看此位置,把containerd二进制文件放置于此处即可完成安装。

Type=notify
Delegate=yes
KillMode=process
Restart=always
RestartSec=5
# Having non-zero Limit*s causes performance problems due to accounting overhead
# in the kernel. We recommend using cgroups to do container-local accounting.
LimitNPROC=infinity
LimitCORE=infinity
LimitNOFILE=infinity
# Comment TasksMax if your systemd version does not supports it.
# Only systemd 226 and above support this version.
TasksMax=infinity
OOMScoreAdjust=-999

[Install]
WantedBy=multi-user.target
2.2.3 复制containerd运行时文件至系统
查看宿主机/usr/local/bin目录,里面没有任何内容。
# ls /usr/local/bin/

查看解压后usr/local/bin目录,里面包含containerd运行时文件
# ls usr/
local
# ls usr/local/
bin  sbin
# ls usr/local/bin/
containerd  containerd-shim  containerd-shim-runc-v1  containerd-shim-runc-v2  containerd-stress  crictl  critest  ctd-decoder  ctr

复制containerd文件至/usr/local/bin目录中,本次可仅复制containerd一个文件也可复制全部文件。
# cp usr/local/bin/containerd /usr/local/bin/
# ls /usr/local/bin/
containerd
2.2.4 添加containerd.service文件至系统
查看解压后的etc/system目录
# ls etc
cni  crictl.yaml  systemd

# ls etc/systemd/
system

# ls etc/systemd/system/
containerd.service

复制containerd服务管理配置文件至/usr/lib/systemd/system/目录中
# cp etc/systemd/system/containerd.service /usr/lib/systemd/system/containerd.service

查看复制后结果
# ls /usr/lib/systemd/system/containerd.service
/usr/lib/systemd/system/containerd.service
2.2.5 查看containerd使用帮助
# containerd --help
NAME:
   containerd -
                    __        _                     __
  _________  ____  / /_____ _(_)___  ___  _________/ /
 / ___/ __ \/ __ \/ __/ __ `/ / __ \/ _ \/ ___/ __  /
/ /__/ /_/ / / / / /_/ /_/ / / / / /  __/ /  / /_/ /
\___/\____/_/ /_/\__/\__,_/_/_/ /_/\___/_/   \__,_/
......
2.2.6 生成containerd模块配置文件
2.2.6.1 生成默认模块配置文件
Containerd 的默认配置文件为 /etc/containerd/config.toml,可以使用containerd config default > /etc/containerd/config.toml命令创建一份模块配置文件
创建配置文件目录
# mkdir /etc/containerd
生成配置文件
# containerd config default > /etc/containerd/config.toml
查看配置文件
# cat /etc/containerd/config.toml
2.2.6.2 替换默认配置文件
但上述配置文件后期改动的地方较多,这里直接换成可单机使用也可k8s环境使用的配置文件并配置好镜像加速器(可参考配置)。
# vim /etc/containerd/config.toml

# cat /etc/containerd/config.toml
root = "/var/lib/containerd"
state = "/run/containerd"
oom_score = -999

[grpc]
  address = "/run/containerd/containerd.sock"
  uid = 0
  gid = 0
  max_recv_message_size = 16777216
  max_send_message_size = 16777216

[debug]
  address = ""
  uid = 0
  gid = 0
  level = ""

[metrics]
  address = ""
  grpc_histogram = false

[cgroup]
  path = ""

[plugins]
  [plugins.cgroups]
    no_prometheus = false
  [plugins.cri]
    stream_server_address = "127.0.0.1"
    stream_server_port = "0"
    enable_selinux = false
    sandbox_image = "easzlab/pause-amd64:3.2" #配置了沙箱镜像
    stats_collect_period = 10
    systemd_cgroup = false
    enable_tls_streaming = false
    max_container_log_line_size = 16384
    [plugins.cri.containerd]
      snapshotter = "overlayfs"
      no_pivot = false
      [plugins.cri.containerd.default_runtime]
        runtime_type = "io.containerd.runtime.v1.linux"
        runtime_engine = ""
        runtime_root = ""
      [plugins.cri.containerd.untrusted_workload_runtime]
        runtime_type = ""
        runtime_engine = ""
        runtime_root = ""
    [plugins.cri.cni]
      bin_dir = "/opt/kube/bin"
      conf_dir = "/etc/cni/net.d"
      conf_template = "/etc/cni/net.d/10-default.conf"
    [plugins.cri.registry]
      [plugins.cri.registry.mirrors]
        [plugins.cri.registry.mirrors."docker.io"]
          endpoint = [
            "https://docker.mirrors.ustc.edu.cn",
            "http://hub-mirror.c.163.com"
          ]
        [plugins.cri.registry.mirrors."gcr.io"]
          endpoint = [
            "https://gcr.mirrors.ustc.edu.cn"
          ]
        [plugins.cri.registry.mirrors."k8s.gcr.io"]
          endpoint = [
            "https://gcr.mirrors.ustc.edu.cn/google-containers/"
          ]
        [plugins.cri.registry.mirrors."quay.io"]
          endpoint = [
            "https://quay.mirrors.ustc.edu.cn"
          ]
        [plugins.cri.registry.mirrors."harbor.kubemsb.com"] #此处添加了本地容器镜像仓库 Harbor,做为本地容器镜像仓库。
          endpoint = [
            "http://harbor.kubemsb.com"
          ]
    [plugins.cri.x509_key_pair_streaming]
      tls_cert_file = ""
      tls_key_file = ""
  [plugins.diff-service]
    default = ["walking"]
  [plugins.linux]
    shim = "containerd-shim"
    runtime = "runc"
    runtime_root = ""
    no_shim = false
    shim_debug = false
  [plugins.opt]
    path = "/opt/containerd"
  [plugins.restart]
    interval = "10s"
  [plugins.scheduler]
    pause_threshold = 0.02
    deletion_threshold = 0
    mutation_threshold = 100
    schedule_delay = "0s"
    startup_delay = "100ms"
2.2.7 启动containerd服务并设置开机自启动
# systemctl enable containerd
Created symlink from /etc/systemd/system/multi-user.target.wants/containerd.service to /usr/lib/systemd/system/containerd.service.
# systemctl start containerd
# systemctl status containerd
● containerd.service - containerd container runtime
   Loaded: loaded (/usr/lib/systemd/system/containerd.service; enabled; vendor preset: disabled)
   Active: active (running) since 日 2023-08-06 14:11:12 CST; 5s ago
     Docs: https://containerd.io
  Process: 20523 ExecStartPre=/sbin/modprobe overlay (code=exited, status=0/SUCCESS)
 Main PID: 20525 (containerd)
    Tasks: 13
   Memory: 26.1M
   CGroup: /system.slice/containerd.service
           └─20525 /usr/local/bin/containerd
           ......
2.2.8 复制ctr命令至系统
# ls usr/local/bin/
containerd  containerd-shim  containerd-shim-runc-v1  containerd-shim-runc-v2  containerd-stress  crictl  critest  ctd-decoder  ctr
# cp usr/local/bin/ctr /usr/bin/
2.2.9 查看已安装containerd服务版本
# ctr version
Client:
  Version:  v1.6.0
  Revision: 39259a8f35919a0d02c9ecc2871ddd6ccf6a7c6e
  Go version: go1.17.2

Server:
  Version:  v1.6.0
  Revision: 39259a8f35919a0d02c9ecc2871ddd6ccf6a7c6e
  UUID: c1972cbe-884a-41b0-867f-f8a58c168e6d
2.2.10 安装runC
由于二进制包中提供的runC默认需要系统中安装seccomp支持,需要单独安装,且不同版本runC对seccomp版本要求一致,所以建议单独下载runC 二进制包进行安装,里面包含了seccomp模块支持。
2.2.10.1 获取runC
使用wget下载
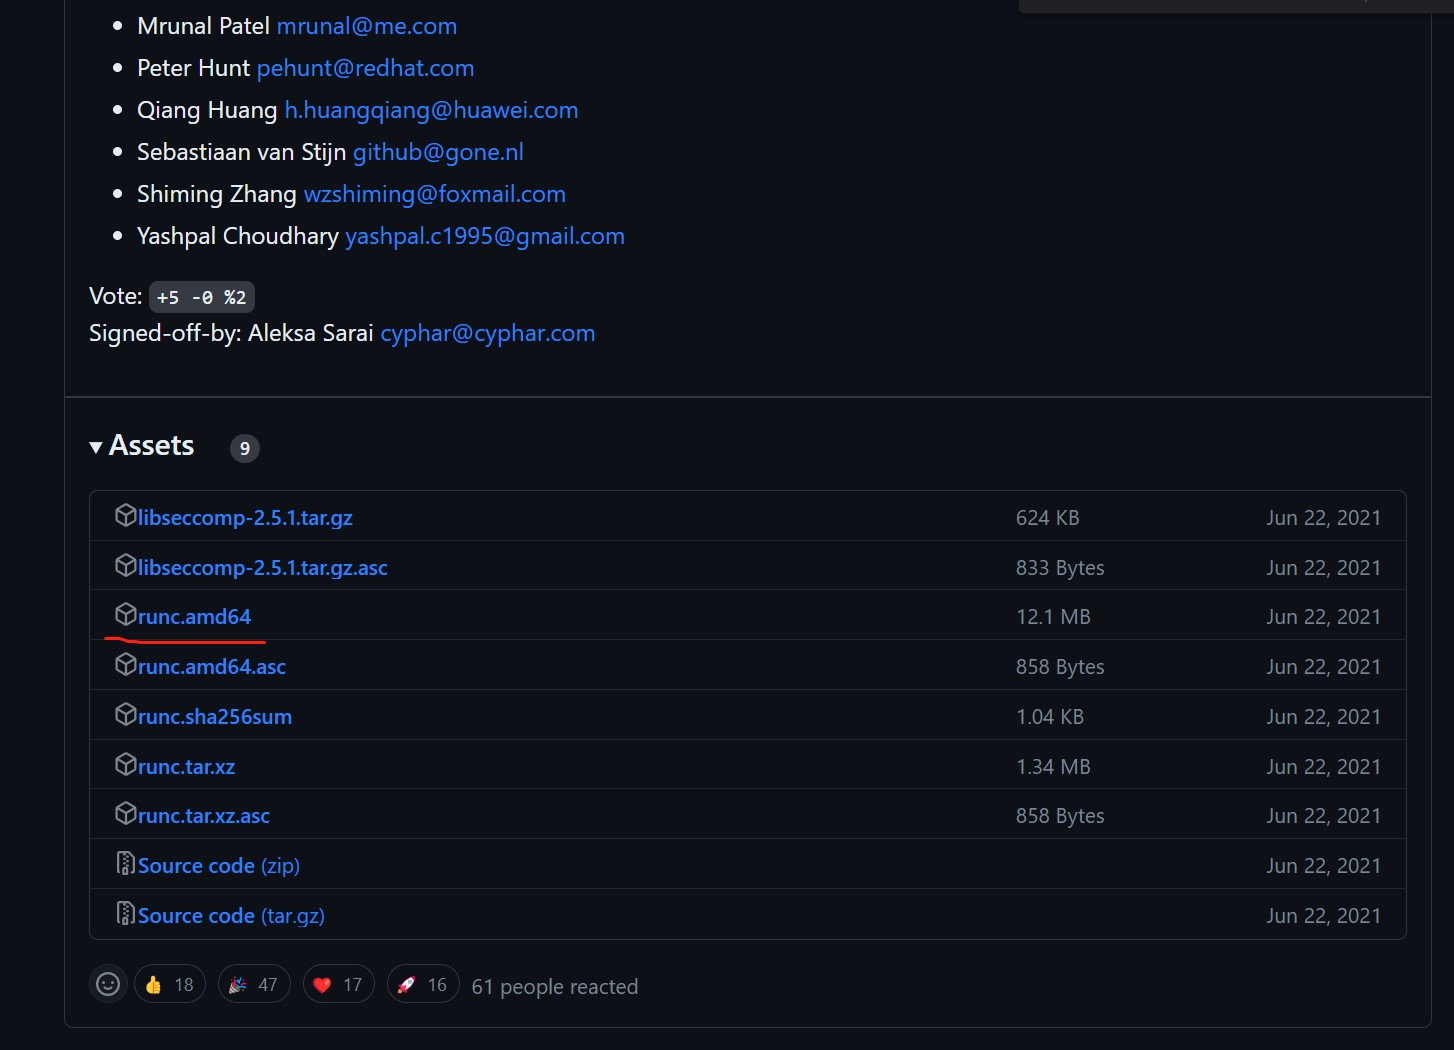
# wget https://github.com/opencontainers/runc/releases/download/v1.1.0/runc.amd64
2.2.10.2 安装runC并验证安装结果
查看已下载文件
# ls
runc.amd64
安装runC
# mv runc.amd64 /usr/sbin/runc
为runC添加可执行权限
# chmod +x /usr/sbin/runc
使用runc命令验证是否安装成功
# runc -v
runc version 1.1.0
commit: v1.1.0-0-g067aaf85
spec: 1.0.2-dev
go: go1.17.6
libseccomp: 2.5.3