常见人脸检测器, 调用摄像头检测人脸
文章目录
- 常见人脸检测器, 调用摄像头检测人脸
- @[TOC](文章目录)
- 前言
- 一、导入相关包
- 二、Haar检测器
- 三、Hog检测器
- 四、CNN检测器
- 五、SSD检测器
- 六、MTCNN检测器
- 七、Opencv结合检测器检测人脸
- 7.1 Hog 检测器
- 7.2 Haar检测器
文章目录
- 常见人脸检测器, 调用摄像头检测人脸
- @[TOC](文章目录)
- 前言
- 一、导入相关包
- 二、Haar检测器
- 三、Hog检测器
- 四、CNN检测器
- 五、SSD检测器
- 六、MTCNN检测器
- 七、Opencv结合检测器检测人脸
- 7.1 Hog 检测器
- 7.2 Haar检测器
前言
主要介绍几种常见的人脸检测器, 并结合 opencv 调用摄像头进行人脸的实时检测。
一、导入相关包
import cv2
import numpy as np
import matplotlib.pyplot as plt
import dlib
from mtcnn.mtcnn import MTCNN
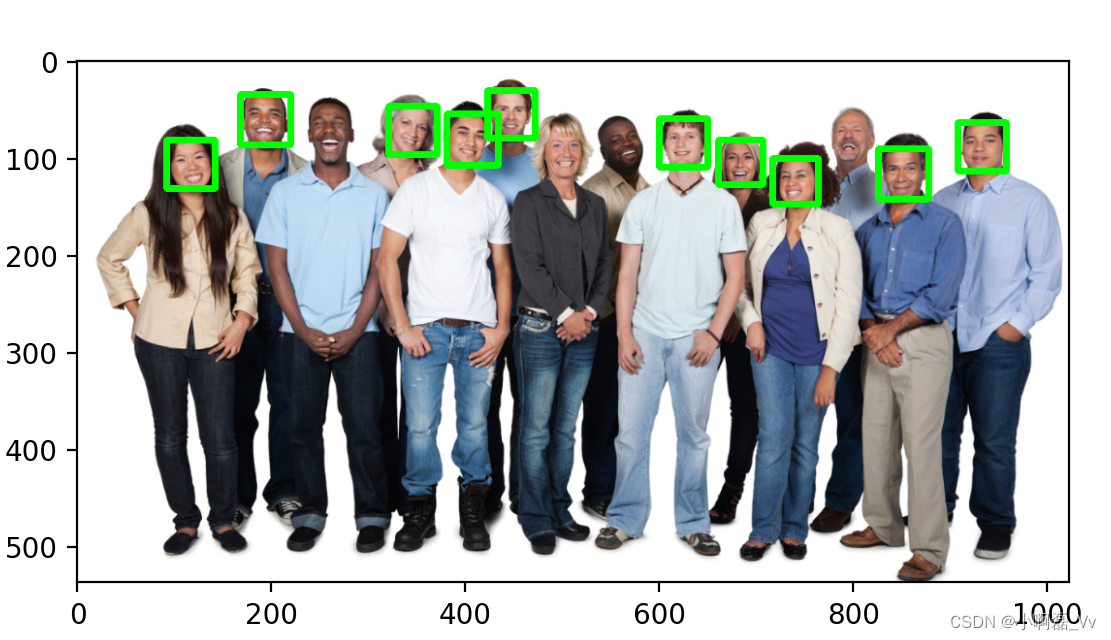
二、Haar检测器
- Haar 特征: 边缘特征检测 + 线状特征检测算法会计算比较实际特征与理想特征接近程度
- 计算黑色像素平均值
- 计算白色像素平均值
- 计算黑色, 白色像素平均值差值越接近1, 说明越可能找到这个特征
- 权重文件网上都能找到资源
img = cv2.imread('./images/faces2.jpg')

img_gray = cv2.cvtColor(img, cv2.COLOR_BGR2GRAY)

face_detector = cv2.CascadeClassifier('./weights/haarcascade_frontalface_default.xml')

# scaleFactor: 调整图片尺寸
# minNeighbors: 寻找人脸框的数量
# minSize: 最小人脸尺寸
# maxSize: 最大人脸尺寸
detections = face_detector.detectMultiScale(img_gray, scaleFactor=1.3, minNeighbors=7,
                                            minSize=(10, 10), maxSize=(100, 100))

for (x, y, w, h) in detections:

    # 绘制矩形框, 在 img 图上进行绘制
    cv2.rectangle(img, (x, y), (x+w, y+h), (0, 255, 0), 5)

plt.imshow(cv2.cvtColor(img, cv2.COLOR_BGR2RGB))
plt.show()
三、Hog检测器
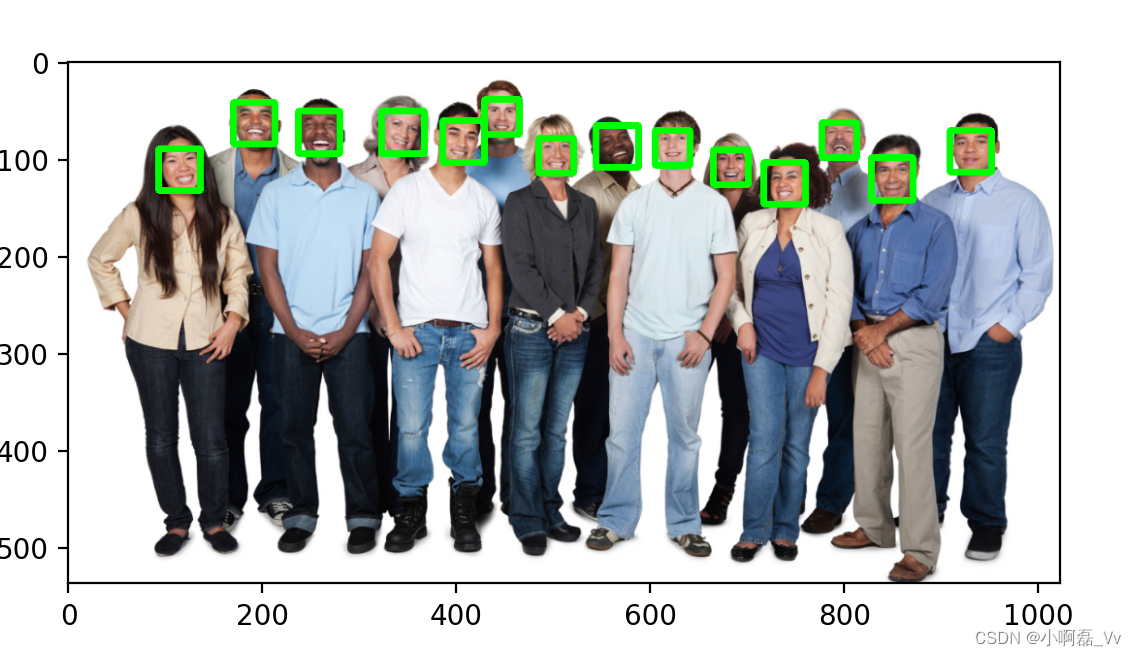
img = cv2.imread('./images/faces2.jpg')

# 构造 hog 检测器
hog_face_detector = dlib.get_frontal_face_detector()

# 检测人脸
# scale: 类似 haar 的 scaleFactor
detections = hog_face_detector(img, 1)

# 进行迭代, 解析 detections
for face in detections:
    x = face.left()
    y = face.top()
    r = face.right()
    b = face.bottom()
    cv2.rectangle(img, (x, y), (r, b), (0, 255, 0), 5)

plt.imshow(cv2.cvtColor(img, cv2.COLOR_BGR2RGB))
plt.show()
四、CNN检测器
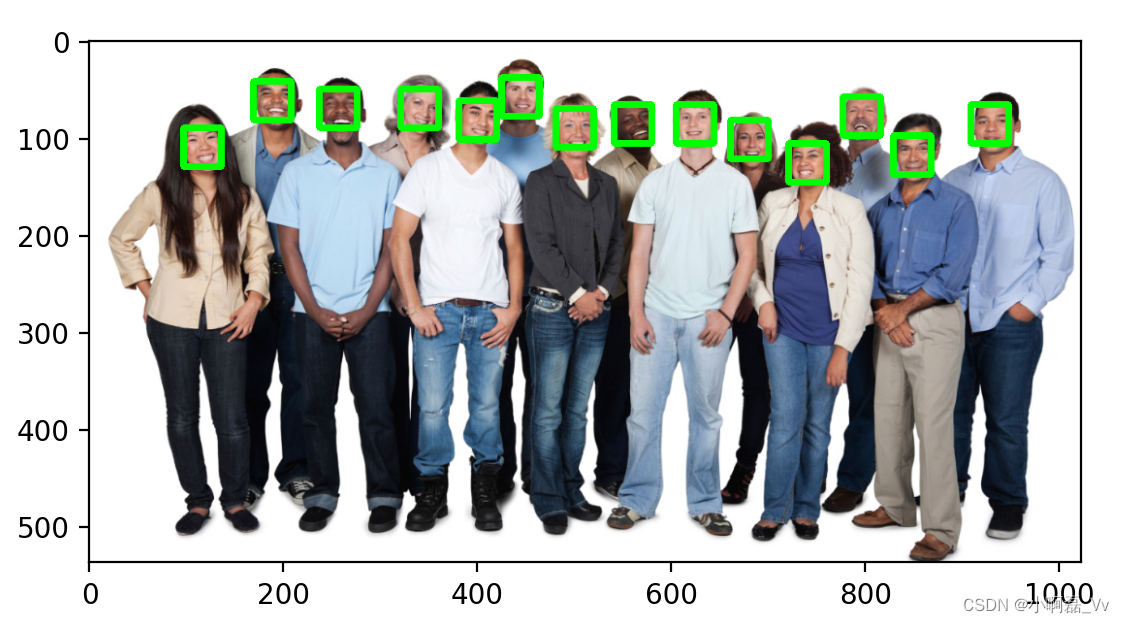
img = cv2.imread('./images/faces2.jpg')
cnn_face_detector = dlib.cnn_face_detection_model_v1('./weights/mmod_human_face_detector.dat')

# 检测人脸
detections = cnn_face_detector(img, 1)

# 解析 detections
for face in detections:
    x = face.rect.left()
    y = face.rect.top()
    r = face.rect.right()
    b = face.rect.bottom()

    # 置信度
    c = face.confidence

    cv2.rectangle(img, (x, y), (r, b), (0, 255, 0), 5)

plt.imshow(cv2.cvtColor(img, cv2.COLOR_BGR2RGB))
plt.show()
五、SSD检测器
img = cv2.imread('./images/faces2.jpg')

# 加载模型
face_detector = cv2.dnn.readNetFromCaffe('./weights/deploy.prototxt.txt',
                                         './weights/res10_300x300_ssd_iter_140000.caffemodel')
# 原图尺寸
img_height = img.shape[0]
img_width = img.shape[1]

# 缩放至模型输入尺寸
img_resize = cv2.resize(img, (500, 300))

# 图像转为Blob
img_blob = cv2.dnn.blobFromImage(img_resize, 1.0, (500, 300), (104.0, 177.0, 123.0))

# 输入
face_detector.setInput(img_blob)

# 推理
detections = face_detector.forward()

# 检测人脸数量
num_of_face = detections.shape[2]
print(num_of_face)                                  # 200
print(detections.shape[3])                          # 7
# 迭代遍历人脸数量
for index in range(num_of_face):

    # 置信度
    detection_confience = detections[0, 0, index, 2]

    # 挑选置信度
    if detection_confience > 0.15:
        # 位置
        locations = detections[0, 0, index, 3:7] * np.array([img_width, img_height, img_width, img_height])

        # 打印置信度
        print(str(round(detection_confience * 100, 2)) + '%')

        l, t, r, b = locations.astype('int')

        # 绘制矩形框
        cv2.rectangle(img, (l, t), (r, b), (0, 255, 0), 3)
# 绘制
plt.imshow(cv2.cvtColor(img, cv2.COLOR_BGR2RGB))
plt.show()

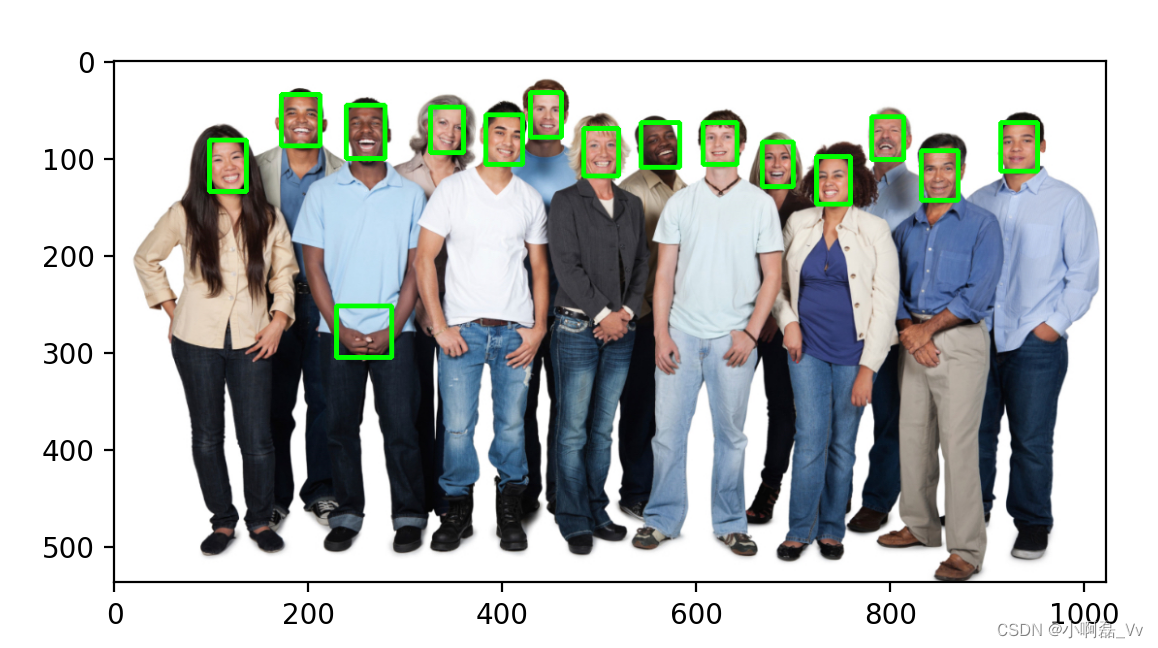
六、MTCNN检测器
- MTCNN 检测人脸, 传入图片是RGB顺序
img = cv2.imread('./images/faces2.jpg')

# MTCNN 需要RGB顺序
img_cvt = cv2.cvtColor(img, cv2.COLOR_BGR2RGB)

# 加载模型
face_detector = MTCNN()

# 检测人脸
detections = face_detector.detect_faces(img_cvt)

# 解析
for face in detections:
    (x, y, w, h) = face['box']
    cv2.rectangle(img_cvt, (x, y), (x+w, y+h), (0, 255, 0), 3)

plt.imshow(img_cvt)
plt.show()
七、Opencv结合检测器检测人脸
- 给出两种检测人脸器+获取摄像头画面,可以检测出人脸
- 参数需要自己调,效果会更好点
7.1 Hog 检测器
cap = cv2.VideoCapture(0)

hog_face_detector = dlib.get_frontal_face_detector()


while True:

    rec, frame = cap.read()

    frame = cv2.flip(frame, 1)

    detections = hog_face_detector(frame, 1)

    for face in detections:
        x = face.left()
        y = face.top()
        r = face.right()
        b = face.bottom()
        cv2.rectangle(frame, (x, y), (r, b), (0, 255, 0), 5)

    cv2.imshow('face', frame)

    if cv2.waitKey(10) & 0xFF == 27:
        break

cap.release()
cv2.destroyAllWindows()
7.2 Haar检测器
cap = cv2.VideoCapture(0)

face_detector = cv2.CascadeClassifier('./weights/haarcascade_frontalface_default.xml')

while True:

    rec, frame = cap.read()

    frame = cv2.flip(frame, 1)

    gray = cv2.cvtColor(frame, cv2.COLOR_BGR2GRAY)

    # 添加 minNeighbors 会降低误检率
    detections = face_detector.detectMultiScale(gray, minNeighbors=7)

    for (x, y, w, h) in detections:

        cv2.rectangle(frame, (x, y), (x+w, y+h), (0, 255, 0), 3)

    cv2.imshow('face', frame)

    if cv2.waitKey(10) & 0xFF == 27:
        break

cap.release()
cv2.destroyAllWindows()


