1.获取rpm包
wget -c https://mirrors.aliyun.com/zabbix/zabbix/4.0/rhel/7/x86_64/zabbix-release-4.0-2.el7.noarch.rpm2.安装
yum install zabbix-release-4.0-2.el7.noarch.rpm -y3.关防火墙和selinux
4.下载数据库
yum install mariadb -y5.启动数据库设置密码
systemctl start mariadb.service

mysql_secure_installation
6.登录数据库添加用户zabbix并设置密码
[root@localhost ~]# mysql -uroot -p'123456'
MariaDB [(none)]>  grant all on zabbix.* to zabbix@localhost identified by 'zabbix@123';
7.将server的数据全部导入
zcat /usr/share/doc/zabbix-server-mysql*/create.sql.gz | mysql -uzabbix -zabbixg@123 zabbix8.配置zabbix.conf(zabbix_server.conf)文件
vim /etc/zabbix/zabbix.conf
修改下面几行
DBHost=localhost
DBName=zabbix
DBUser=zabbix
DBPassword=zabbix@123
DBPort=3306
9.启动zabbix和httpd
systemctl start zabbix-server
systemctl start httpd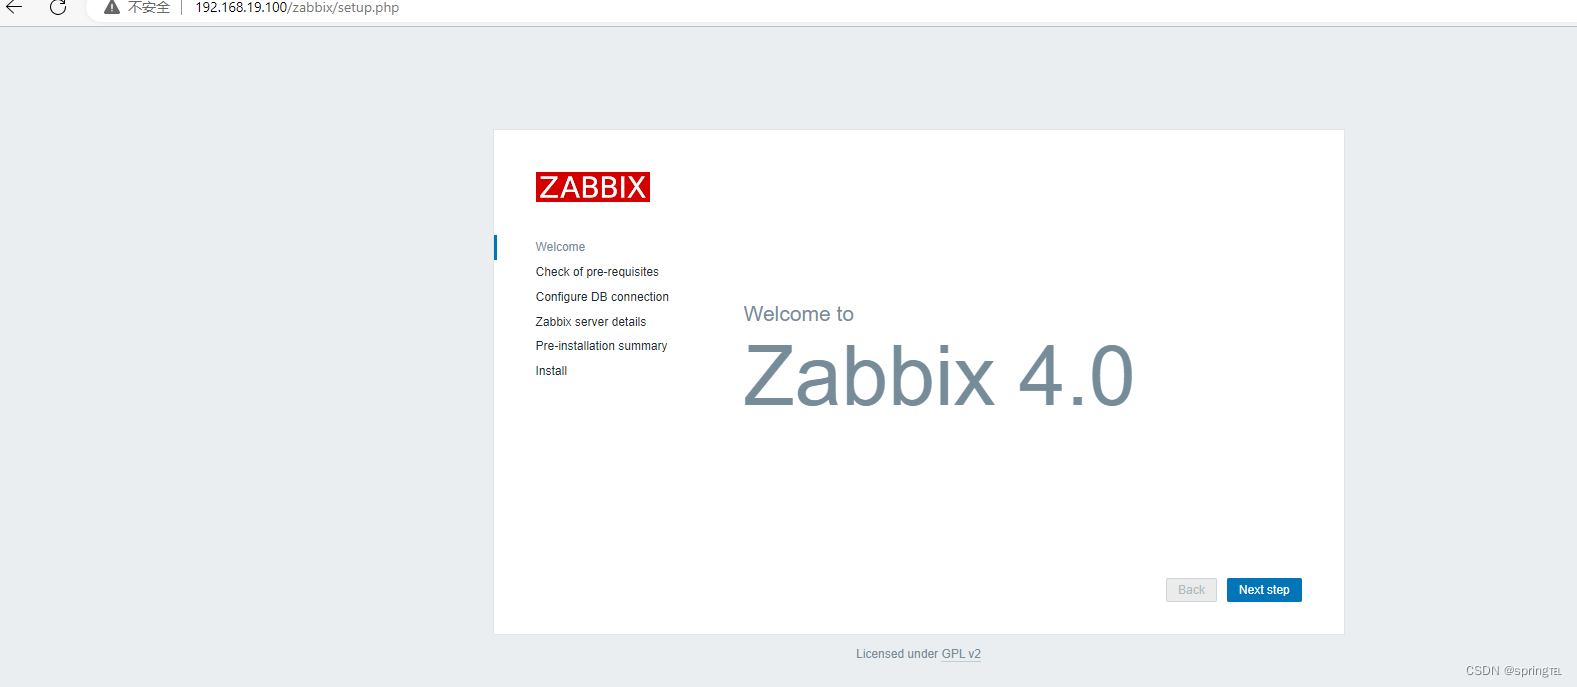
10.改时区
vim /etc/httpd/conf.d/zabbix.conf
       php_value date.timezone Asia/Shanghai
11.启动php-fpm
yum install php-fpm -y
systemctl start php-fpm.service
12.设置密码
[root@localhost ~]# vim /usr/share/zabbix/conf/zabbix.conf.php.example
$DB['PASSWORD']                 = 'zabbix@123';
13.zabbix网站登录
默认账户名:Admin
密码:zabbix
14.搭建完成

