1. 前言
因为工作中要使用Android Camera2 API,但因为Camera2比较复杂,网上资料也比较乱,有一定入门门槛,所以花了几天时间系统研究了下,并在CSDN上记录了下,希望能帮助到更多的小伙伴。
上篇文章 我们使用Camera2实现了相机预览的功能,这篇文章我们接着上文,来实现Camera2相机拍照的功能。
2. 前置操作
2.1 声明相机参数和成员变量
首先还是声明相机参数和成员变量,比起前文增加了这些
private lateinit var imageReader: ImageReader
//JPEG格式,所有相机必须支持JPEG输出,因此不需要检查
private val pixelFormat = ImageFormat.JPEG
//imageReader最大的图片缓存数
private val IMAGE_BUFFER_SIZE: Int = 3
//线程池
private val threadPool = Executors.newCachedThreadPool()
private val imageReaderThread = HandlerThread("imageReaderThread").apply { start() }
private val imageReaderHandler = Handler(imageReaderThread.looper)
完整的需要声明的相机参数和成员变量如下
//后摄 : 0 ,前摄 : 1
private val cameraId = "0"
private val TAG = CameraActivity::class.java.simpleName
private lateinit var cameraDevice: CameraDevice
private val cameraThread = HandlerThread("CameraThread").apply { start() }
private val cameraHandler = Handler(cameraThread.looper)
private val cameraManager: CameraManager by lazy {
    getSystemService(Context.CAMERA_SERVICE) as CameraManager
}
private val characteristics: CameraCharacteristics by lazy {
    cameraManager.getCameraCharacteristics(cameraId)
}
private lateinit var session: CameraCaptureSession

private lateinit var imageReader: ImageReader
//JPEG格式,所有相机必须支持JPEG输出,因此不需要检查
private val pixelFormat = ImageFormat.JPEG
//imageReader最大的图片缓存数
private val IMAGE_BUFFER_SIZE: Int = 3
//线程池
private val threadPool = Executors.newCachedThreadPool()
private val imageReaderThread = HandlerThread("imageReaderThread").apply { start() }
private val imageReaderHandler = Handler(imageReaderThread.looper)
2.2 初始化imageReader
我们需要在合适的时机去初始化imageReader
这里我们把它放到startPreview中
private fun startPreview() {
    // Initialize an image reader which will be used to capture still photos
    val size = characteristics.get(
        CameraCharacteristics.SCALER_STREAM_CONFIGURATION_MAP
    )!!.getOutputSizes(pixelFormat).maxByOrNull { it.height * it.width }!!

    imageReader = ImageReader.newInstance(
        size.width, size.height, pixelFormat, IMAGE_BUFFER_SIZE
    )

	//...原本的代码...
}
2.3 将imageReader关联到Session
首先我们要在startPreview()方法里面,修改targets
原本的targets,只传入了binding.surfaceView.holder.surface
val targets = listOf(binding.surfaceView.holder.surface)
现在要多传入一个imageReader.surface
val targets = listOf(binding.surfaceView.holder.surface,imageReader.surface)
完整代码如下
private fun startPreview() {
	fitSize = characteristics.get(
	    CameraCharacteristics.SCALER_STREAM_CONFIGURATION_MAP
	)!!.getOutputSizes(pixelFormat).maxByOrNull { it.height * it.width }!!

	imageReader = ImageReader.newInstance(
	    fitSize.width, fitSize.height, pixelFormat, IMAGE_BUFFER_SIZE
	)
	val targets = listOf(binding.surfaceView.holder.surface,imageReader.surface)
	cameraDevice.createCaptureSession(targets, object : CameraCaptureSession.StateCallback() {
        override fun onConfigured(session: CameraCaptureSession) {
            this@CameraActivity2.session = session

            val captureRequest = cameraDevice.createCaptureRequest(
                CameraDevice.TEMPLATE_PREVIEW
            ).apply { addTarget(binding.surfaceView.holder.surface) }

            //这将不断地实时发送视频流,直到会话断开或调用session.stoprepeat()
            session.setRepeatingRequest(captureRequest.build(), null, cameraHandler)
        }

        override fun onConfigureFailed(session: CameraCaptureSession) {
            Toast.makeText(application, "session configuration failed", Toast.LENGTH_SHORT)
                .show()
        }
    }, cameraHandler)
}
3. 实现拍照功能
3.1 清空imageReader
首先需要清空imageReader,防止imageReader里还有缓存
// Flush any images left in the image reader
 while (imageReader.acquireNextImage() != null) {
 }
3.2 设置OnImageAvailableListener监听
然后创建一个新的队列Queue,调用setOnImageAvailableListener注册一个监听器,在ImageReader中有新图像可用时调用。
//Start a new image queue
val imageQueue = ArrayBlockingQueue<Image>(IMAGE_BUFFER_SIZE)
给imageReader设置一个OnImageAvailableListener监听
setOnImageAvailableListener一共有两个参数,第一个参数是OnImageAvailableListener接口,第二个参数是Handler,这里我们传入imageReaderHandler即可。
OnImageAvailableListener监听里,会去获取imageReader的下一个image,并添加到imageQueue
imageReader.setOnImageAvailableListener({ reader ->
     val image = reader.acquireNextImage()
     Log.d(TAG, "Image available in queue: ${image.timestamp}")
     imageQueue.add(image)
 }, imageReaderHandler)
3.3 创建CaptureRequest.Builder
接着,通过session.device.createCaptureRequest创建CaptureRequest.Builder
val captureRequest = session.device.createCaptureRequest(
        CameraDevice.TEMPLATE_STILL_CAPTURE
    ).apply { addTarget(imageReader.surface) }
3.4 调用调用session.capture()执行拍照
然后调用session.capture()来进行拍照,需要传入captureRequest、CameraCaptureSession.CaptureCallback回调和Handler
session.capture(captureRequest.build(),
   object : CameraCaptureSession.CaptureCallback() {
       override fun onCaptureCompleted(
           session: CameraCaptureSession,
           request: CaptureRequest,
           result: TotalCaptureResult
       ) {
           super.onCaptureCompleted(session, request, result)
           //待实现
       }
   },
   cameraHandler
)
3.5 拍照回调处理
当onCaptureCompleted调用后,会调用异步线程,然后从imageQueue中取出image,并把setOnImageAvailableListener监听设为null
然后调用saveResult方法,将图片保存到本地存储中。
threadPool.execute {
    val image = imageQueue.take()
    imageReader.setOnImageAvailableListener(null, null)
    val file = saveImage(image)
    if (file.exists()) {
        runOnUiThread {
            Toast.makeText(application, "拍照成功", Toast.LENGTH_SHORT).show()
        }
    }
}
3.6 将图片保存到本地
来看下saveImage方法
首先会判断是否是JPEG 格式,如果是JPEG格式,那就简单地保存bytes即可
如果不是JPEG格式,本文就略过未实现了,有需要的小伙伴可以去看下官方Demo。
private fun saveImage(image: Image): File {
    when (image.format) {
        //当format是JPEG或PEPTH JPEG时,我们可以简单地保存bytes
        ImageFormat.JPEG, ImageFormat.DEPTH_JPEG -> {
            val buffer = image.planes[0].buffer
            val bytes = ByteArray(buffer.remaining()).apply { buffer.get(this) }
            try {
                val output = createFile(this@CameraActivity2, "jpg")
                FileOutputStream(output).use { it.write(bytes) }
                return output
            } catch (exc: IOException) {
                Log.e(TAG, "Unable to write JPEG image to file", exc)
                throw exc
            }
        }
        //本示例未实现其他格式
        else -> {
            val exc = RuntimeException("Unknown image format: ${image.format}")
            throw exc
        }
    }
}
这里的createFile用来获取一个文件路径
fun createFile(context: Context, extension: String): File {
    val sdf = SimpleDateFormat("yyyy_MM_dd_HH_mm_ss_SSS", Locale.US)
    val imageDir = context.getExternalFilesDir("image")
    return File(imageDir, "IMG_${sdf.format(Date())}.$extension")
}
3.7 拍照部分完整代码
再来看一下拍照部分完整的代码
binding.btnTakePicture.setOnClickListener {
	// Flush any images left in the image reader
	@Suppress("ControlFlowWithEmptyBody")
	while (imageReader.acquireNextImage() != null) {
	}

	// Start a new image queue
	val imageQueue = ArrayBlockingQueue<Image>(IMAGE_BUFFER_SIZE)
	imageReader.setOnImageAvailableListener({ reader ->
	    val image = reader.acquireNextImage()
	    Log.d(TAG, "Image available in queue: ${image.timestamp}")
	    imageQueue.add(image)
	}, imageReaderHandler)

	val captureRequest = session.device.createCaptureRequest(
	    CameraDevice.TEMPLATE_STILL_CAPTURE
	).apply { addTarget(imageReader.surface) }
	session.capture(
	    captureRequest.build(),
	    object : CameraCaptureSession.CaptureCallback() {
	        override fun onCaptureCompleted(
	            session: CameraCaptureSession,
	            request: CaptureRequest,
	            result: TotalCaptureResult
	        ) {
	            super.onCaptureCompleted(session, request, result)

	            threadPool.execute {
	                val image = imageQueue.take()
	                imageReader.setOnImageAvailableListener(null, null)
	                val file = saveImage(image)
	                if (file.exists()) {
	                    runOnUiThread {
	                        Toast.makeText(application, "拍照成功", Toast.LENGTH_SHORT).show()
	                    }
	                }
	            }
	        }
	    },
	    cameraHandler
	)
}

private fun saveImage(image: Image): File {
    when (image.format) {
        //当format是JPEG或PEPTH JPEG时,我们可以简单地保存bytes
        ImageFormat.JPEG, ImageFormat.DEPTH_JPEG -> {
            val buffer = image.planes[0].buffer
            val bytes = ByteArray(buffer.remaining()).apply { buffer.get(this) }
            try {
                val output = createFile(this@CameraActivity2, "jpg")
                FileOutputStream(output).use { it.write(bytes) }
                return output
            } catch (exc: IOException) {
                Log.e(TAG, "Unable to write JPEG image to file", exc)
                throw exc
            }
        }
        //本示例未实现其他格式
        else -> {
            val exc = RuntimeException("Unknown image format: ${image.format}")
            throw exc
        }
    }
}

fun createFile(context: Context, extension: String): File {
    val sdf = SimpleDateFormat("yyyy_MM_dd_HH_mm_ss_SSS", Locale.US)
    val imageDir = context.getExternalFilesDir("image")
    return File(imageDir, "IMG_${sdf.format(Date())}.$extension")
}
我们运行程序,点击按钮拍照,可以发现提示拍照成功

我们打开文件管理器,在/sdcard/Android/data/包名/files/image文件夹下,可以看到这张图片
但是我们发现这张照片的方向是不对的

4. 修正图片方向
我们可以看到之前拍摄的图片,方向是不对的,所以需要对图片的方向进行修正
首先添加OrientationLiveData这个LiveData类
import android.content.Context
import android.hardware.camera2.CameraCharacteristics
import android.view.OrientationEventListener
import android.view.Surface
import androidx.lifecycle.LiveData


/**
 * Calculates closest 90-degree orientation to compensate for the device
 * rotation relative to sensor orientation, i.e., allows user to see camera
 * frames with the expected orientation.
 */
class OrientationLiveData(
        context: Context,
        characteristics: CameraCharacteristics
): LiveData<Int>() {

    private val listener = object : OrientationEventListener(context.applicationContext) {
        override fun onOrientationChanged(orientation: Int) {
            val rotation = when {
                orientation <= 45 -> Surface.ROTATION_0
                orientation <= 135 -> Surface.ROTATION_90
                orientation <= 225 -> Surface.ROTATION_180
                orientation <= 315 -> Surface.ROTATION_270
                else -> Surface.ROTATION_0
            }
            val relative = computeRelativeRotation(characteristics, rotation)
            if (relative != value) postValue(relative)
        }
    }

    override fun onActive() {
        super.onActive()
        listener.enable()
    }

    override fun onInactive() {
        super.onInactive()
        listener.disable()
    }

    companion object {

        /**
         * Computes rotation required to transform from the camera sensor orientation to the
         * device's current orientation in degrees.
         *
         * @param characteristics the [CameraCharacteristics] to query for the sensor orientation.
         * @param surfaceRotation the current device orientation as a Surface constant
         * @return the relative rotation from the camera sensor to the current device orientation.
         */
        @JvmStatic
        private fun computeRelativeRotation(
                characteristics: CameraCharacteristics,
                surfaceRotation: Int
        ): Int {
            val sensorOrientationDegrees =
                    characteristics.get(CameraCharacteristics.SENSOR_ORIENTATION)!!

            val deviceOrientationDegrees = when (surfaceRotation) {
                Surface.ROTATION_0 -> 0
                Surface.ROTATION_90 -> 90
                Surface.ROTATION_180 -> 180
                Surface.ROTATION_270 -> 270
                else -> 0
            }

            // Reverse device orientation for front-facing cameras
            val sign = if (characteristics.get(CameraCharacteristics.LENS_FACING) ==
                    CameraCharacteristics.LENS_FACING_FRONT) 1 else -1

            // Calculate desired JPEG orientation relative to camera orientation to make
            // the image upright relative to the device orientation
            return (sensorOrientationDegrees - (deviceOrientationDegrees * sign) + 360) % 360
        }
    }
}
在Activity中声明relativeOrientation,并注册观察者Observer,当方向改变会通知。
// Used to rotate the output media to match device orientation
relativeOrientation = OrientationLiveData(this, characteristics).apply {
    observe(this@CameraActivity2, Observer { orientation ->
        Log.d(TAG, "Orientation changed: $orientation")
    })
}
接着在onCaptureCompleted回调里,saveImage之后,添加如下代码来修改图片的方向
// Compute EXIF orientation metadata
val rotation = relativeOrientation.value ?: 0
val mirrored = characteristics.get(CameraCharacteristics.LENS_FACING) ==
        CameraCharacteristics.LENS_FACING_FRONT
val exifOrientation = computeExifOrientation(rotation, mirrored)

val exif = ExifInterface(file.absolutePath)
exif.setAttribute(
    ExifInterface.TAG_ORIENTATION, exifOrientation.toString()
)
exif.saveAttributes()
/** Transforms rotation and mirroring information into one of the [ExifInterface] constants */
fun computeExifOrientation(rotationDegrees: Int, mirrored: Boolean) = when {
    rotationDegrees == 0 && !mirrored -> ExifInterface.ORIENTATION_NORMAL
    rotationDegrees == 0 && mirrored -> ExifInterface.ORIENTATION_FLIP_HORIZONTAL
    rotationDegrees == 180 && !mirrored -> ExifInterface.ORIENTATION_ROTATE_180
    rotationDegrees == 180 && mirrored -> ExifInterface.ORIENTATION_FLIP_VERTICAL
    rotationDegrees == 270 && mirrored -> ExifInterface.ORIENTATION_TRANSVERSE
    rotationDegrees == 90 && !mirrored -> ExifInterface.ORIENTATION_ROTATE_90
    rotationDegrees == 90 && mirrored -> ExifInterface.ORIENTATION_TRANSPOSE
    rotationDegrees == 270 && mirrored -> ExifInterface.ORIENTATION_ROTATE_270
    rotationDegrees == 270 && !mirrored -> ExifInterface.ORIENTATION_TRANSVERSE
    else -> ExifInterface.ORIENTATION_UNDEFINED
}
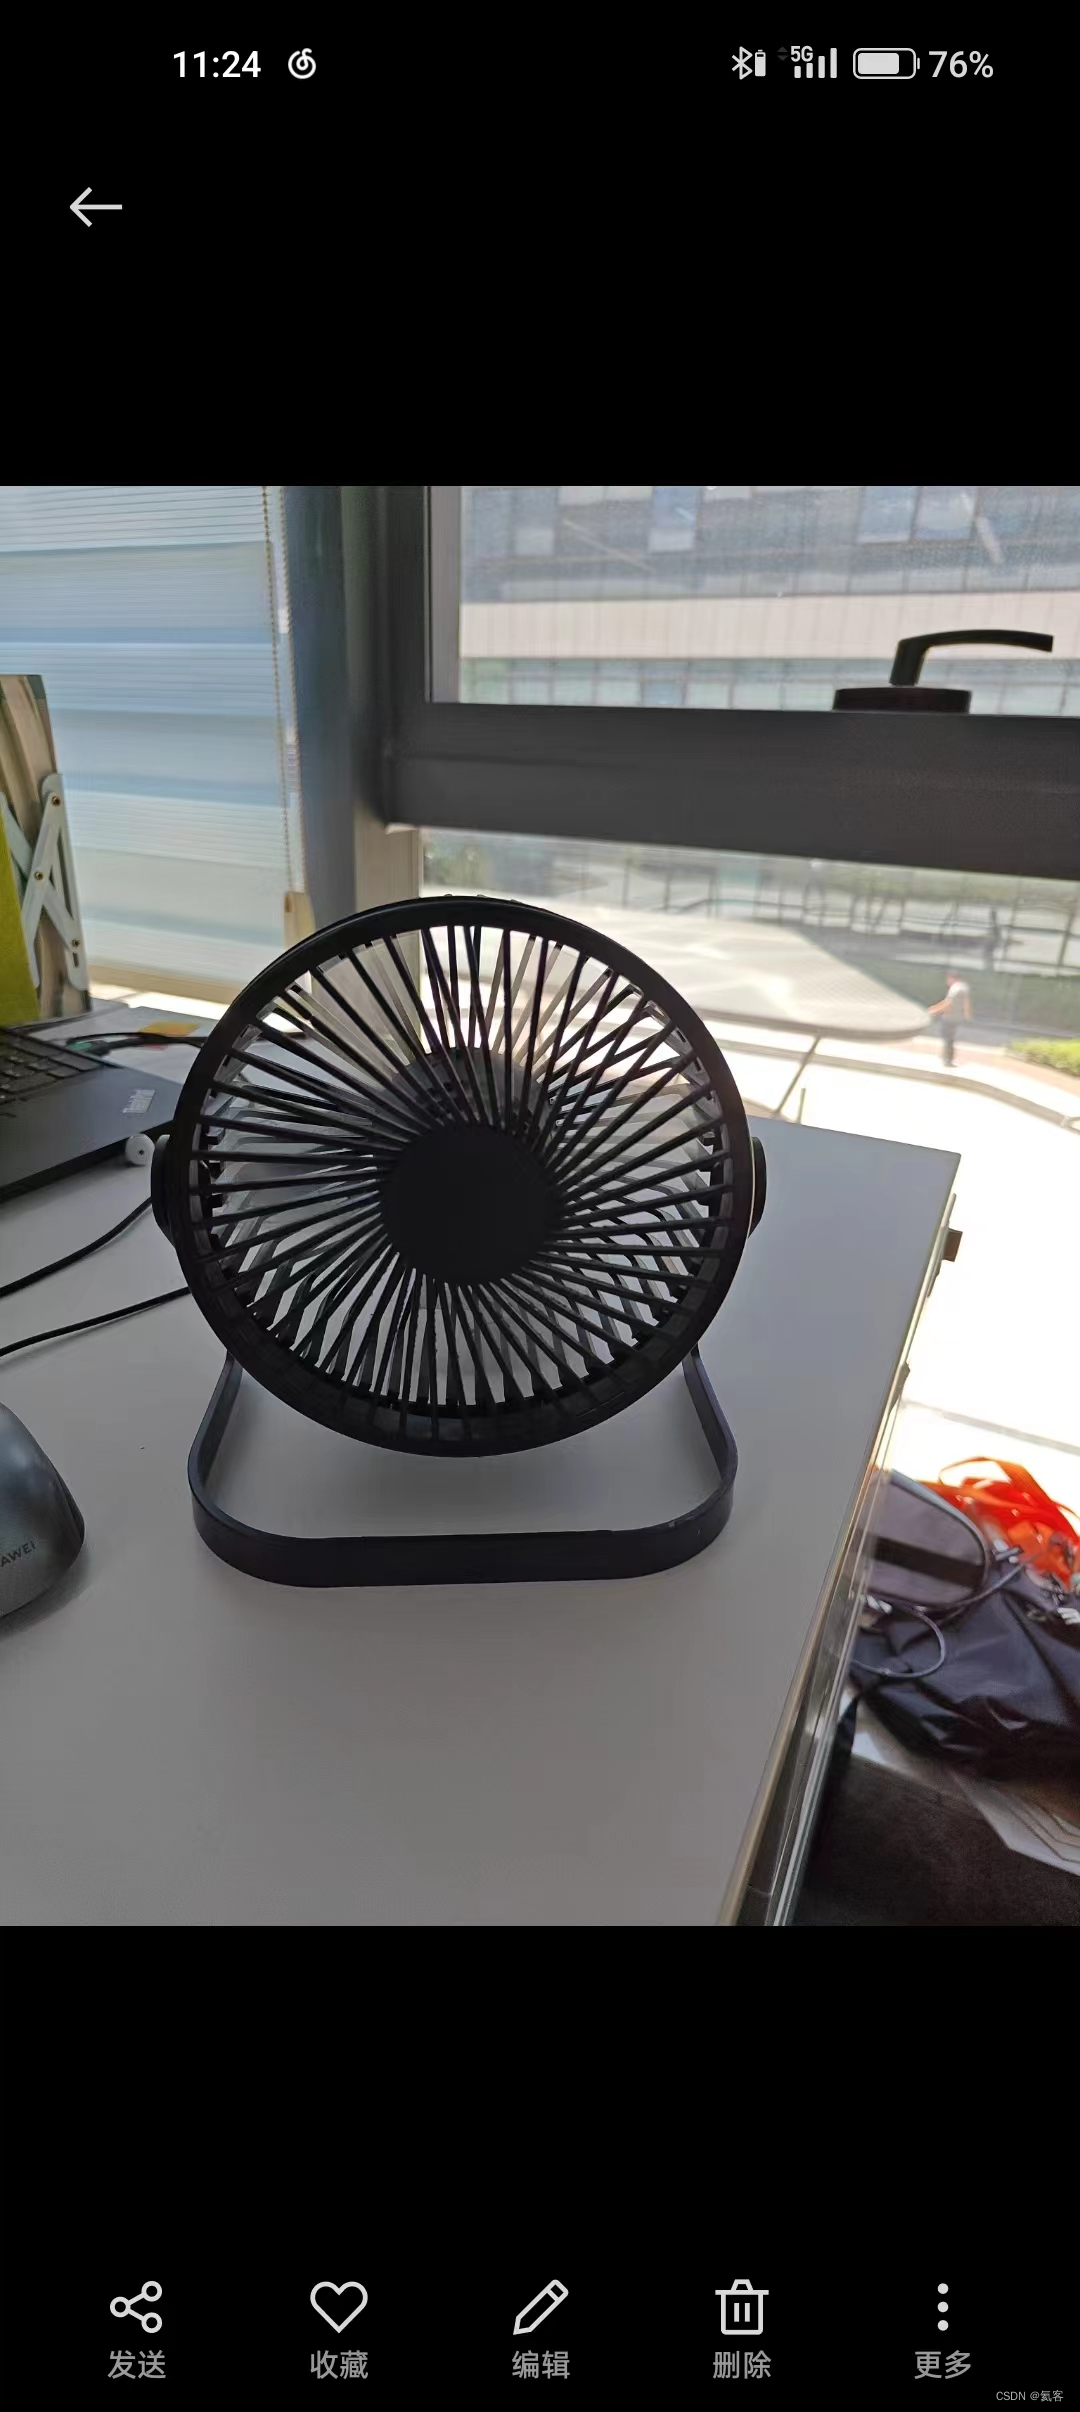
再来运行程序,看到图片的方向就正常了
5. 销毁相机
当Activity销毁的时候,我们也要去销毁相机,比起上篇文章,多了个imageRecorder的销毁
override fun onStop() {
    super.onStop()
    try {
        cameraDevice.close()
    } catch (exc: Throwable) {
        Log.e(TAG, "Error closing camera", exc)
    }
}

override fun onDestroy() {
    super.onDestroy()
    cameraThread.quitSafely()
    imageReaderThread.quitSafely()
}
至此我们就用Camera2完成相机拍照功能了。
6. 其他
6.1 本文源码下载
下载地址 : Android Camera2 Demo - 实现相机预览、拍照、录制视频功能
6.2 Android Camera2 系列
更多Camera2相关文章,请看
十分钟实现 Android Camera2 相机预览_氦客的博客-CSDN博客
十分钟实现 Android Camera2 相机拍照_氦客的博客-CSDN博客
十分钟实现 Android Camera2 视频录制_氦客的博客-CSDN博客
6.3 Android 相机相关文章
Android 使用CameraX实现预览/拍照/录制视频/图片分析/对焦/缩放/切换摄像头等操作_氦客的博客-CSDN博客
Android 从零开发一个简易的相机App_android开发简易app_氦客的博客-CSDN博客
