使用Hystrix之前,需要先对SpringCloud有所了解,然后才会使用的顺畅,它是我们SpringCould的一种保护机制,非常好用。
下面直接开始
先导入Hystrix所需要的依赖
<!-- 引入openfiegn-->
<dependency>
<groupId>org.springframework.cloud</groupId>
<artifactId>spring-cloud-starter-openfeign</artifactId>
</dependency>
<!--子项目添加依赖-->
<dependency>
<groupId>com.alibaba.cloud</groupId>
<artifactId>spring-cloud-starter-alibaba-nacos-discovery</artifactId>
</dependency>
<dependency>
<groupId>com.alibaba.cloud</groupId>
<artifactId>spring-cloud-starter-alibaba-nacos-config</artifactId>
</dependency>
<dependency>
<groupId>org.springframework.cloud</groupId>
<artifactId>spring-cloud-starter-netflix-hystrix</artifactId>
</dependency>
配置类的编写
server:
port: 8038
servlet:
context-path: /hystrix
spring:
application:
name: hystrix
cloud:
nacos:
discovery:
server-addr: http://localhost:8848
启动类上面需要加上对应的注解开启Hystrix

@SpringBootApplication
@EnableFeignClients
@EnableCircuitBreaker //启动Hystrix
public class HystrixApplication {

    public static void main(String[] args) {
        SpringApplication.run(HystrixApplication.class, args);
    }


    @Bean
    @LoadBalanced
    public RestTemplate restTemplate(RestTemplateBuilder builder){
        RestTemplate restTemplate=builder.build();
        return  restTemplate;
    }


}
最后是controller接口的编写,首先写上@HystrixCommand注解,里面写上如果异常就去的方法,然后再故意弄一个错误(int a = 4/0;),让他异常,去调用指定的方法

@RestController
@RefreshScope
public class HystrixController {

    @Resource
    ProviderService providerService;
    @HystrixCommand(fallbackMethod = "forbackFindUserById")
    @GetMapping("/getRemoteHello")
    public String hello() {
        System.out.println("下单成功我是8038端口我要去连接8060端口");
        String forObject =providerService.hello();//这是第二种  使用feign种方式
        int a = 4/0;//故意弄一个错误
        System.out.println("通信成功"+forObject);
        return "使用hystrix不成功"+forObject;
    }

    public String forbackFindUserById(){
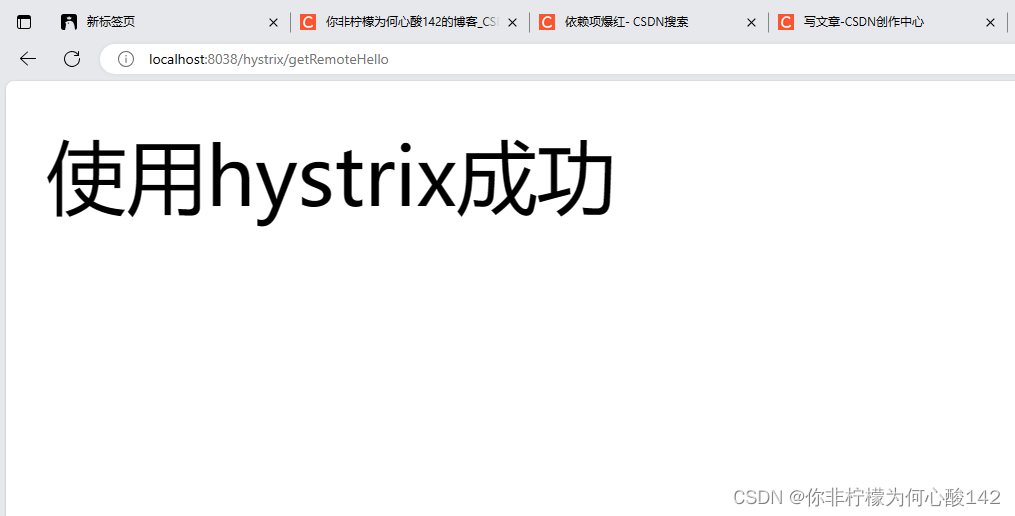
        System.out.println("使用hystrix成功");
        return  "使用hystrix成功";
    }


}
使用feign的接口如下

整体项目结构如下,

测试效果如下,就代表成功了,希望能帮助各位小伙伴,
总结,只需要四步走
第一步导入依赖,
第二步启动类上面添加@EnableCircuitBreaker注解,
第三步使用@HystrixCommand注解并且定义异常时调用的方法,
第四步,定义方法即可,
