一、Ceph集群搭建和CephFS创建
参考上期文章
Centos stream 8 使用 cephadm 安装 Ceph (17.2.6 quincy)集群_阿波罗.2012的博客-CSDN博客
二、将CephFS挂载到Windows Server 2019下
1、准备Dokany
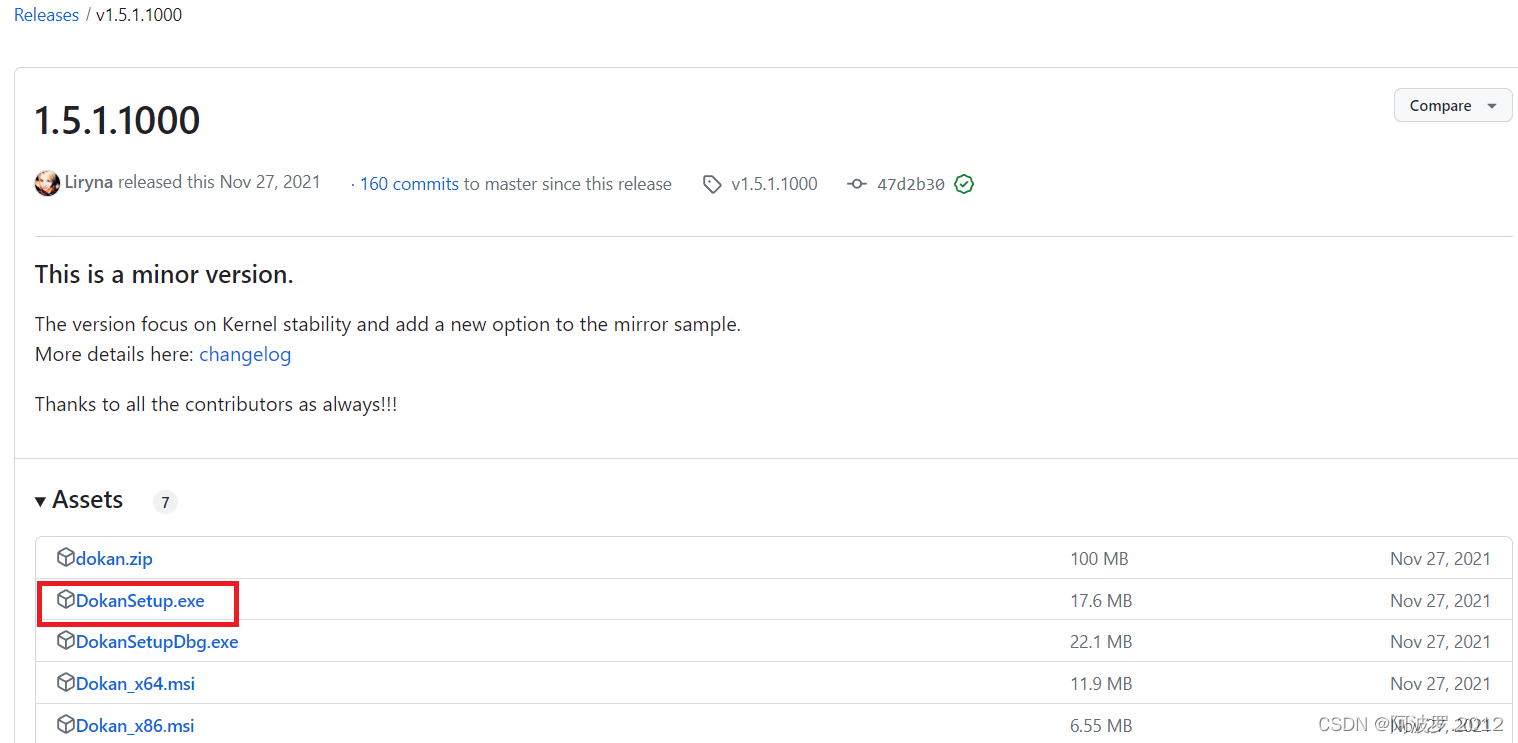
下载地址:Release 1.5.1.1000 · dokan-dev/dokany · GitHub
下载1.5.1版本。最新的2.0版本在挂载时会出现一个异常,不知是何原因。
2、下载Ceph for Windows
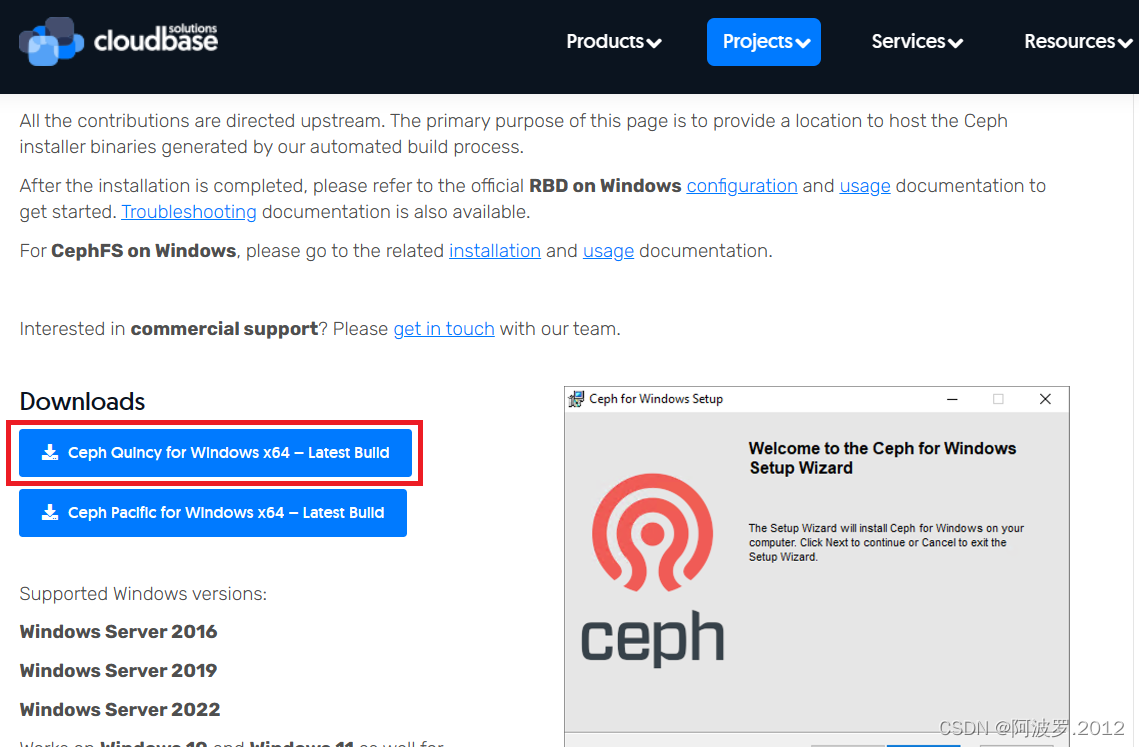
Ceph for Windows MSI安装程序下载地址:Ceph for Windows - Cloudbase Solutions
下载对应的Q版
3、先安装Dokany,再安装Ceph for Windows MSI按提示完成即可。
4、 配置
a、将ceph集群上的ceph.client.admin.keyring文件(该文件通常在/etc/ceph/目录下)拷贝到C:\ProgramData\Ceph文件夹下。
b、在C:\ProgramData\Ceph目录下创建ceph.conf文件,mon host改成ceph节点的地址,内容如下:
# minimal ceph.conf for 9621bcc6-fc83-11ed-9be2-0050568b3a3f

[global]
    log to stderr = true
    ; Uncomment the following in order to use the Windows Event Log
    ; log to syslog = true

    run dir = C:/ProgramData/ceph/out
    crash dir = C:/ProgramData/ceph/out

    ; Use the following to change the cephfs client log level
    ; debug client = 2
[client]
    keyring = C:/ProgramData/ceph/ceph.client.admin.keyring
    ; log file = C:/ProgramData/ceph/out/$name.$pid.log
    admin socket = C:/ProgramData/ceph/out/$name.$pid.asok

   #client_permissions = true
    ;client_mount_uid = 1000
    ;client_mount_gid = 1000
[global]
    mon host = 10.0.49.120,10.0.49.121,10.0.49.122
5、挂载文件系统
C:\Users\Administrator>ceph-dokan.exe -c  c:\ProgramData\Ceph\ceph.conf -l x
2023-06-07T17:01:07.582中国标准时间 1 0 ceph-dokan: Mounted cephfs directory: /. Mountpoint: x 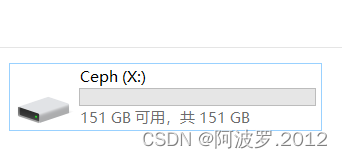
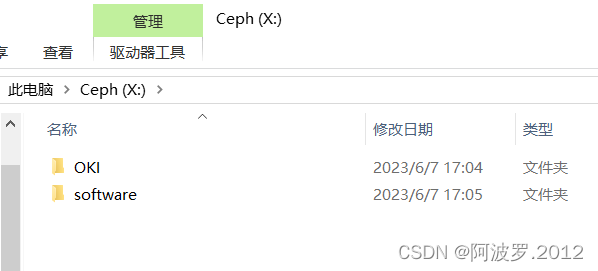
若有多个CephFS,则可以用--client_fs参数指定CephFS名称
ceph-dokan.exe -c c:\ProgramData\Ceph\ceph.conf -l y --client_fs Cephfs_b
# 卸载
ceph-dokan.exe unmap -l x


