目录
一、简介
二、安装GitLab
1、安装准备工作
2、安装Gitlab
a、安装并配置必要的依赖
b、下载Gitlab
c、启动postfix邮件服务,设置开机自启
d、安装Gitlab
e、修改gitlab配置文件(ip和端口)
g、更新配置文件并重启
h、通过ip地址加端口进行访问
一、简介
GitLab是一个用于仓库管理的开源项目,使用Git作为代码管理工具,并在此基础上搭建起来
的Web服务。它主要针对软件开发过程中产生的代码和文档进行管理,支持group和project两个维
度进行代码和文档管理。GitLab主要针对group和project两个维度进行代码和文档管理,其中group
是群组,project是工程项目,一个group可以管理多个project,可以理解为一个群组中有多项软件
开发任务,而一个project中可能包含多个branch,意为每个项目中有多个分支,分支间相互独立,
不同分支可以进行归并。
二、安装GitLab
特别注意:重要的事情说三遍
系统主机名字不能设置gitlab,用户名也不能叫git,否则会一直报错,无法正常安装
系统主机名字不能设置gitlab,用户名也不能叫git,否则会一直报错,无法正常安装
系统主机名字不能设置gitlab,用户名也不能叫git,否则会一直报错,无法正常安装
1、安装准备工作
(以下两个准备工作如果熟悉firewall配置和SELinux的用户也可以不做)
主要针对的是centos
systemctl stop firewalld.service
systemctl disable firewalld.service
setenforce 0
vim /etc/selinux/config
SELINUX=disabled '//将enforcing修改为disabled'
重启系统
2、安装Gitlab
a、安装并配置必要的依赖
(Ubuntu20)sudo apt install ca-certificates wget curl openssh-server postfix

(centos7)yum -y install wget curl openssh-server openssh-clients postfix cronie policycoreutils-python
b、下载Gitlab
(Ubuntu20)
wget https://mirrors.tuna.tsinghua.edu.cn/gitlab-ce/ubuntu/pool/focal/main/g/gitlab-ce/gitlab-ce_13.10.0-ce.0_amd64.deb
wget -P /Downloads https://mirrors.tuna.tsinghua.edu.cn/gitlab-ce/ubuntu/pool/focal/main/g/gitlab-ce/gitlab-ce_13.10.0-ce.0_amd64.deb
(centos7)
wget https://mirrors.tuna.tsinghua.edu.cn/gitlab-ce/yum/el7/gitlab-ce-10.0.0-ce.0.el7.x86_64.rpm建议用迅雷下载,然后在传到linux服务器,命令下载有时候很慢

c、启动postfix邮件服务,设置开机自启
GitLab使用postfix发送邮件,后面会让填写邮箱,用于验证激活,我用的是自己的QQ邮箱
systemctl start postfix
systemctl enable postfix
d、安装Gitlab
(Ubuntu20)
dpkg -i gitlab-ce_13.10.0-ce.0_amd64.deb
(centos7)
rpm -i gitlab-ce-10.0.0-ce.0.el7.x86_64.rpm
安装成功会出现以下界面

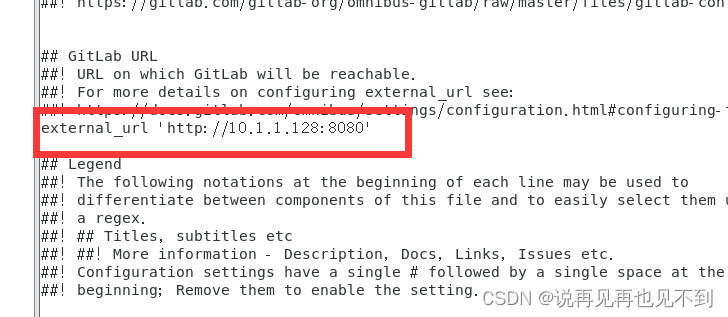
e、修改gitlab配置文件(ip和端口)
vim /etc/gitlab/gitlab.rb
改成本机地址加端口即可,端口号可以根据自己需要 更改
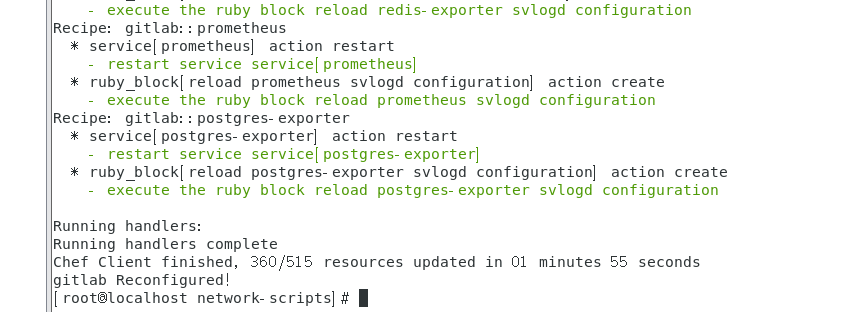
g、更新配置文件并重启
gitlab-ctl reconfigure

gitlab-ctl restart
如下图所示,没有任何报错,就代表更新成功
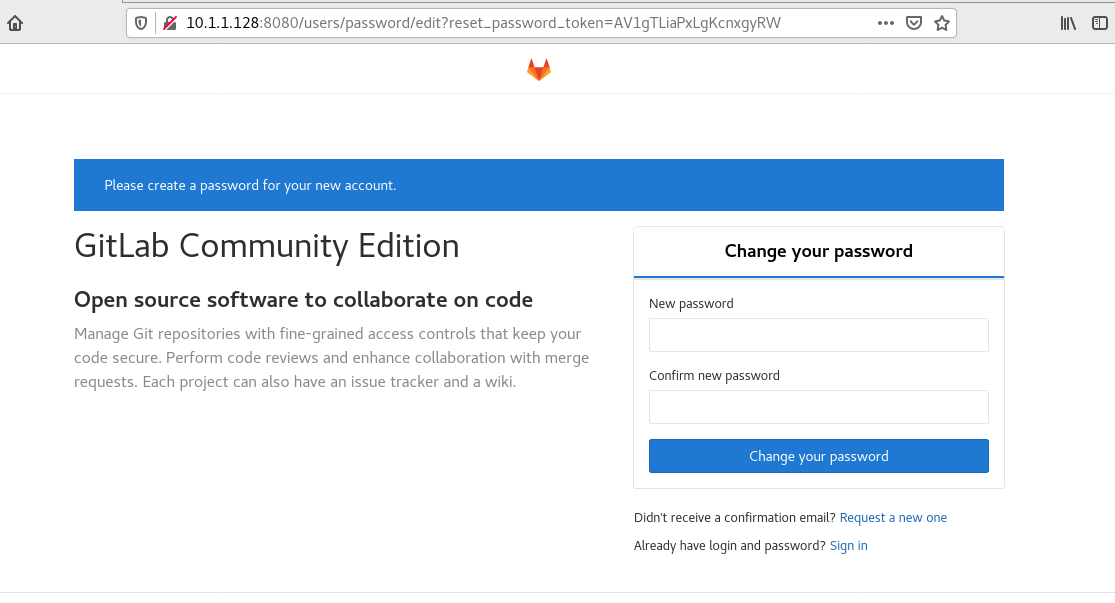
h、通过ip地址加端口进行访问
浏览器输入http://10.1.1.128:8080进行访问
默认用户名是 root
首先设置密码。通过root加密码登录