Spring Boot开发之SpringSercurity
- 一、授权
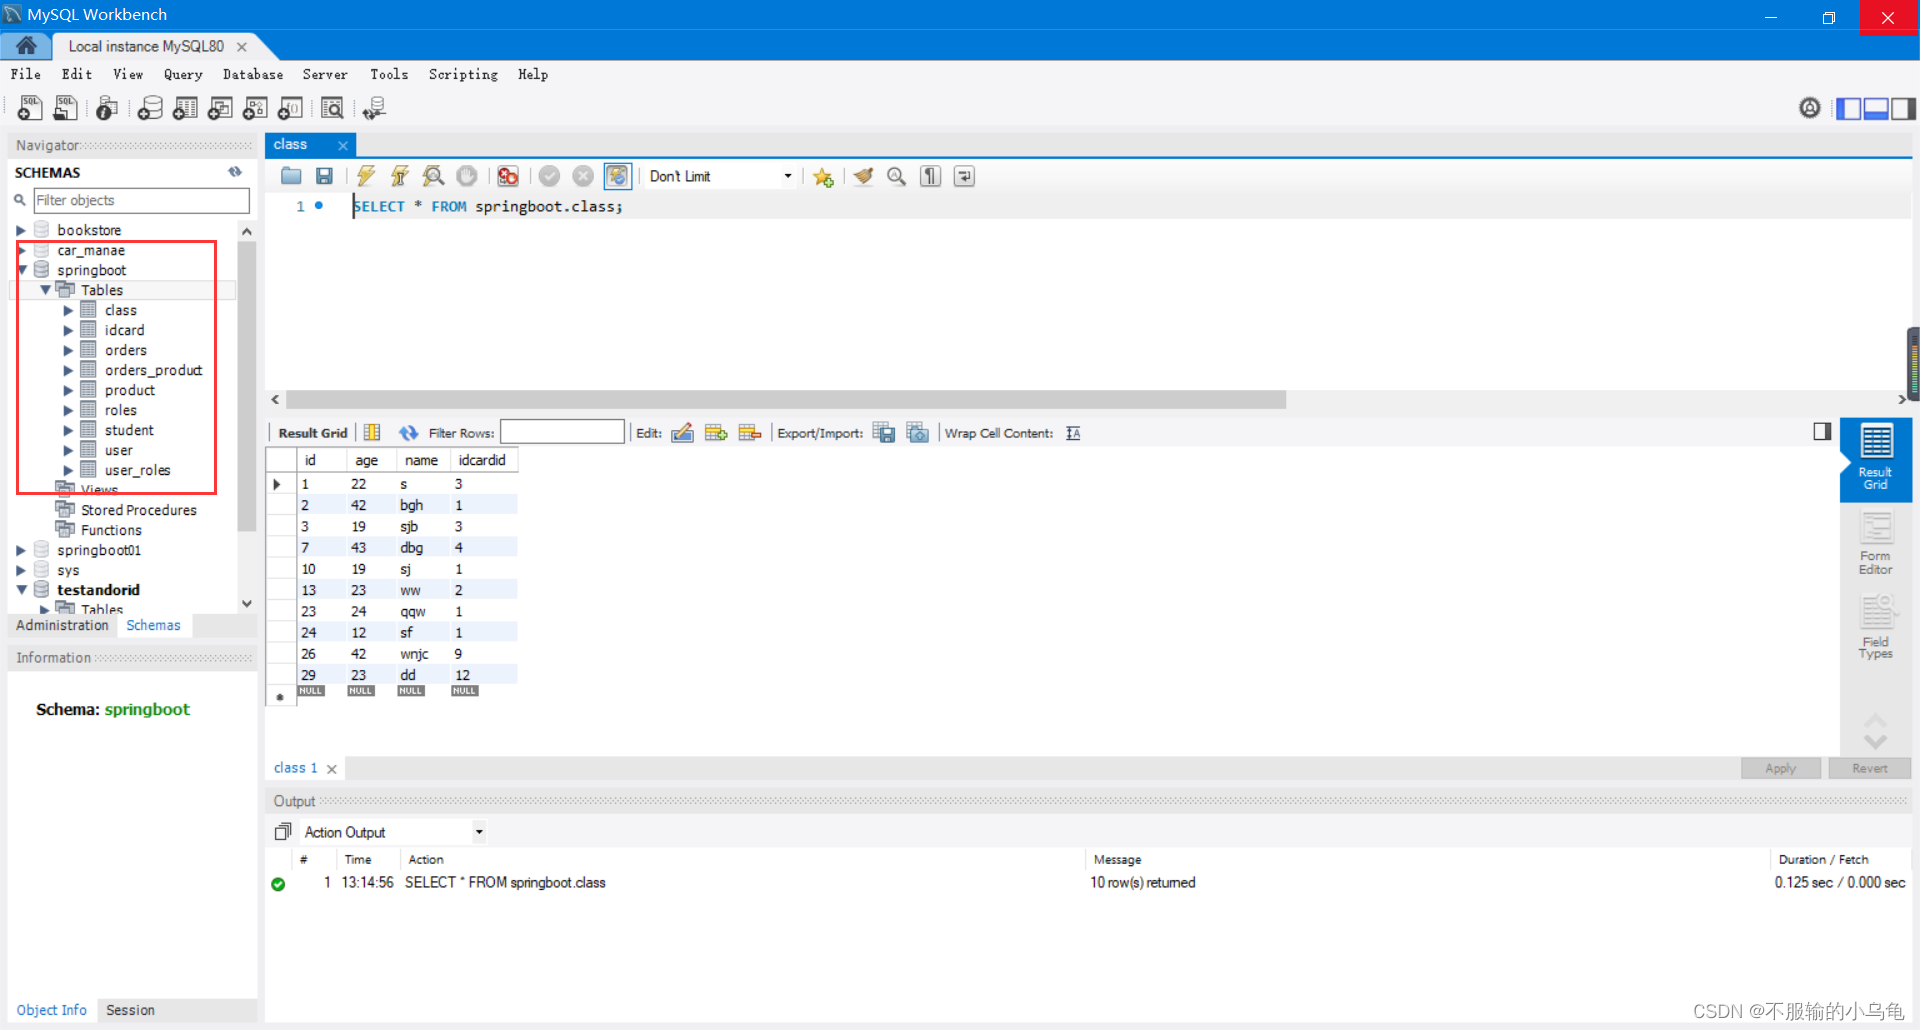
- 1、打开上次项目以及数据库
- 2、有的页面不登录也能访问,比如首页、登录以及注册等,因此对于某些请求不需要登录则放行这些接口
- (1)修改MySercurityConfig
- (2)修改TestController类
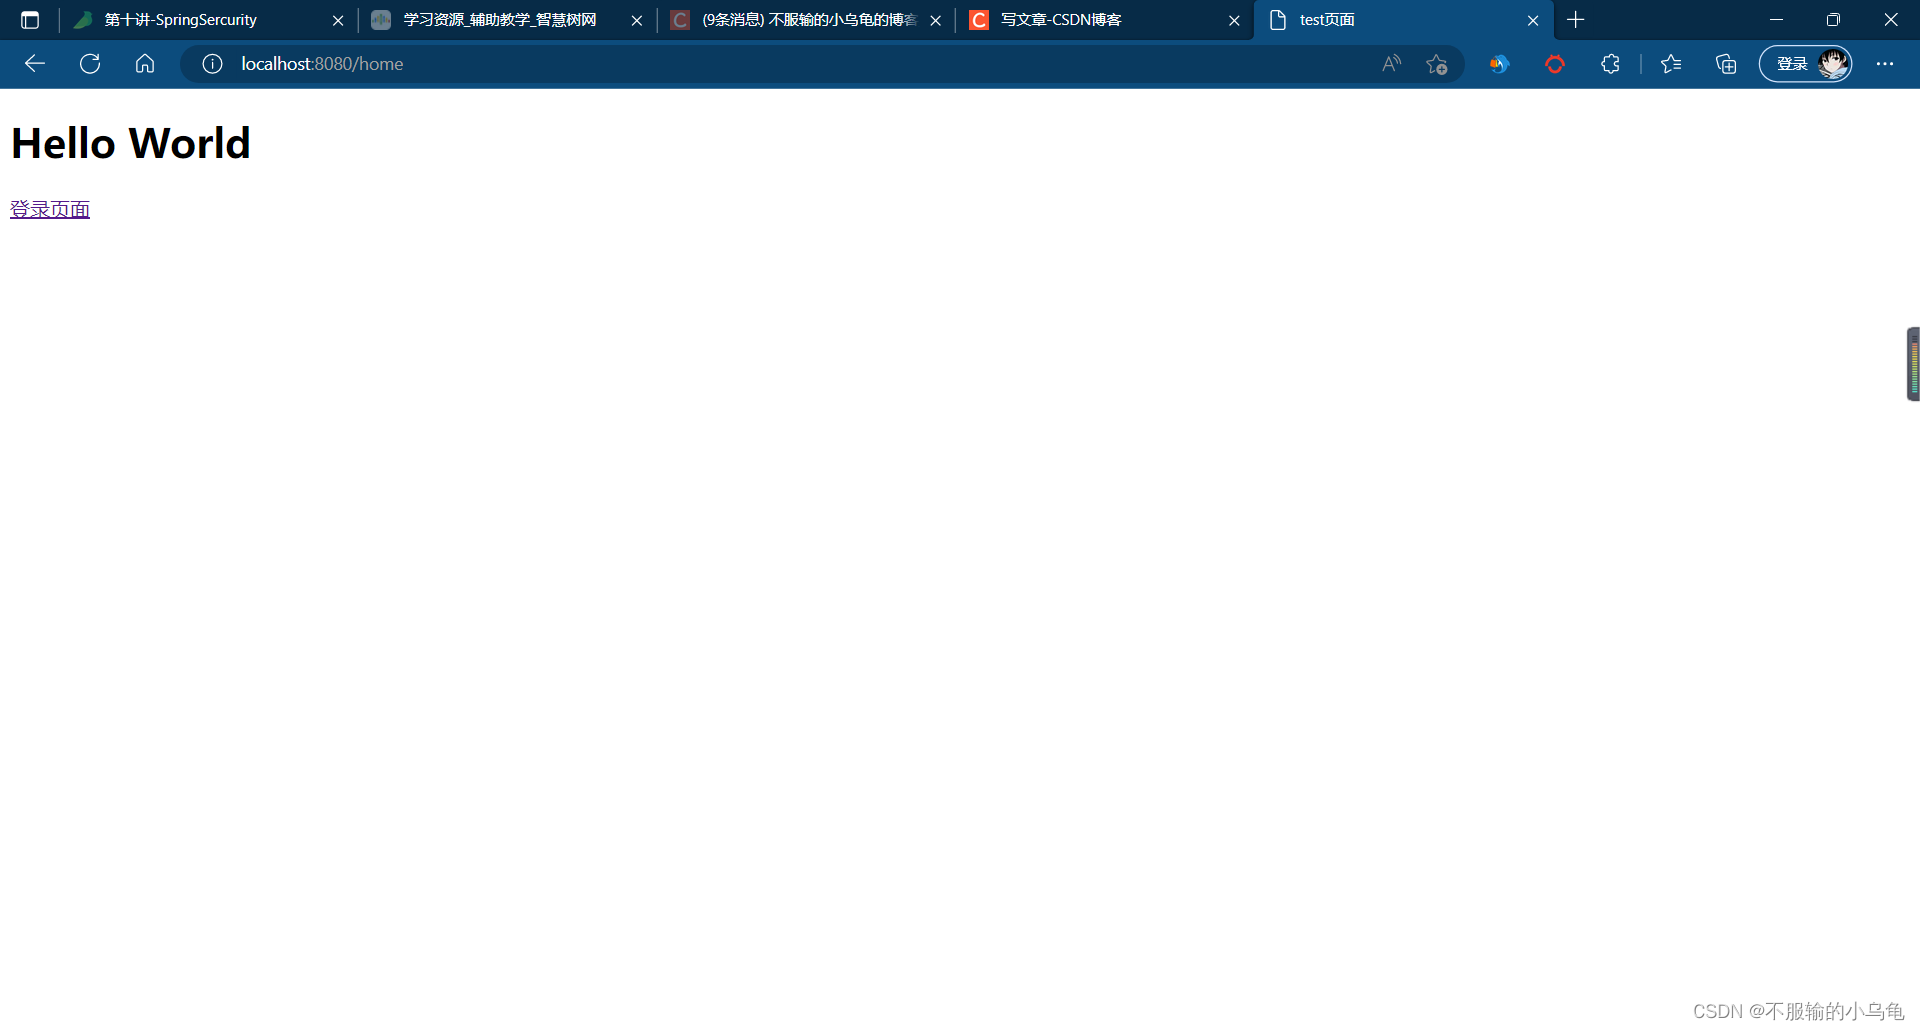
- (3)点击运行,在没登录时访问/home、/login路径不需要登录,而其他界面都被拦截并跳转到登录页面
- 3、修改MySercurityConfig类,多增加一个admin用户,user用户拥有user权限,admin用户拥有admin、user权限
- 4、在templates文件夹下新建user.html和admin.html
- 5、修改TestController类
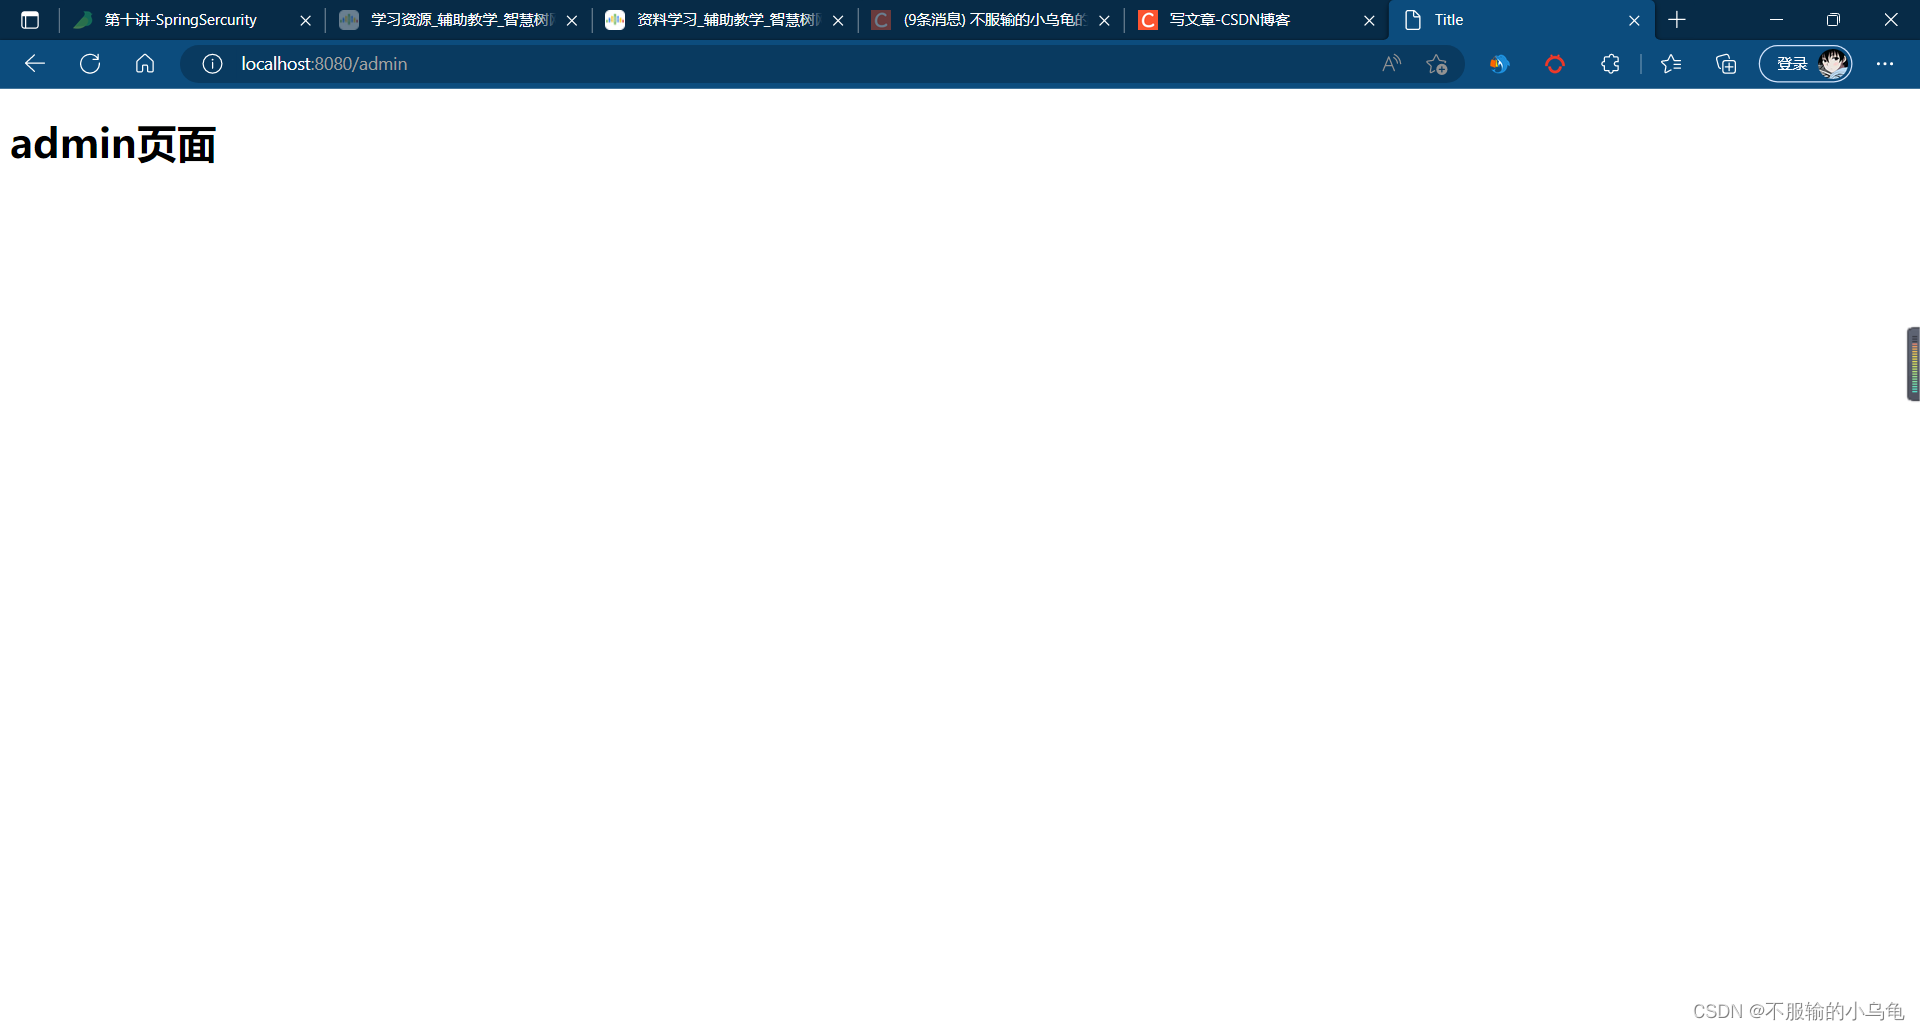
- 6、点击运行,登录user用户可以访问user页面,但不可以访问admin页面;登录admin用户既可以访问user页面,也可以访问admin页面
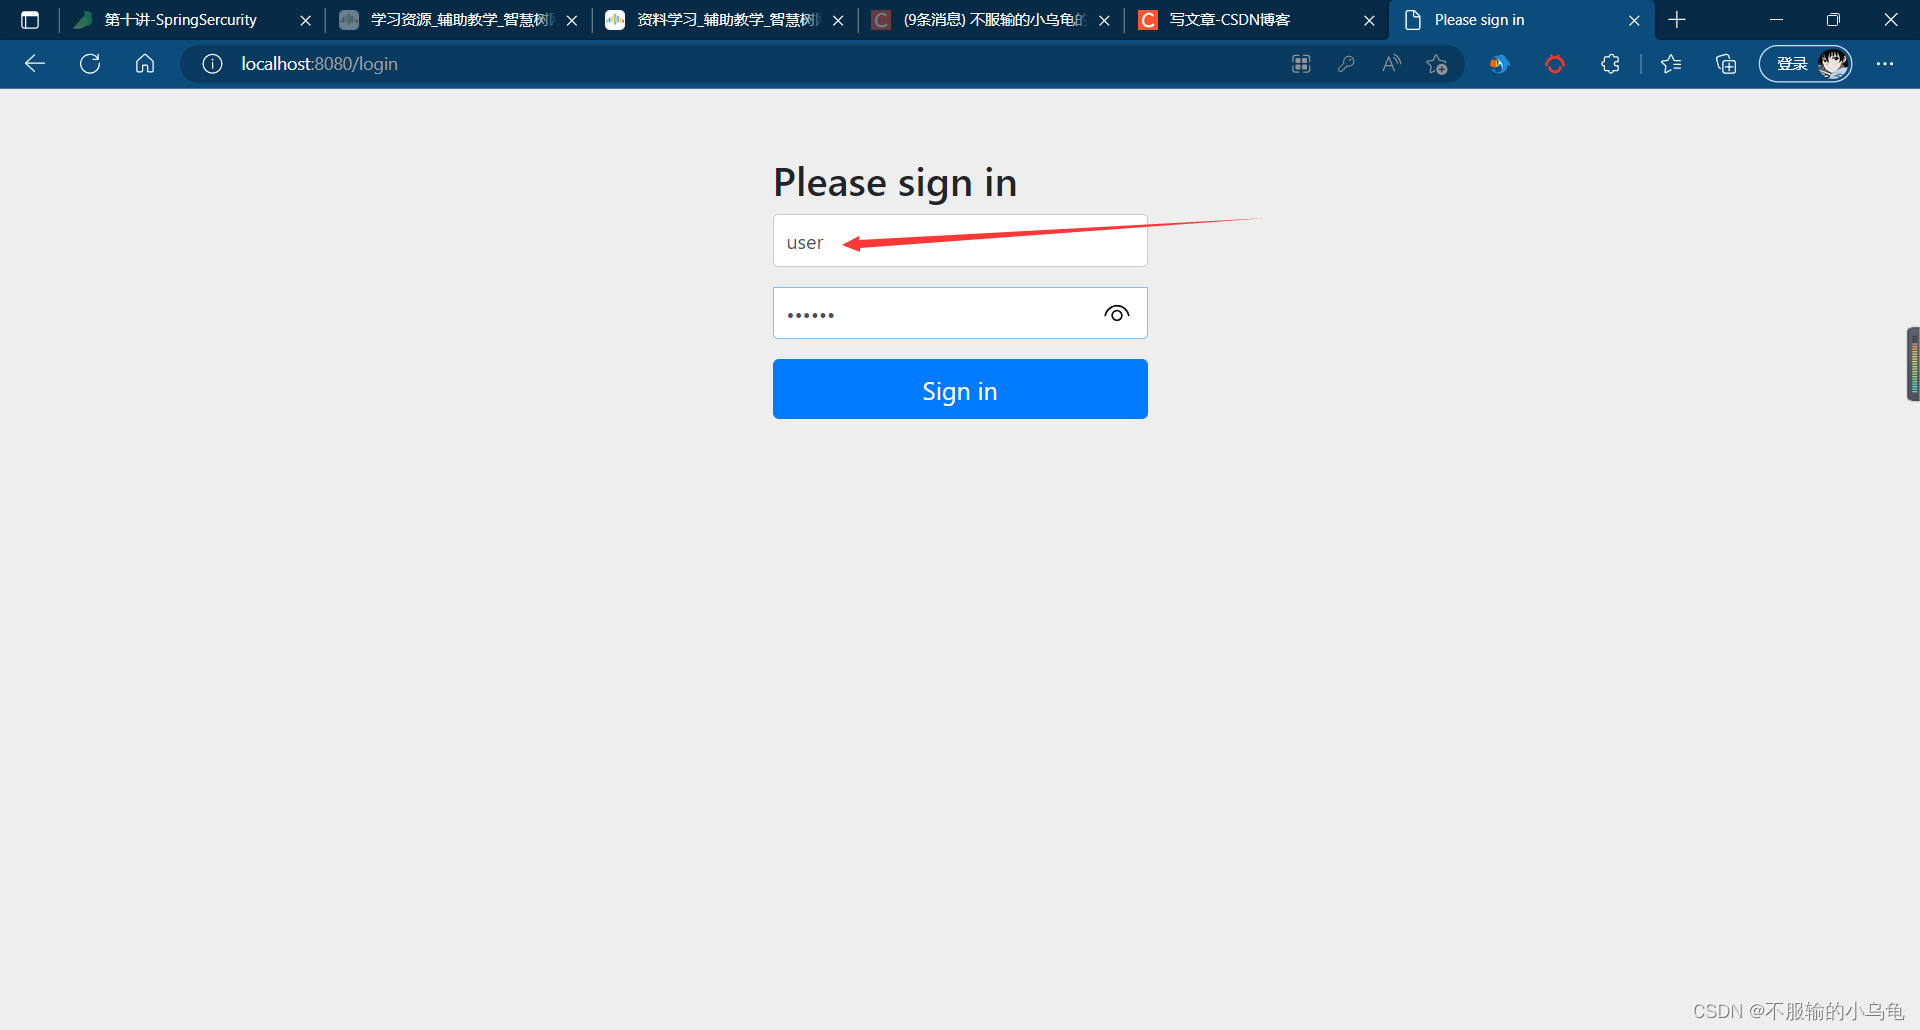
- (1)登录user用户
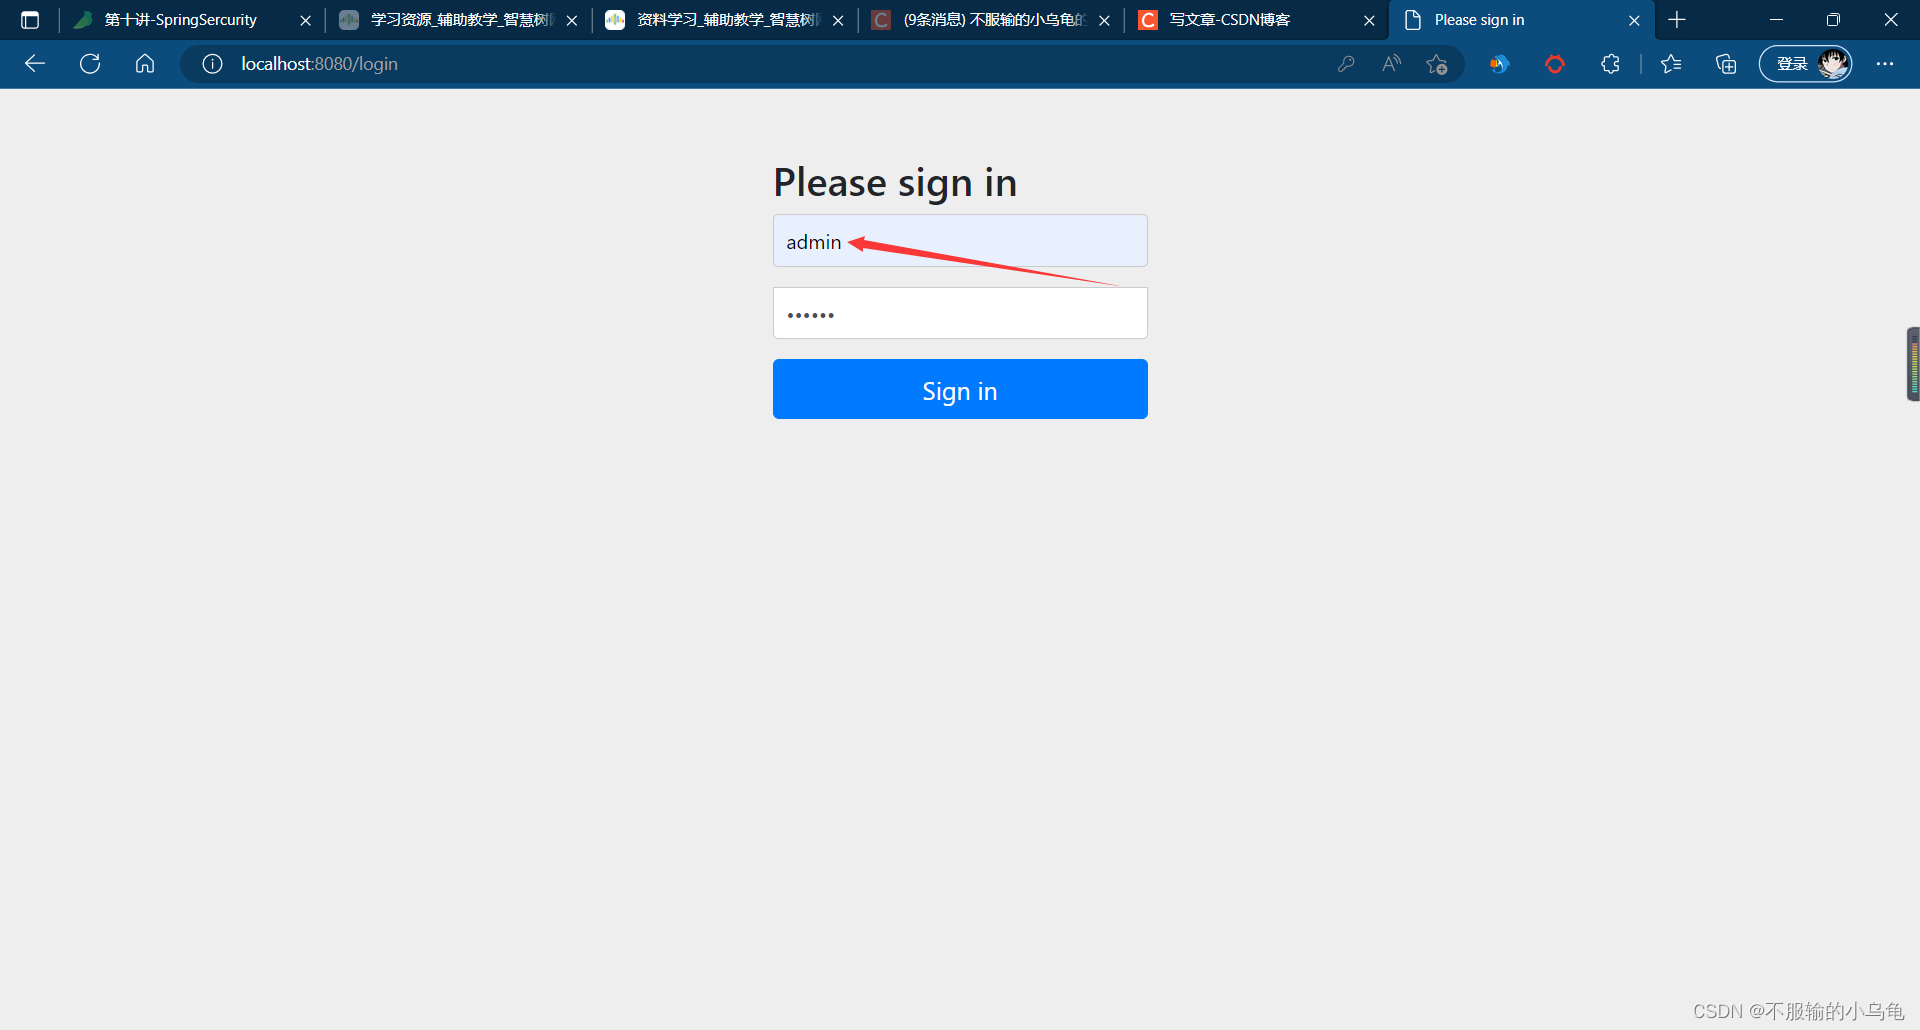
- (2)登录admin用户
- 二、数据库认证:从数据库中获取用户名和密码进行验证
- 1、在utils文件夹下新建MyUserService类
- 2、修改MySercurityConfig类
- 3、点击运行,登录user用户可以访问user页面,但不可以访问admin页面;登录admin用户既可以访问user页面,也可以访问admin页面
- (1)登录user用户
- (2)登录admin用户
- 三、自定义登录页面
- 1、修改MySercurityConfig类
- 2、修改login.html
- 3、点击运行,登录页面变成我们自定义的页面啦
- 四、自定义登出页面
- 1、修改MySercurityConfig类
- 2、在templates文件夹下新建mylogout.html
- 3、修改TestController类
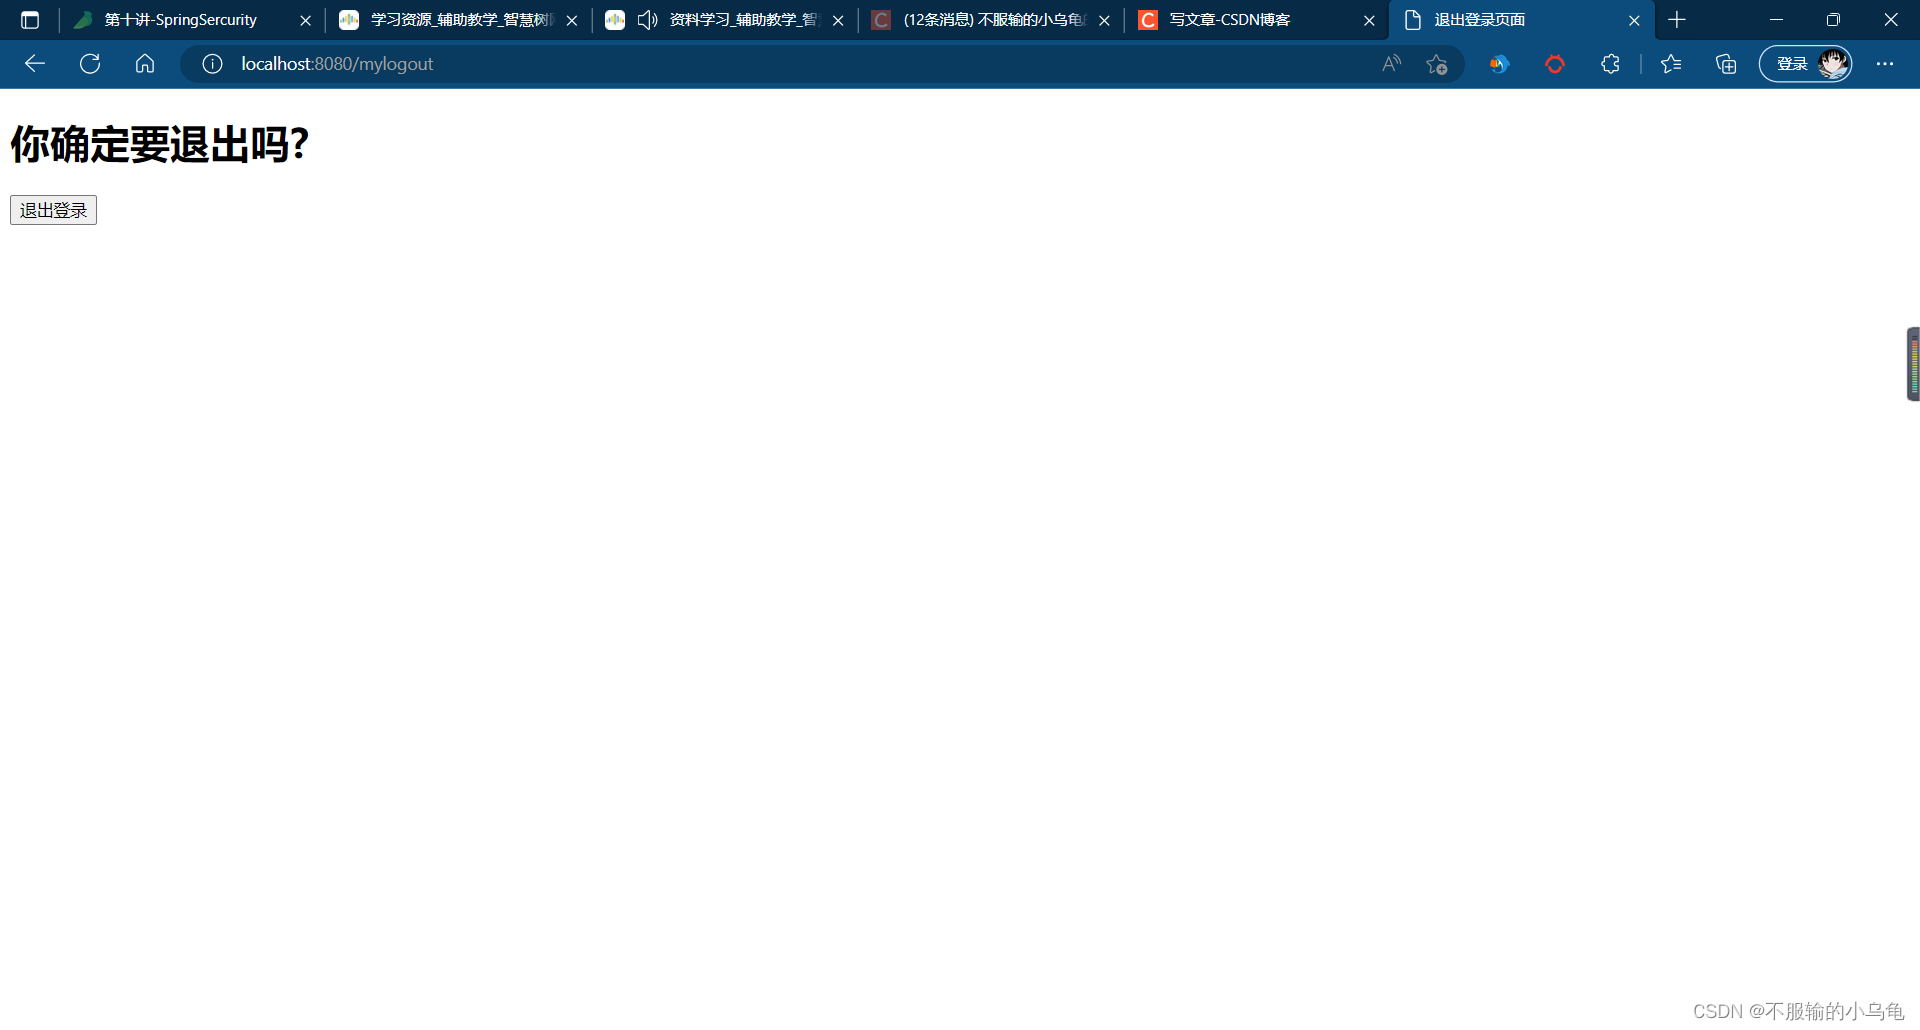
- 4、点击运行,登出页面也变为我们自定义的页面啦,退出登录后回到登录页面
- 五、文件上传
- 1、修改application.properties
- 2、在templates文件夹下新建file.html
- 3、在controller文件夹下新建FileController类
- 4、点击运行,选择文件成功
- 5、修改MySercurityConfig类,设置"/**"放行所有接口
- 6、修改FileController类
- 7、点击运行,选择文件成功提交到指定路径
- 8、修改FileController类,为了防止因文件名字相同而出现文件覆盖问题,将文件名设置为随机数+文件名
- 9、点击运行,提交两次相同文件,文件不会被覆盖
- 10、修改FileController类,将文件显示出来
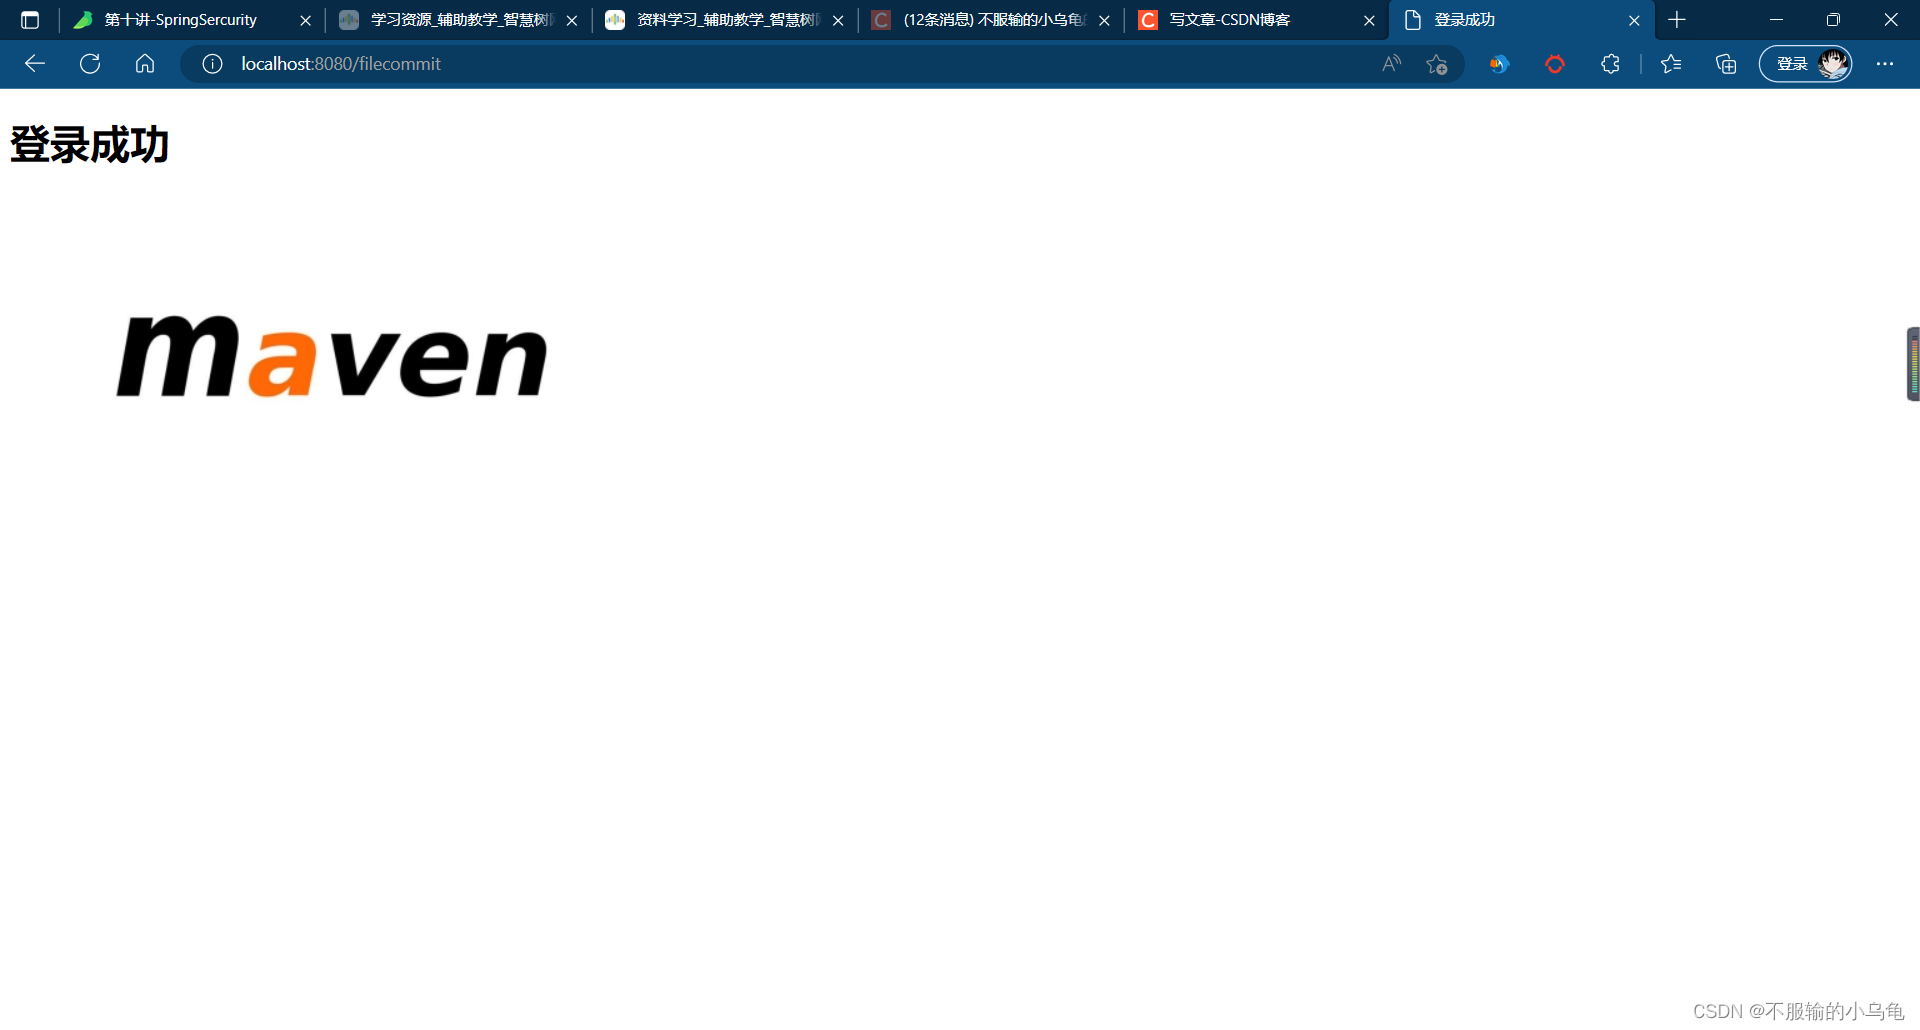
- 11、修改success.html
- 12、点击运行,显示图片成功
- 六、请求JSON接口
- 1、在pojo文件夹下新建News类
- 2、在controller文件夹下新建JSONController类
- 3、修改MySercurityConfig类
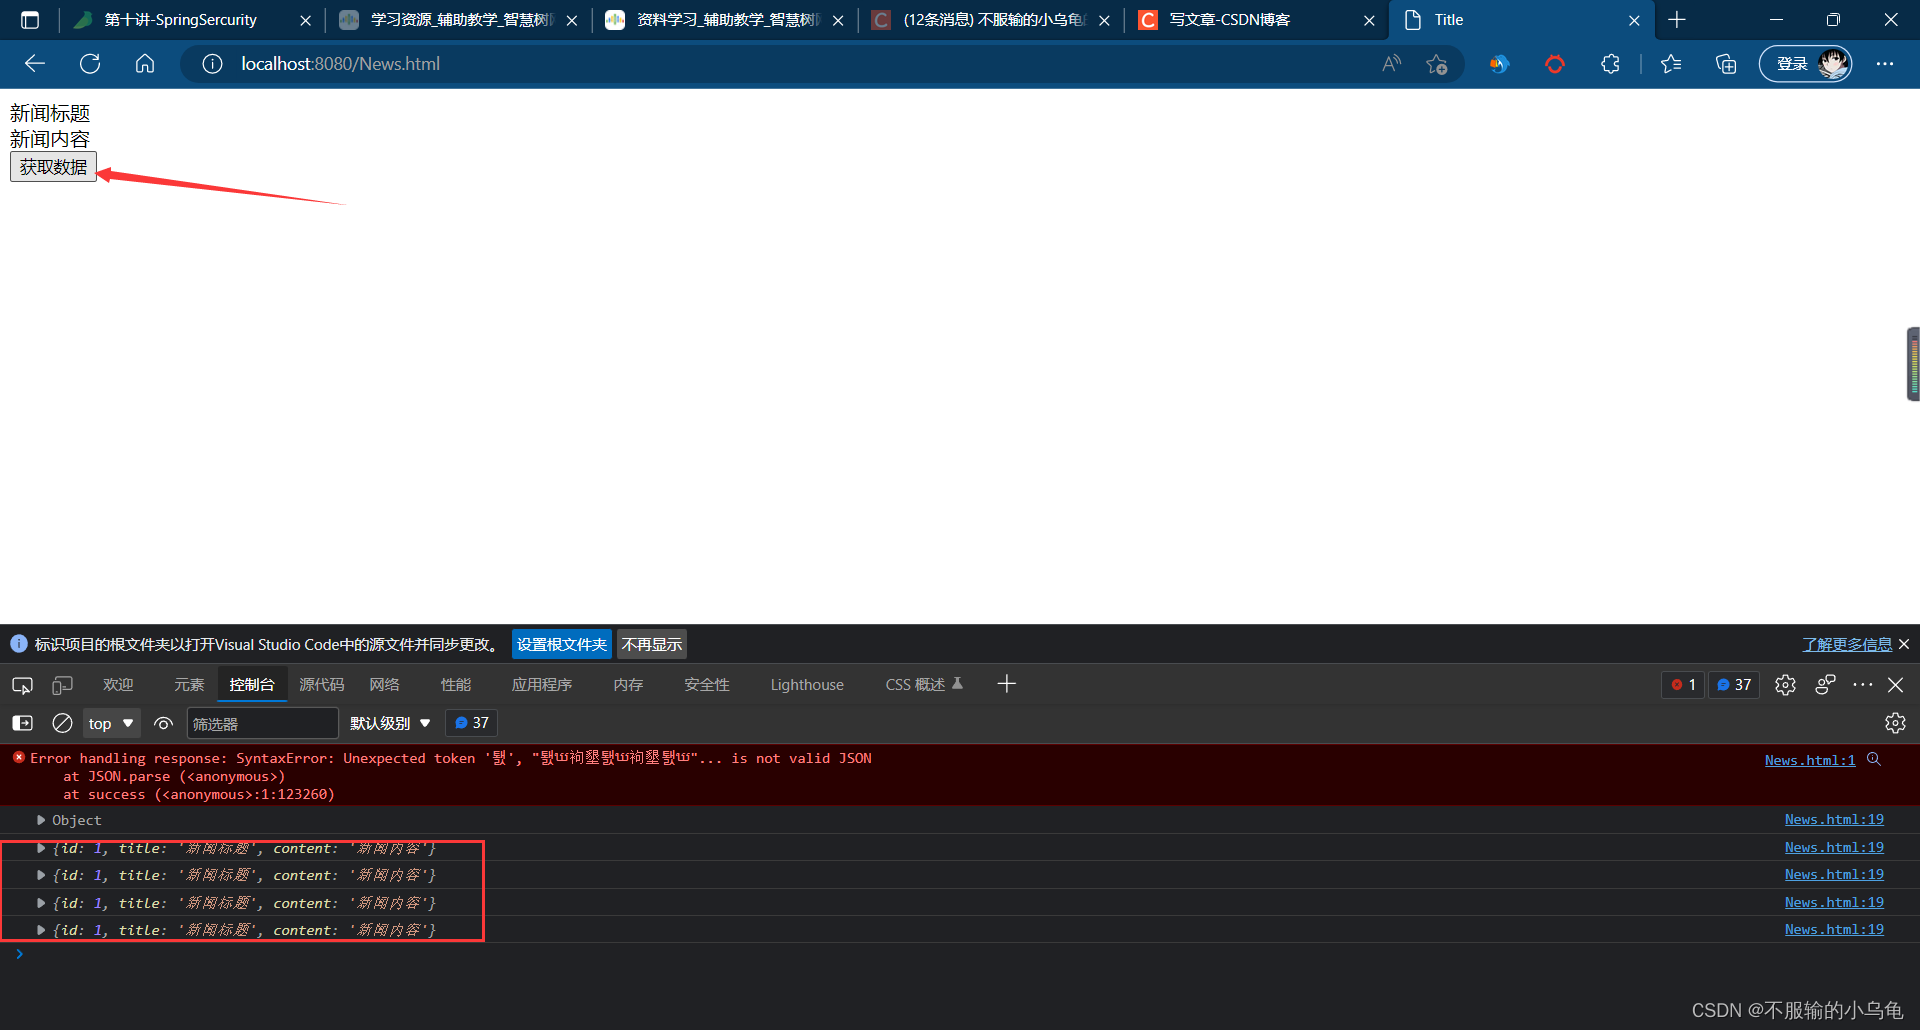
- 4、在templates文件夹下新建News.html
- 5、点击运行,成功获取JSON数据
今天接着学习SpringSercurity的相关知识以及实现,都非常基础。首先打开上次项目以及数据库,上次我们学习到了认证,今天接着学习。
一、授权
1、打开上次项目以及数据库
2、有的页面不登录也能访问,比如首页、登录以及注册等,因此对于某些请求不需要登录则放行这些接口
(1)修改MySercurityConfig
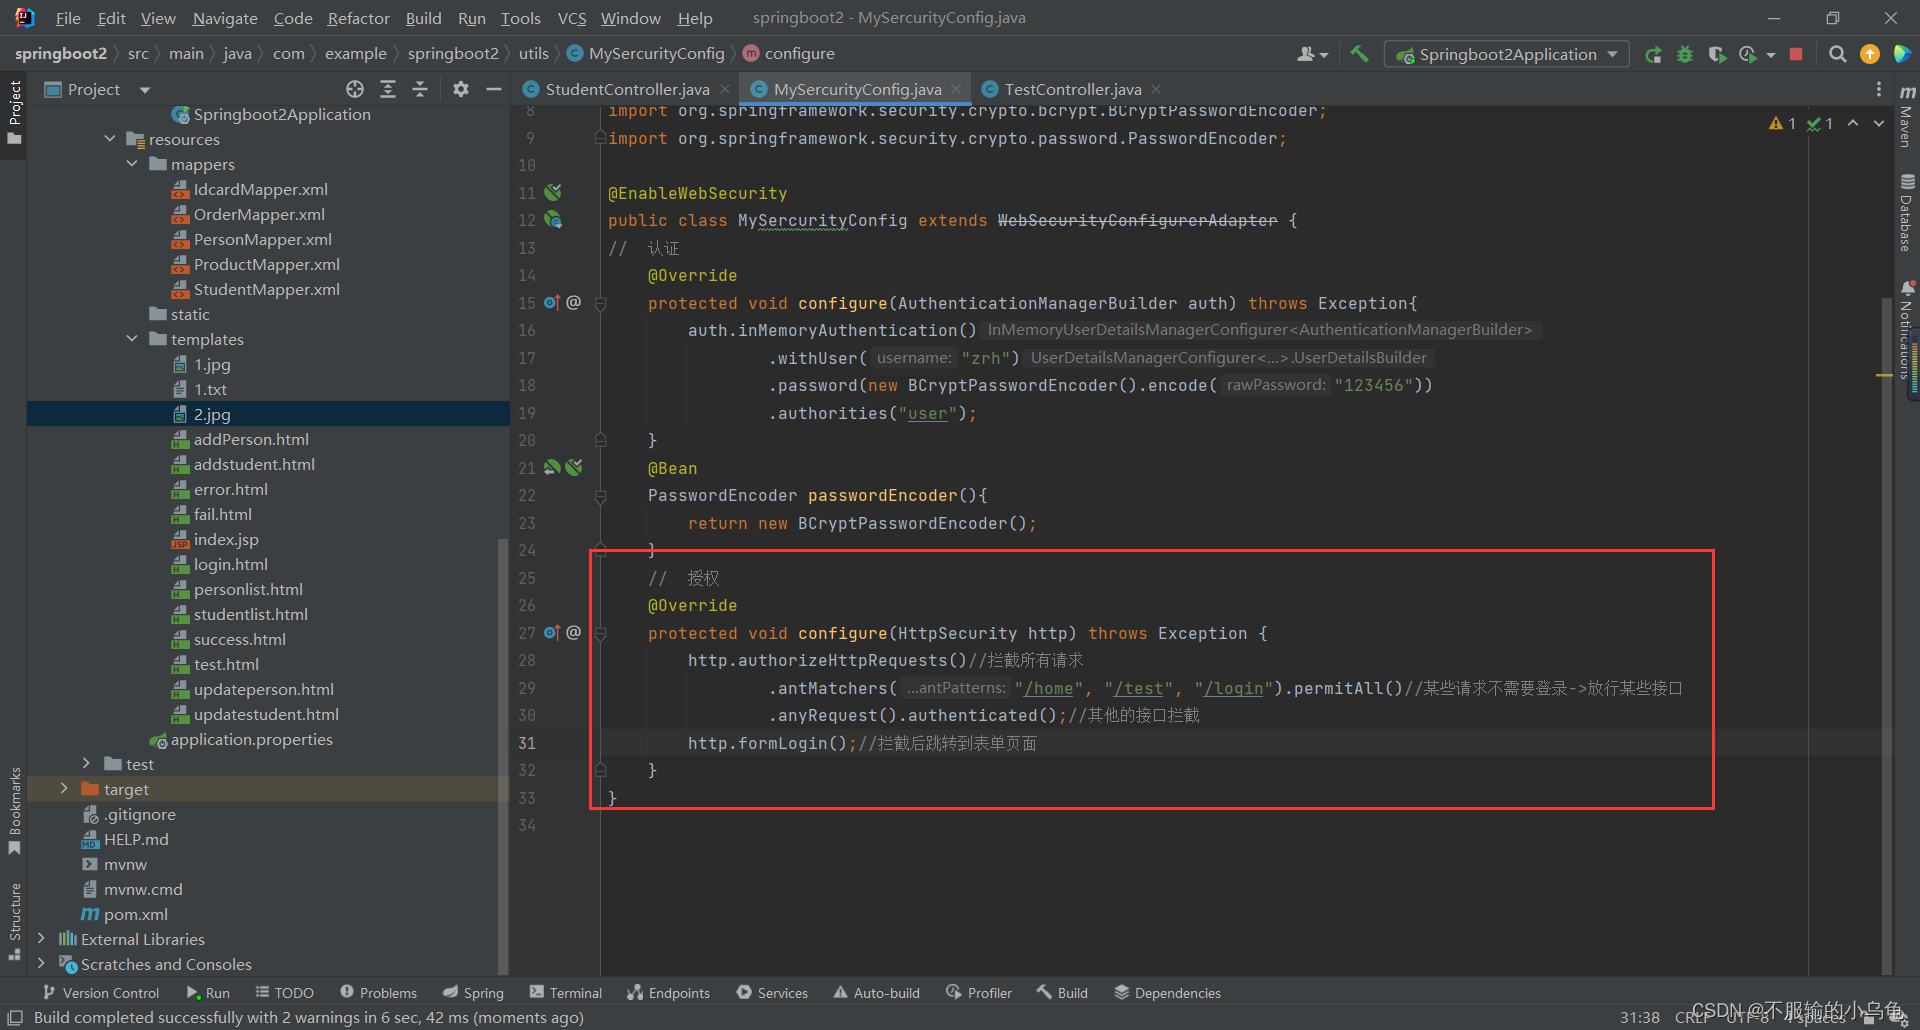
    //  授权
    @Override
    protected void configure(HttpSecurity http) throws Exception {
        http.authorizeHttpRequests()//拦截所有请求
                .antMatchers("/home", "/test", "/login").permitAll()//某些请求不需要登录->放行某些接口
                .anyRequest().authenticated();//其他的接口拦截
        http.formLogin();//拦截后跳转到表单页面
    }
(2)修改TestController类
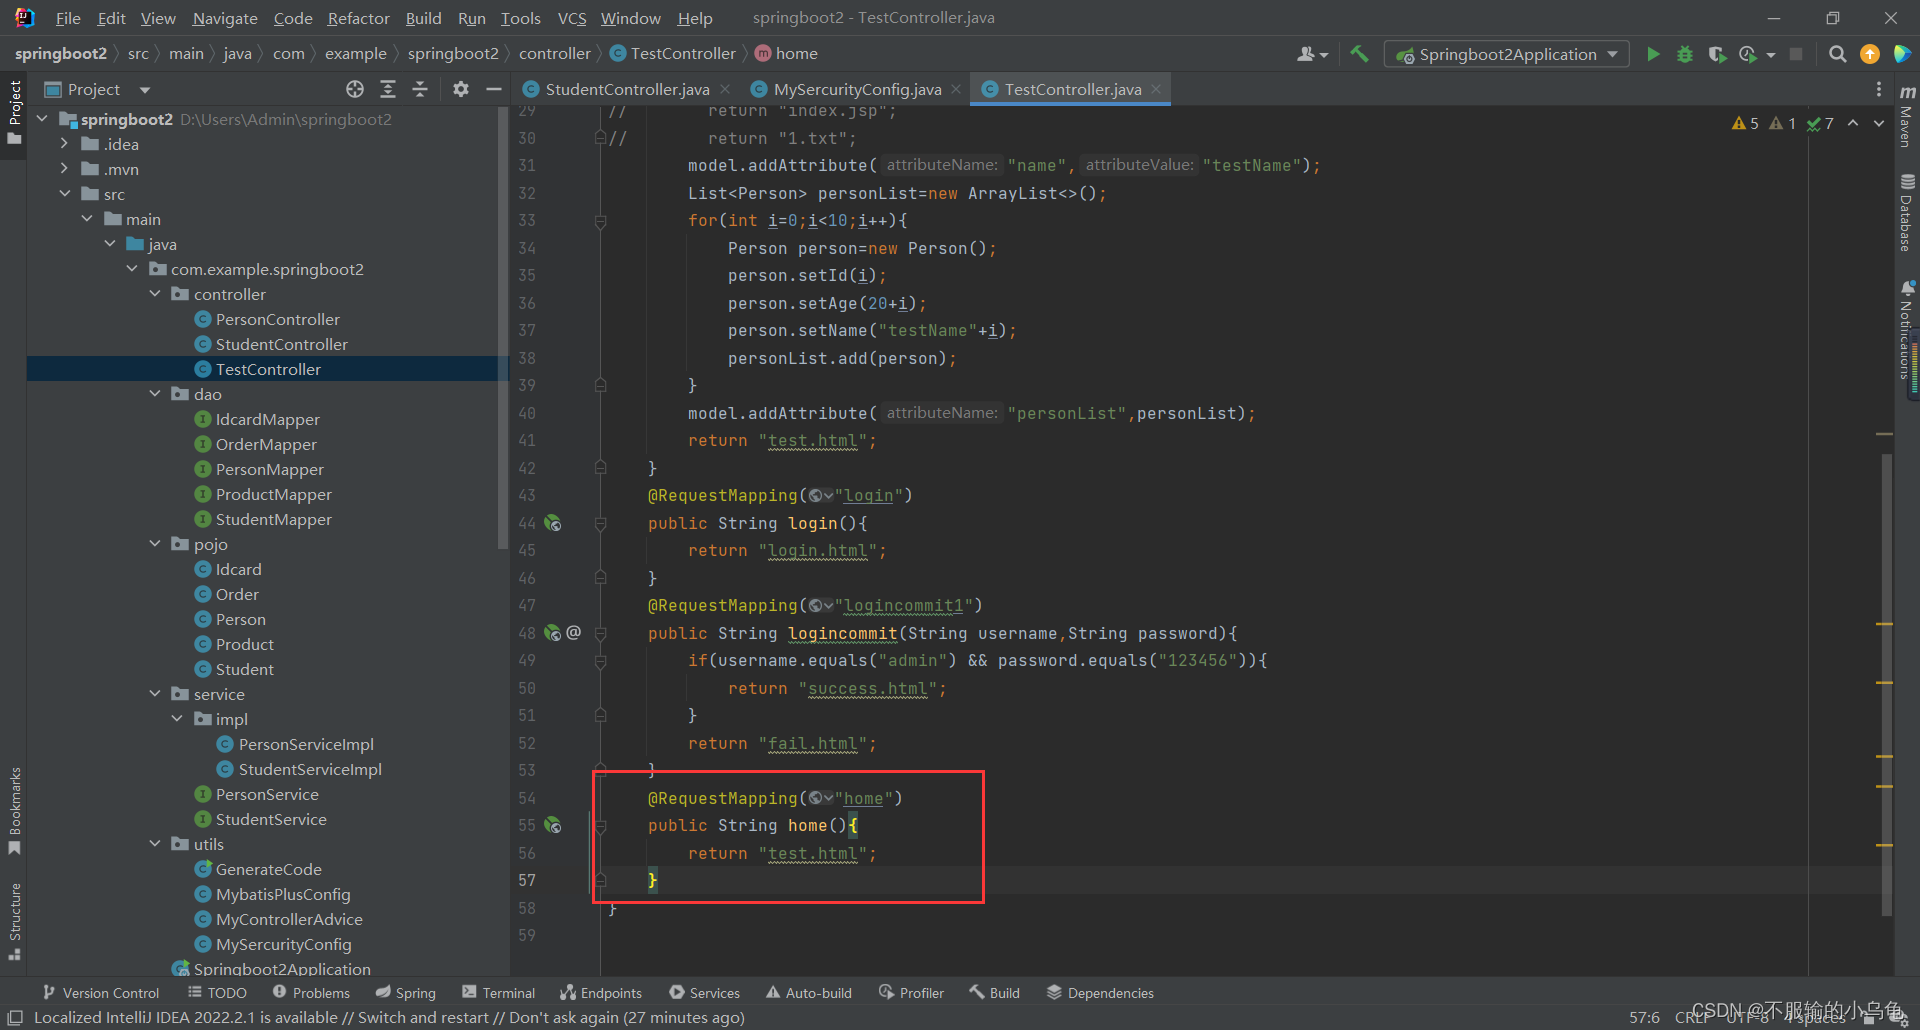
    @RequestMapping("home")
    public String home(){
        return "test.html";
    }
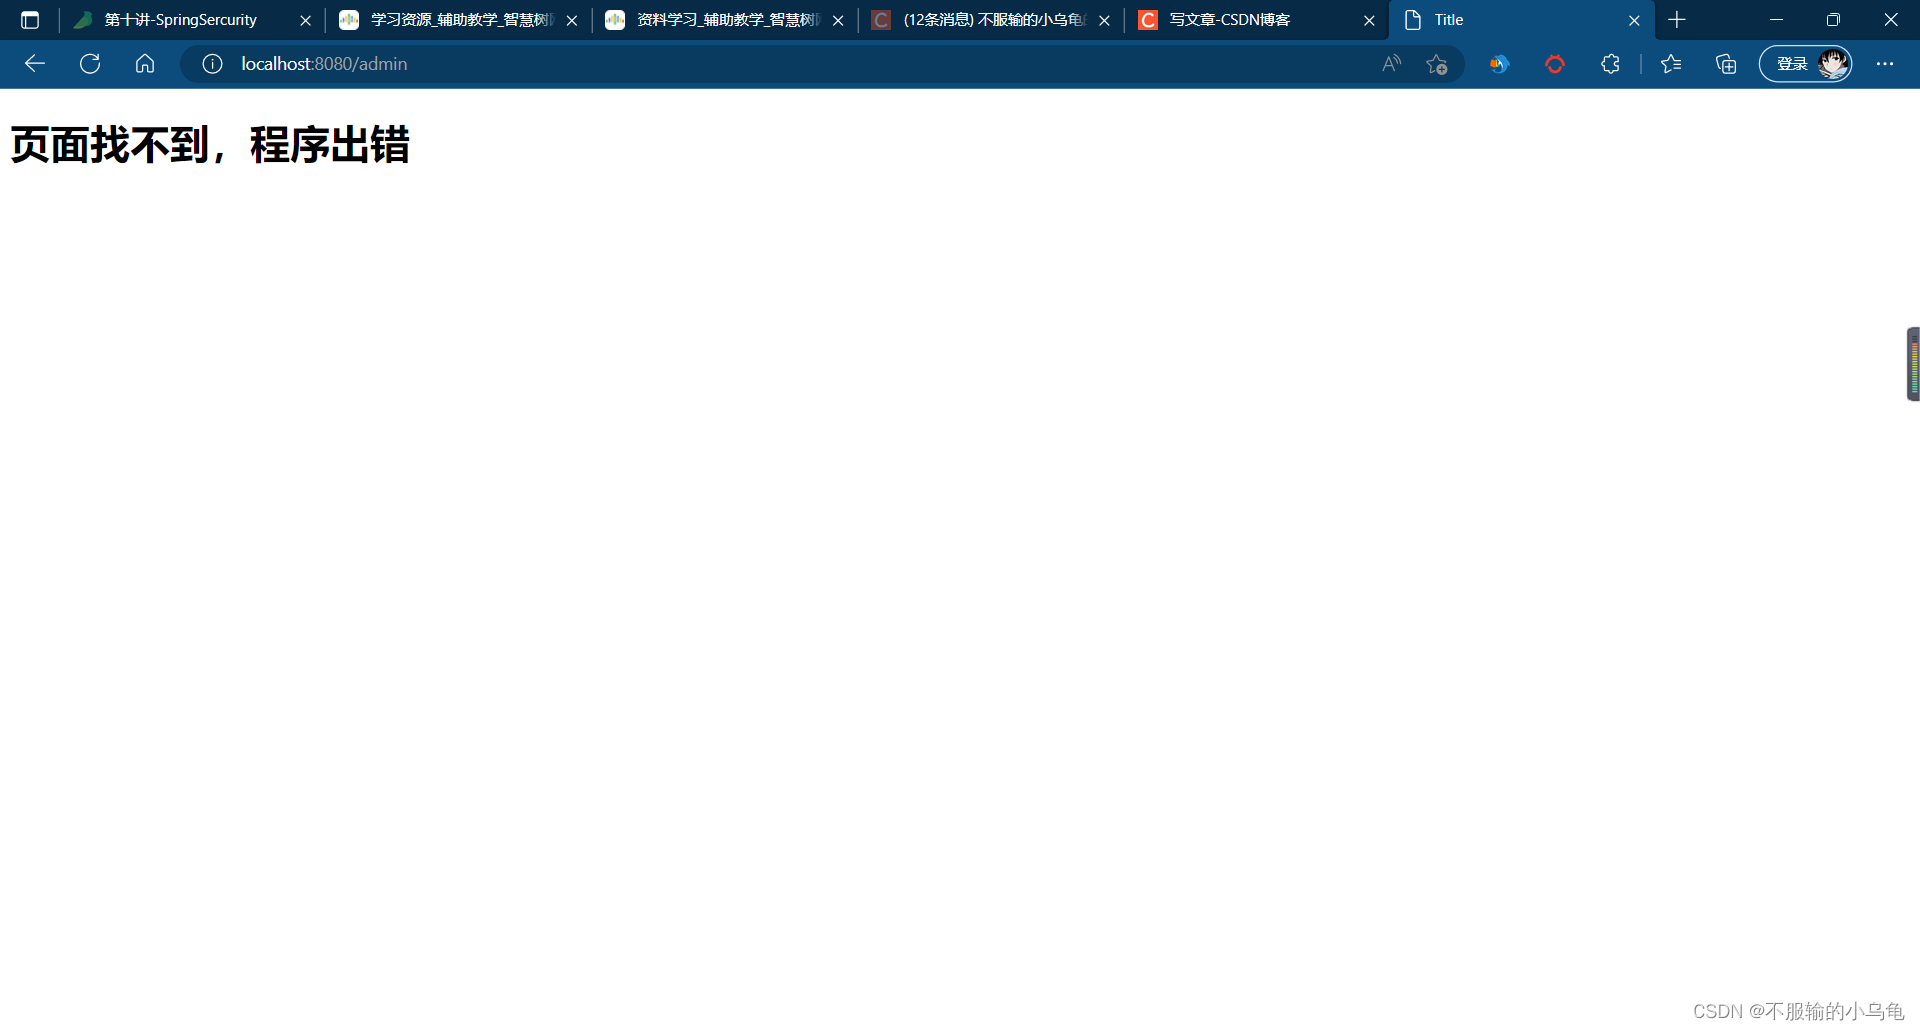
(3)点击运行,在没登录时访问/home、/login路径不需要登录,而其他界面都被拦截并跳转到登录页面


3、修改MySercurityConfig类,多增加一个admin用户,user用户拥有user权限,admin用户拥有admin、user权限
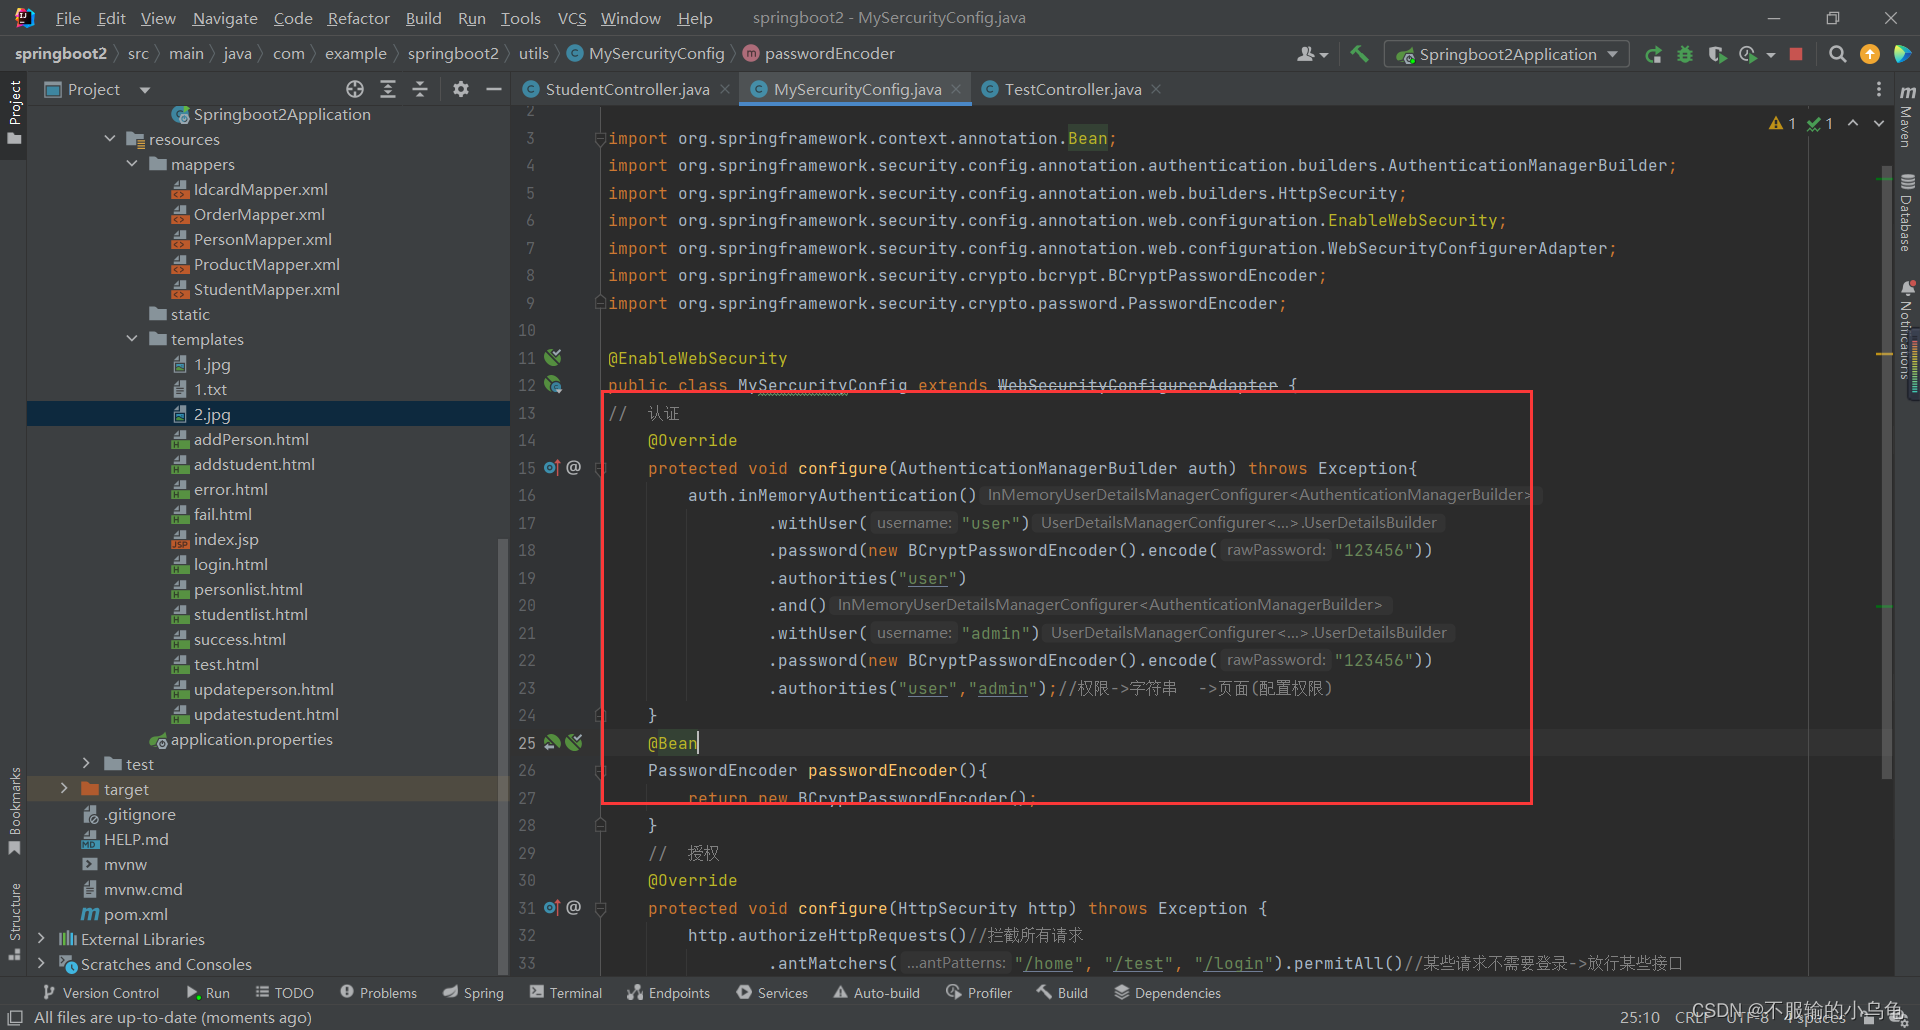
//  认证
    @Override
    protected void configure(AuthenticationManagerBuilder auth) throws Exception{
        auth.inMemoryAuthentication()
                .withUser("user")
                .password(new BCryptPasswordEncoder().encode("123456"))
                .authorities("user")
                .and()
                .withUser("admin")
                .password(new BCryptPasswordEncoder().encode("123456"))
                .authorities("user","admin");//权限->字符串  ->页面(配置权限)
    }
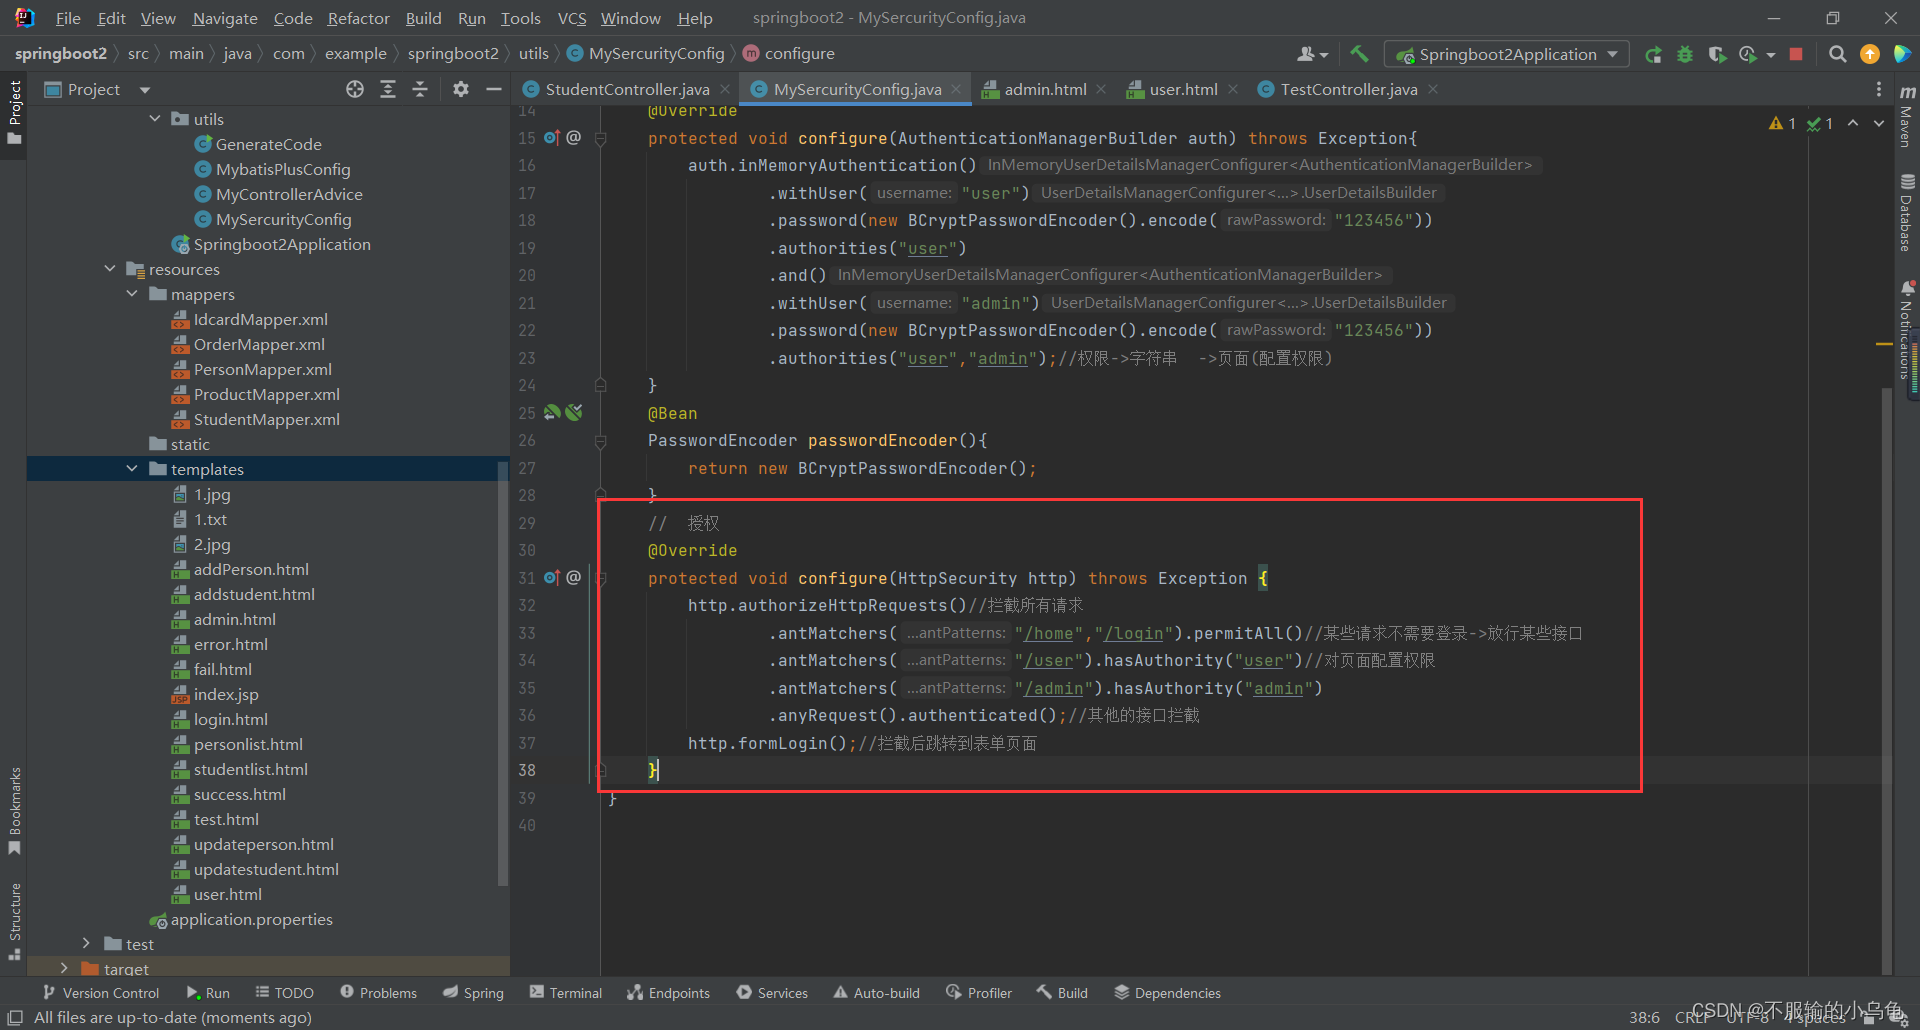
    //  授权
    @Override
    protected void configure(HttpSecurity http) throws Exception {
        http.authorizeHttpRequests()//拦截所有请求
                .antMatchers("/home","/login").permitAll()//某些请求不需要登录->放行某些接口
                .antMatchers("/user").hasAuthority("user")//对页面配置权限
                .antMatchers("/admin").hasAuthority("admin")
                .anyRequest().authenticated();//其他的接口拦截
        http.formLogin();//拦截后跳转到表单页面
    }
4、在templates文件夹下新建user.html和admin.html
<!DOCTYPE html>
<html lang="en">
<head>
    <meta charset="UTF-8">
    <title>Title</title>
</head>
<body>
<h1>用户页面</h1>
</body>
</html>
<!DOCTYPE html>
<html lang="en">
<head>
    <meta charset="UTF-8">
    <title>Title</title>
</head>
<body>
<h1>admin页面</h1>
</body>
</html>
5、修改TestController类
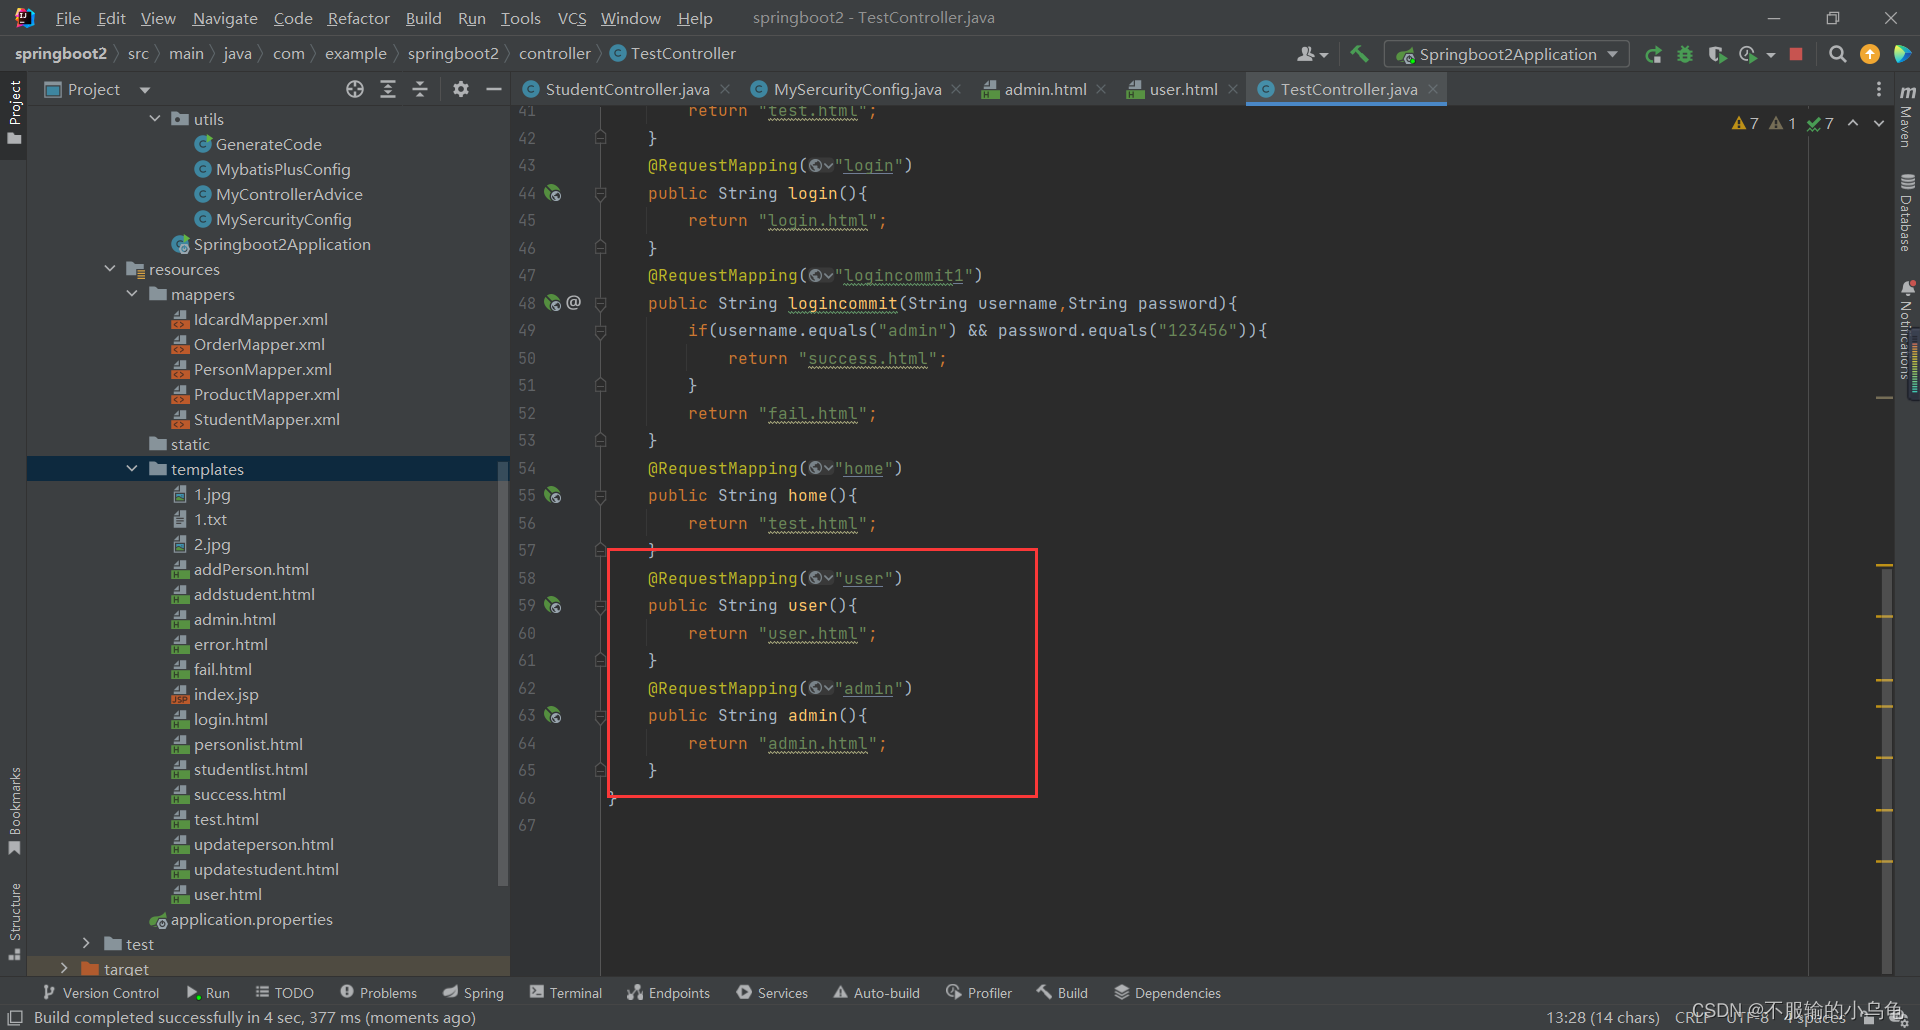
    @RequestMapping("user")
    public String user(){
        return "user.html";
    }
    @RequestMapping("admin")
    public String admin(){
        return "admin.html";
    }
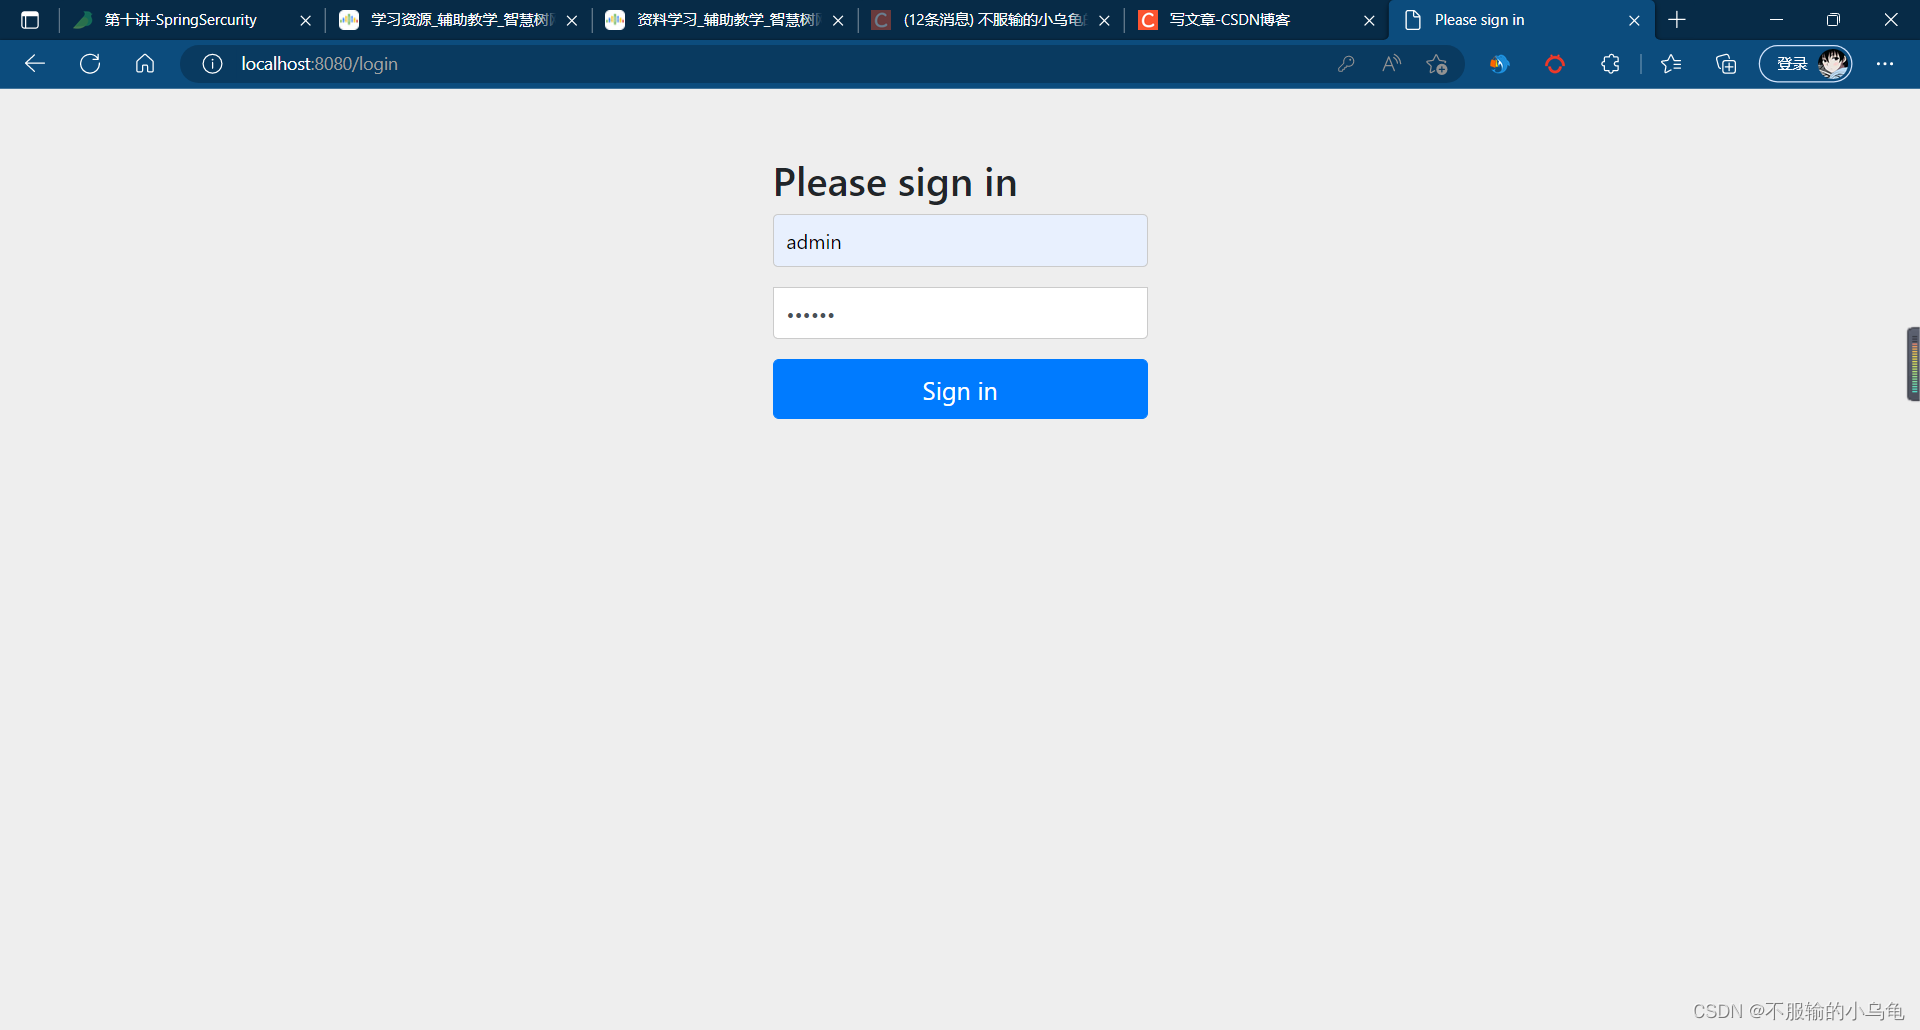
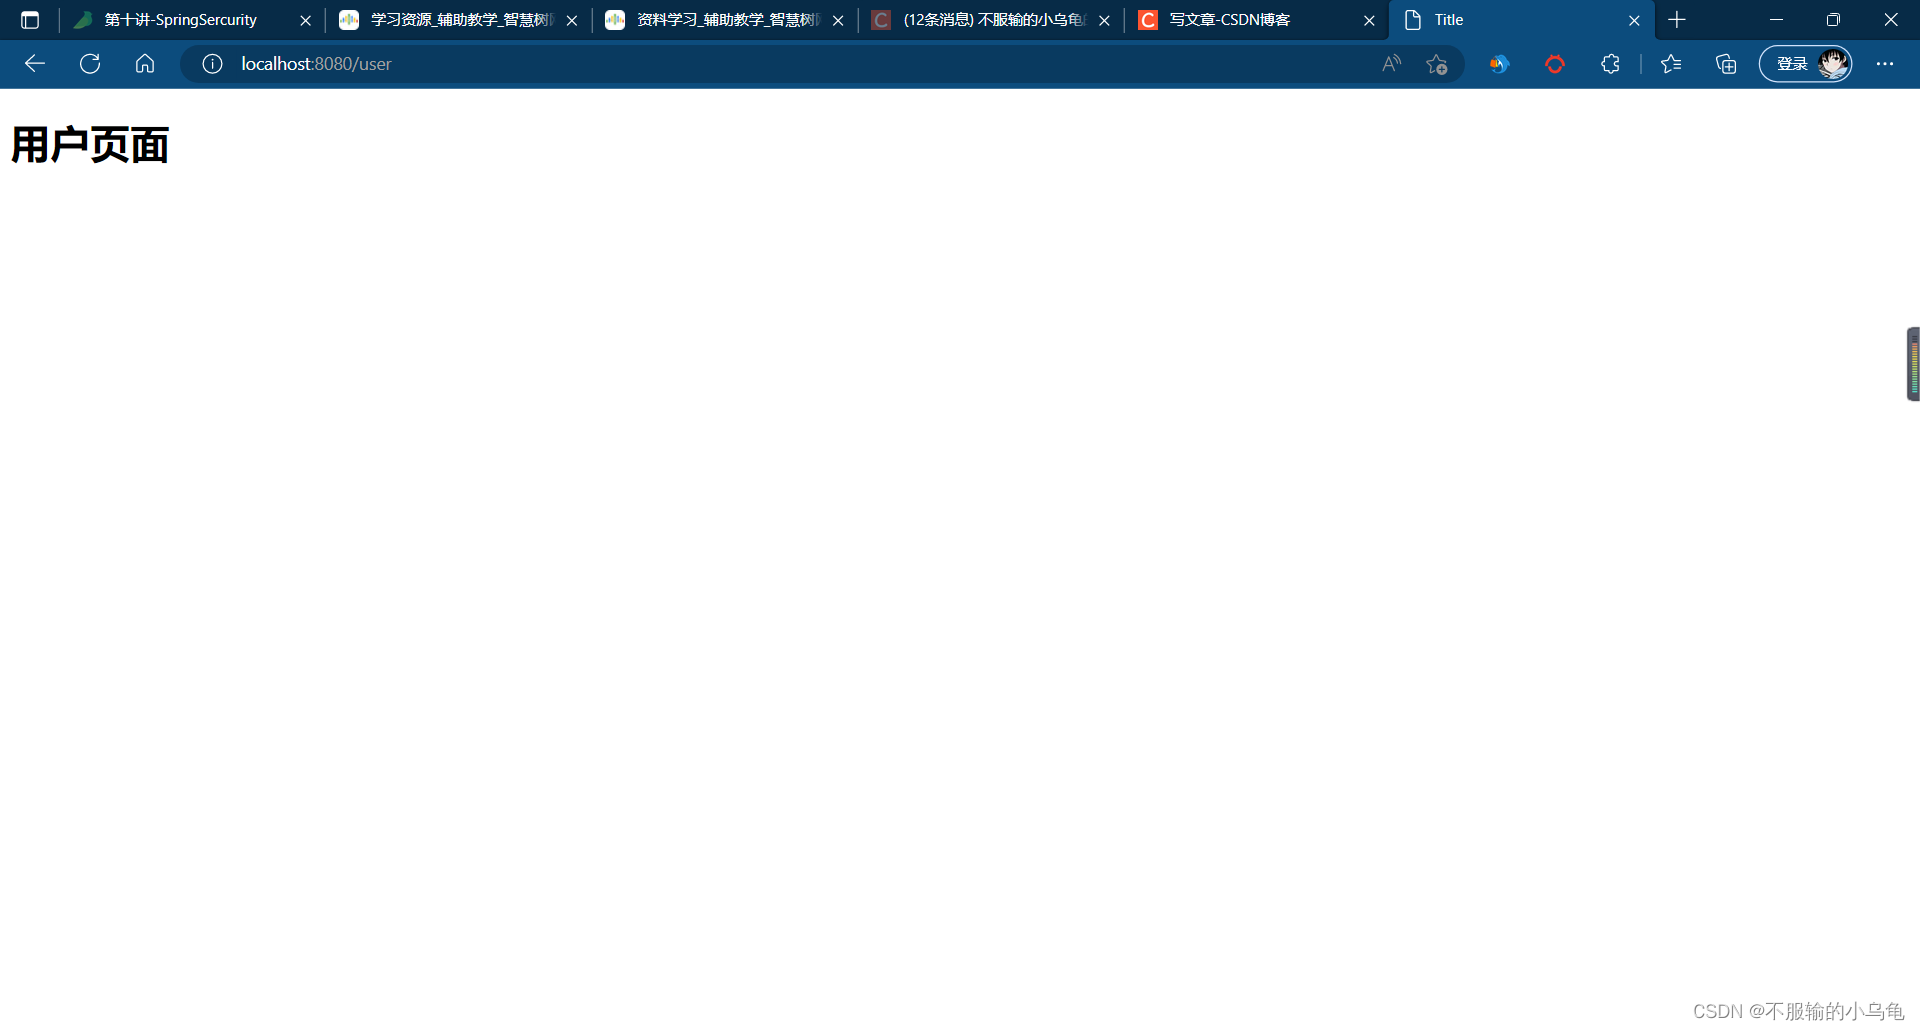
6、点击运行,登录user用户可以访问user页面,但不可以访问admin页面;登录admin用户既可以访问user页面,也可以访问admin页面
(1)登录user用户


(2)登录admin用户

二、数据库认证:从数据库中获取用户名和密码进行验证
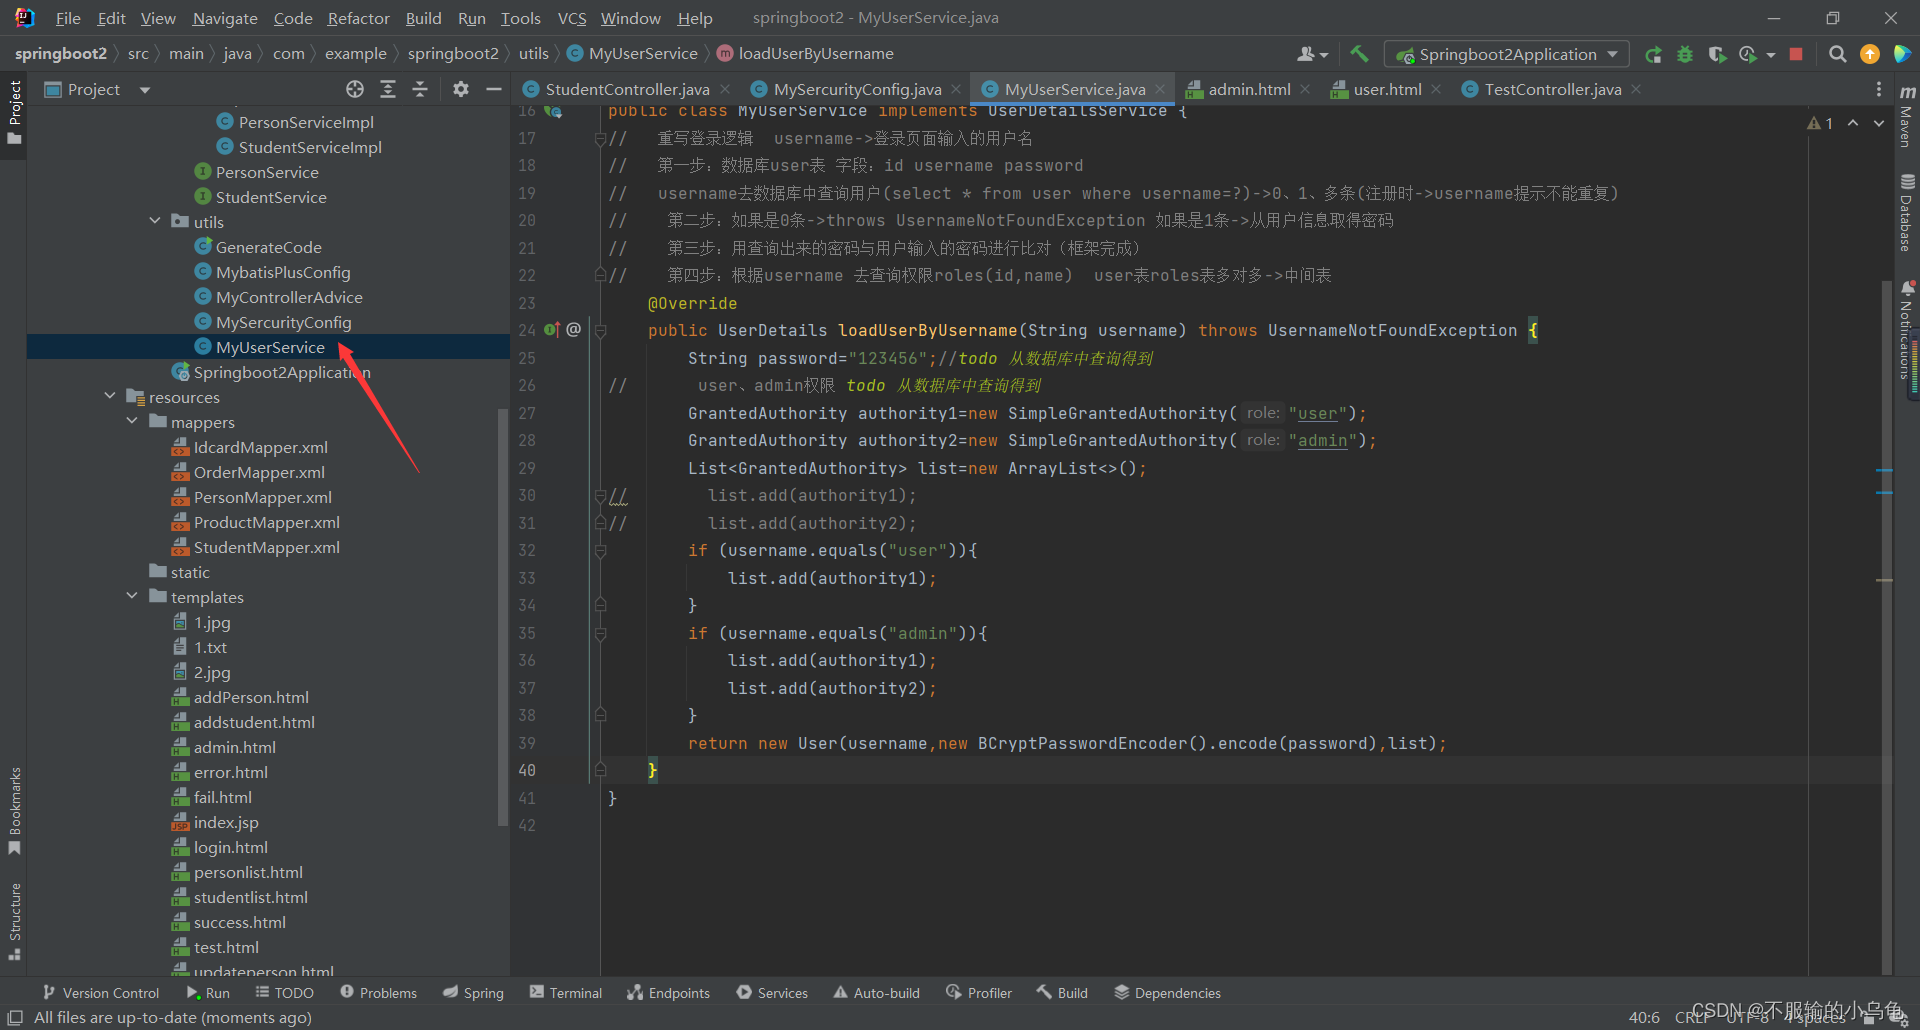
1、在utils文件夹下新建MyUserService类
package com.example.springboot2.utils;

import org.springframework.security.core.GrantedAuthority;
import org.springframework.security.core.authority.SimpleGrantedAuthority;
import org.springframework.security.core.userdetails.User;
import org.springframework.security.core.userdetails.UserDetails;
import org.springframework.security.core.userdetails.UserDetailsService;
import org.springframework.security.core.userdetails.UsernameNotFoundException;
import org.springframework.security.crypto.bcrypt.BCryptPasswordEncoder;
import org.springframework.stereotype.Service;

import java.util.ArrayList;
import java.util.List;

@Service
public class MyUserService implements UserDetailsService {
//   重写登录逻辑  username->登录页面输入的用户名
//   第一步:数据库user表 字段:id username password
//   username去数据库中查询用户(select * from user where username=?)->0、1、多条(注册时->username提示不能重复)
//    第二步:如果是0条->throws UsernameNotFoundException 如果是1条->从用户信息取得密码
//    第三步:用查询出来的密码与用户输入的密码进行比对(框架完成)
//    第四步:根据username 去查询权限roles(id,name)  user表roles表多对多->中间表
    @Override
    public UserDetails loadUserByUsername(String username) throws UsernameNotFoundException {
        String password="123456";//todo 从数据库中查询得到
//       user、admin权限 todo 从数据库中查询得到
        GrantedAuthority authority1=new SimpleGrantedAuthority("user");
        GrantedAuthority authority2=new SimpleGrantedAuthority("admin");
        List<GrantedAuthority> list=new ArrayList<>();
        if (username.equals("user")){
            list.add(authority1);
        }
        if (username.equals("admin")){
            list.add(authority1);
            list.add(authority2);
        }
        return new User(username,new BCryptPasswordEncoder().encode(password),list);
    }
}
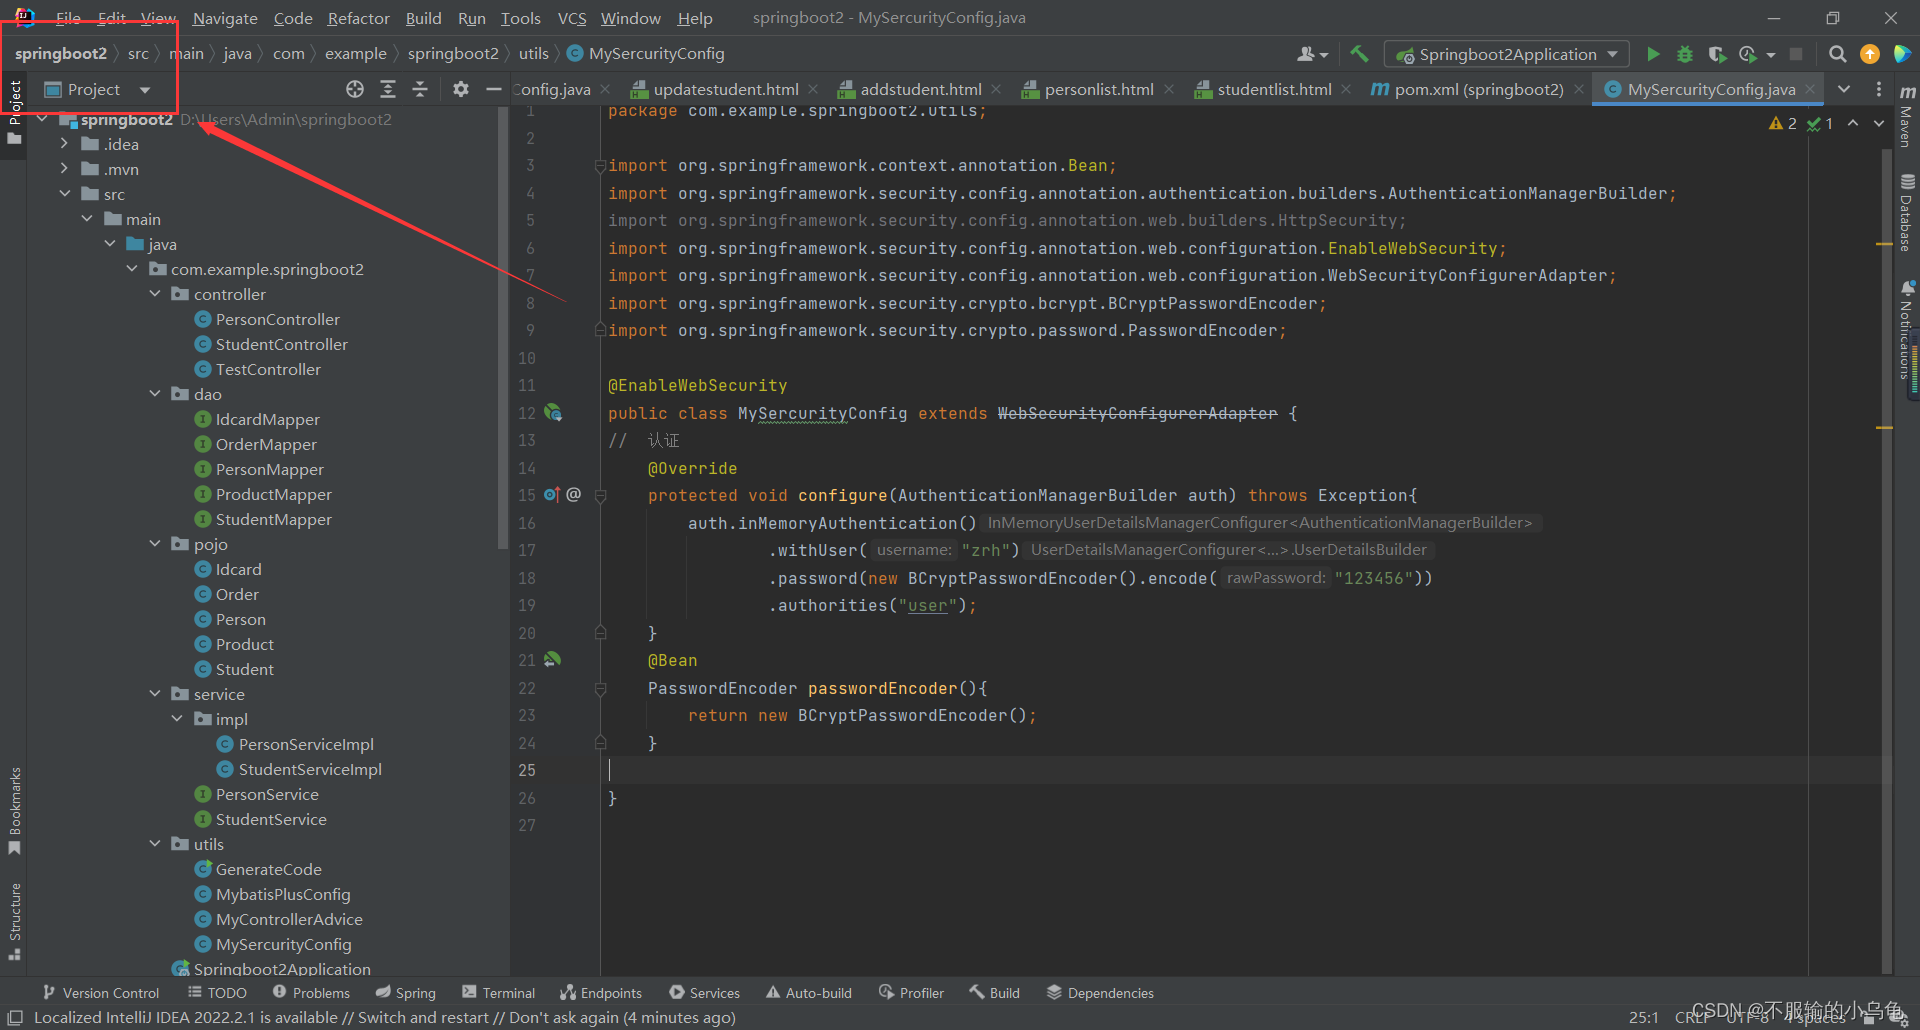
2、修改MySercurityConfig类
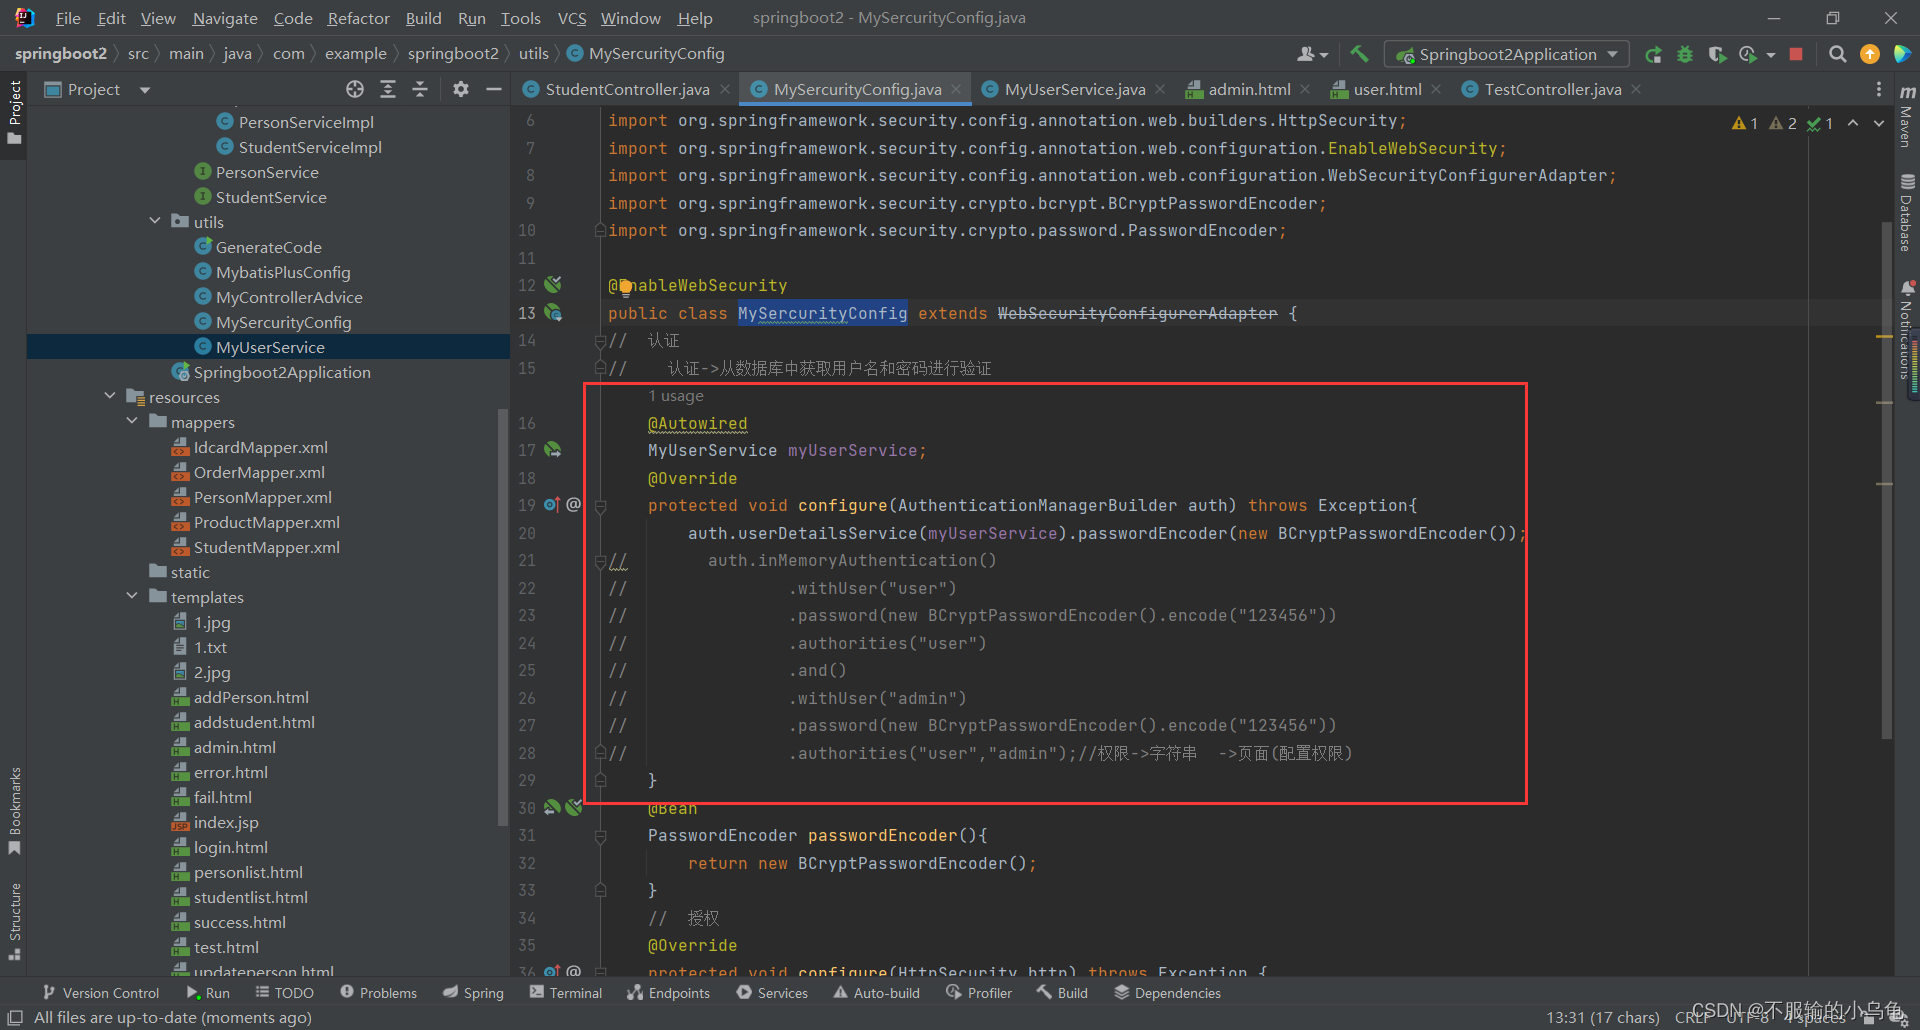
package com.example.springboot2.utils;

import org.springframework.beans.factory.annotation.Autowired;
import org.springframework.context.annotation.Bean;
import org.springframework.security.config.annotation.authentication.builders.AuthenticationManagerBuilder;
import org.springframework.security.config.annotation.web.builders.HttpSecurity;
import org.springframework.security.config.annotation.web.configuration.EnableWebSecurity;
import org.springframework.security.config.annotation.web.configuration.WebSecurityConfigurerAdapter;
import org.springframework.security.crypto.bcrypt.BCryptPasswordEncoder;
import org.springframework.security.crypto.password.PasswordEncoder;

@EnableWebSecurity
public class MySercurityConfig extends WebSecurityConfigurerAdapter {
//  认证
//    认证->从数据库中获取用户名和密码进行验证
    @Autowired
    MyUserService myUserService;
    @Override
    protected void configure(AuthenticationManagerBuilder auth) throws Exception{
        auth.userDetailsService(myUserService).passwordEncoder(new BCryptPasswordEncoder());
//        auth.inMemoryAuthentication()
//                .withUser("user")
//                .password(new BCryptPasswordEncoder().encode("123456"))
//                .authorities("user")
//                .and()
//                .withUser("admin")
//                .password(new BCryptPasswordEncoder().encode("123456"))
//                .authorities("user","admin");//权限->字符串  ->页面(配置权限)
    }
    @Bean
    PasswordEncoder passwordEncoder(){
        return new BCryptPasswordEncoder();
    }
    //  授权
    @Override
    protected void configure(HttpSecurity http) throws Exception {
        http.authorizeHttpRequests()//拦截所有请求
                .antMatchers("/home","/login").permitAll()//某些请求不需要登录->放行某些接口
                .antMatchers("/user").hasAuthority("user")//对页面配置权限
                .antMatchers("/admin").hasAuthority("admin")
                .anyRequest().authenticated();//其他的接口拦截
        http.formLogin();//拦截后跳转到表单页面
    }
}
3、点击运行,登录user用户可以访问user页面,但不可以访问admin页面;登录admin用户既可以访问user页面,也可以访问admin页面
(1)登录user用户


(2)登录admin用户

三、自定义登录页面
1、修改MySercurityConfig类
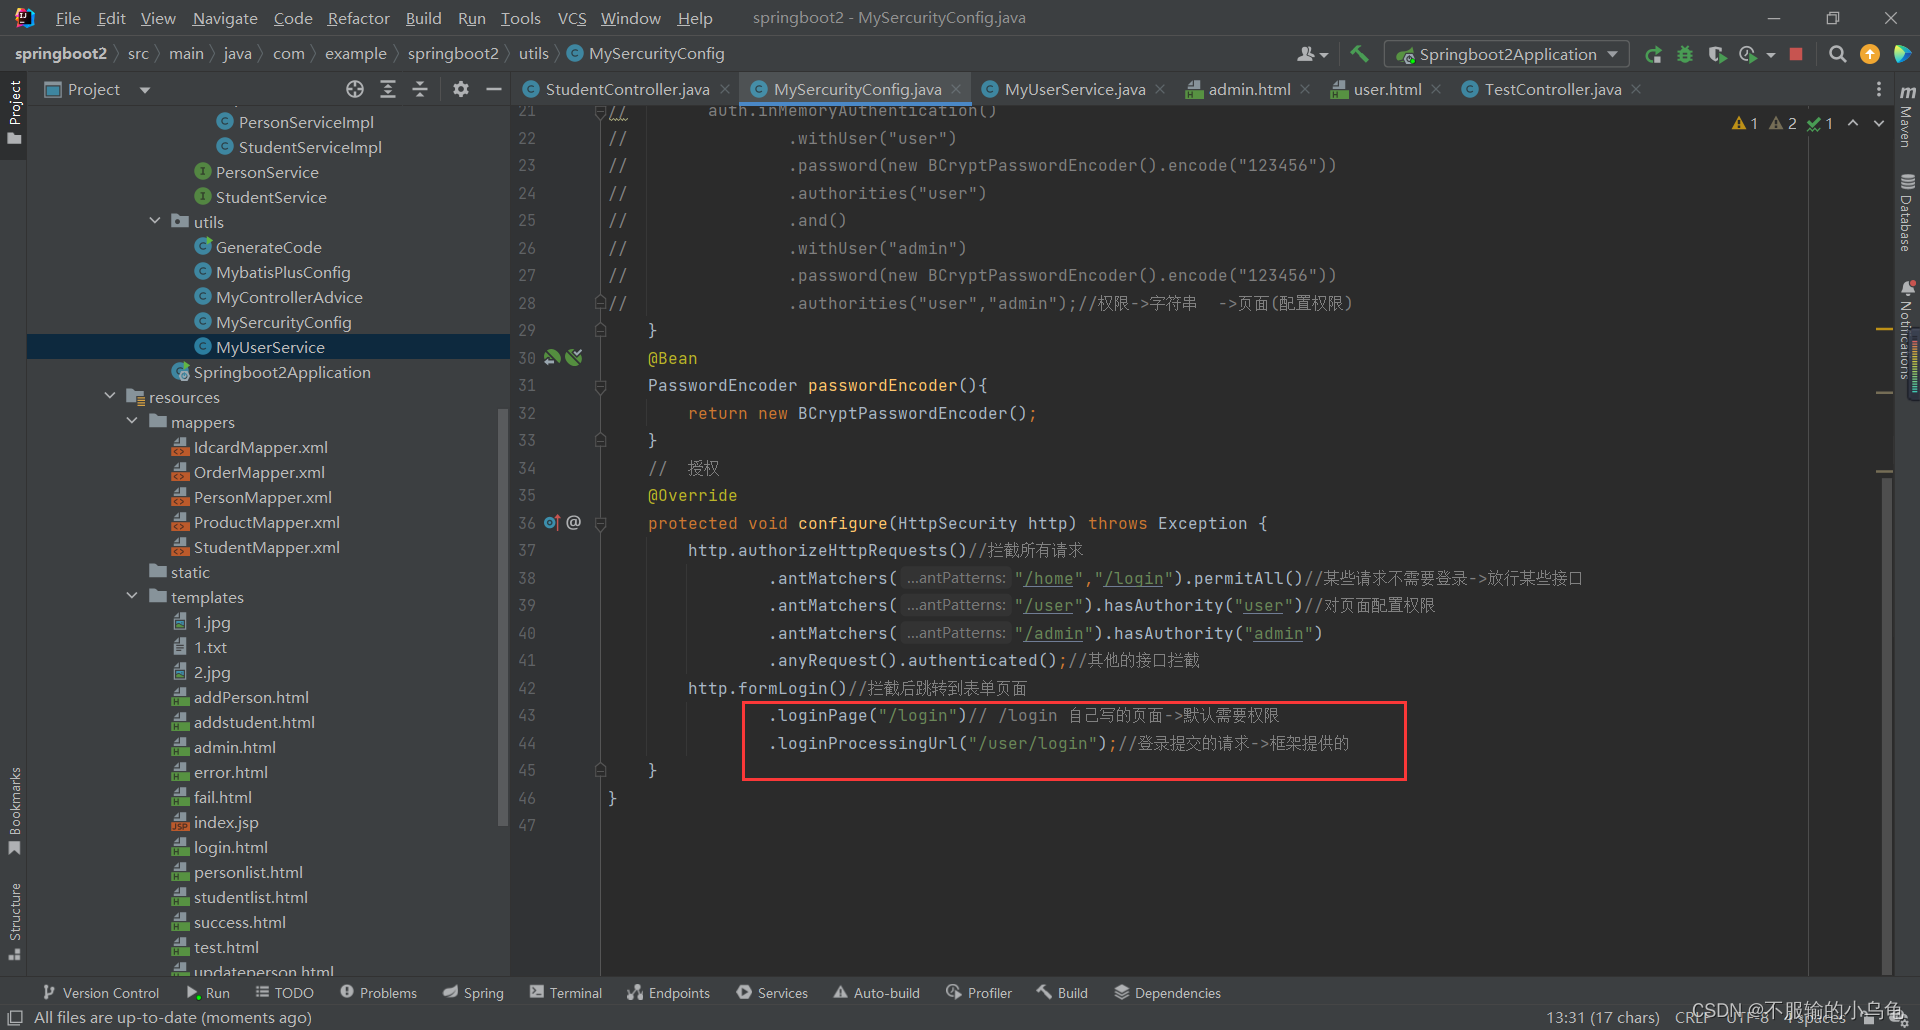
// 授权
@Override
protected void configure(HttpSecurity http) throws Exception {
http.authorizeHttpRequests()//拦截所有请求
.antMatchers("/home","/login").permitAll()//某些请求不需要登录->放行某些接口
.antMatchers("/user").hasAuthority("user")//对页面配置权限
.antMatchers("/admin").hasAuthority("admin")
.anyRequest().authenticated();//其他的接口拦截
http.formLogin()//拦截后跳转到表单页面
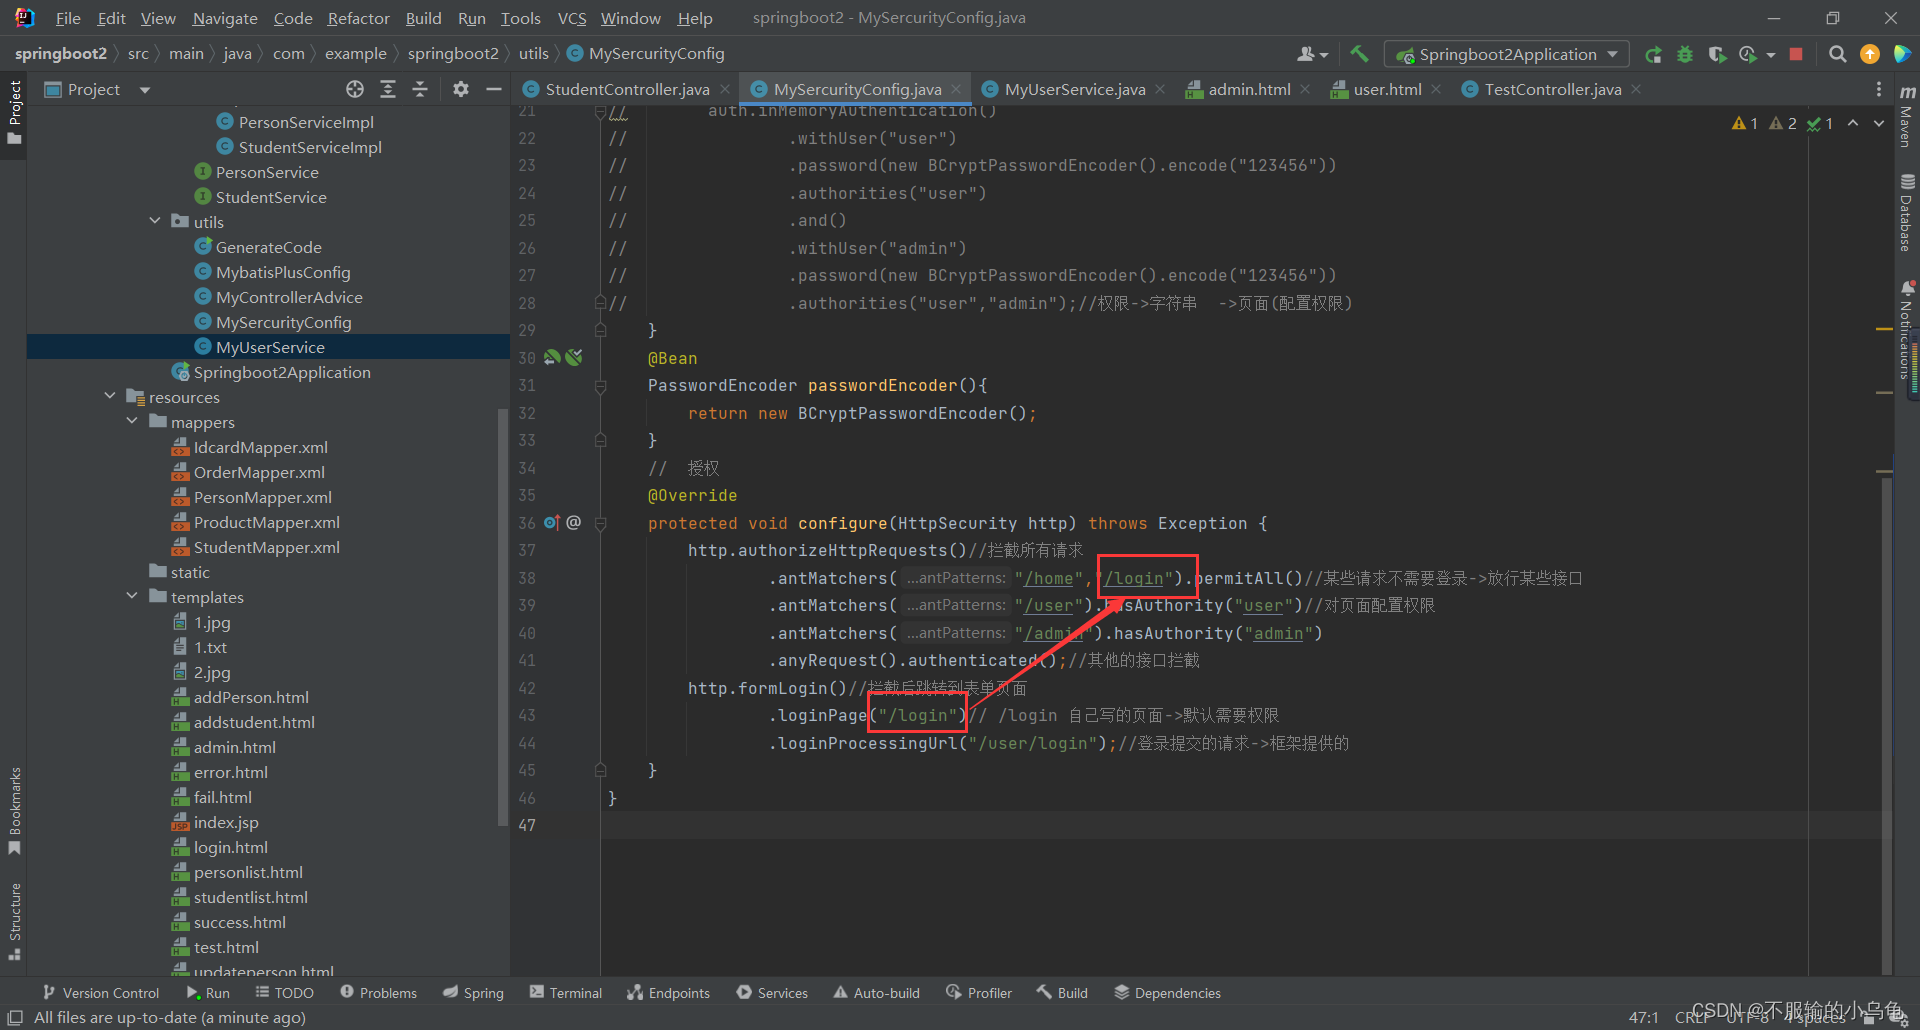
.loginPage("/login")// /login 自己写的页面->默认需要权限
.loginProcessingUrl("/user/login");//登录提交的请求->框架提供的
}
2、修改login.html
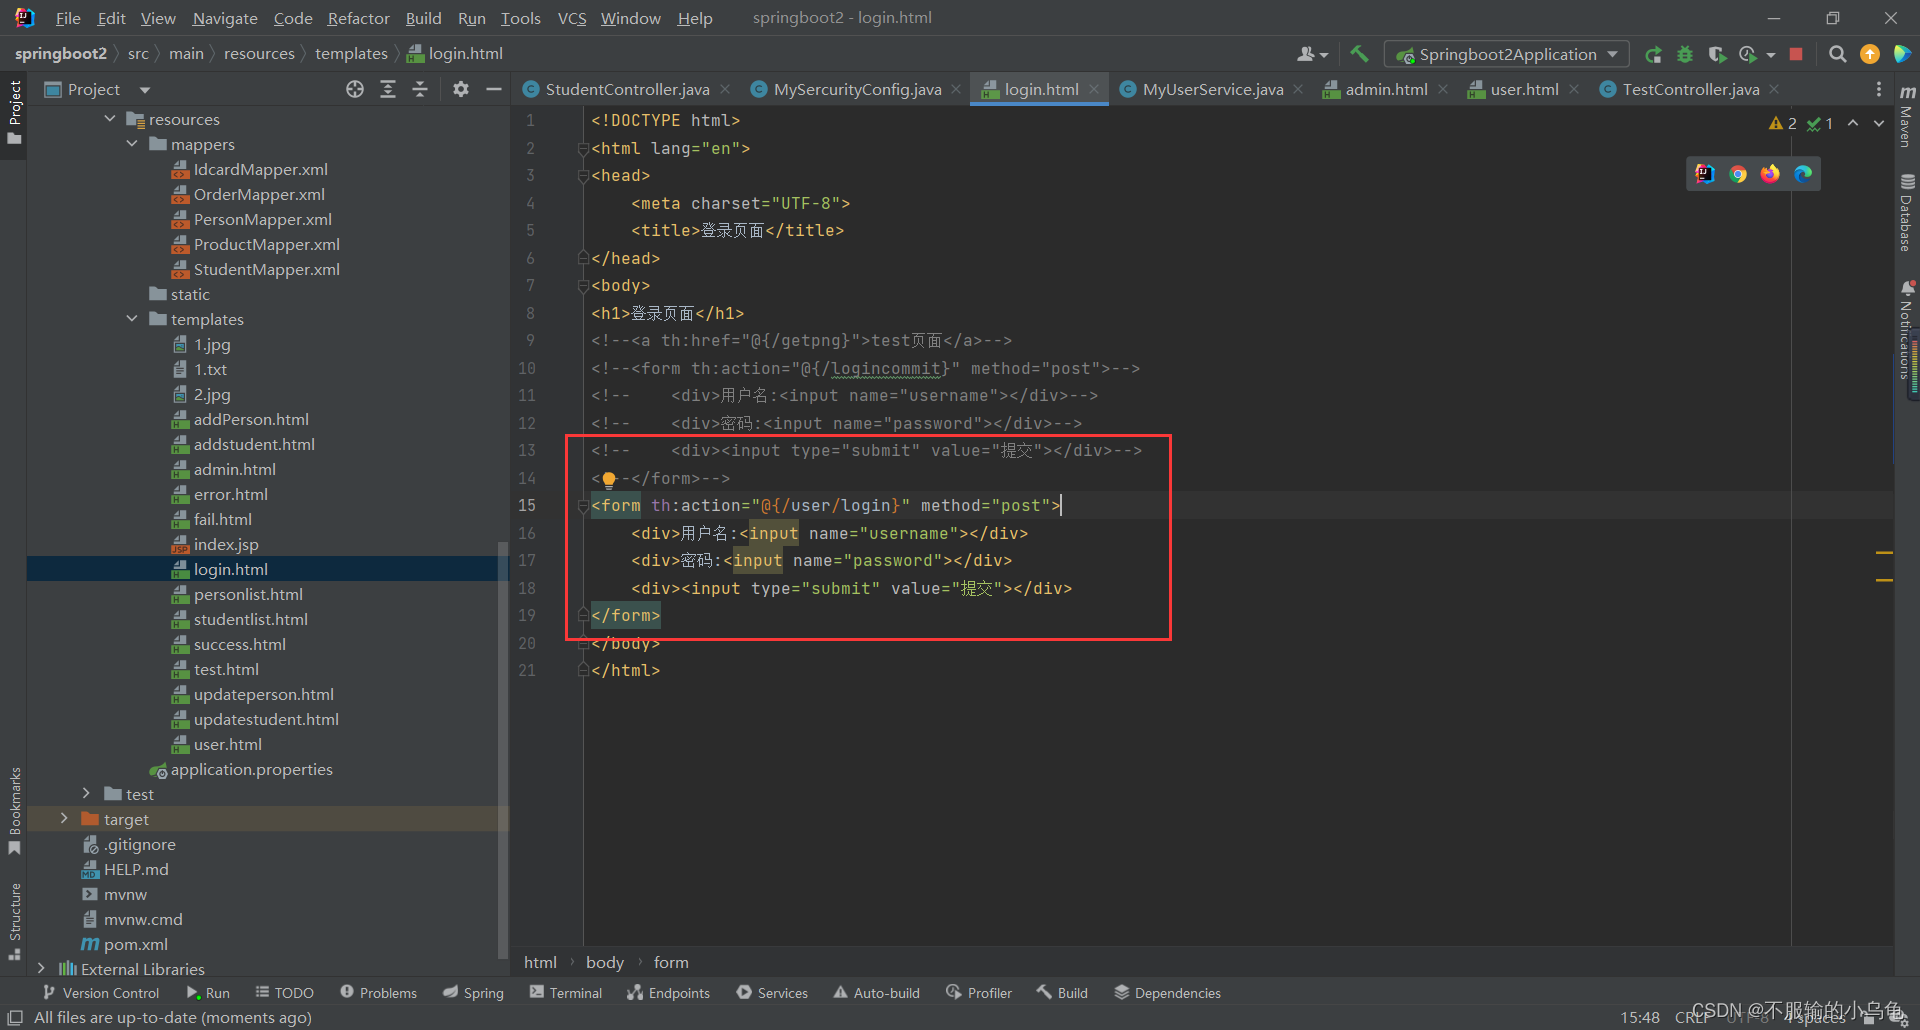
<!DOCTYPE html>
<html lang="en">
<head>
    <meta charset="UTF-8">
    <title>登录页面</title>
</head>
<body>
<h1>登录页面</h1>
<form th:action="@{/user/login}" method="post">
    <div>用户名:<input name="username"></div>
    <div>密码:<input name="password"></div>
    <div><input type="submit" value="提交"></div>
</form>
</body>
</html>
3、点击运行,登录页面变成我们自定义的页面啦

四、自定义登出页面
1、修改MySercurityConfig类
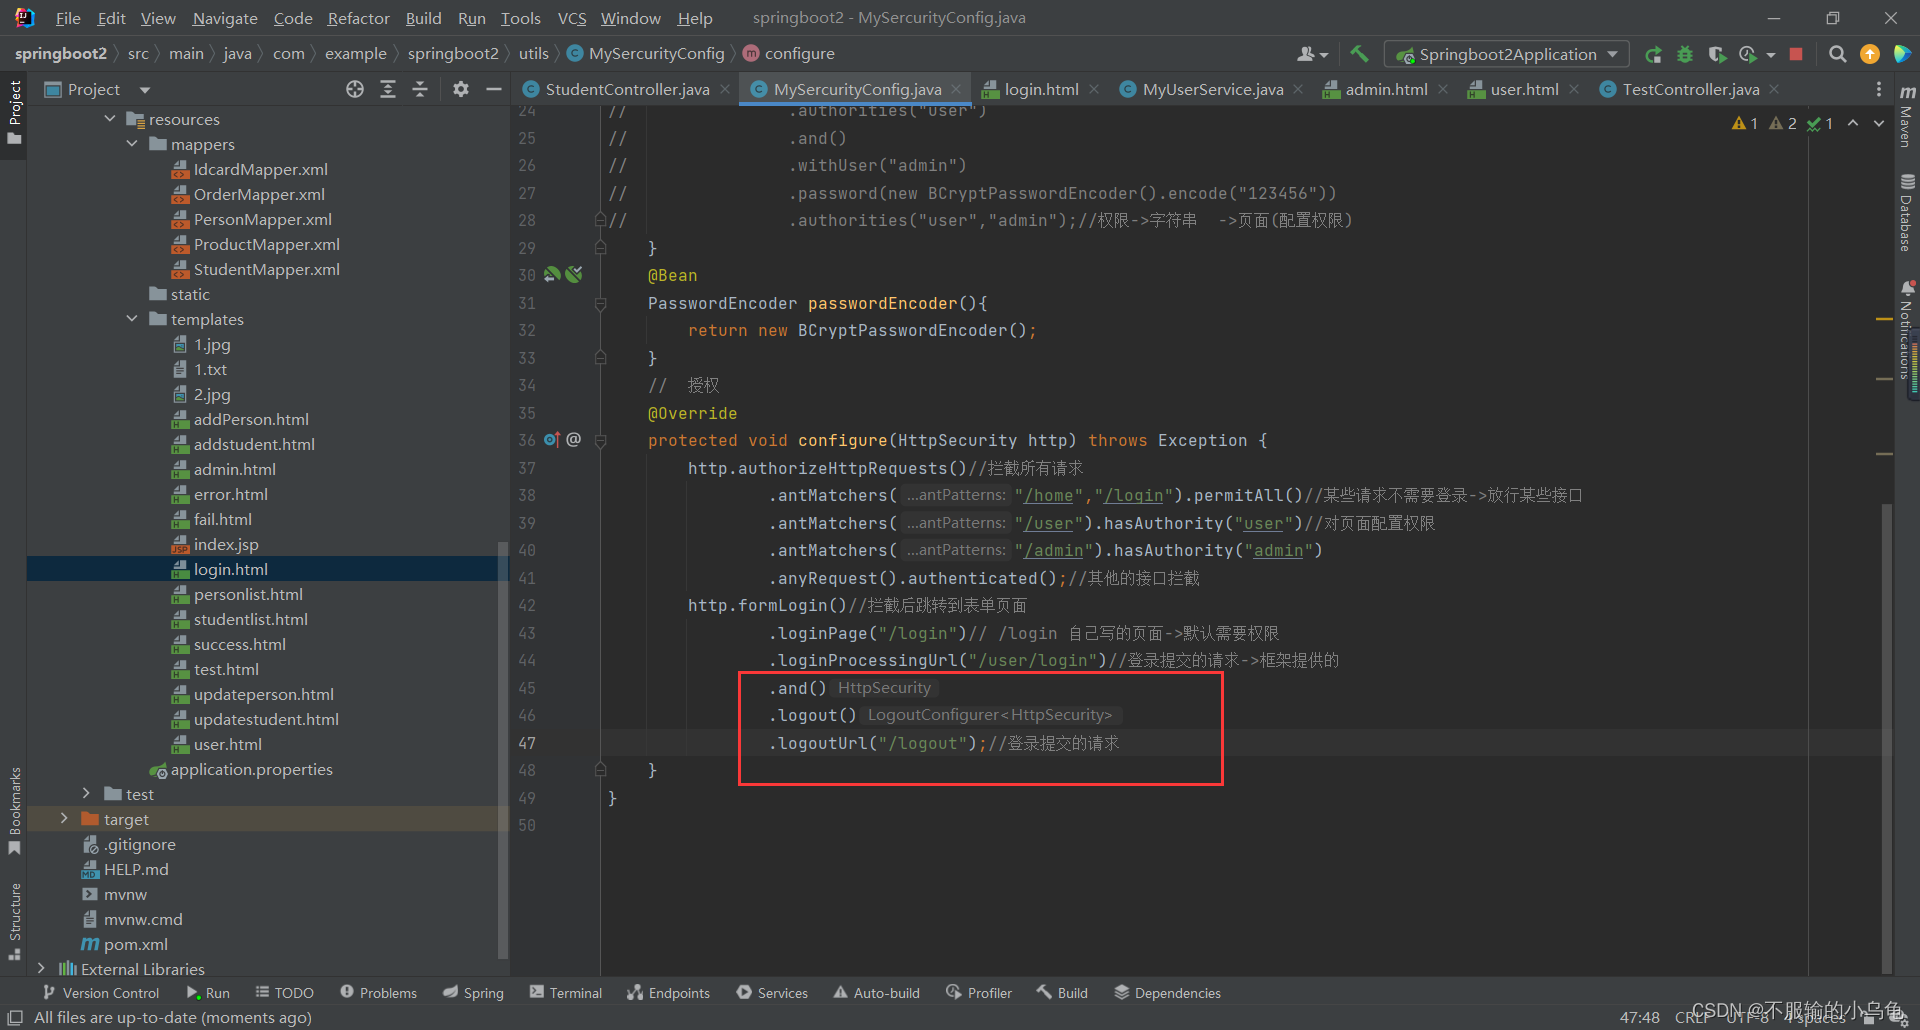
    //  授权
    @Override
    protected void configure(HttpSecurity http) throws Exception {
        http.authorizeHttpRequests()//拦截所有请求
                .antMatchers("/home","/login").permitAll()//某些请求不需要登录->放行某些接口
                .antMatchers("/user").hasAuthority("user")//对页面配置权限
                .antMatchers("/admin").hasAuthority("admin")
                .anyRequest().authenticated();//其他的接口拦截
        http.formLogin()//拦截后跳转到表单页面
                .loginPage("/login")// /login 自己写的页面->默认需要权限
                .loginProcessingUrl("/user/login")//登录提交的请求->框架提供的
                .and()
                .logout()
                .logoutUrl("/logout");//登录提交的请求
    }
2、在templates文件夹下新建mylogout.html
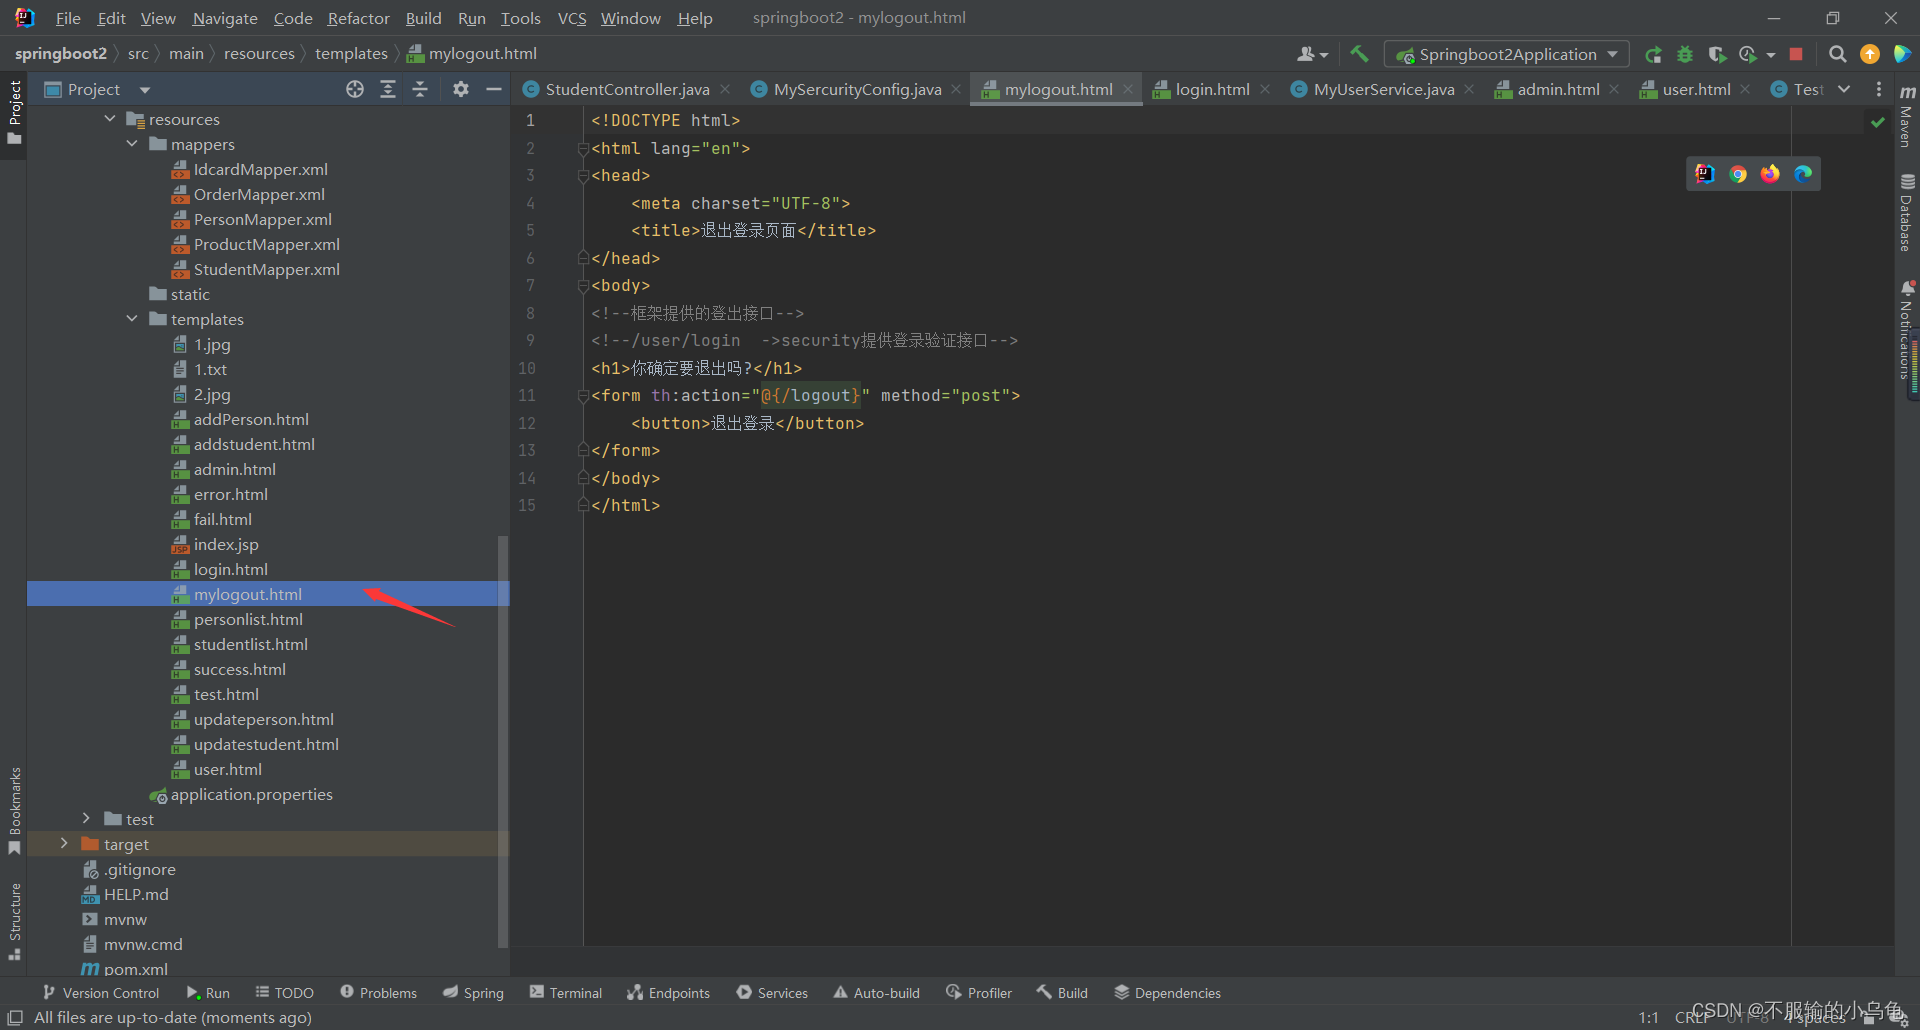
<!DOCTYPE html>
<html lang="en">
<head>
    <meta charset="UTF-8">
    <title>退出登录页面</title>
</head>
<body>
<!--框架提供的登出接口-->
<!--/user/login  ->security提供登录验证接口-->
<h1>你确定要退出吗?</h1>
<form th:action="@{/logout}" method="post">
    <button>退出登录</button>
</form>
</body>
</html>
3、修改TestController类
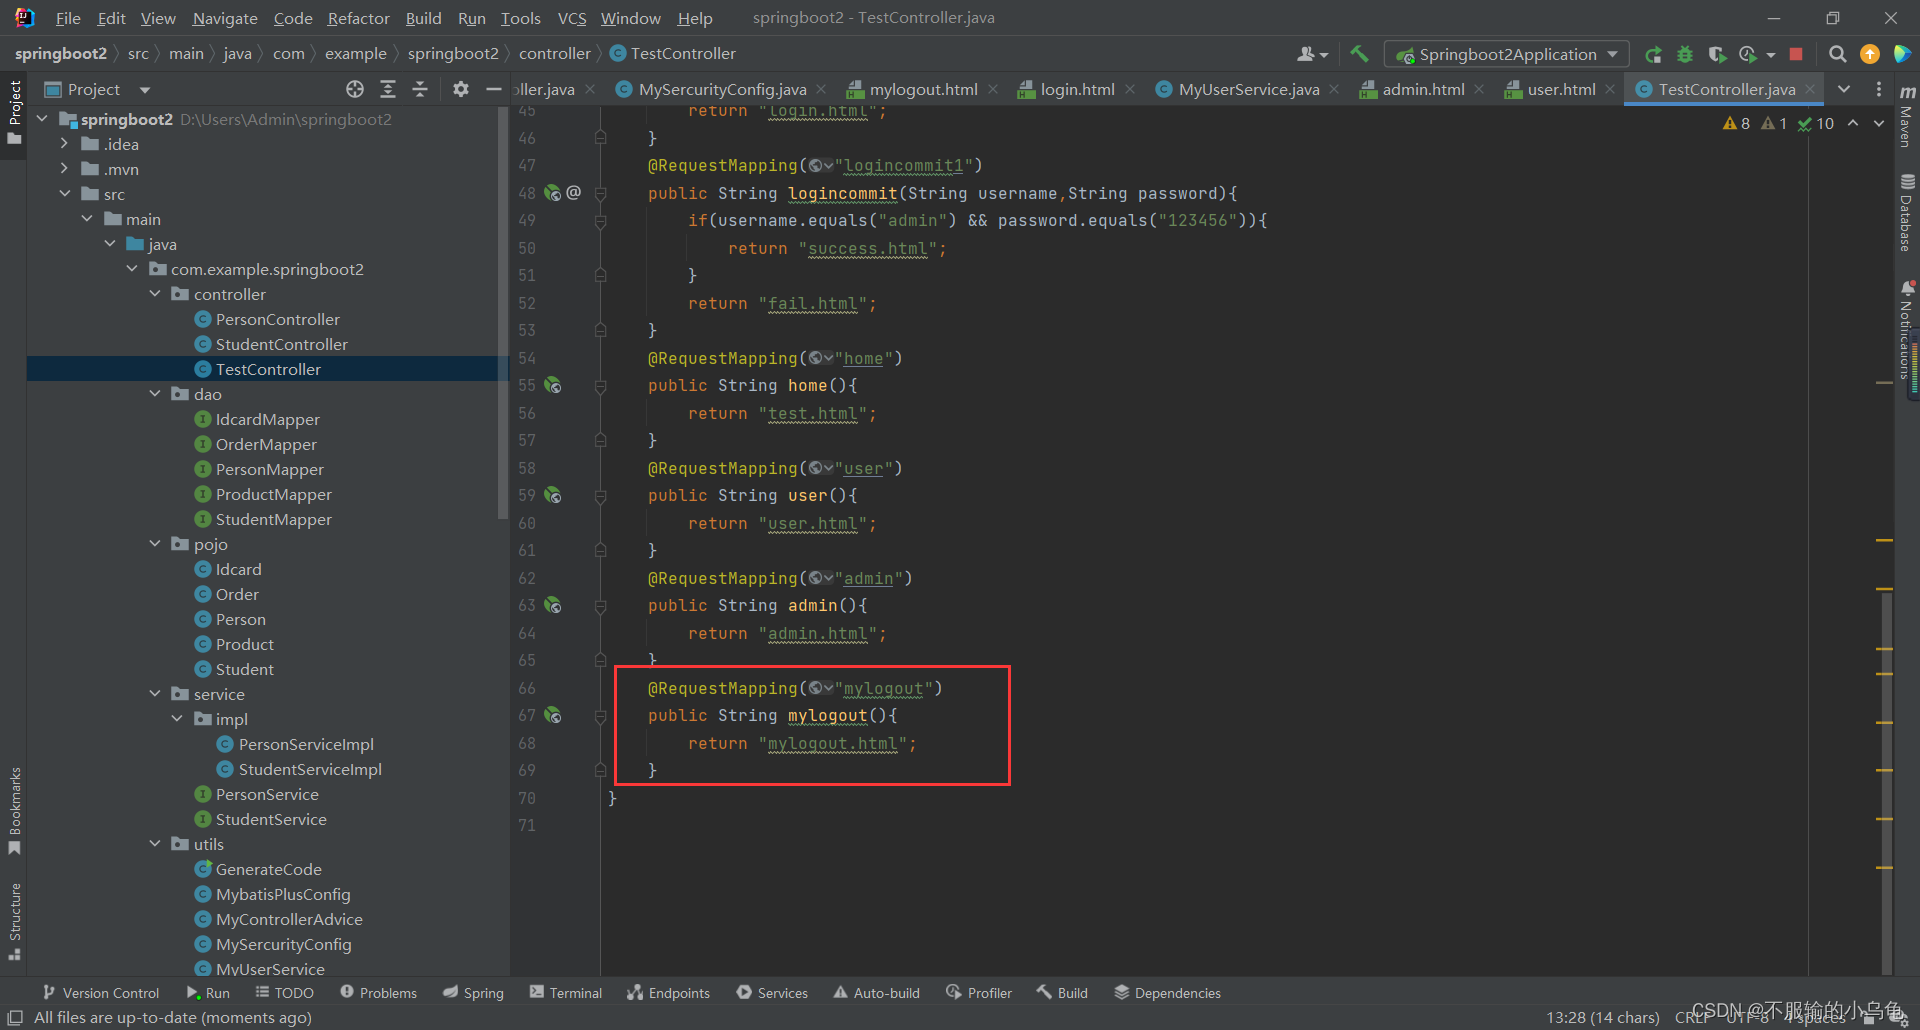
    @RequestMapping("mylogout")
    public String mylogout(){
        return "mylogout.html";
    }
4、点击运行,登出页面也变为我们自定义的页面啦,退出登录后回到登录页面

五、文件上传
1、修改application.properties
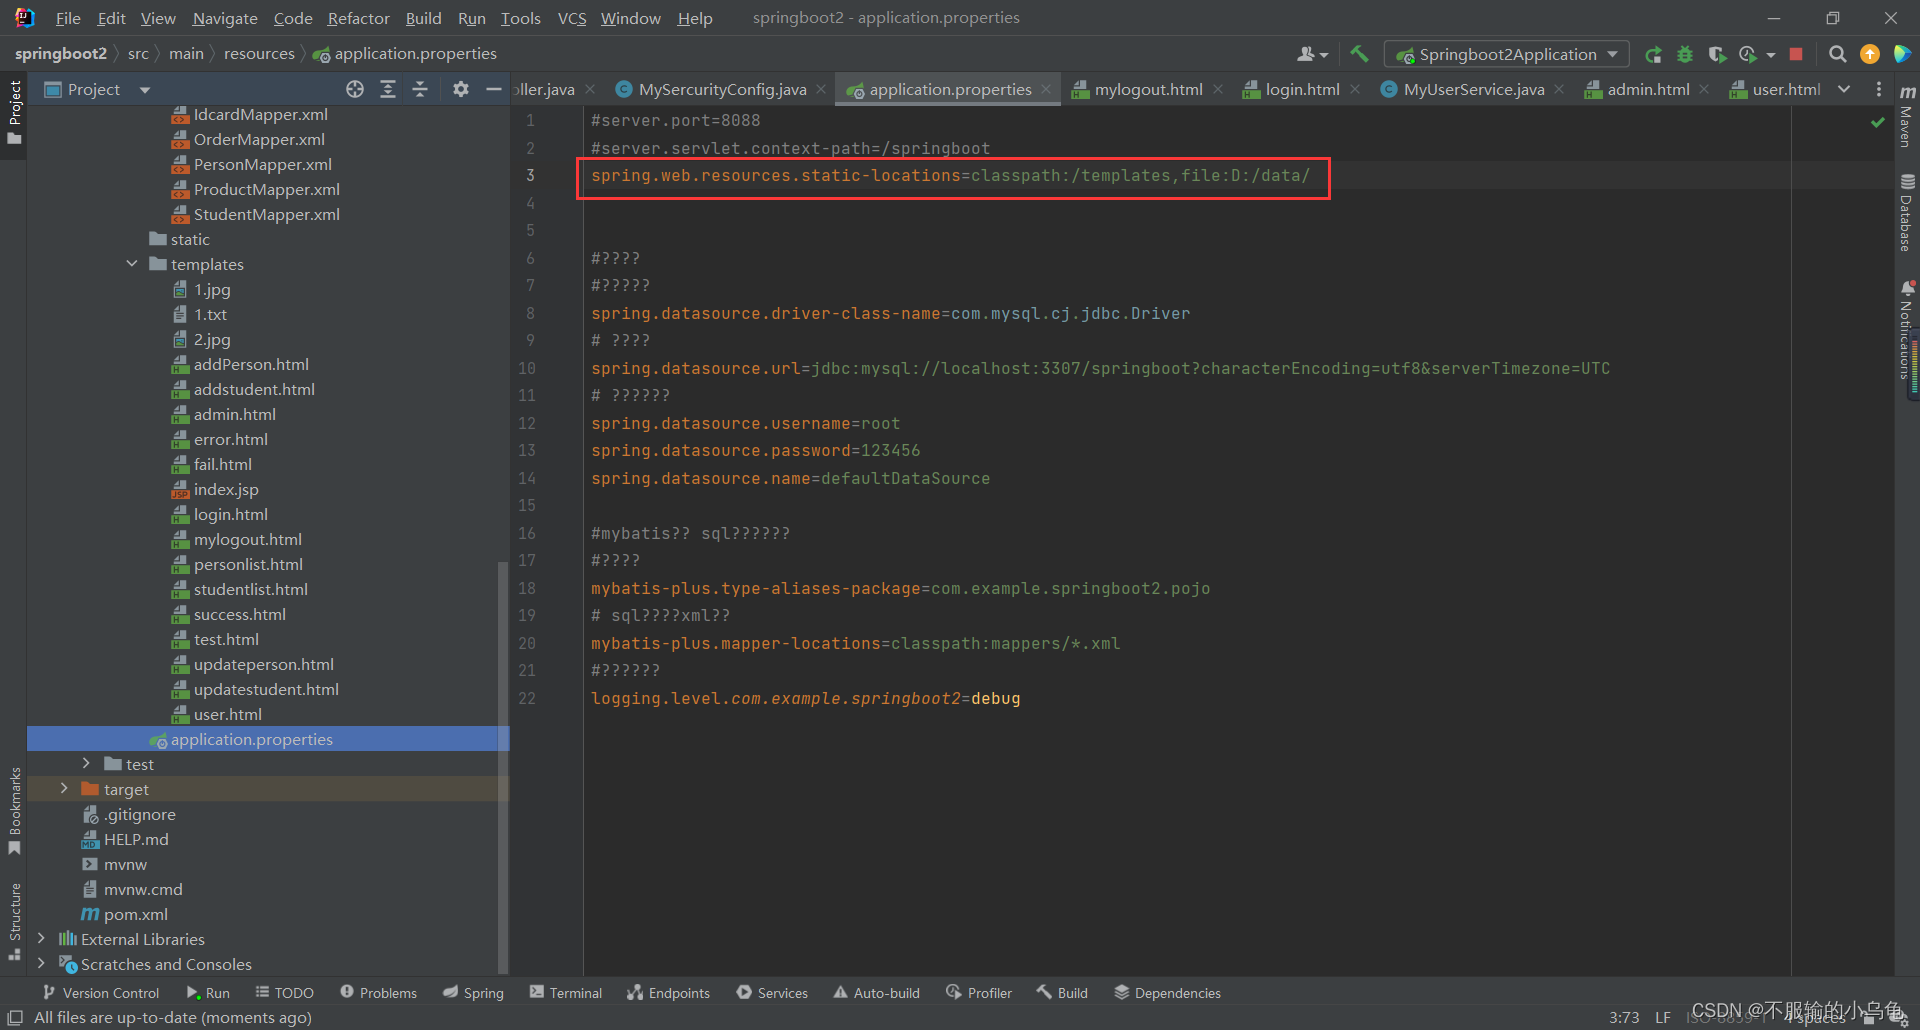
spring.web.resources.static-locations=classpath:/templates,file:D:/data/
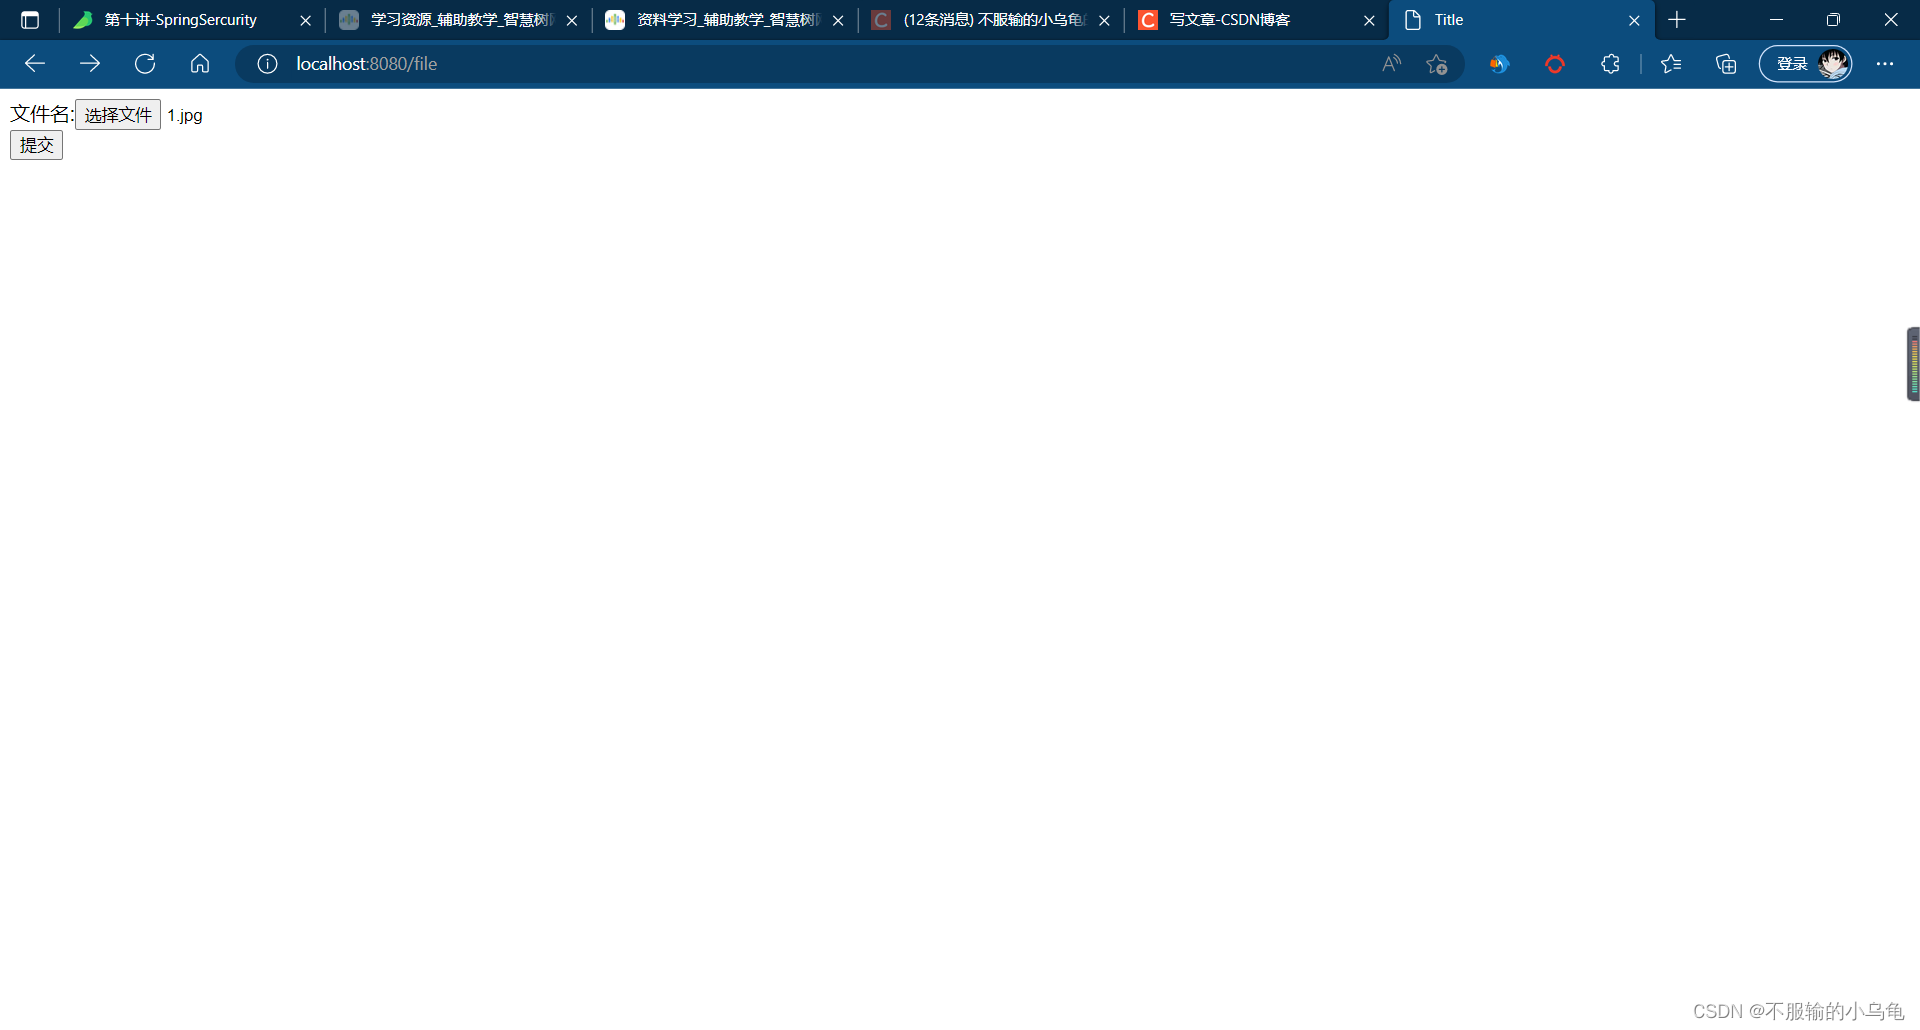
2、在templates文件夹下新建file.html
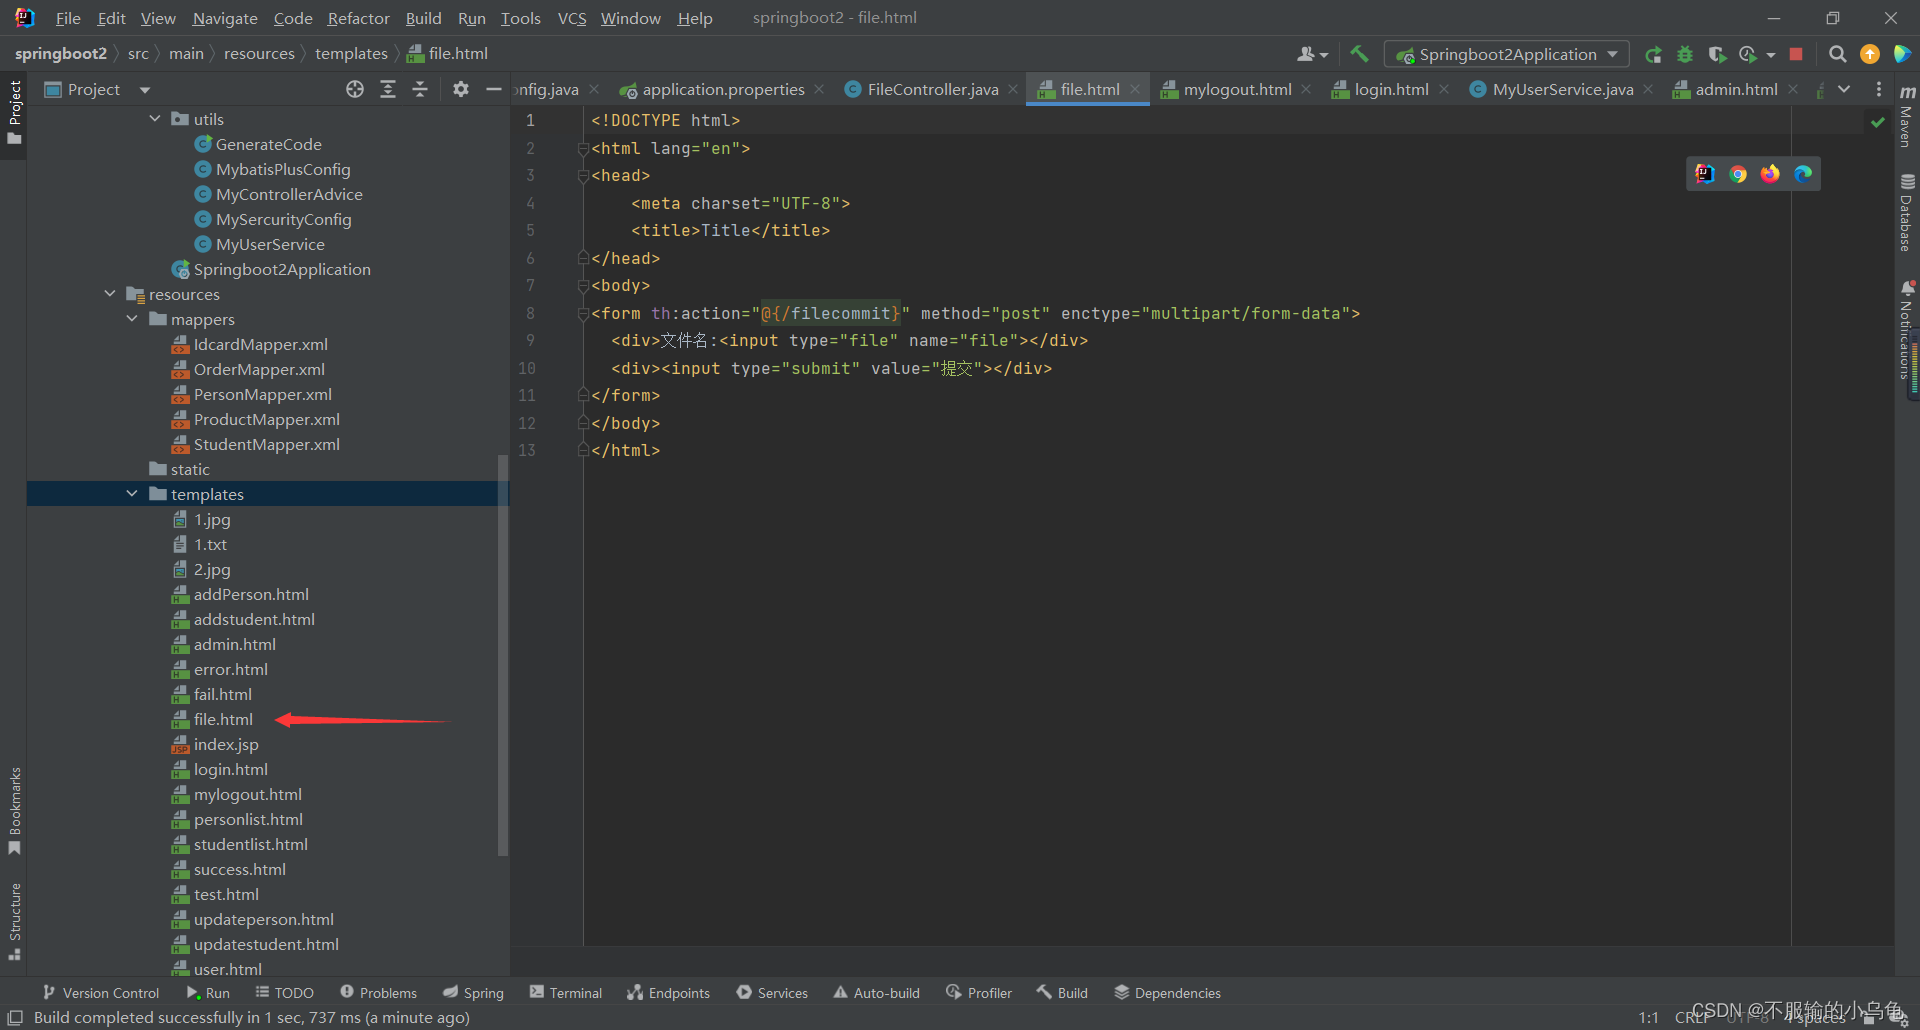
<!DOCTYPE html>
<html lang="en">
<head>
    <meta charset="UTF-8">
    <title>Title</title>
</head>
<body>
<form th:action="@{/filecommit}" method="post" enctype="multipart/form-data">
  <div>文件名:<input type="file" name="file"></div>
  <div><input type="submit" value="提交"></div>
</form>
</body>
</html>
3、在controller文件夹下新建FileController类
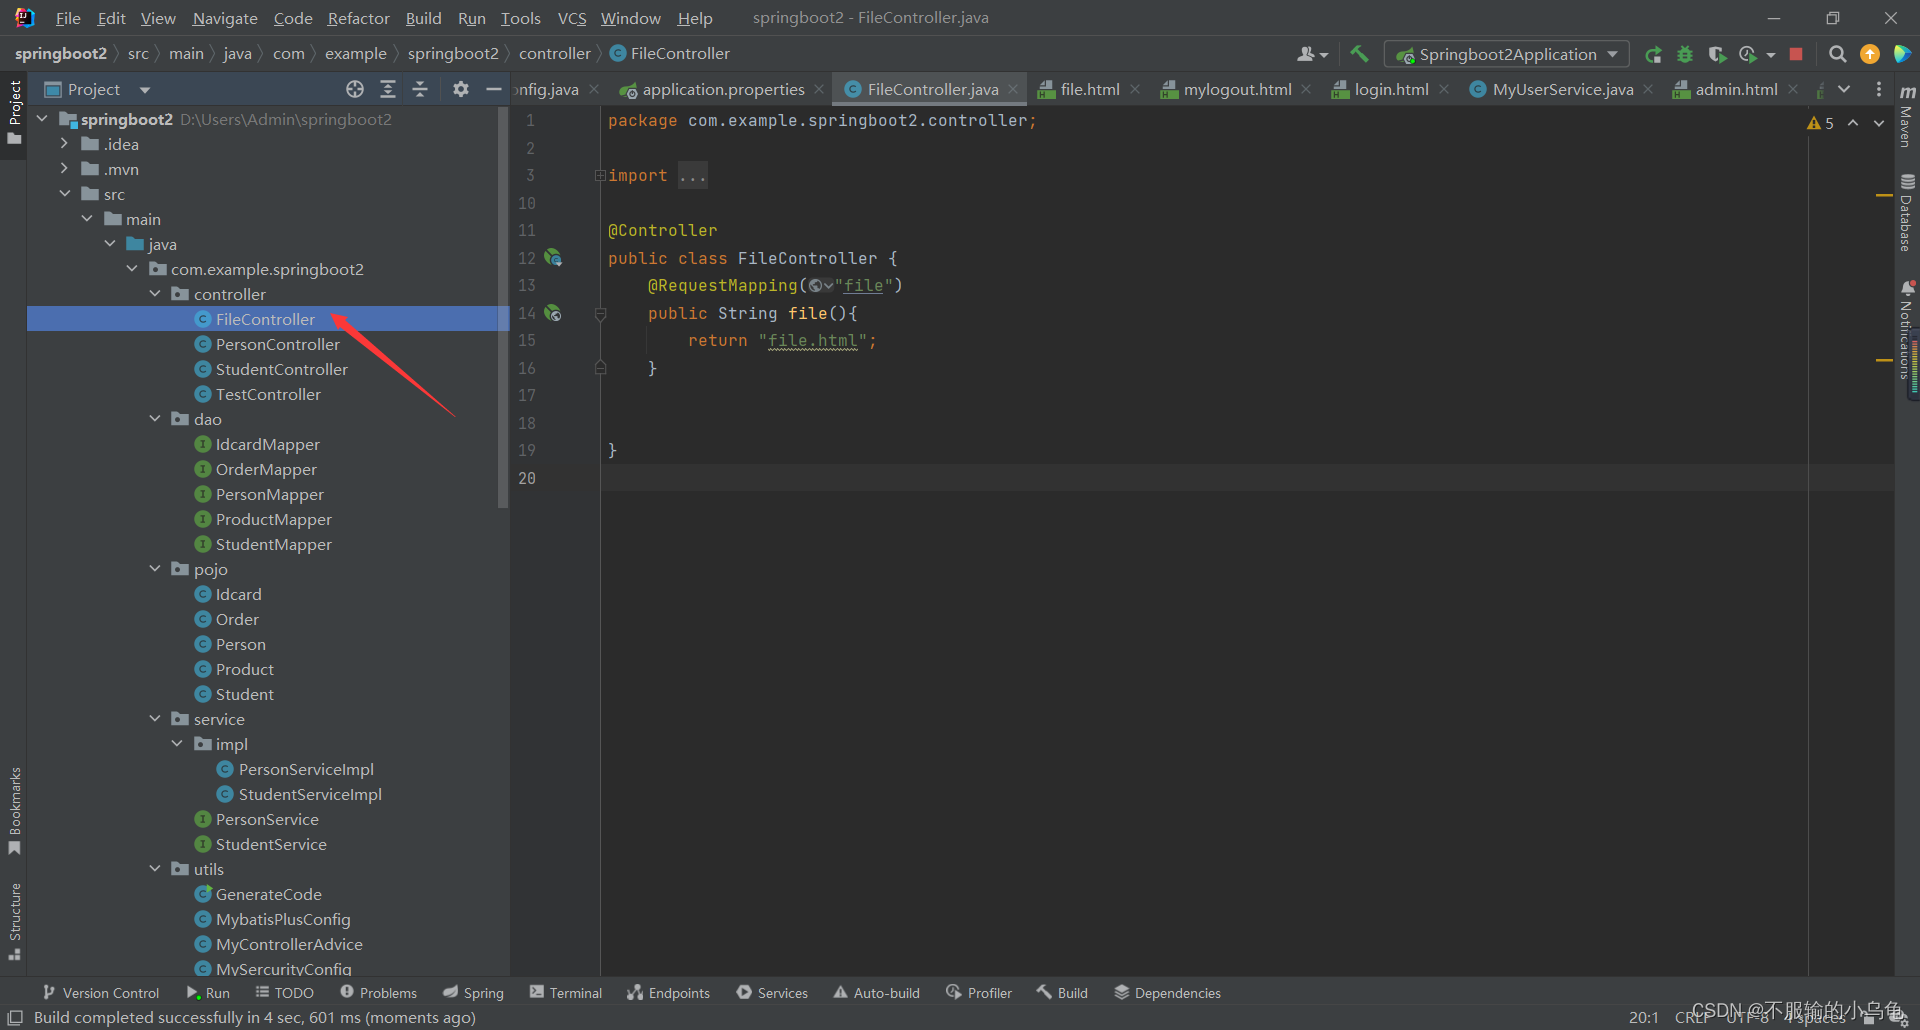
package com.example.springboot2.controller;

import org.springframework.stereotype.Controller;
import org.springframework.web.bind.annotation.RequestMapping;
import org.springframework.web.multipart.MultipartFile;

import java.io.File;
import java.io.IOException;
import java.util.UUID;

@Controller
public class FileController {
    @RequestMapping("file")
    public String file(){
        return "file.html";
    }
}
4、点击运行,选择文件成功

5、修改MySercurityConfig类,设置"/**"放行所有接口
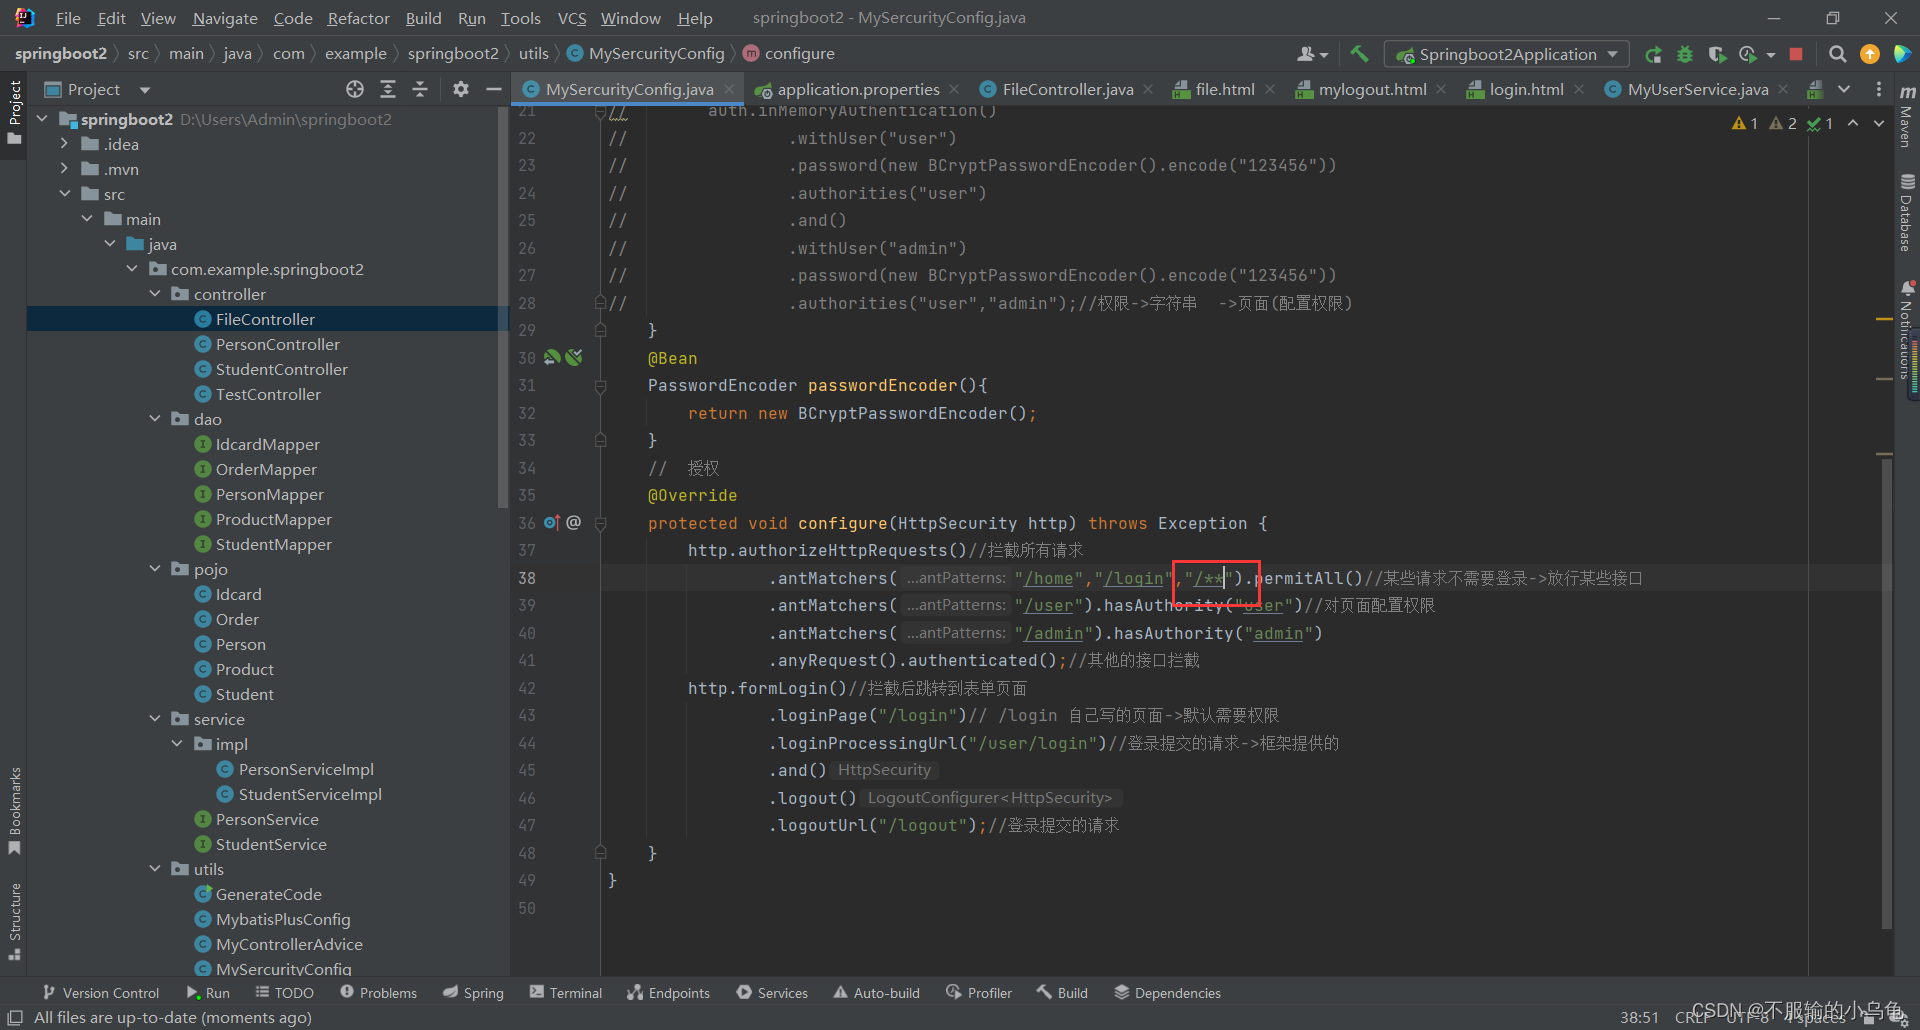
    //  授权
    @Override
    protected void configure(HttpSecurity http) throws Exception {
        http.authorizeHttpRequests()//拦截所有请求
                .antMatchers("/home","/login","/**").permitAll()//某些请求不需要登录->放行某些接口
                .antMatchers("/user").hasAuthority("user")//对页面配置权限
                .antMatchers("/admin").hasAuthority("admin")
                .anyRequest().authenticated();//其他的接口拦截
        http.formLogin()//拦截后跳转到表单页面
                .loginPage("/login")// /login 自己写的页面->默认需要权限
                .loginProcessingUrl("/user/login")//登录提交的请求->框架提供的
                .and()
                .logout()
                .logoutUrl("/logout");//登录提交的请求
    }
6、修改FileController类
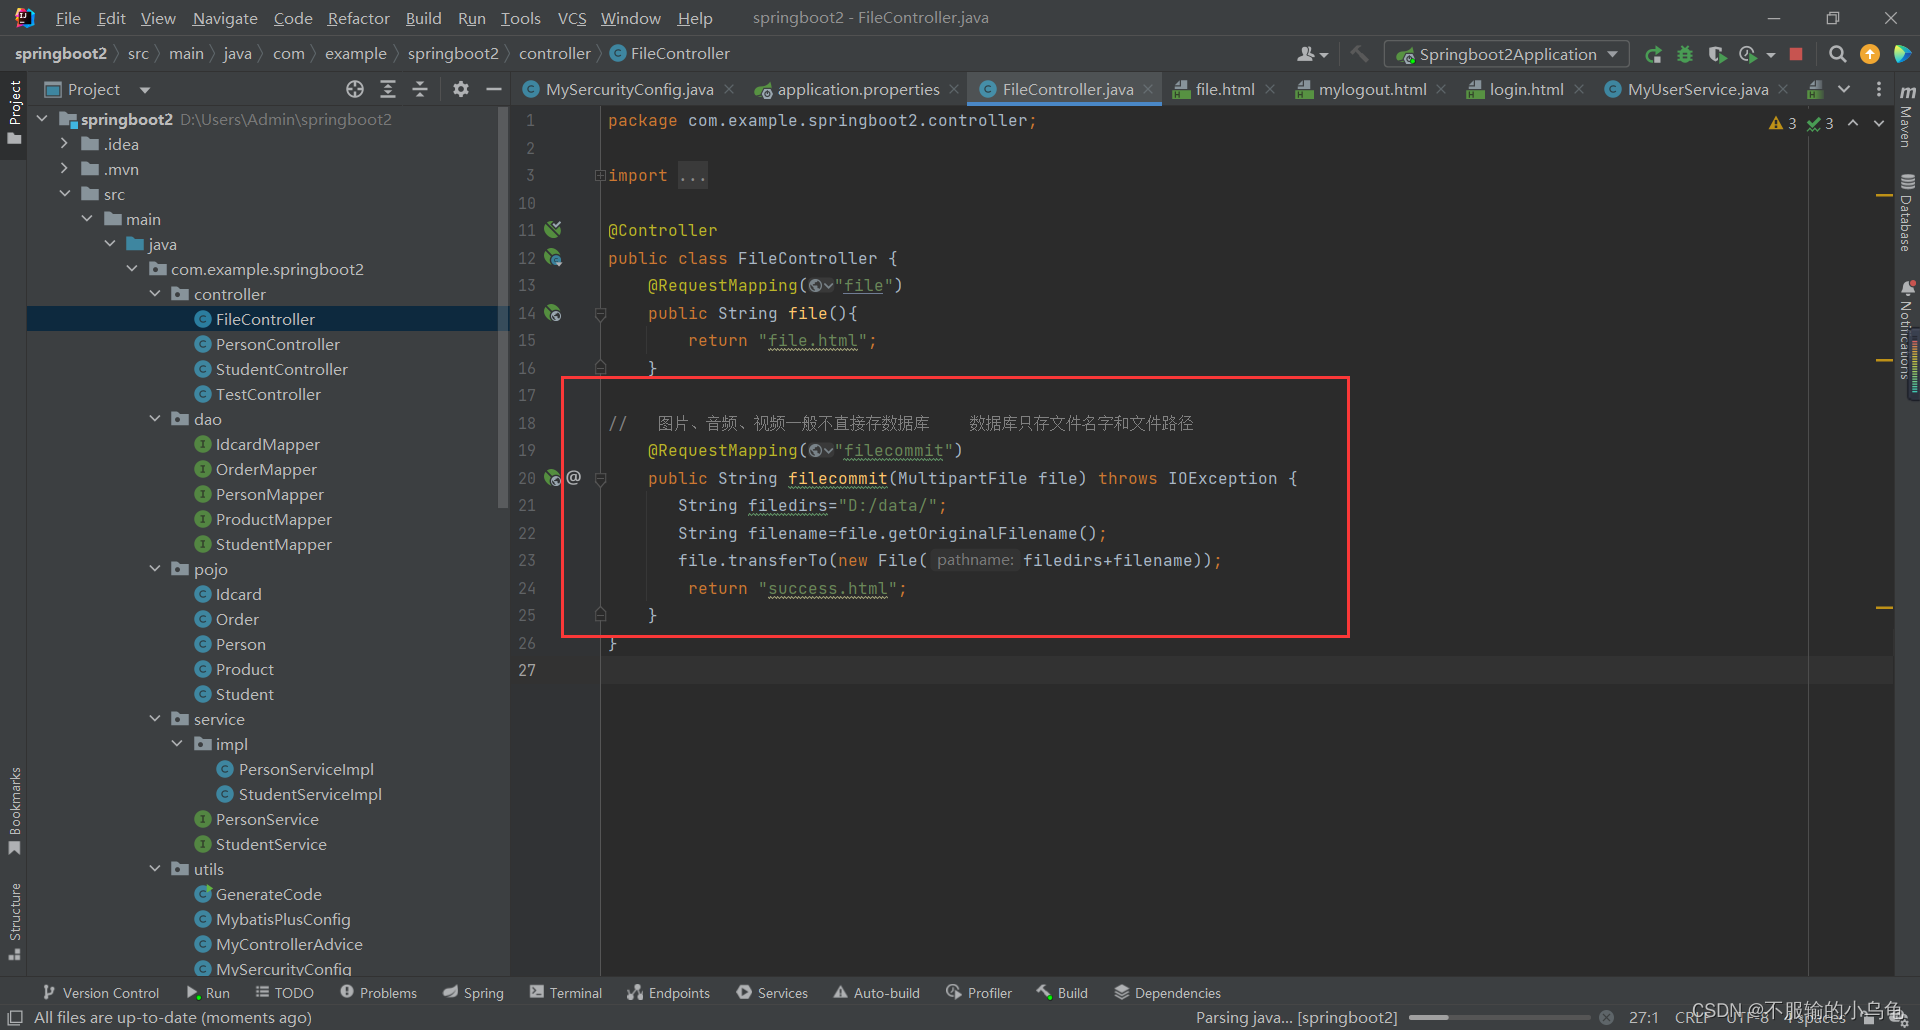
//   图片、音频、视频一般不直接存数据库    数据库只存文件名字和文件路径
    @RequestMapping("filecommit")
    public String filecommit(MultipartFile file) throws IOException {
       String filedirs="D:/data/";
       String filename=file.getOriginalFilename();
       file.transferTo(new File(filedirs+filename));
        return "success.html";
    }
7、点击运行,选择文件成功提交到指定路径

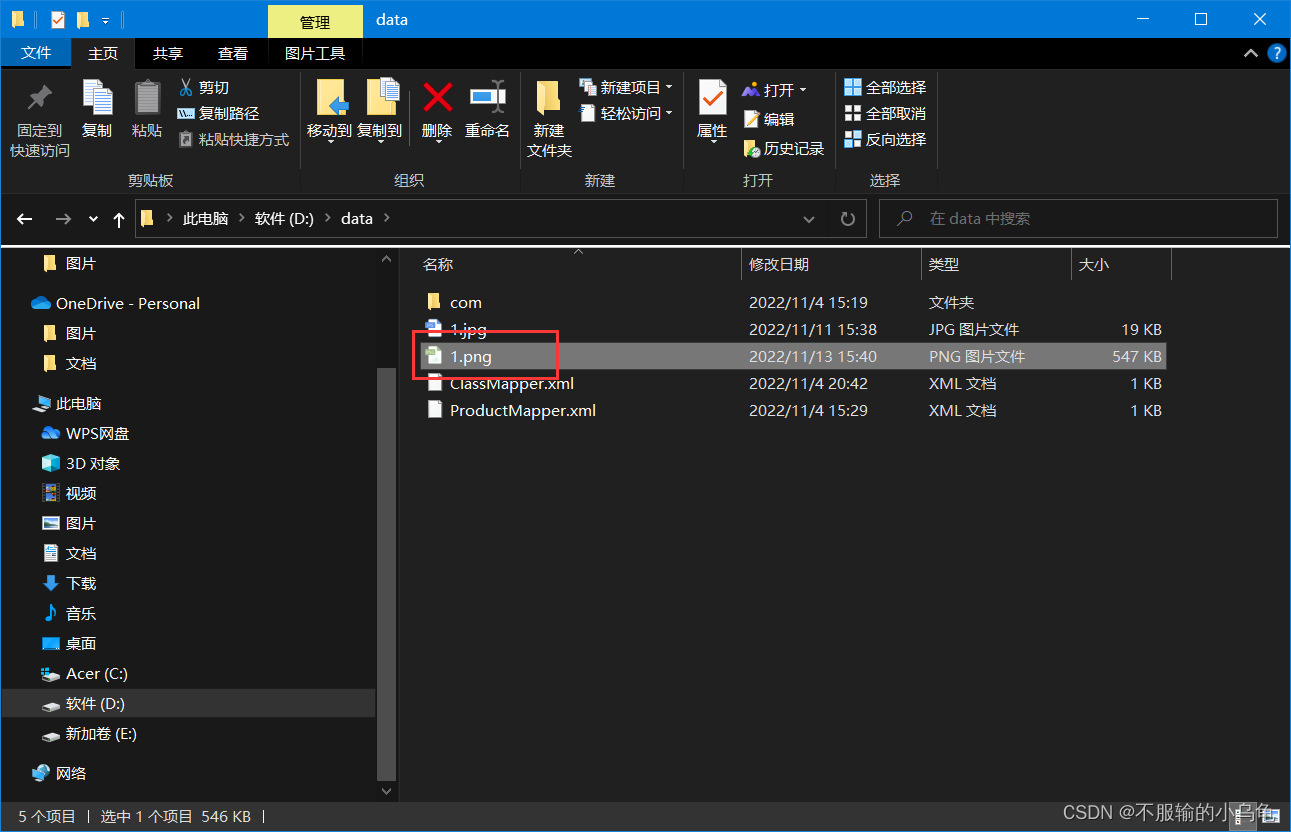
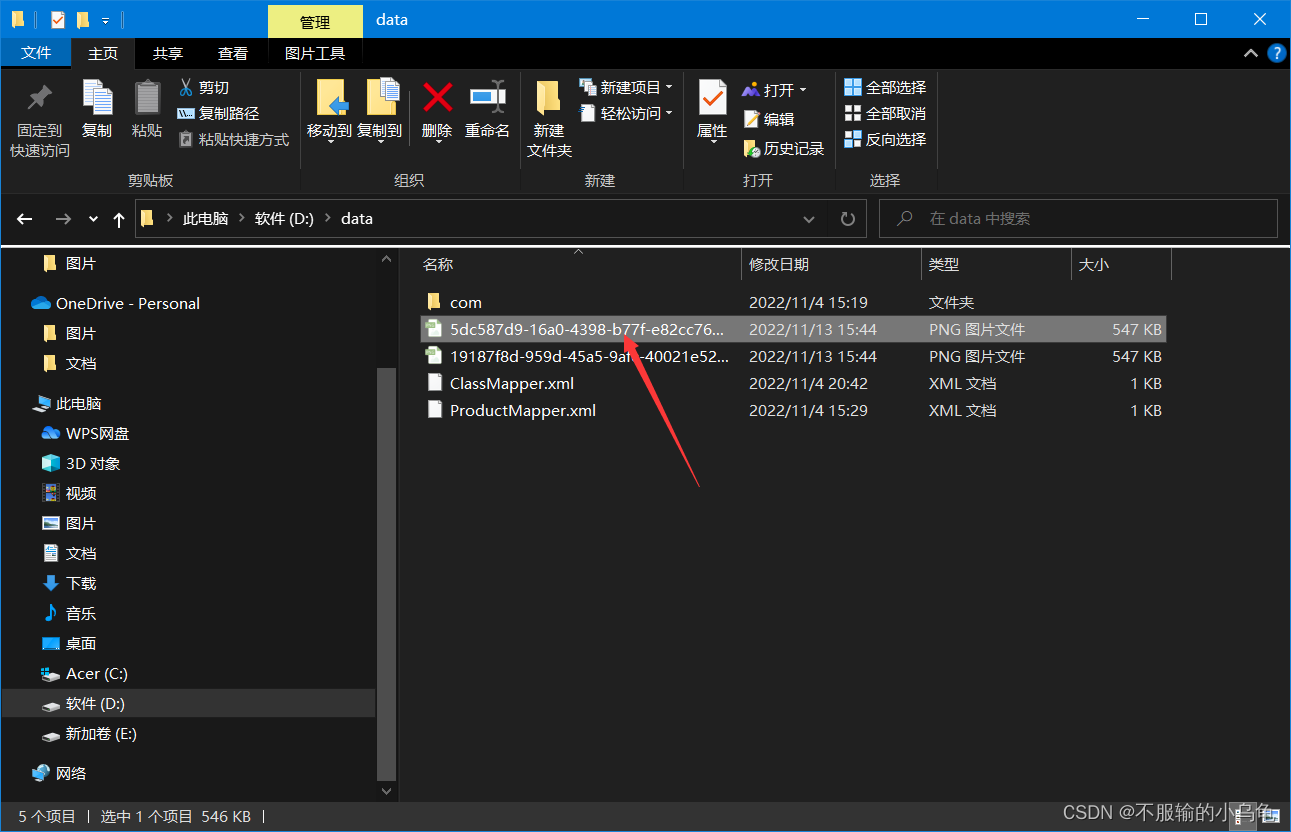
8、修改FileController类,为了防止因文件名字相同而出现文件覆盖问题,将文件名设置为随机数+文件名
//   图片、音频、视频一般不直接存数据库    数据库只存文件名字和文件路径
    @RequestMapping("filecommit")
    public String filecommit(MultipartFile file) throws IOException {
       String filedirs="D:/data/";
//       String filename=file.getOriginalFilename();
        String filename= UUID.randomUUID()+file.getOriginalFilename();
       file.transferTo(new File(filedirs+filename));
        return "success.html";
    }
9、点击运行,提交两次相同文件,文件不会被覆盖


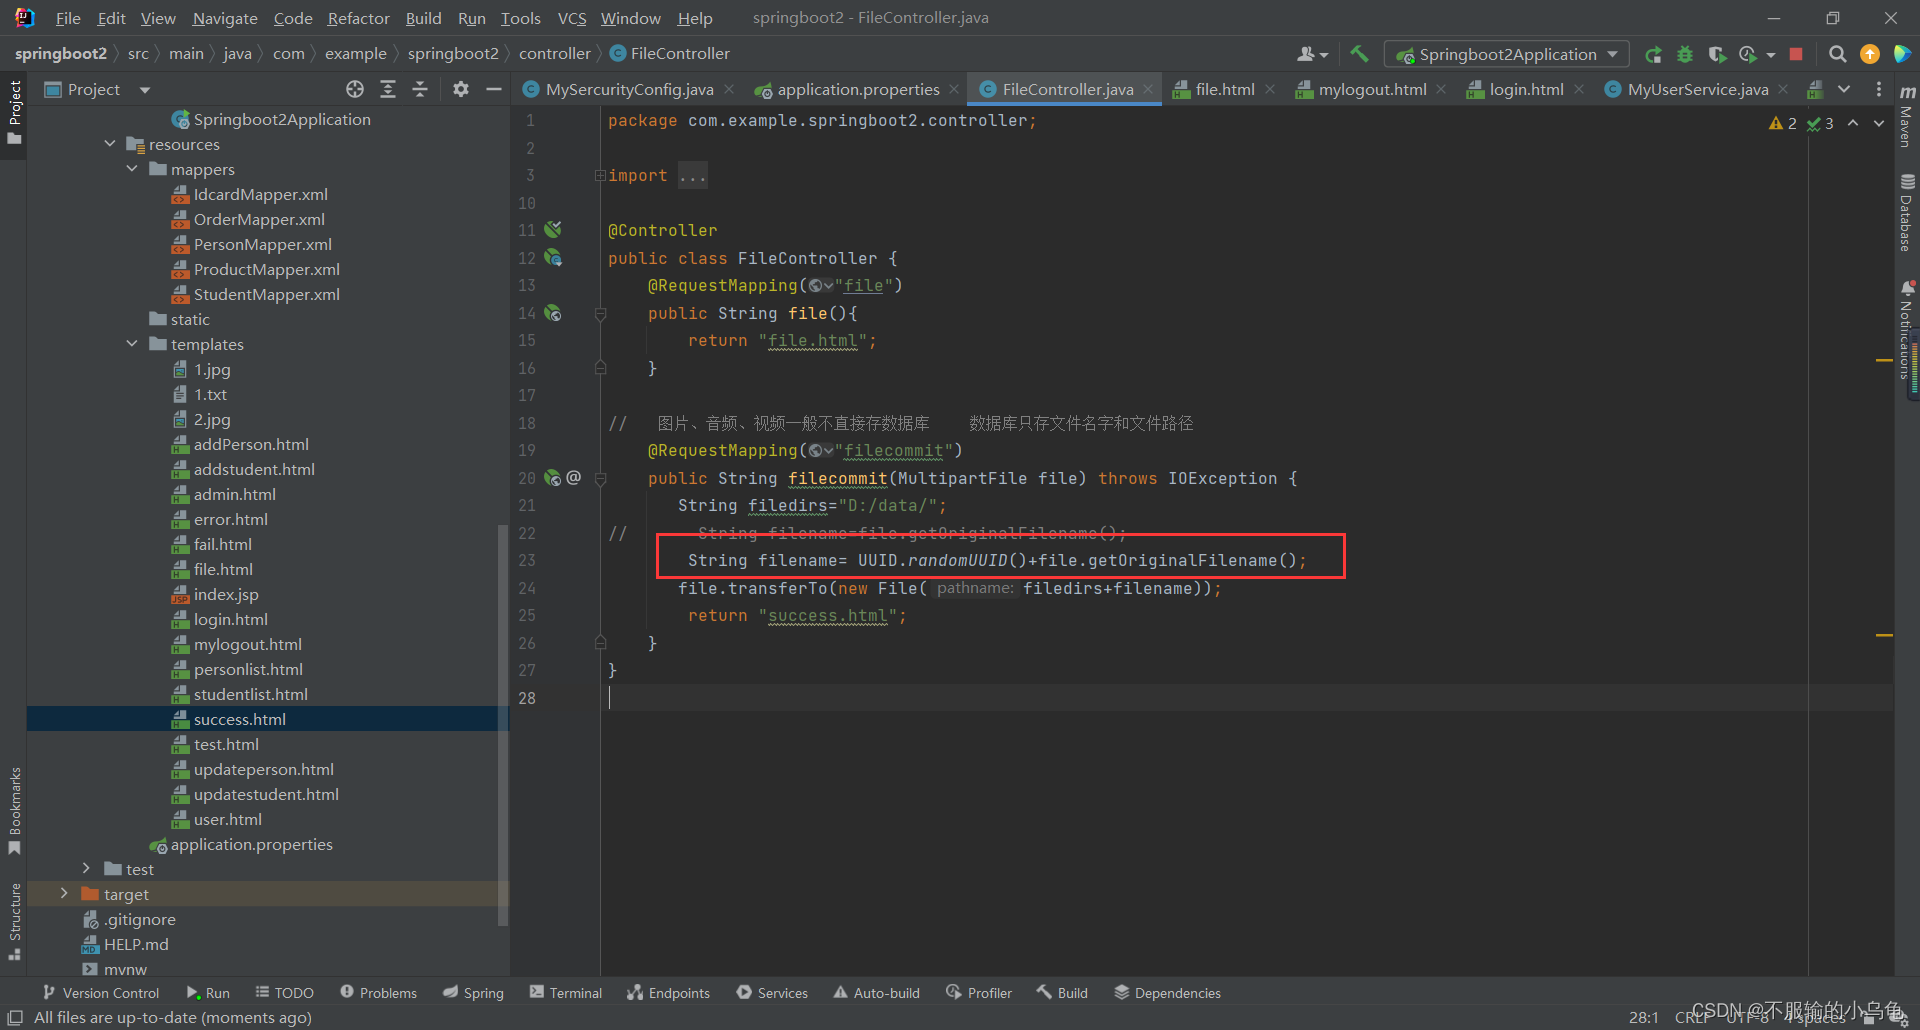
10、修改FileController类,将文件显示出来
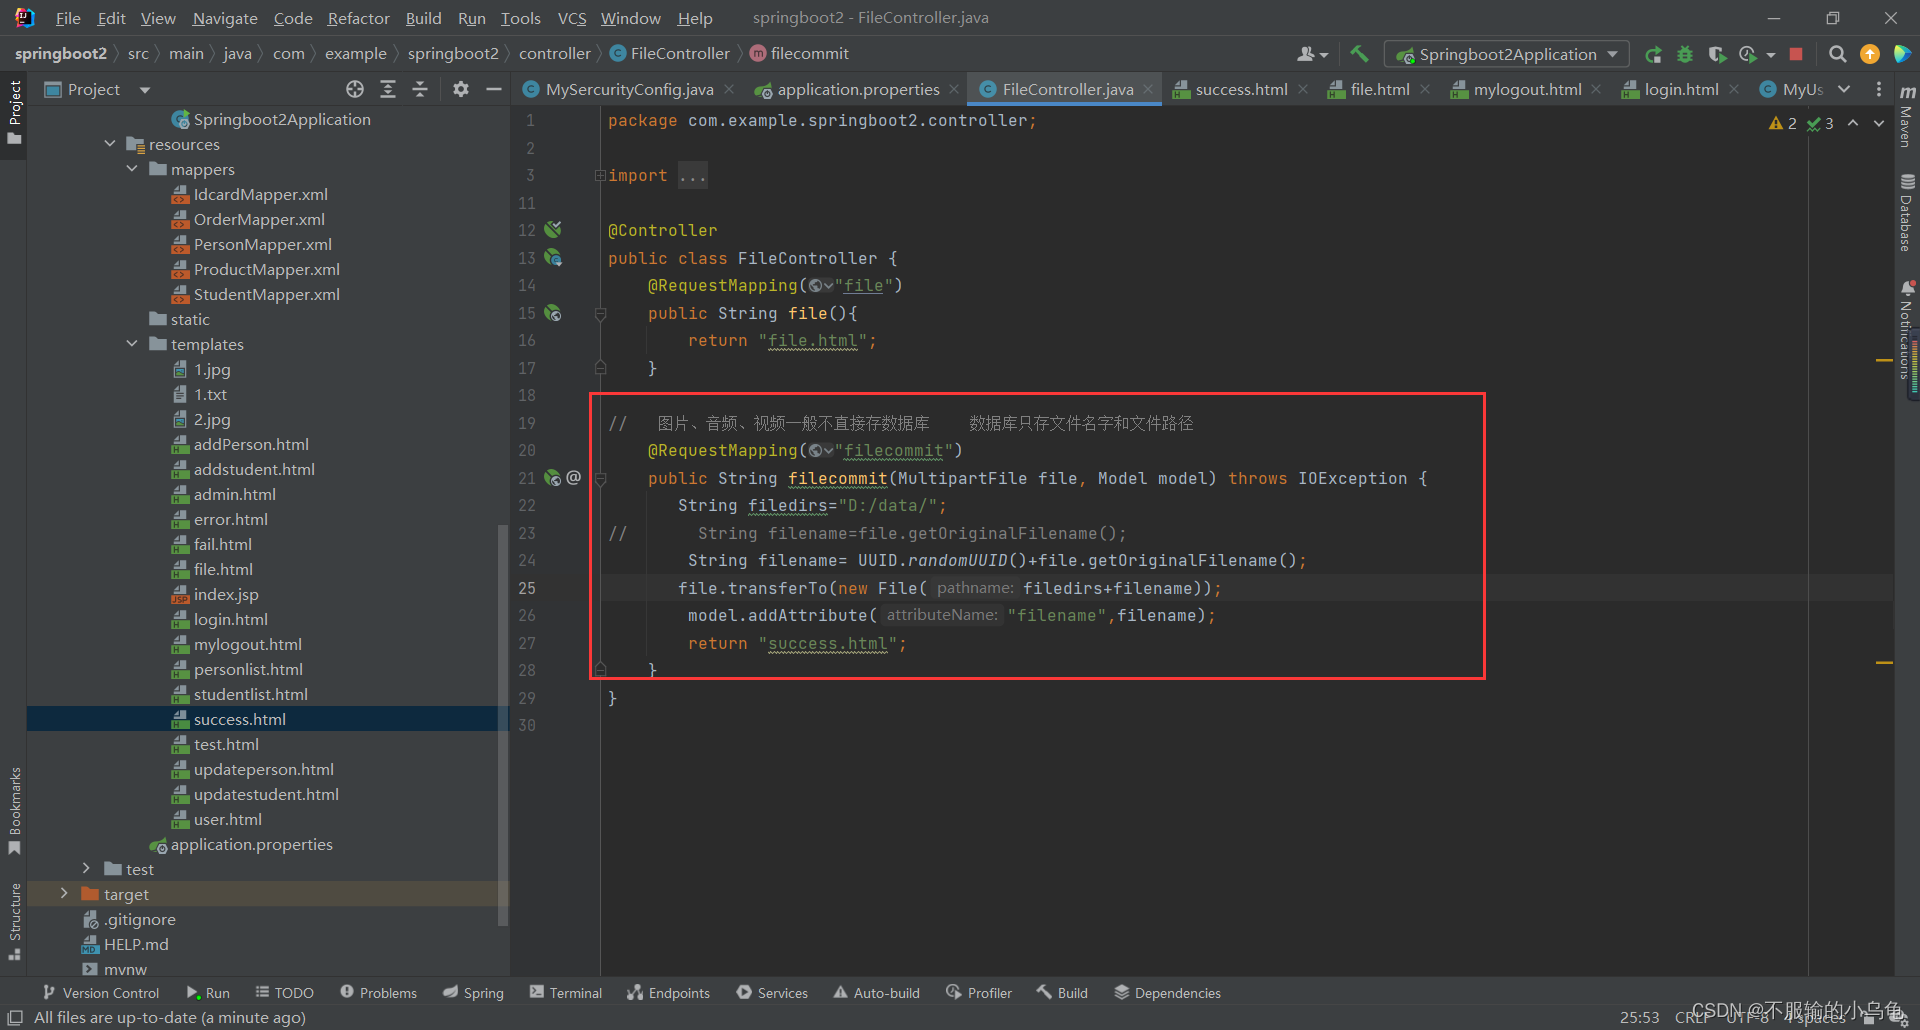
//   图片、音频、视频一般不直接存数据库    数据库只存文件名字和文件路径
    @RequestMapping("filecommit")
    public String filecommit(MultipartFile file, Model model) throws IOException {
       String filedirs="D:/data/";
//       String filename=file.getOriginalFilename();
        String filename= UUID.randomUUID()+file.getOriginalFilename();
       file.transferTo(new File(filedirs+filename));
        model.addAttribute("filename",filename);
        return "success.html";
    }
11、修改success.html
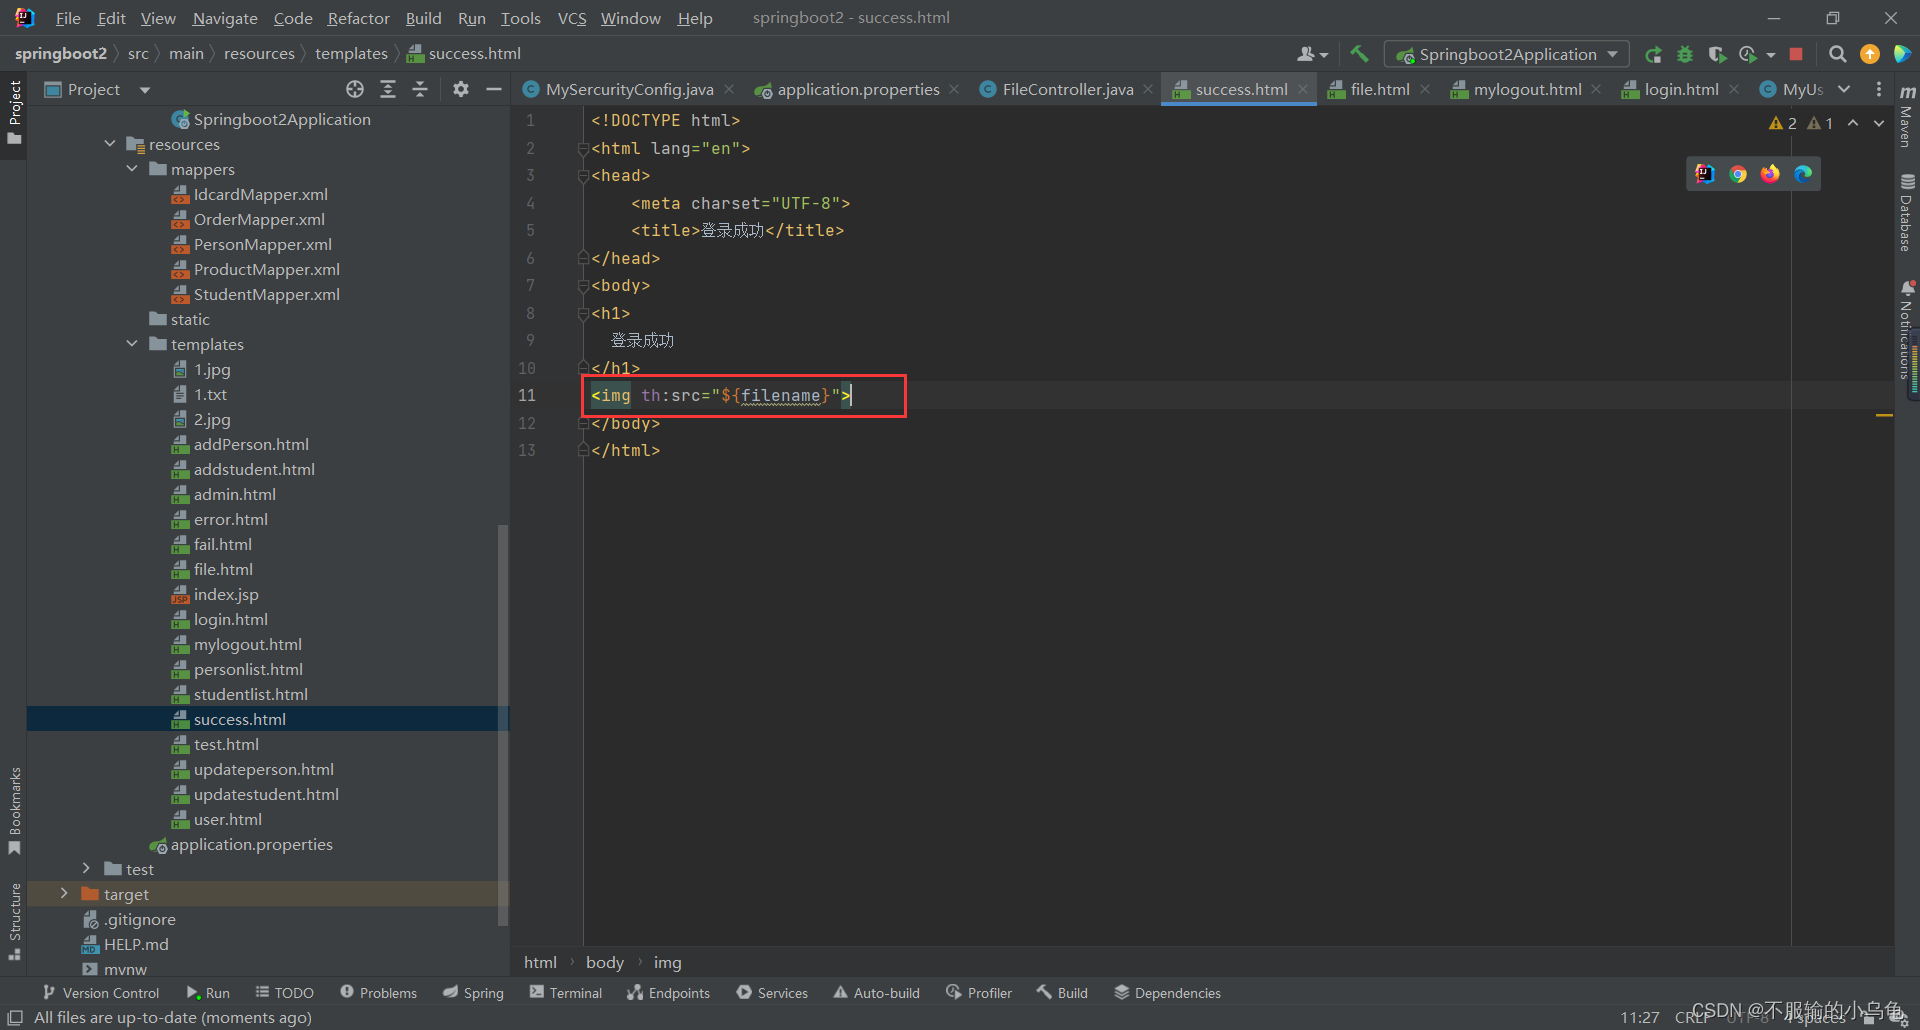
12、点击运行,显示图片成功
六、请求JSON接口
1、在pojo文件夹下新建News类
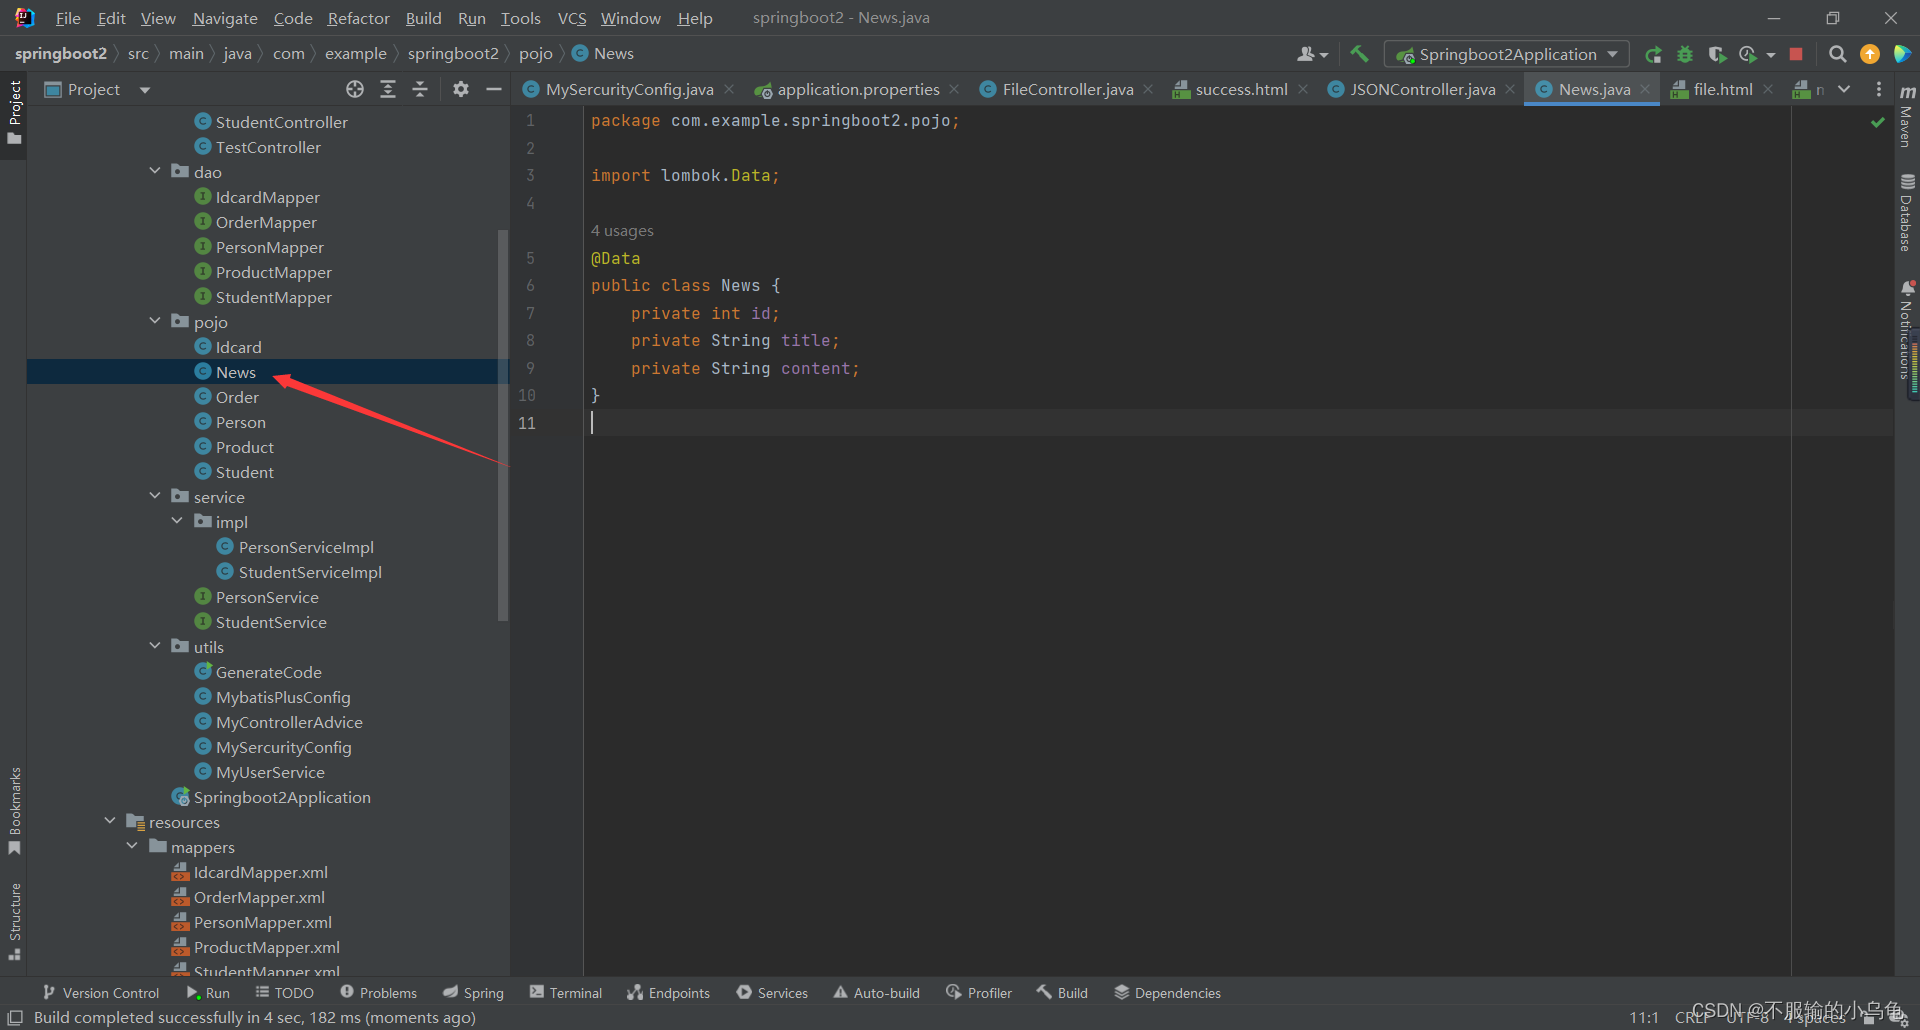
package com.example.springboot2.pojo;

import lombok.Data;

@Data
public class News {
    private int id;
    private String title;
    private String content;
}
2、在controller文件夹下新建JSONController类
package com.example.springboot2.controller;

import com.example.springboot2.pojo.News;
import org.springframework.stereotype.Controller;
import org.springframework.web.bind.annotation.RequestMapping;
import org.springframework.web.bind.annotation.ResponseBody;

@Controller
public class JSONController {
//    JSON数据->手机Android端/IOS/小程序
    @RequestMapping("getnews")
    @ResponseBody  //返回JSON数据(特殊格式的字符串)
    public News getNews(){
        News news=new News();
        news.setId(1);
        news.setTitle("新闻标题");
        news.setContent("新闻内容");
        return news;
    }
}
3、修改MySercurityConfig类
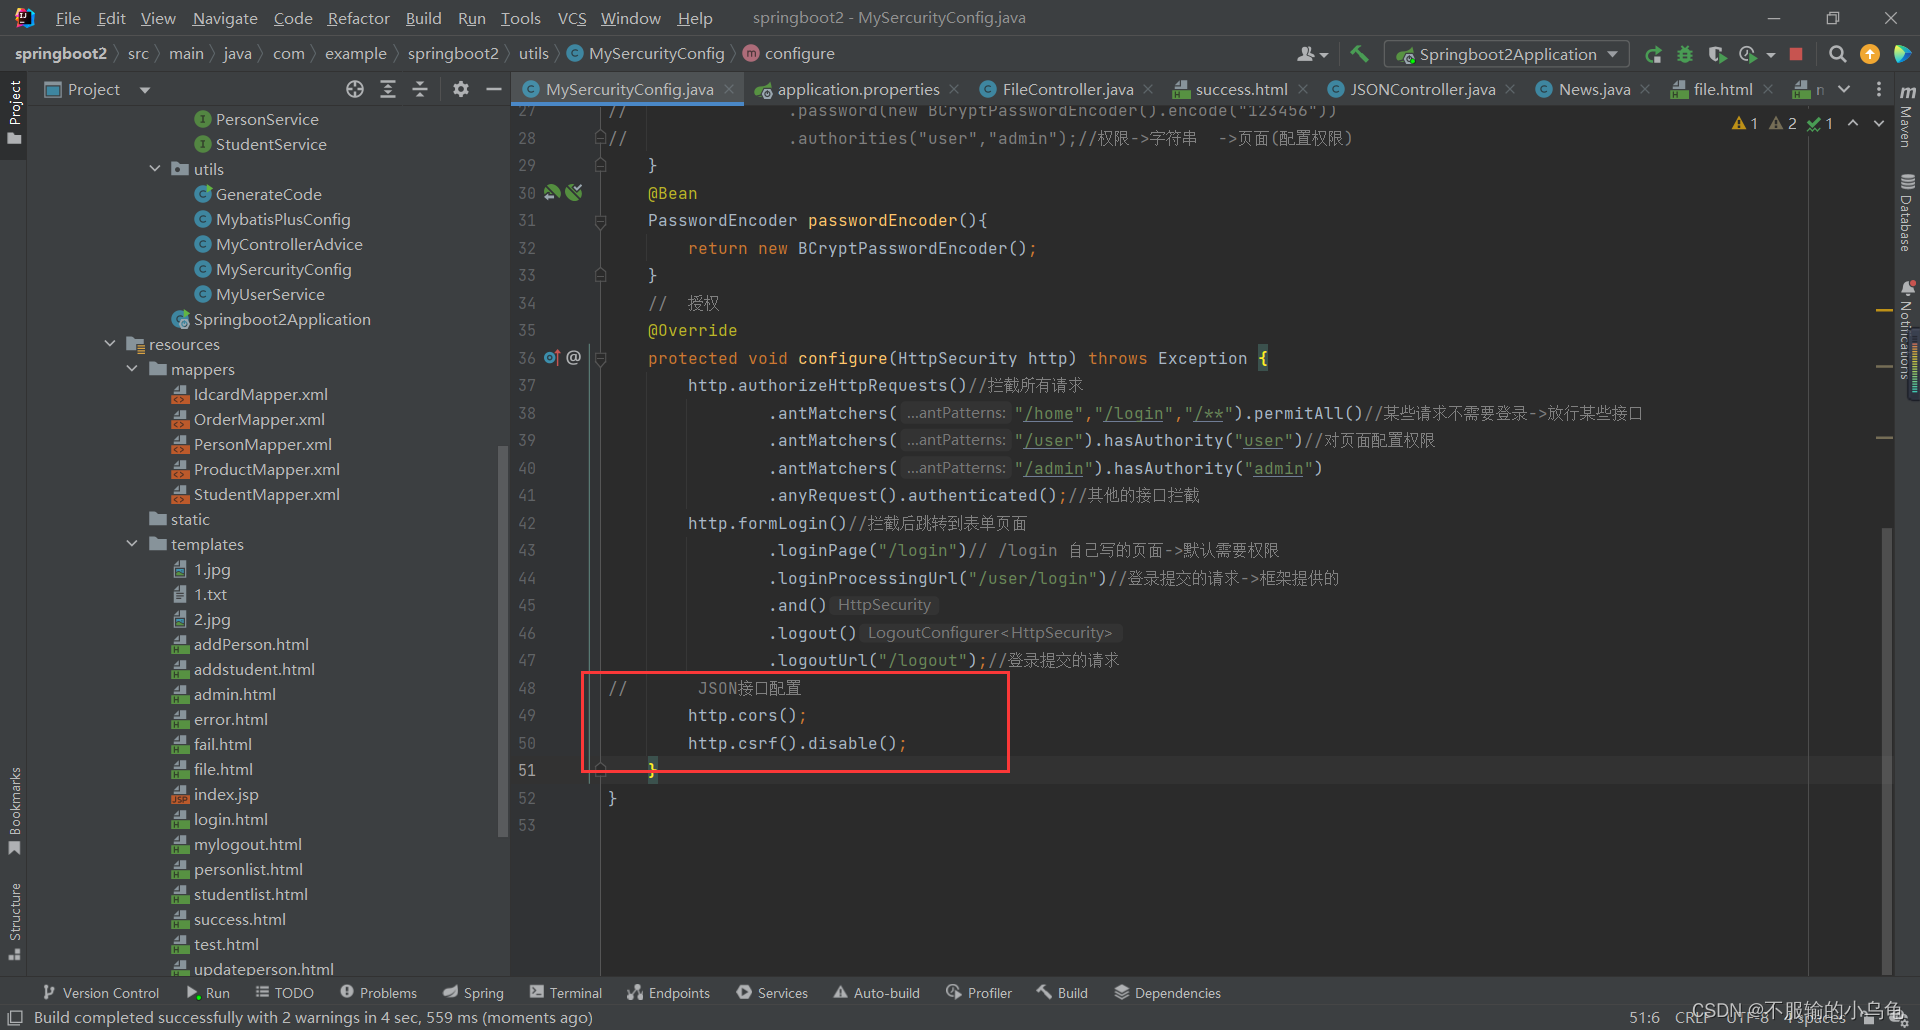
//       JSON接口配置
        http.cors();
        http.csrf().disable();
4、在templates文件夹下新建News.html
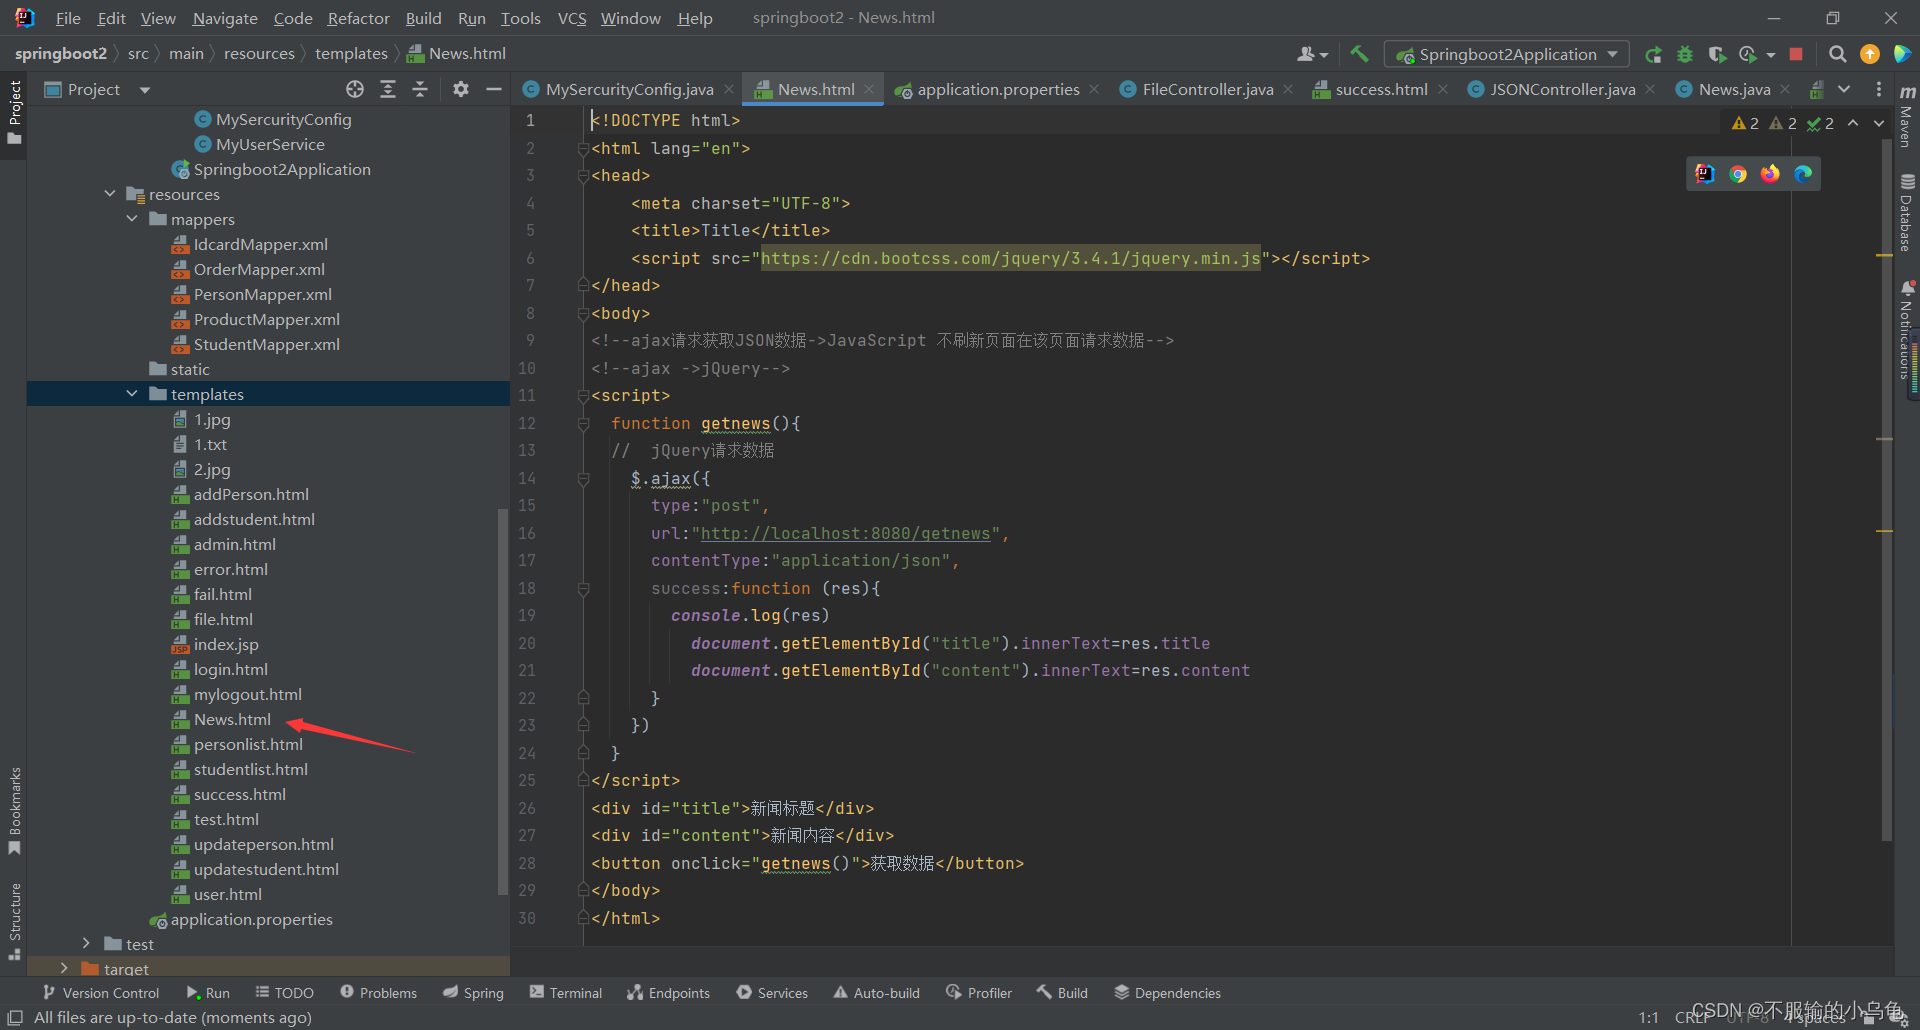
<!DOCTYPE html>
<html lang="en">
<head>
    <meta charset="UTF-8">
    <title>Title</title>
    <script src="https://cdn.bootcss.com/jquery/3.4.1/jquery.min.js"></script>
</head>
<body>
<!--ajax请求获取JSON数据->JavaScript 不刷新页面在该页面请求数据-->
<!--ajax ->jQuery-->
<script>
  function getnews(){
  //  jQuery请求数据
    $.ajax({
      type:"post",
      url:"http://localhost:8080/getnews",
      contentType:"application/json",
      success:function (res){
        console.log(res)
          document.getElementById("title").innerText=res.title
          document.getElementById("content").innerText=res.content
      }
    })
  }
</script>
<div id="title">新闻标题</div>
<div id="content">新闻内容</div>
<button onclick="getnews()">获取数据</button>
</body>
</html>
5、点击运行,成功获取JSON数据