APISIX
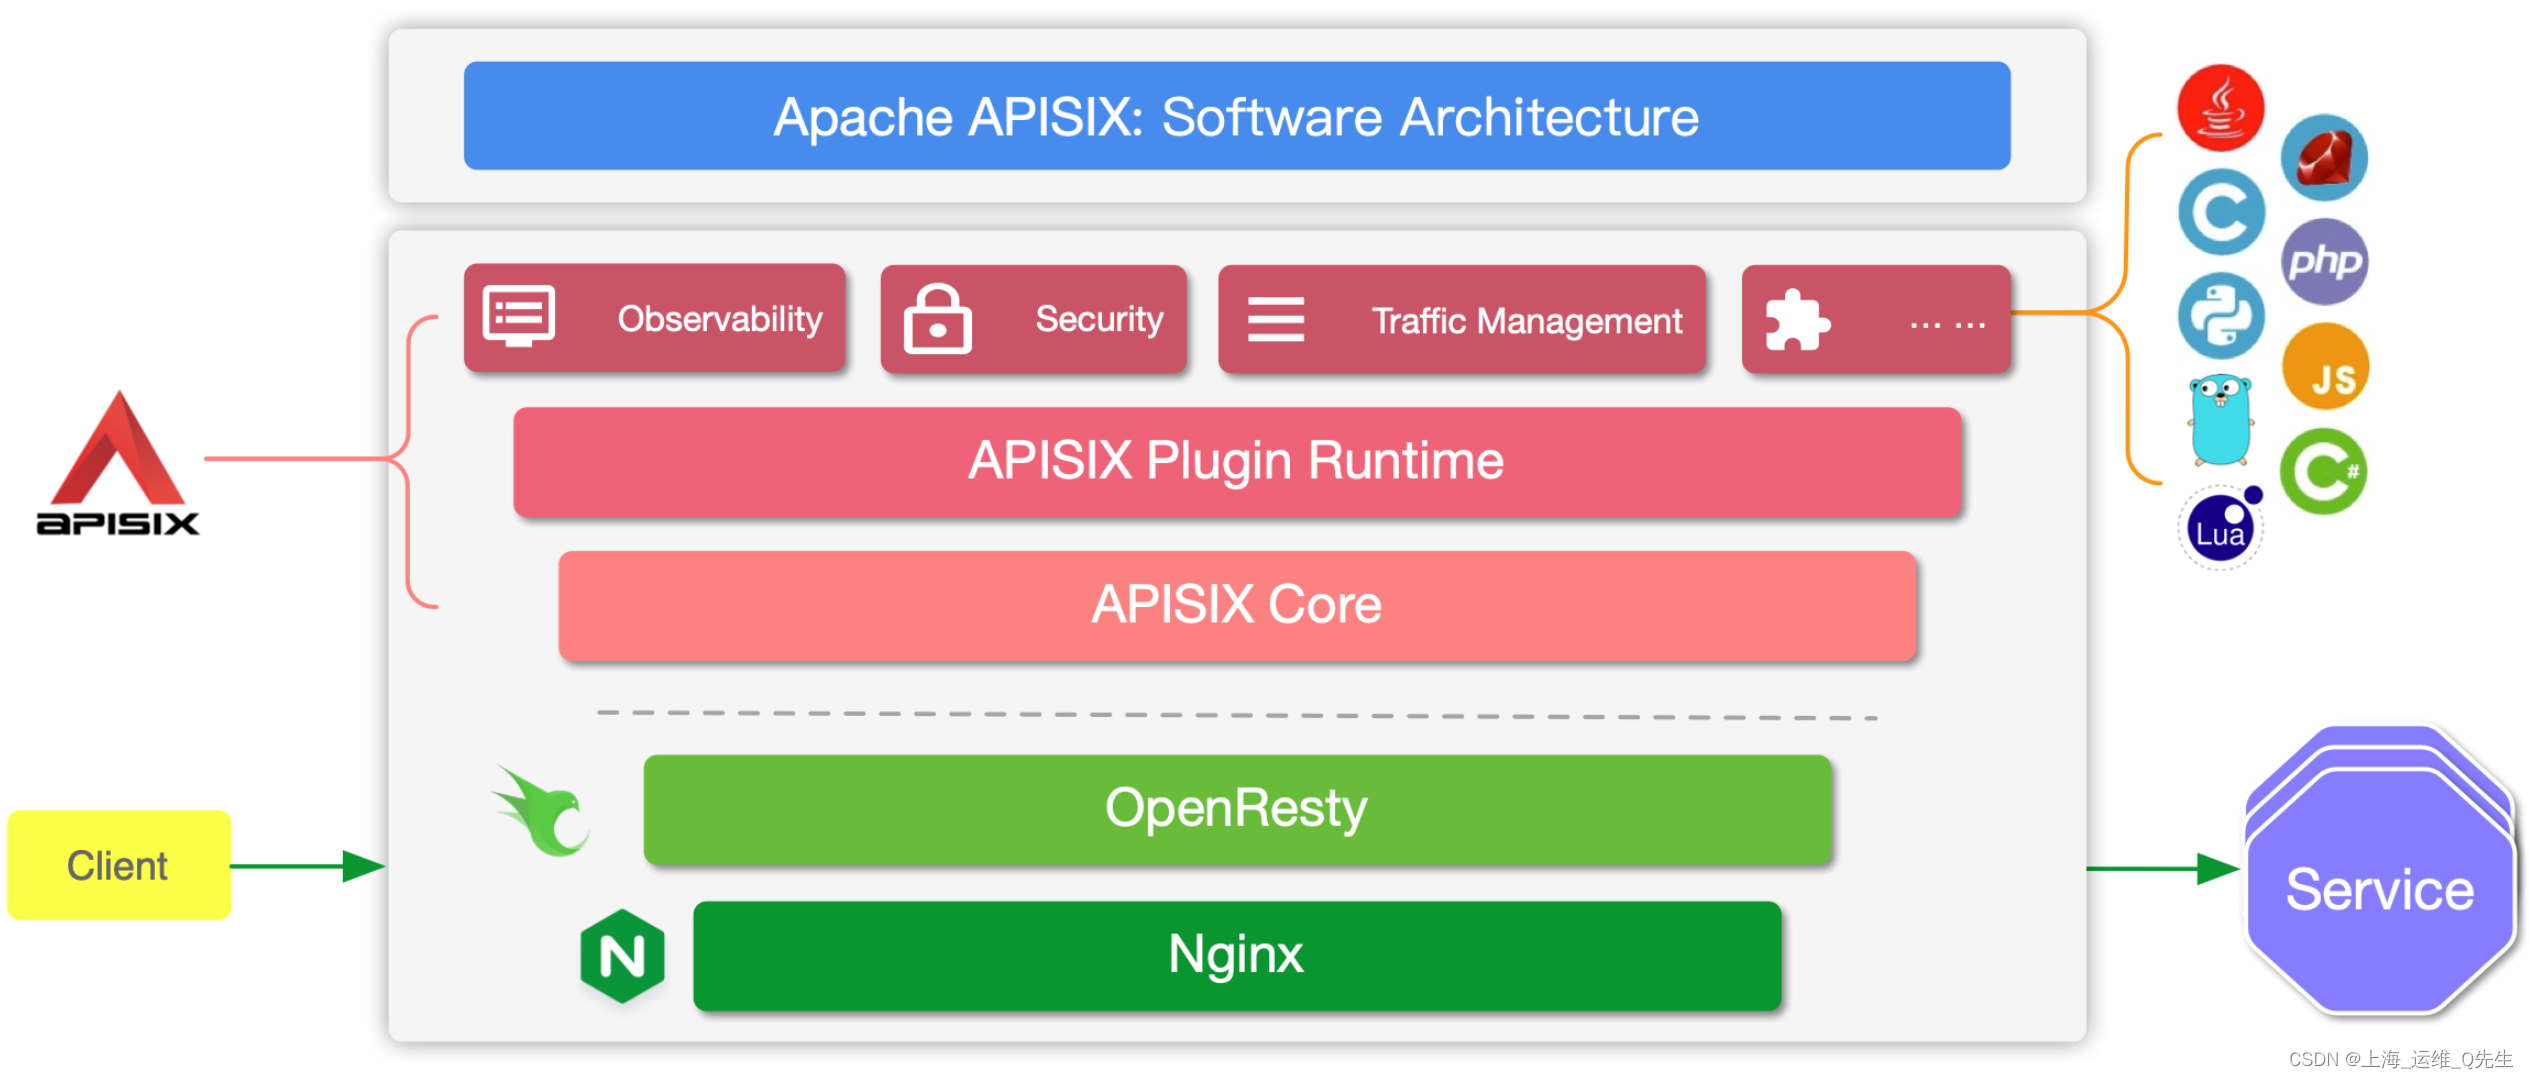
Apache APISIX是一款开源的高性能,动态云原生网关.Apache APISIX当前已经覆盖了API网关,LB,Ingress,Service,Mesh等多种场景
1. APISIX部署
使用Helm Chart部署Apache APISIX Ingress Controller
Apache APISIX Ingress Controller目前和Apache APISIX网关是强关联的,且目前通过Apache APISIX Helm Charts同时部署Apache APISIX Gateway+Dashboard+Ingress Controller是最方便的,因此推荐使用Apache APISIX的Helm Chart进行整套组件部署
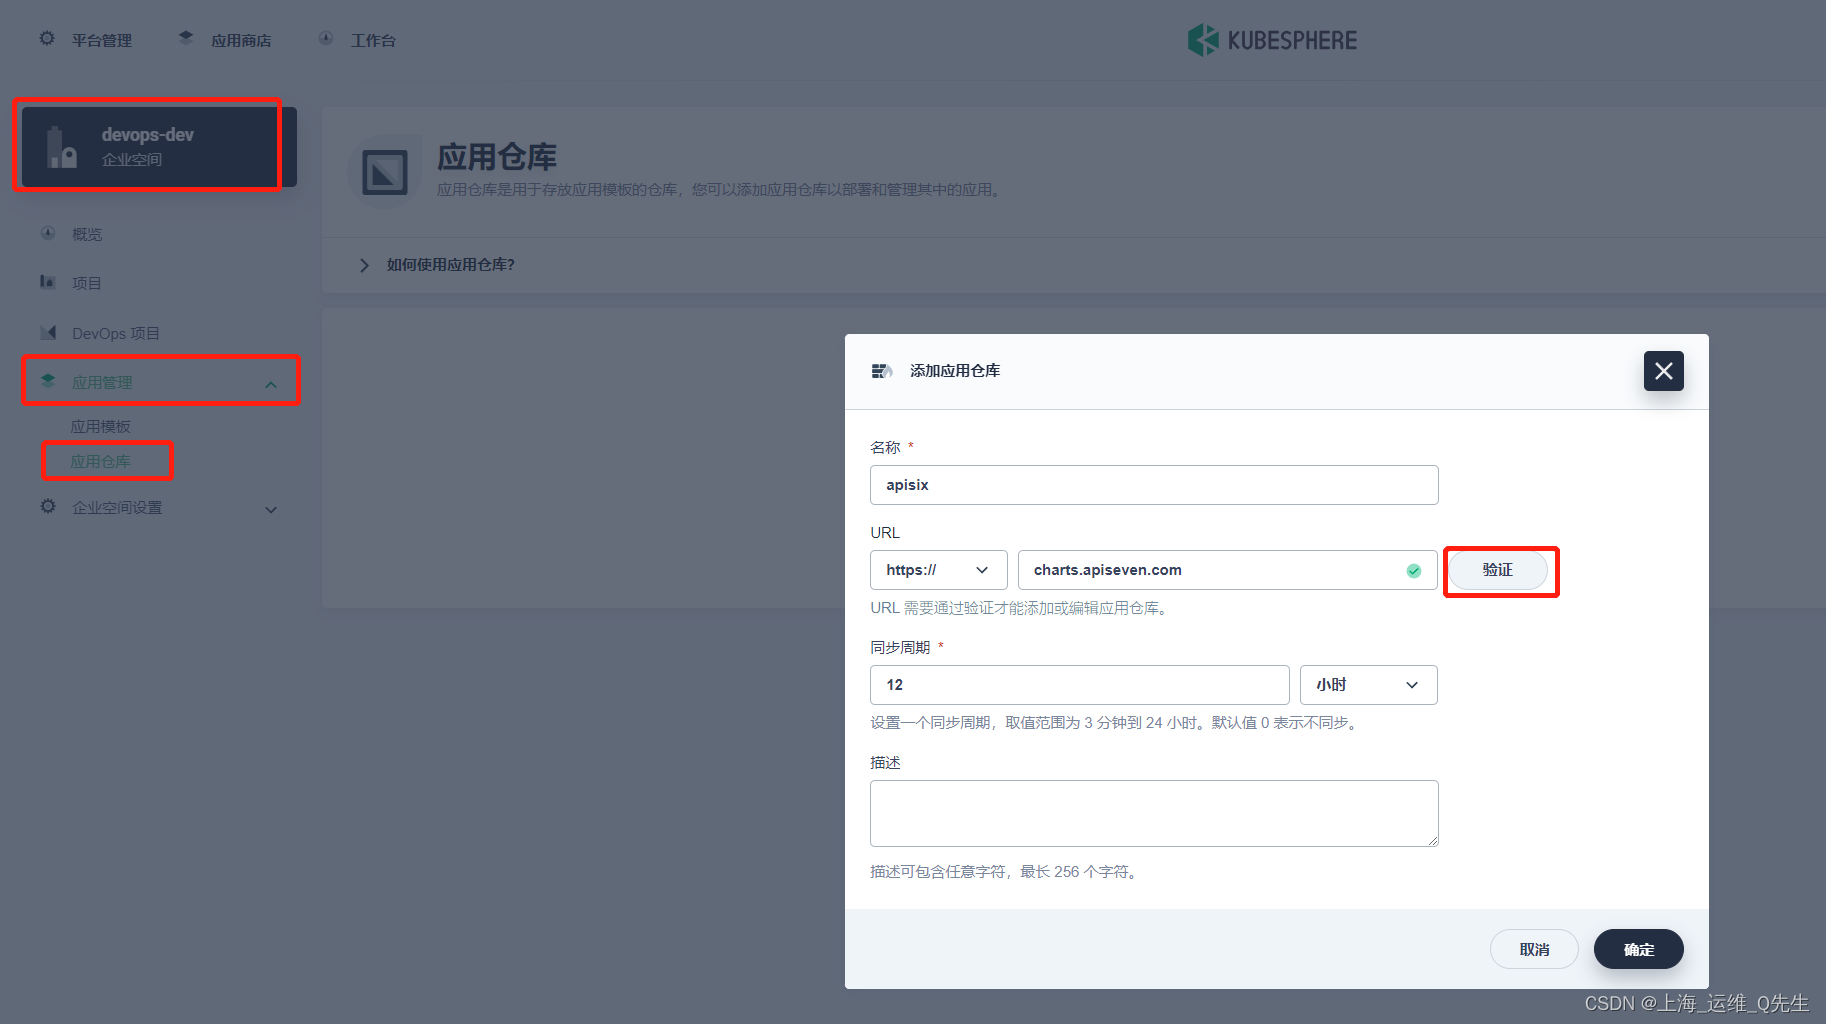
1.1 创建APISIX的Helm仓库
仓库地址
charts.apiseven.com

1.2 创建项目部署APISIX
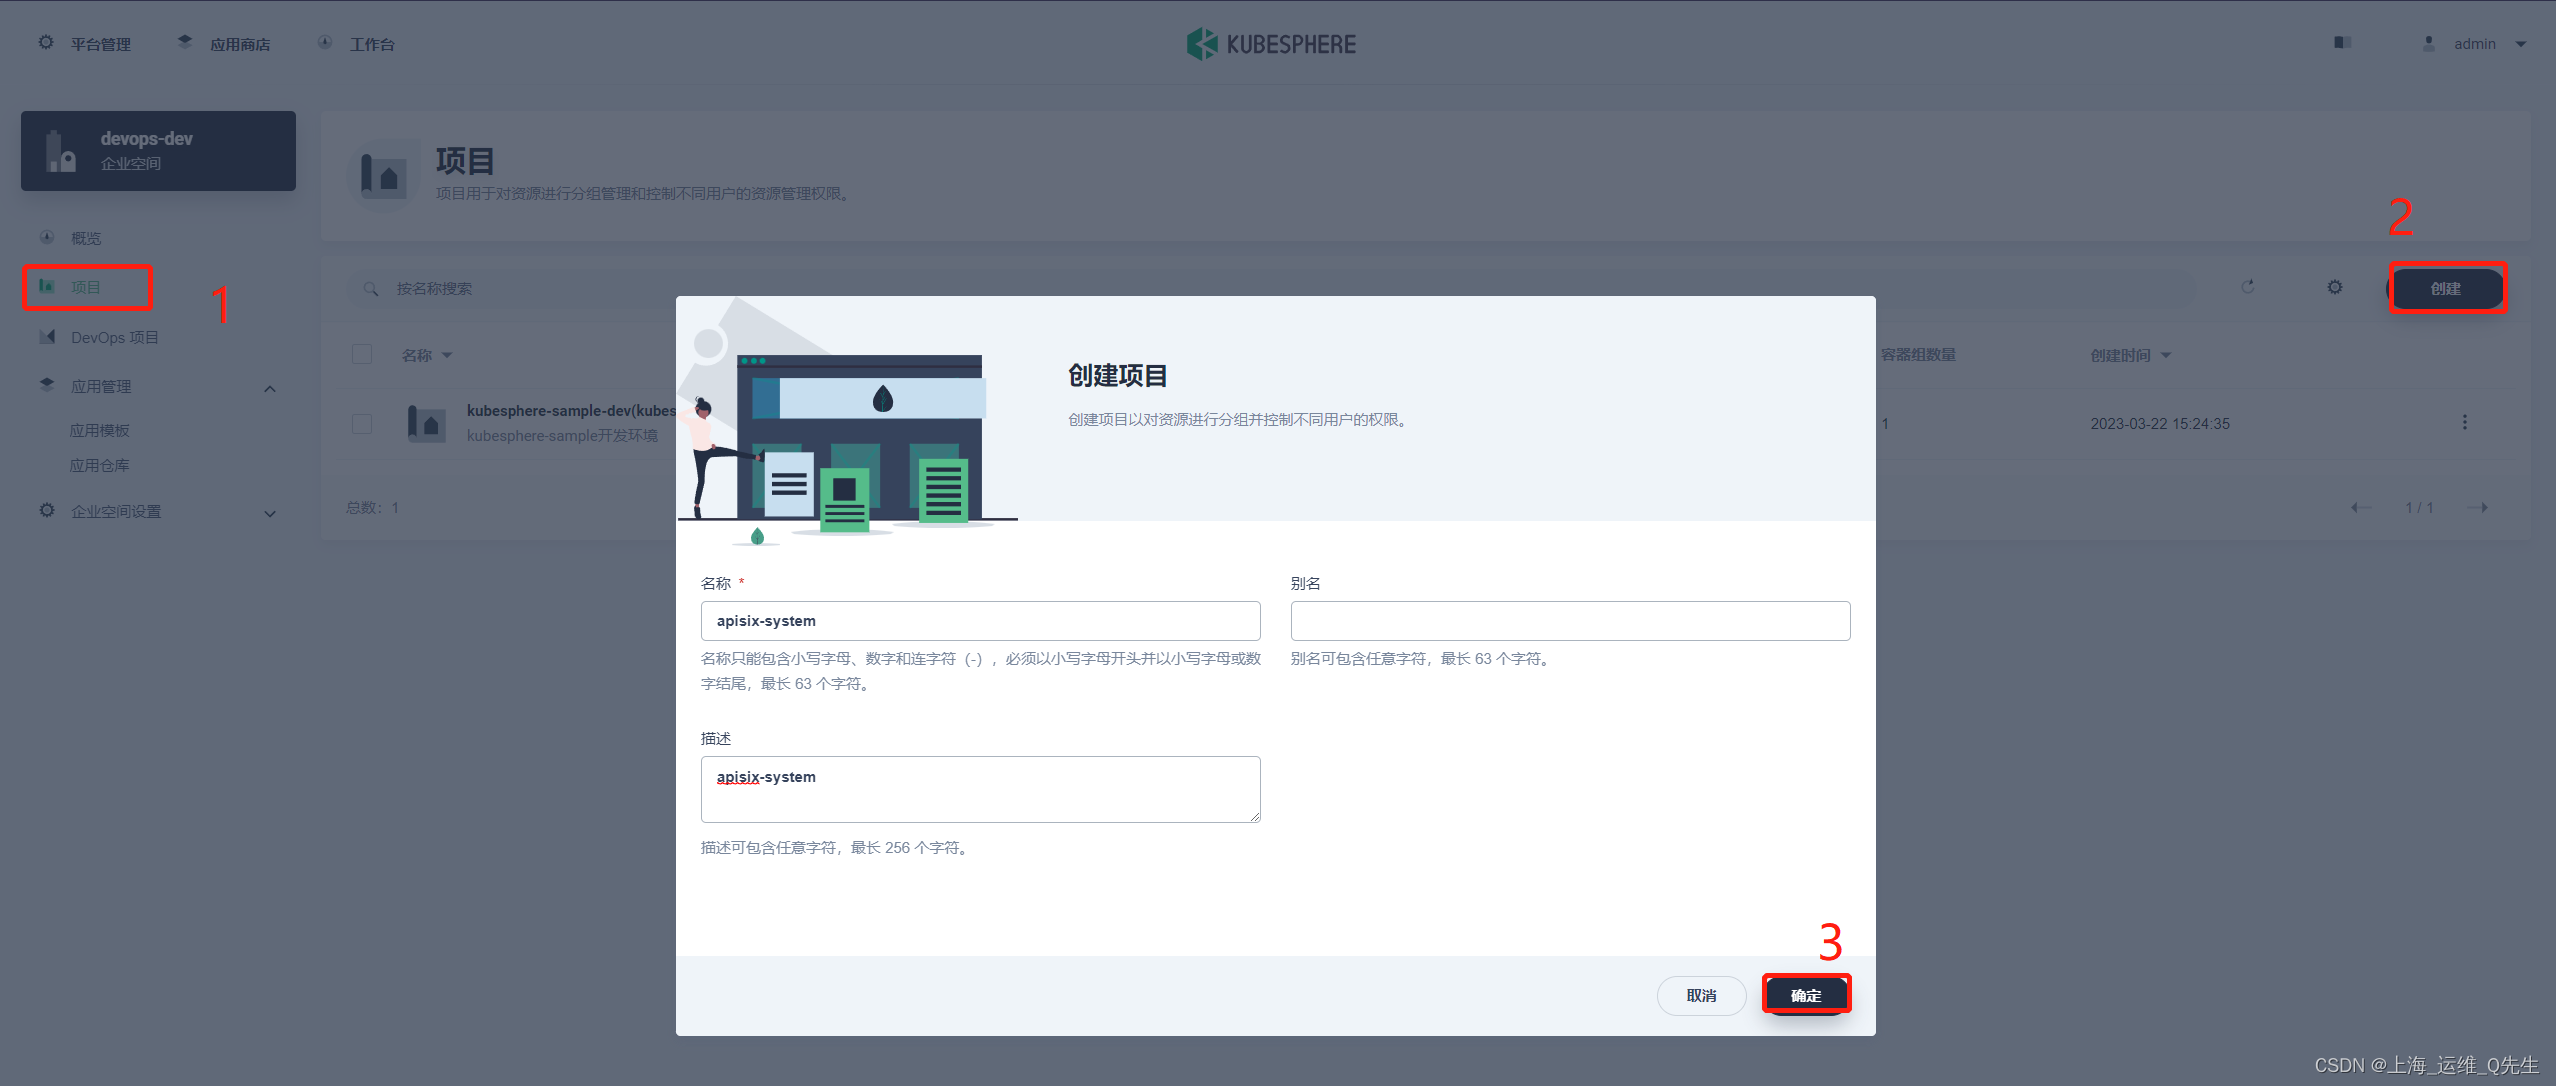
创建apisix-system 项目
1.3 创建应用
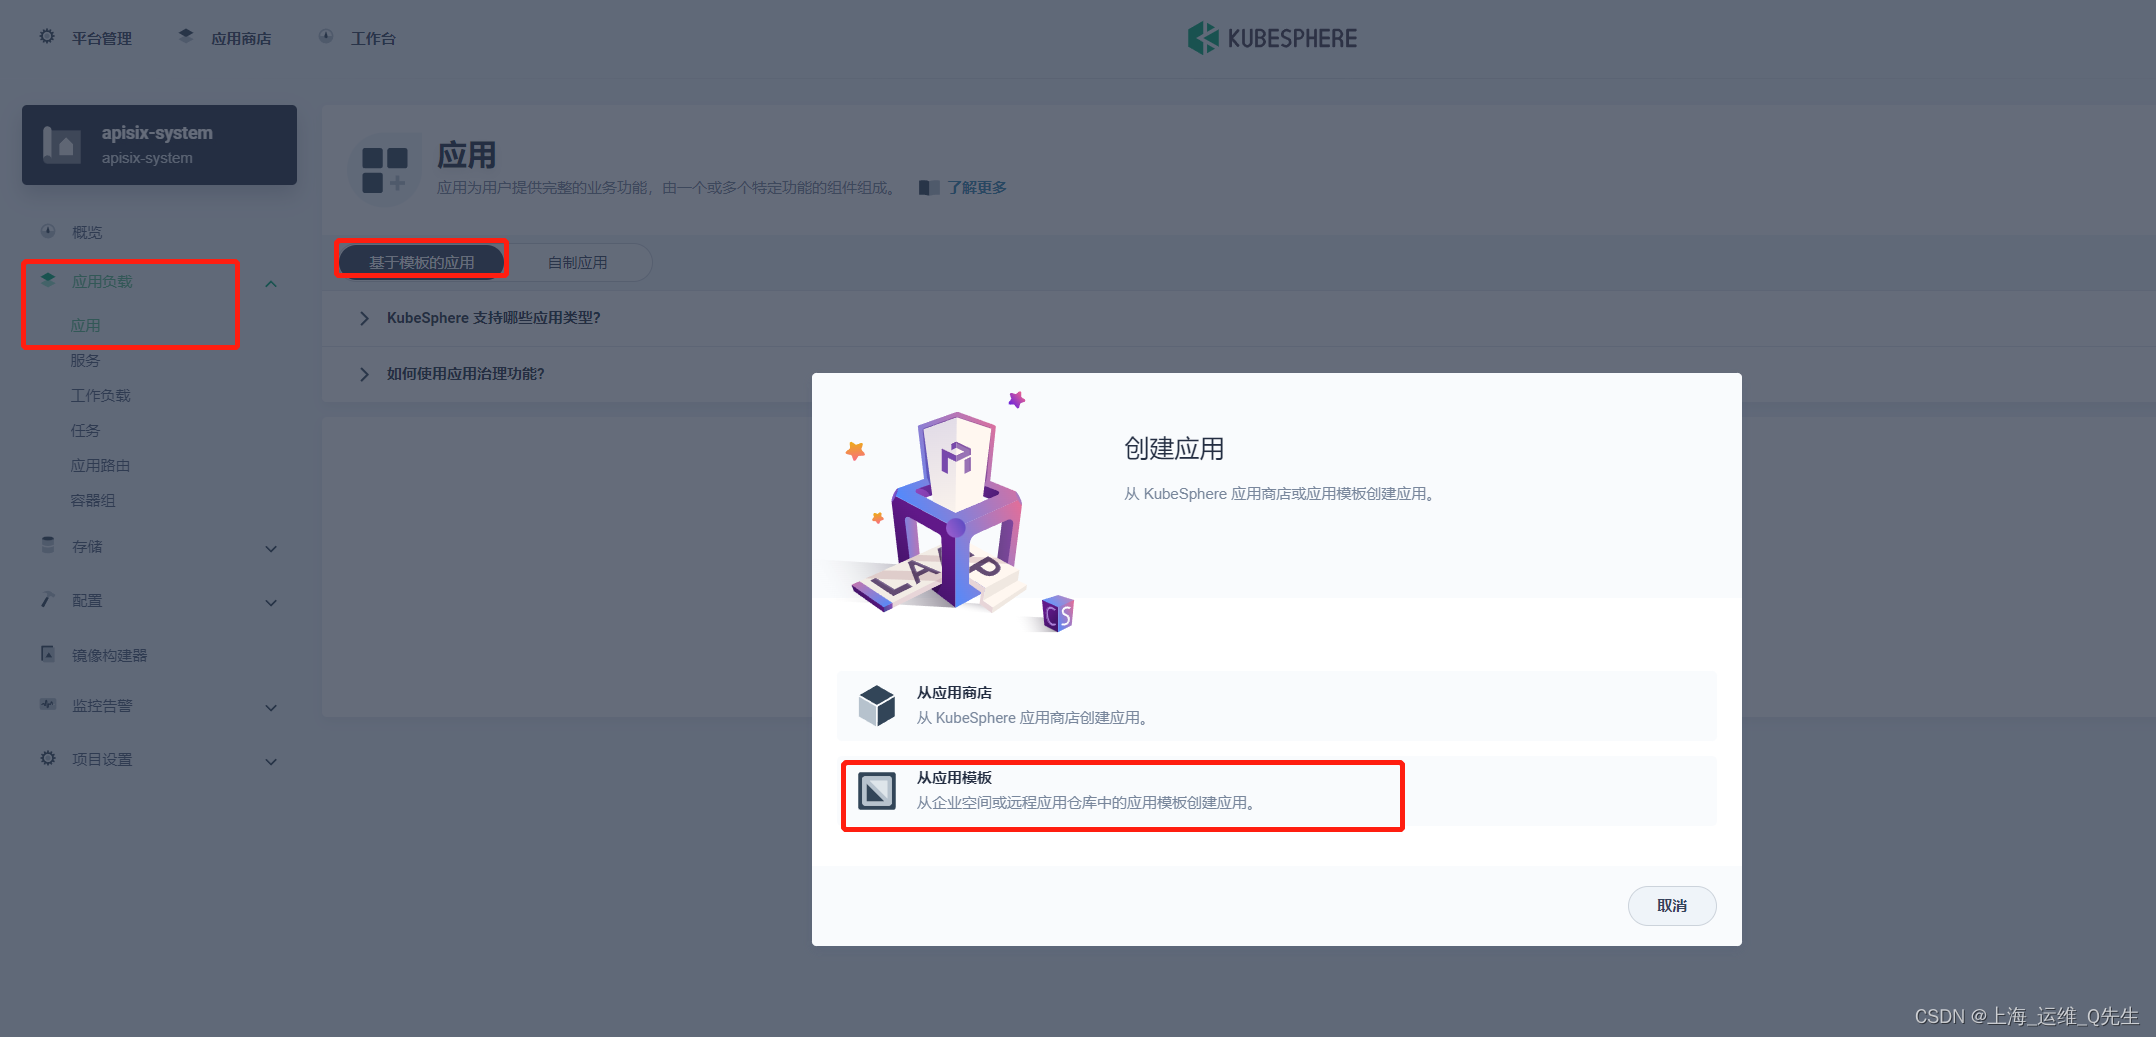
进入项目后,[应用负载] [应用] [创建] [从应用模板]
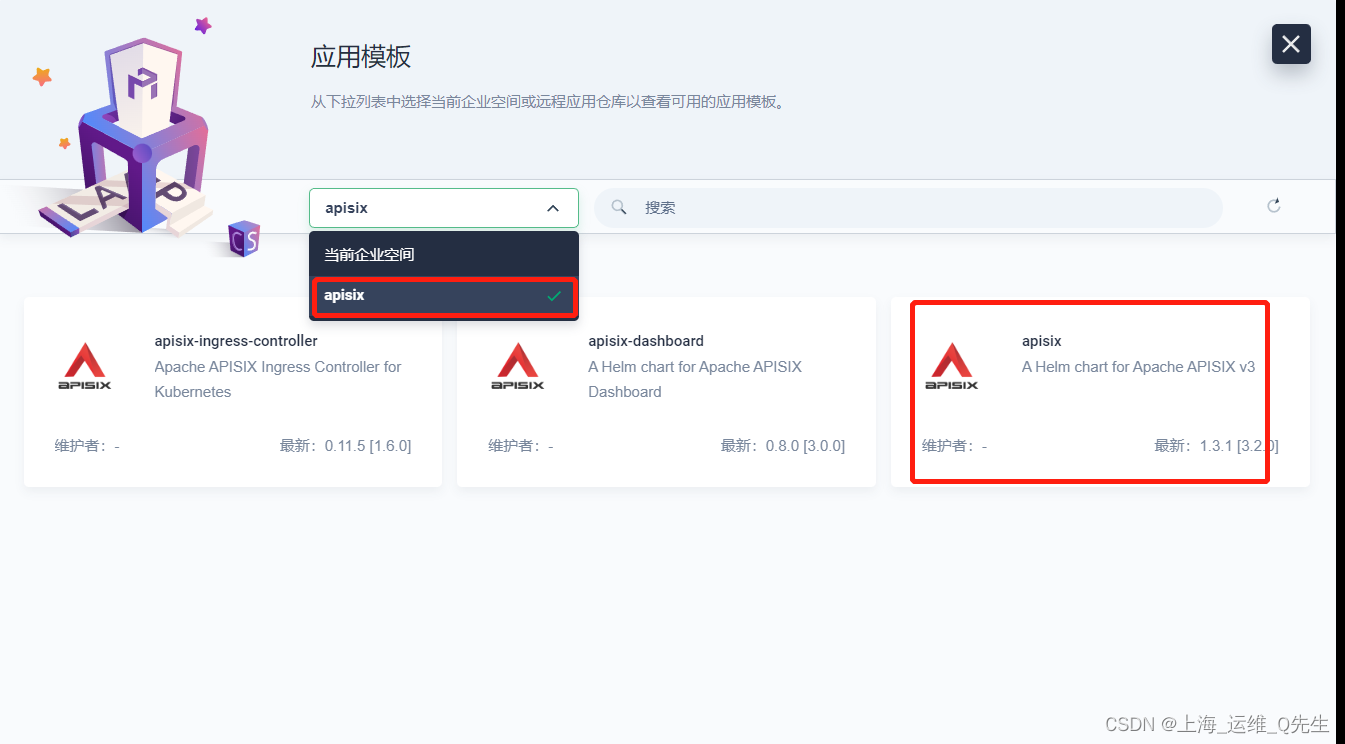
选择apisix
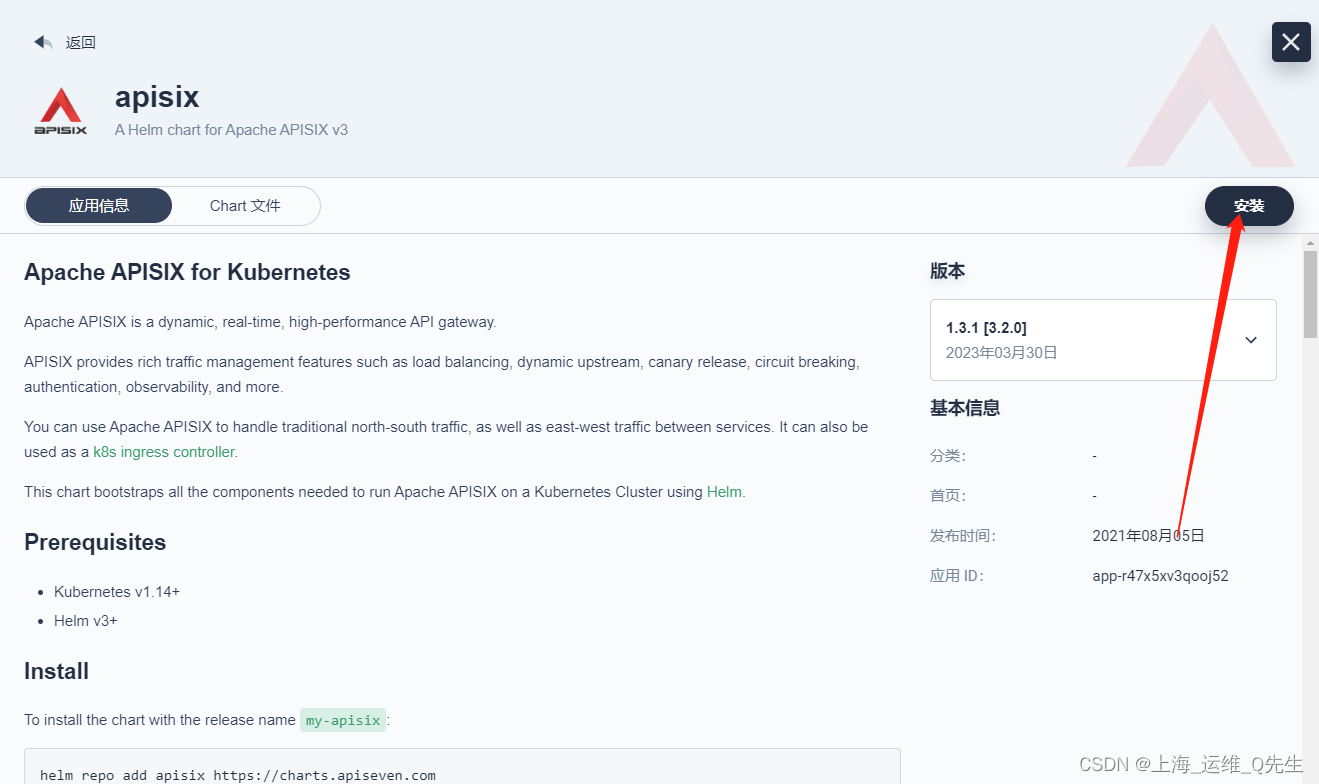
这里不需要改,直接点击安装
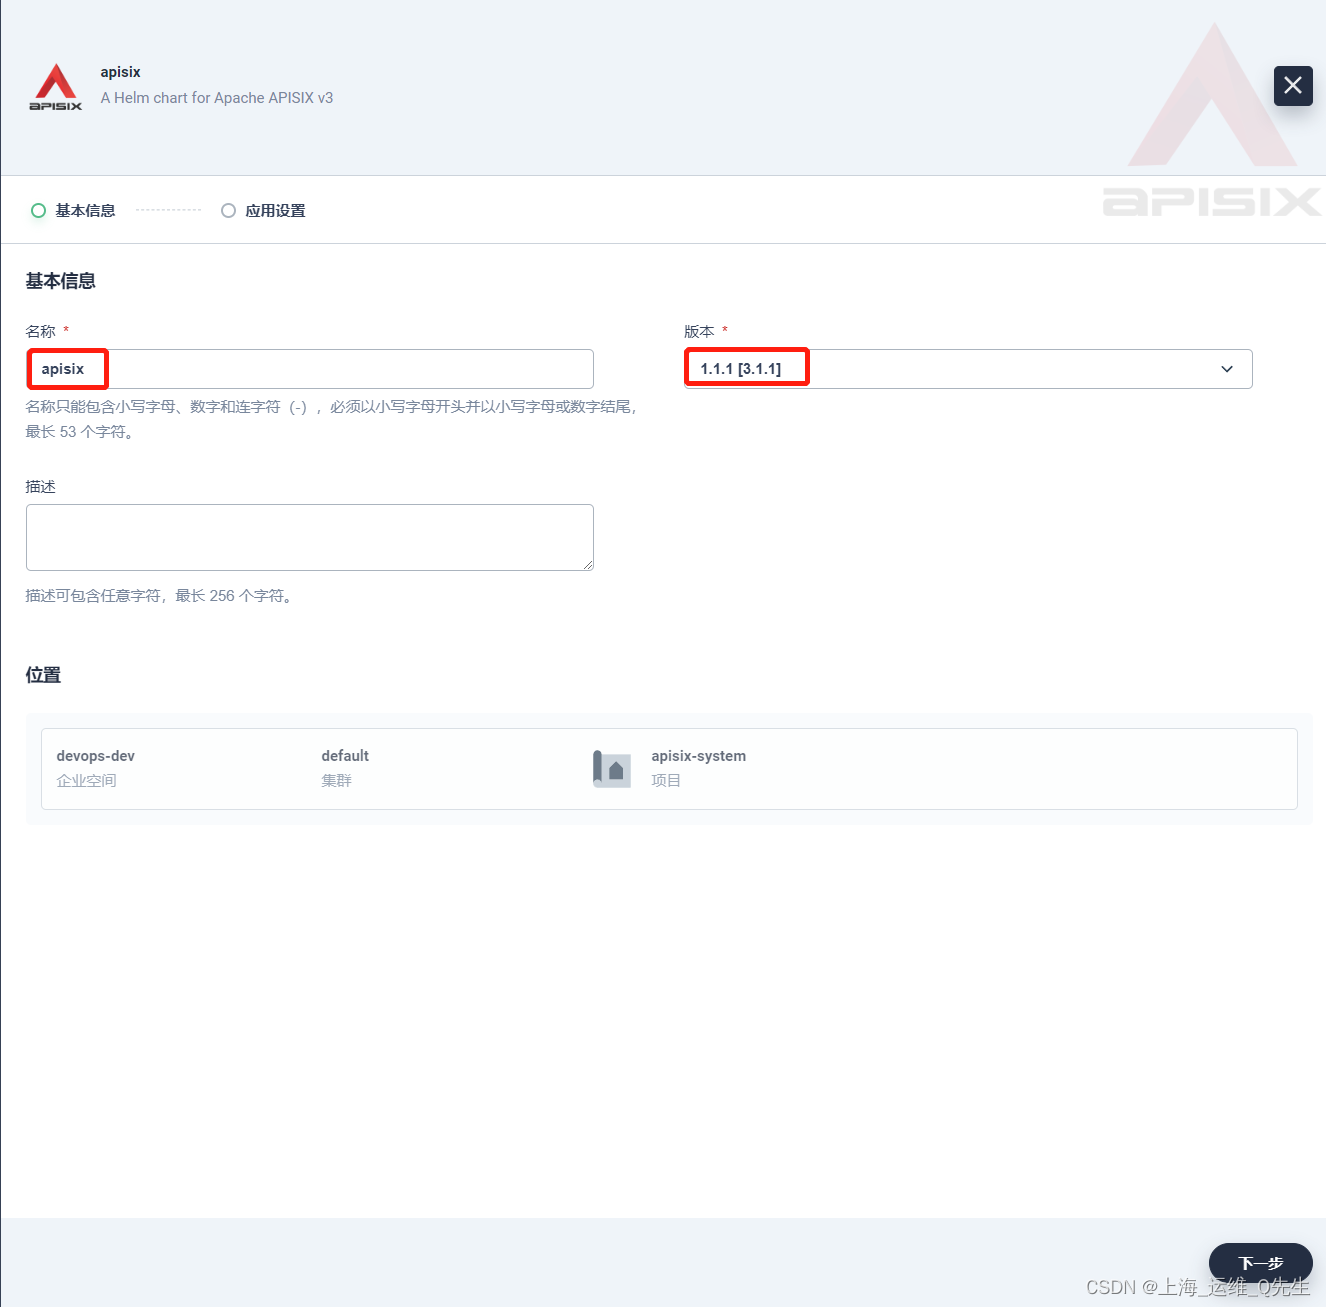
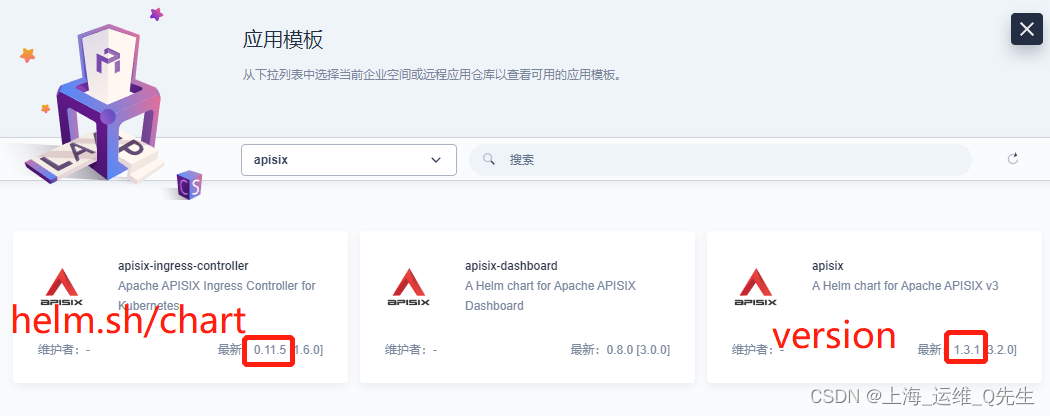
这里版本后面会用到需要记录一下,最新版的3.2.0好像有点问题,选不上,这里就先选择3.1.1了
3.1.1
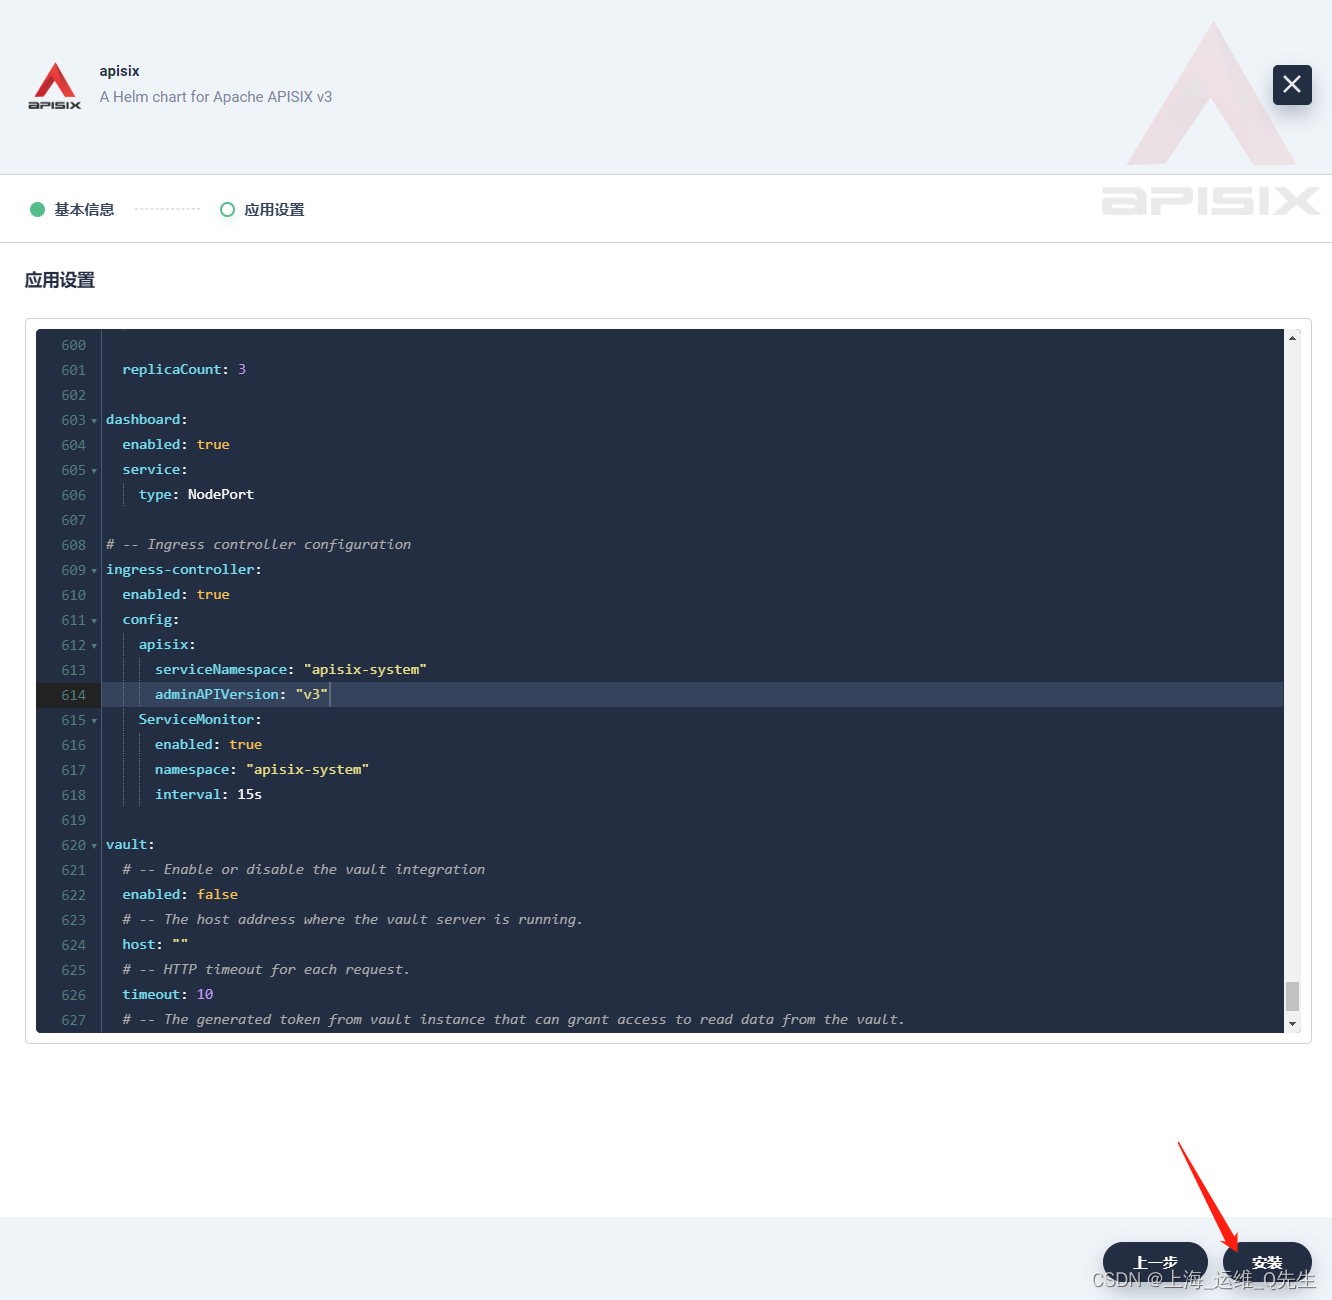
修改helm配置
  allow:
    # -- The client IP CIDR allowed to access Apache APISIX Admin API service.
    ipList:
      - 192.168.31.0/24
 # 略

  plugins:
  #用以dashboard上展示服务信息
  - server-info
  # 略
customPlugins:
  # -- Whether to configure some custom plugins
  enabled: false
  # -- the lua_path that tells APISIX where it can find plugins,
  # note the last ';' is required.
  luaPath: "/opts/custom_plugins/?.lua"
  plugins:
    # -- plugin name.
    ## 修改下面这行
    - name: "prometheus"
      # -- plugin attrs
      attrs:
      ## 修改下面这3行
        export_addr:
        ip: 0.0.0.0
        port: 9091
      # -- plugin codes can be saved inside configmap object.
      configMap:
        # -- name of configmap.
        ## 修改下面这行
        name: "prometheus"
# 略
serviceMonitor:
  # -- Enable or disable Apache APISIX serviceMonitor
  ## 修改下面这行
  enabled: true
  # -- namespace where the serviceMonitor is deployed, by default, it is the same as the namespace of the apisix
  ## 修改下面这行
  namespace: "apisix-system"

# 略
dashboard:
  # 修改下面这行
  enabled: true
  # 添加以下2行
  service:
    type: NodePort
# 修改以下几行
ingress-controller:
  enabled: true
  config:
    apisix:
      serviceNamespace: "apisix-system"
      adminAPIVersion: "v3"
    ServiceMonitor:
      enabled: true
      namespace: "apisix-system"
      interval: 15s
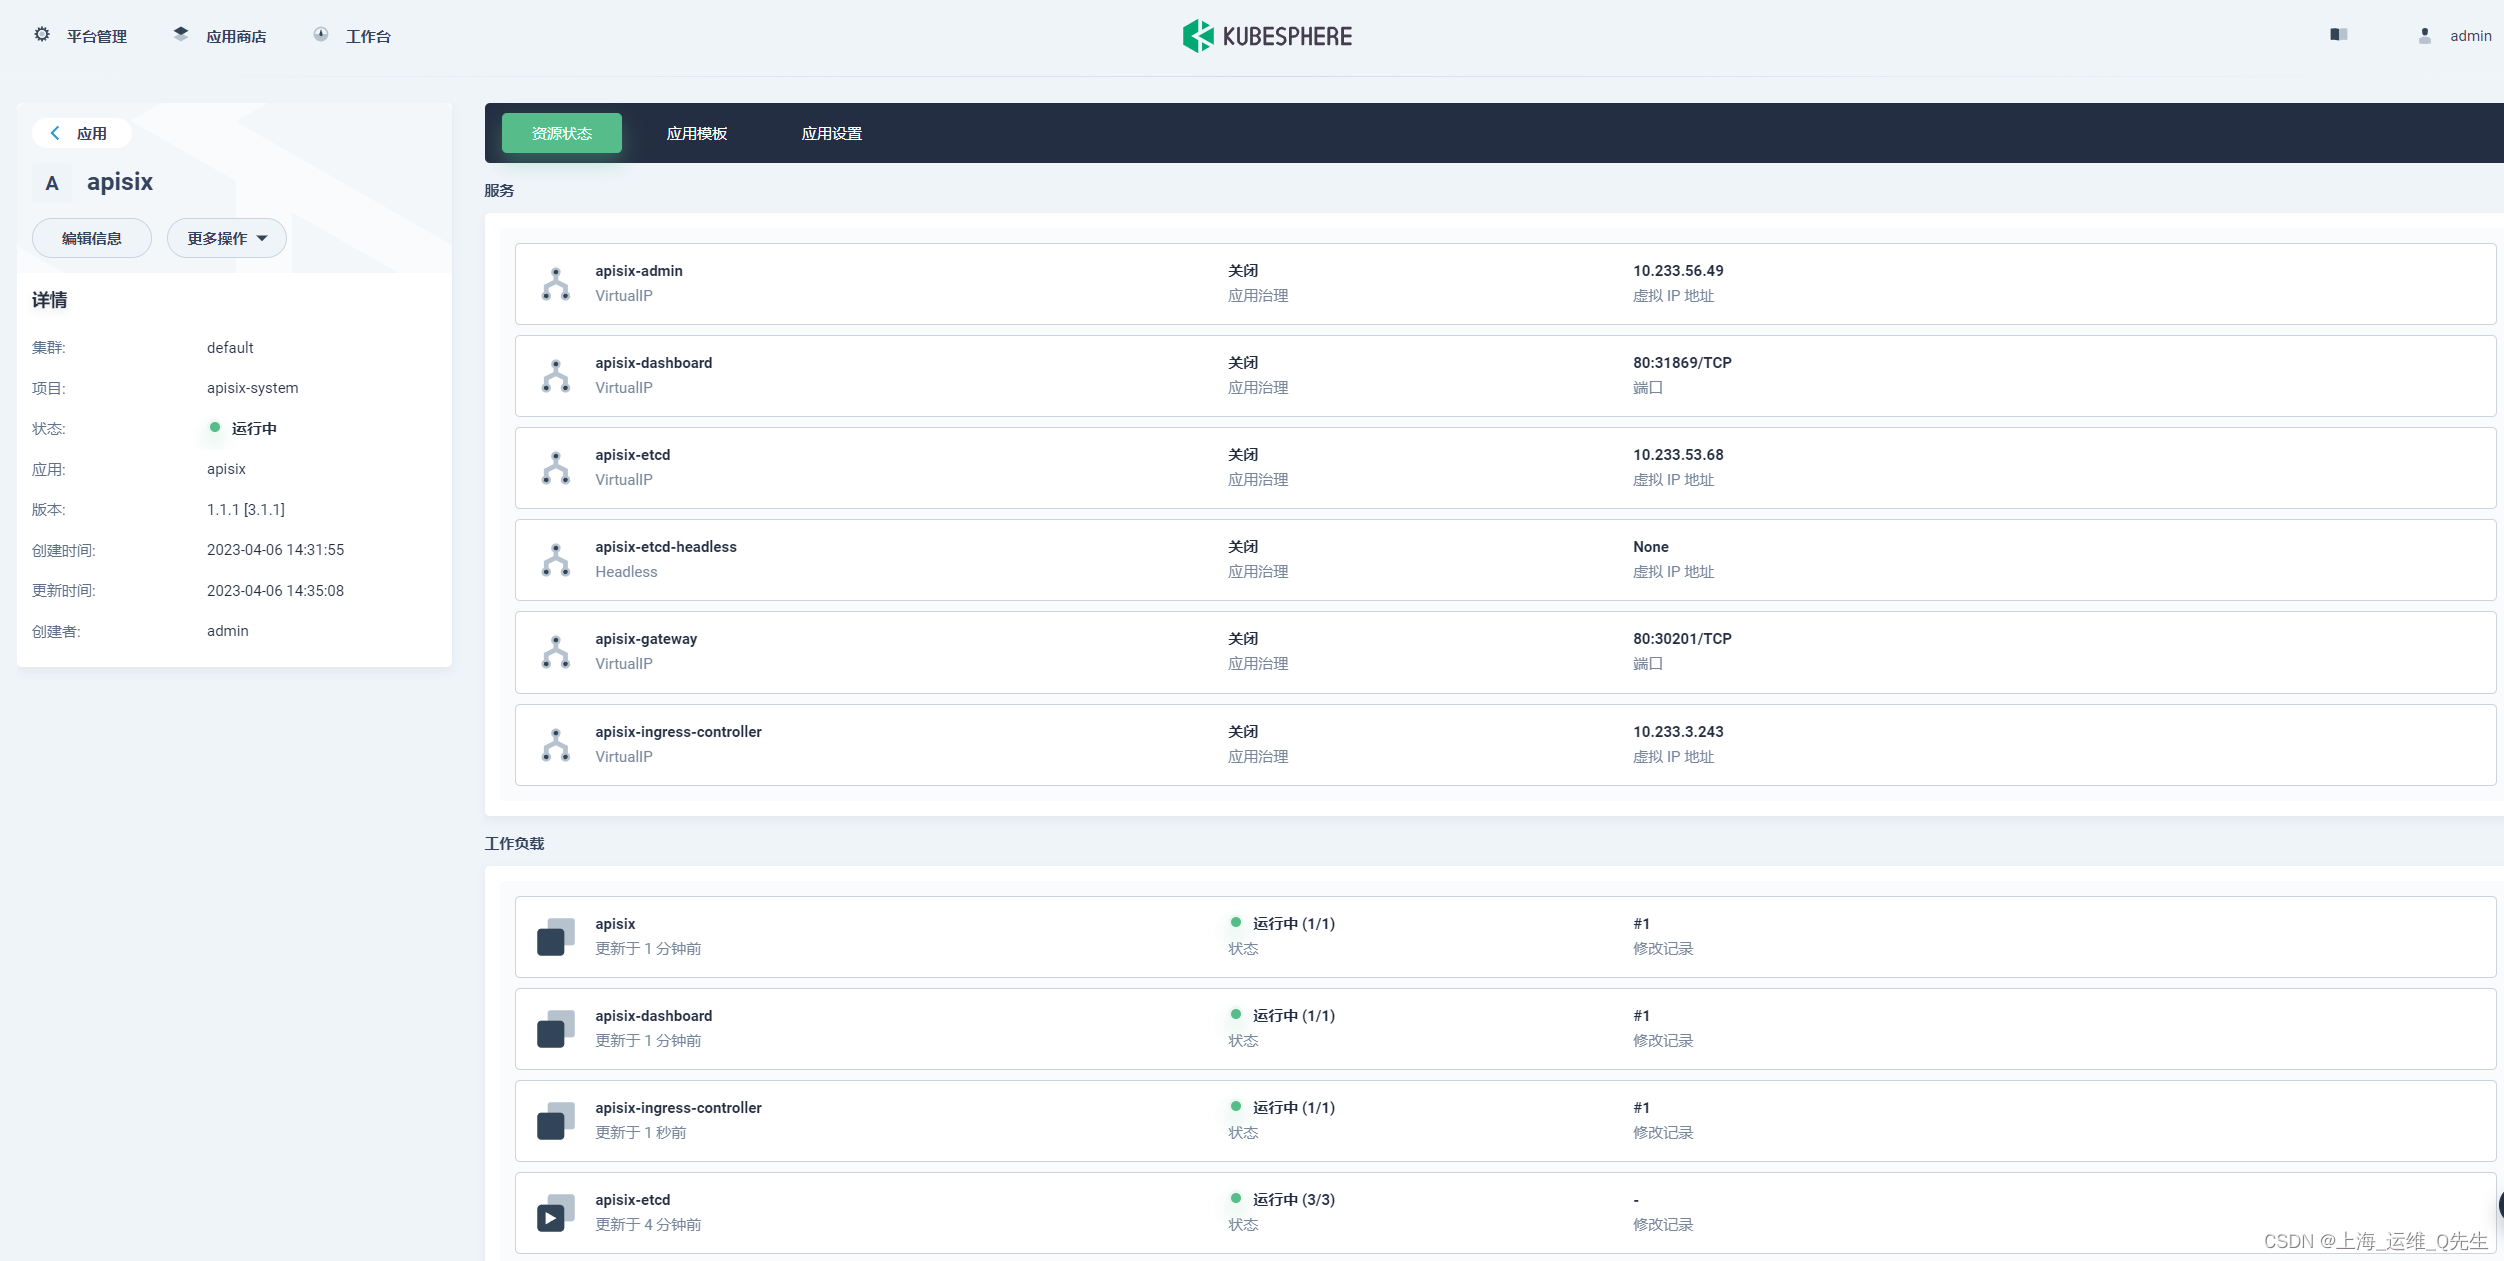
等待创建完成

1.4 登录Apisix Dashboard
http://192.168.31.131:31869/
用户名/密码
admin/admin

2. APISIX使用
2.1 创建应用及服务
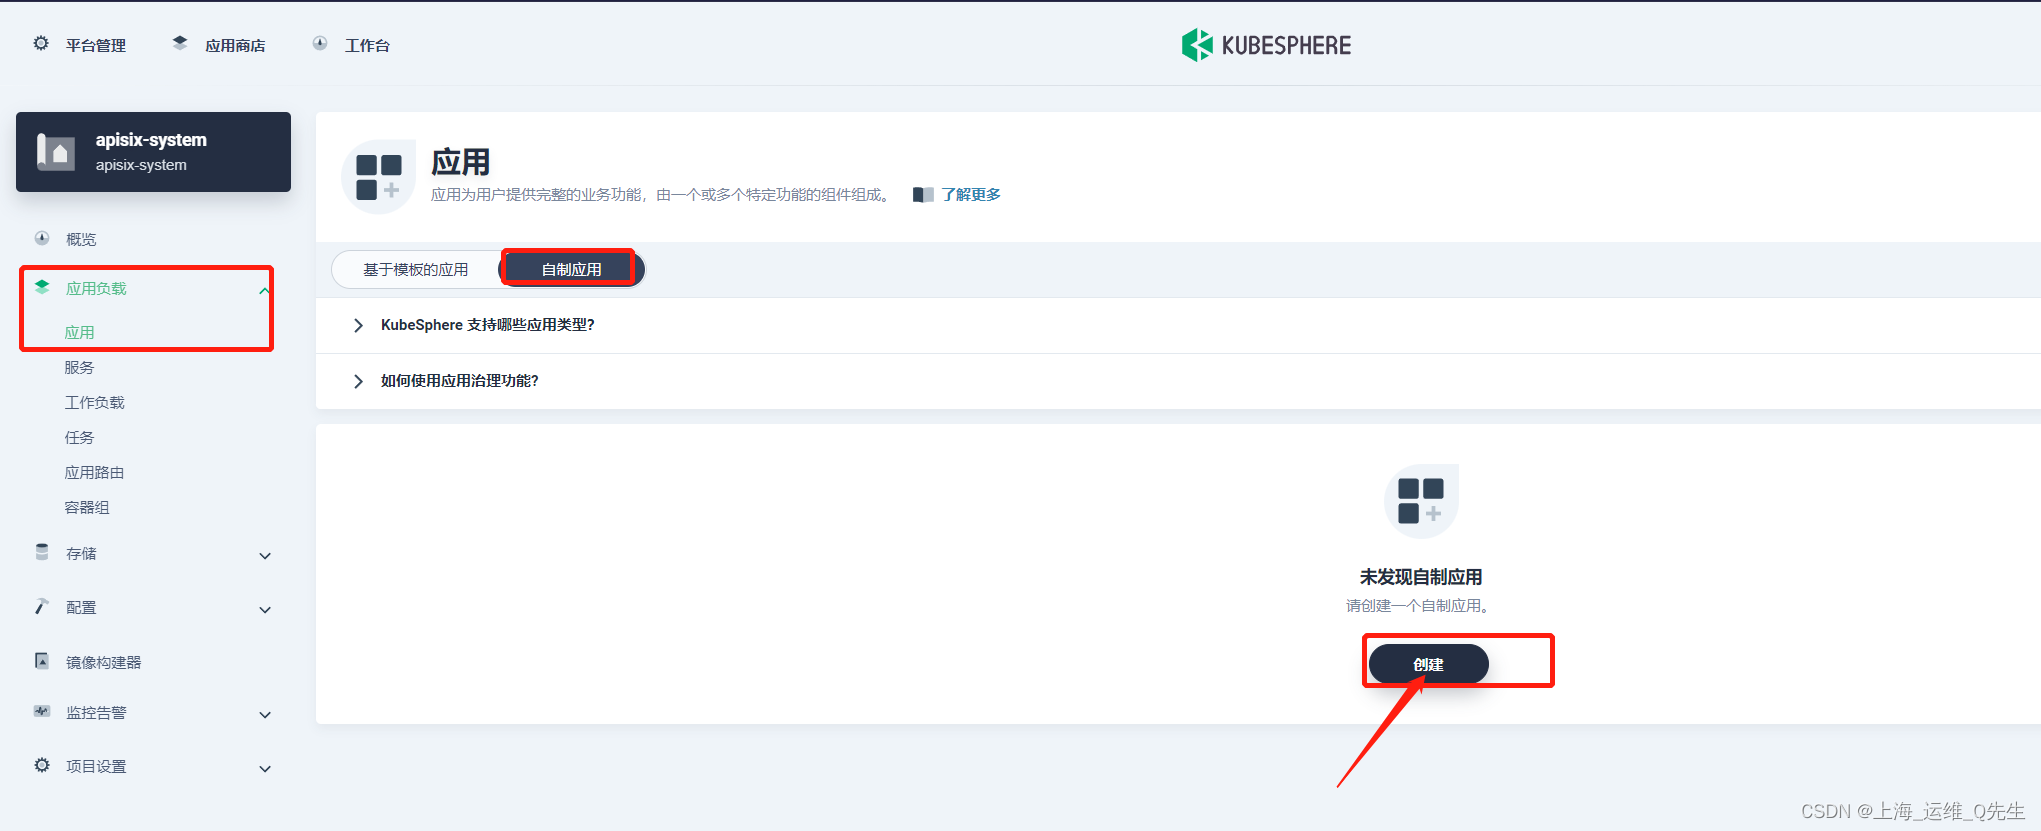
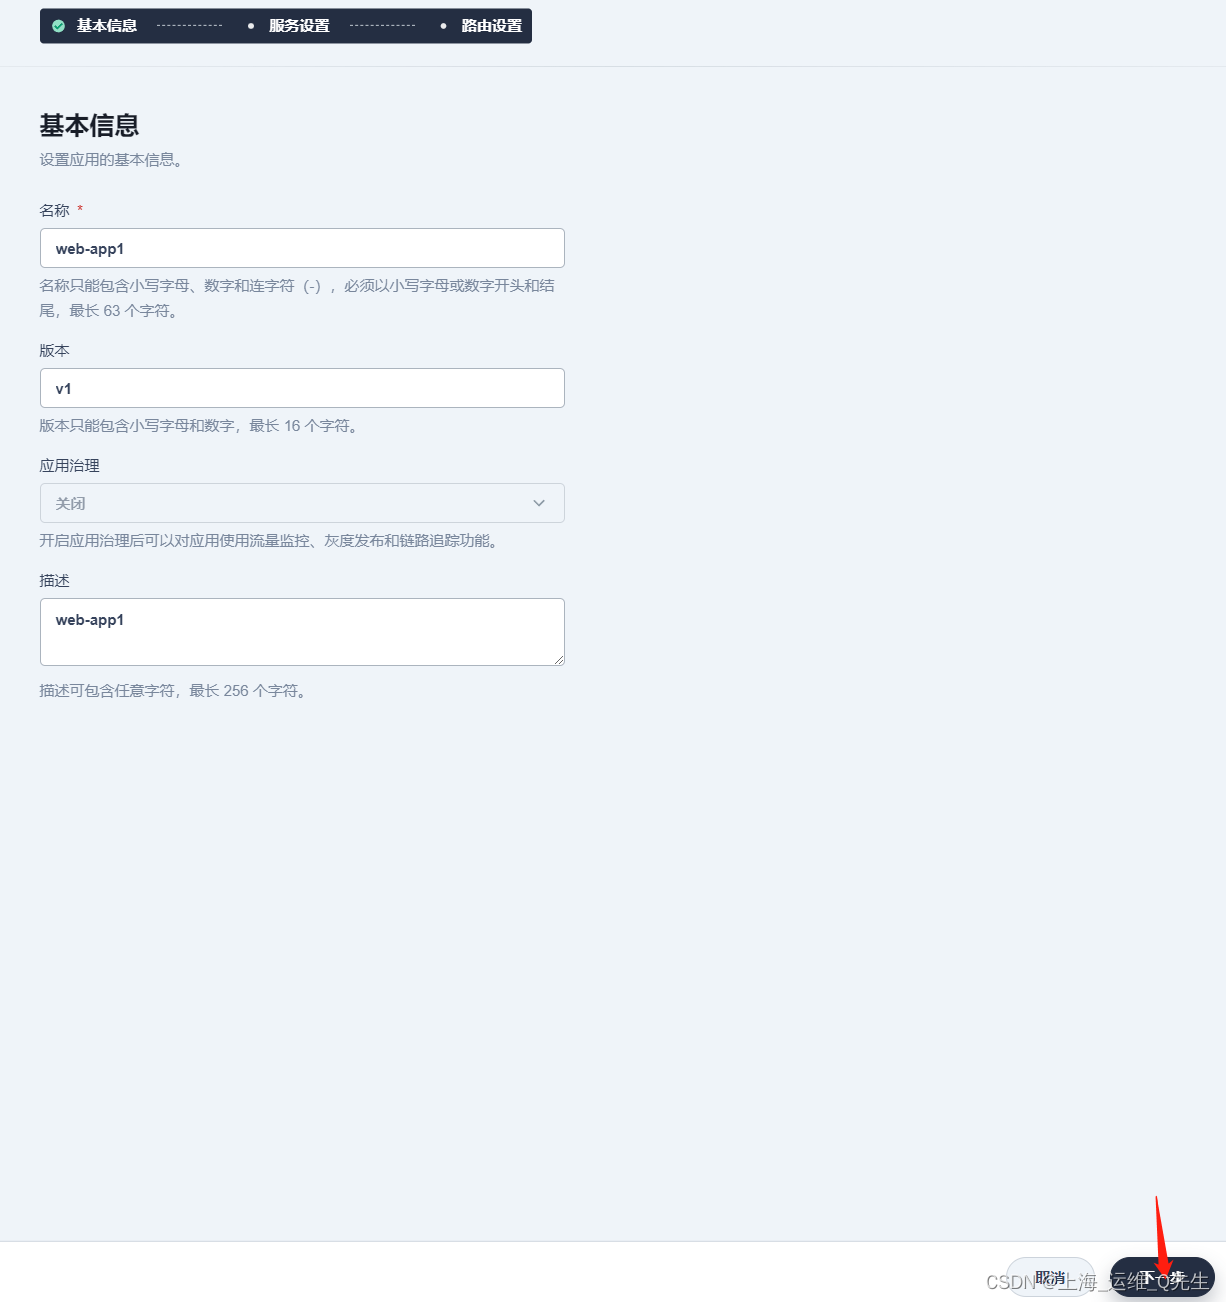
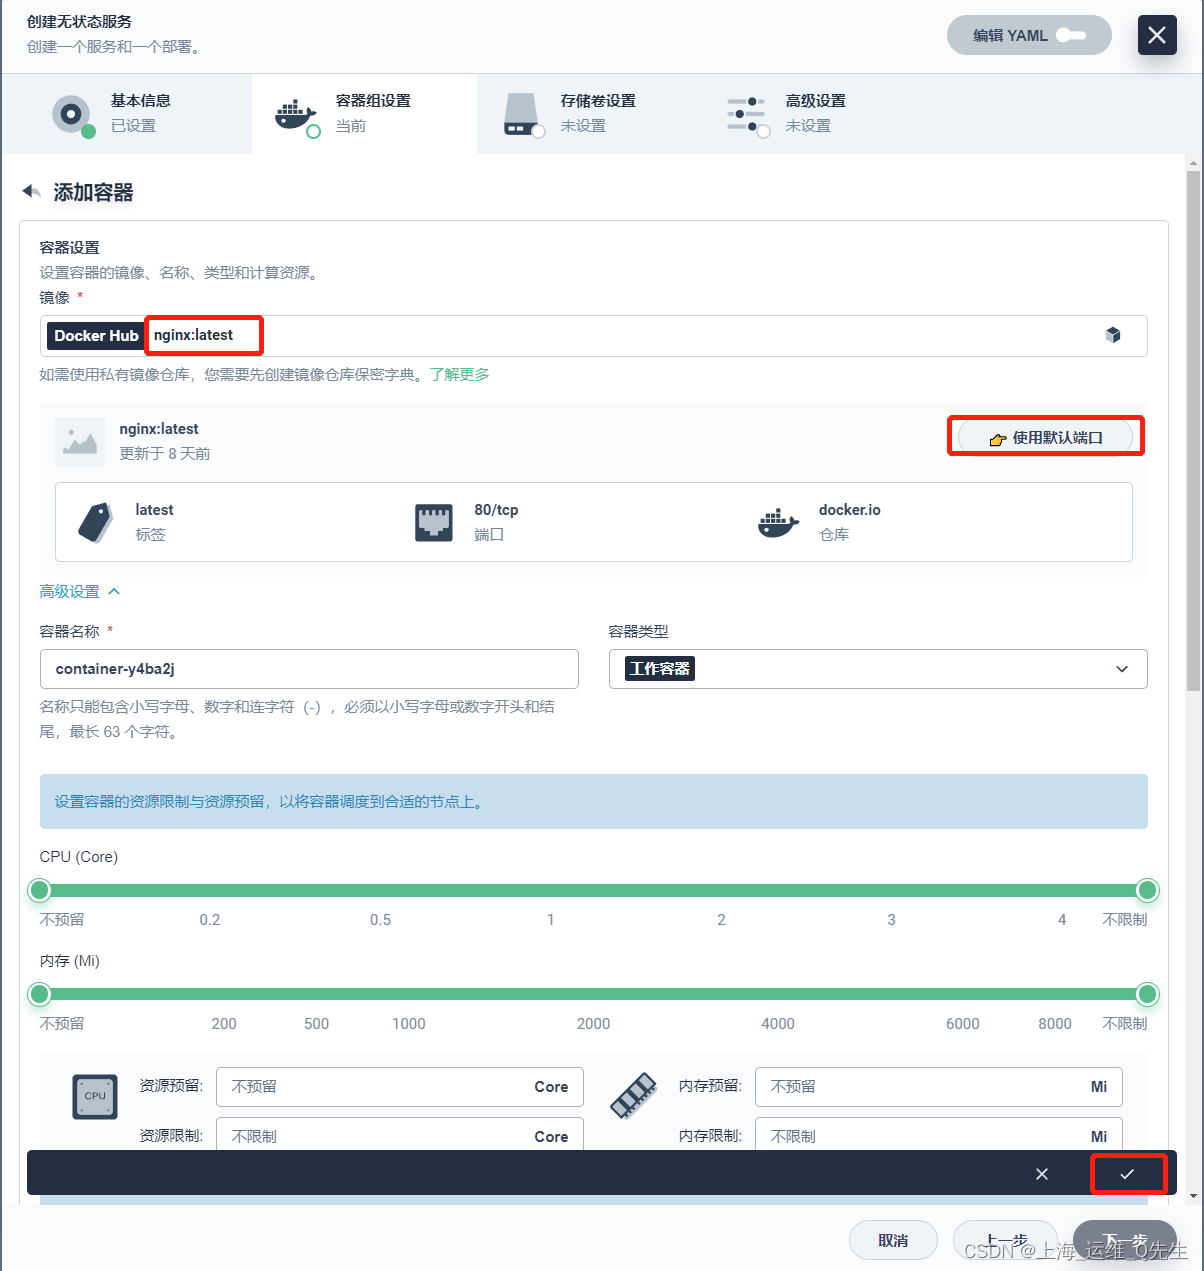
创建无状态服务

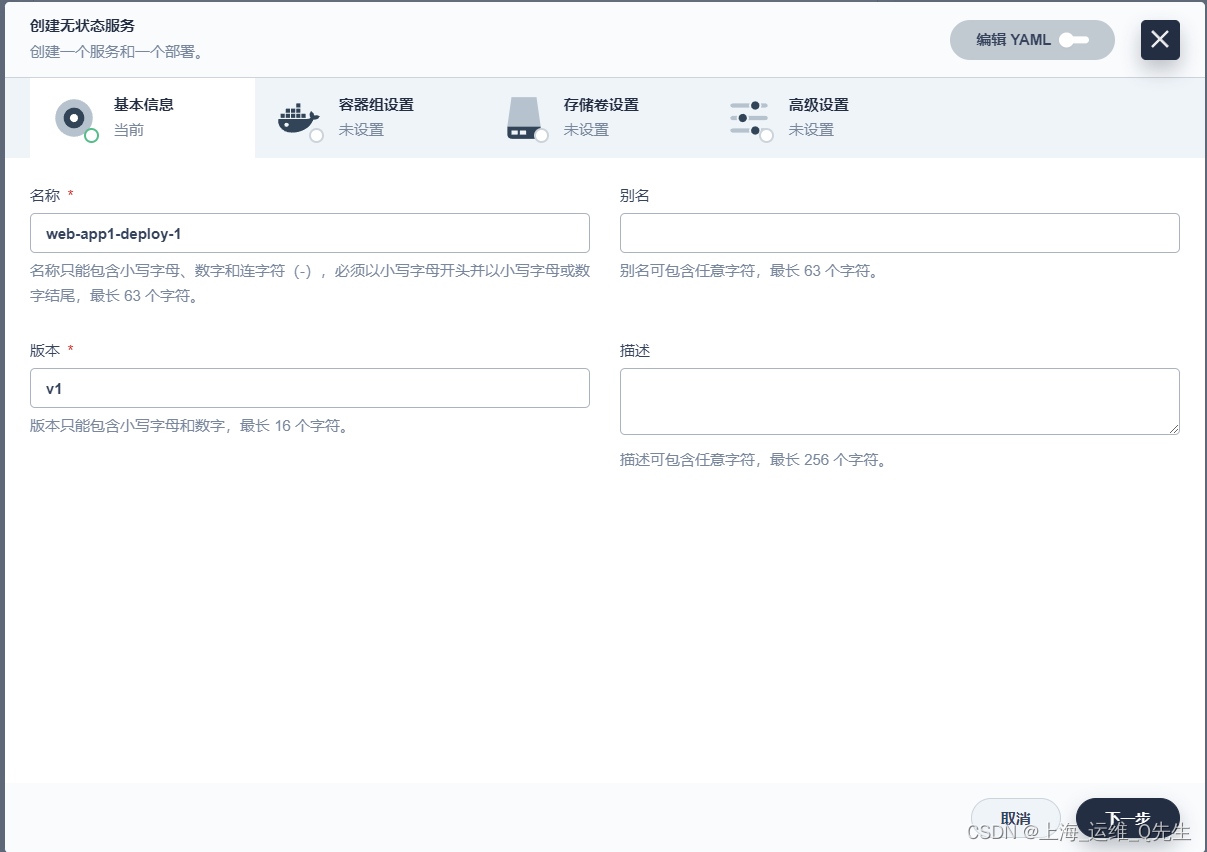
创建服务
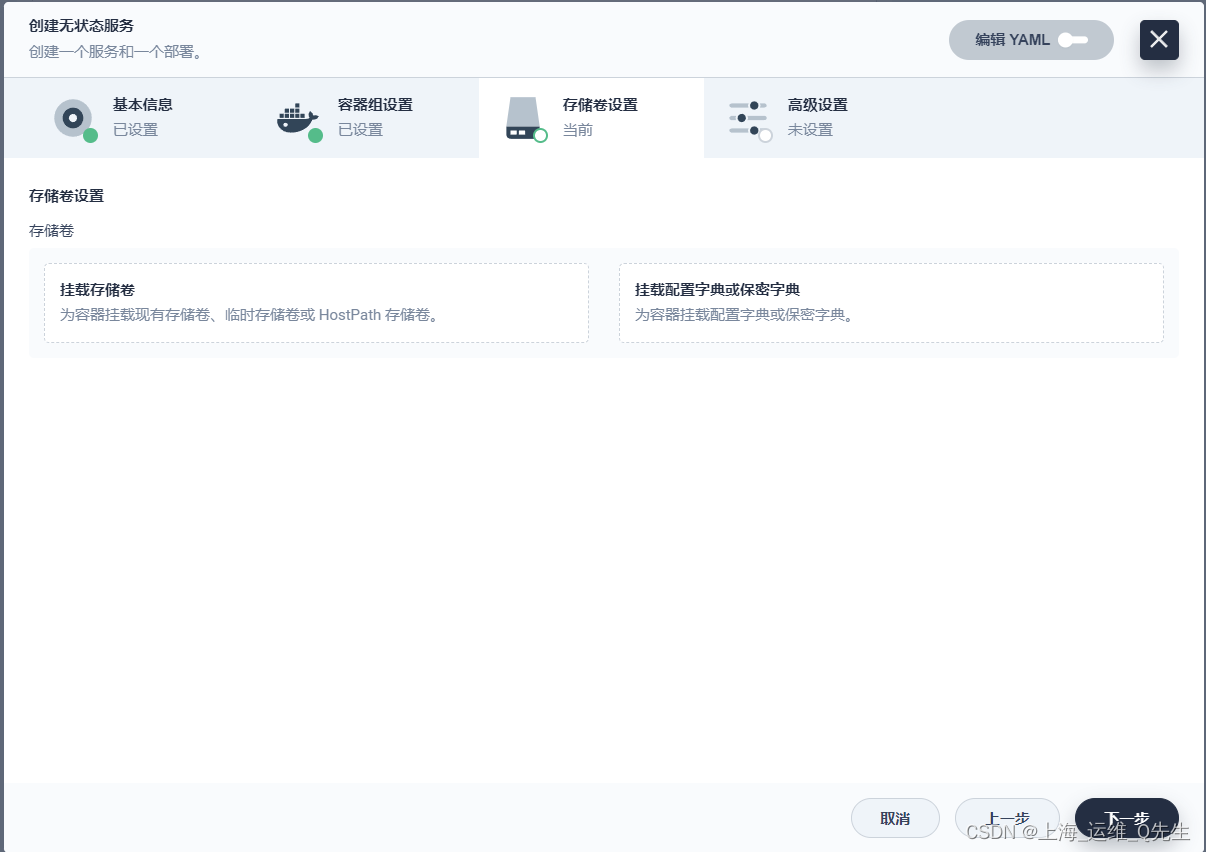
存储卷默认就过
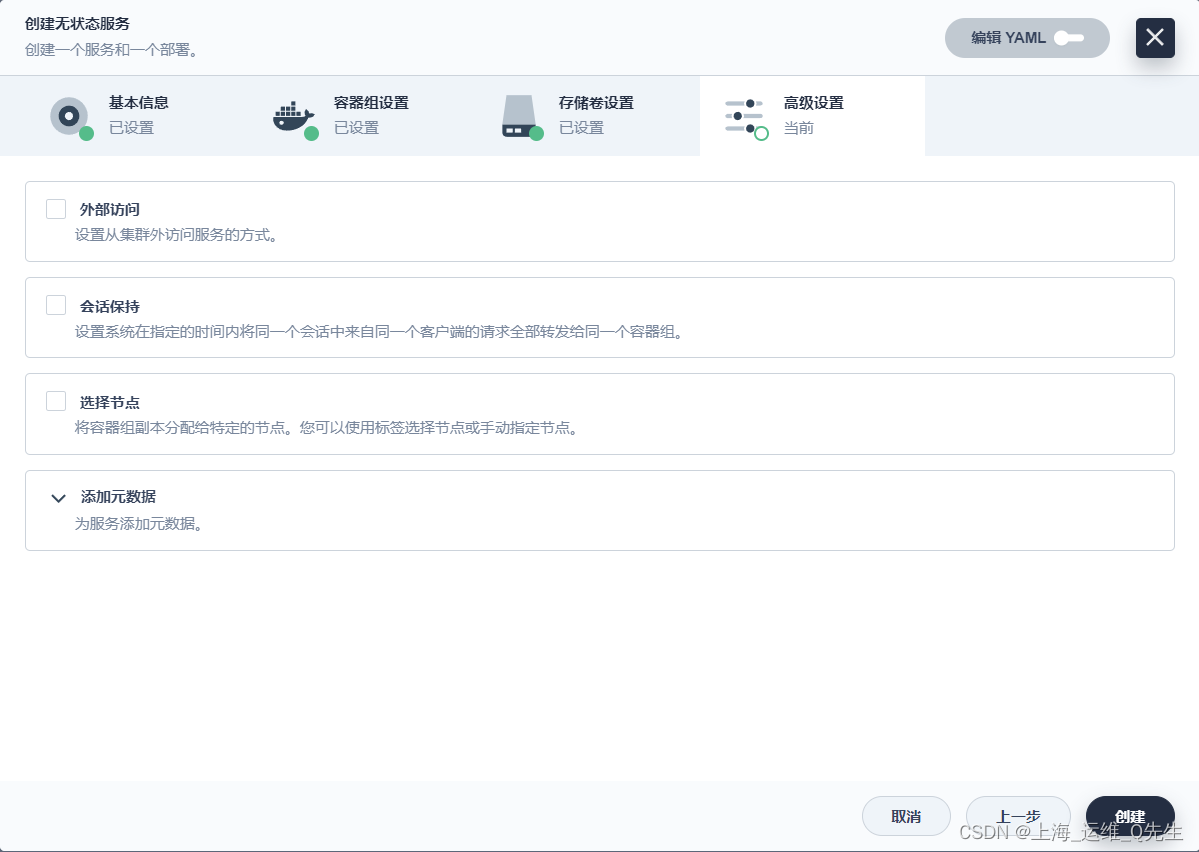
点击创建
下一步

点击创建

此时应用创建完成


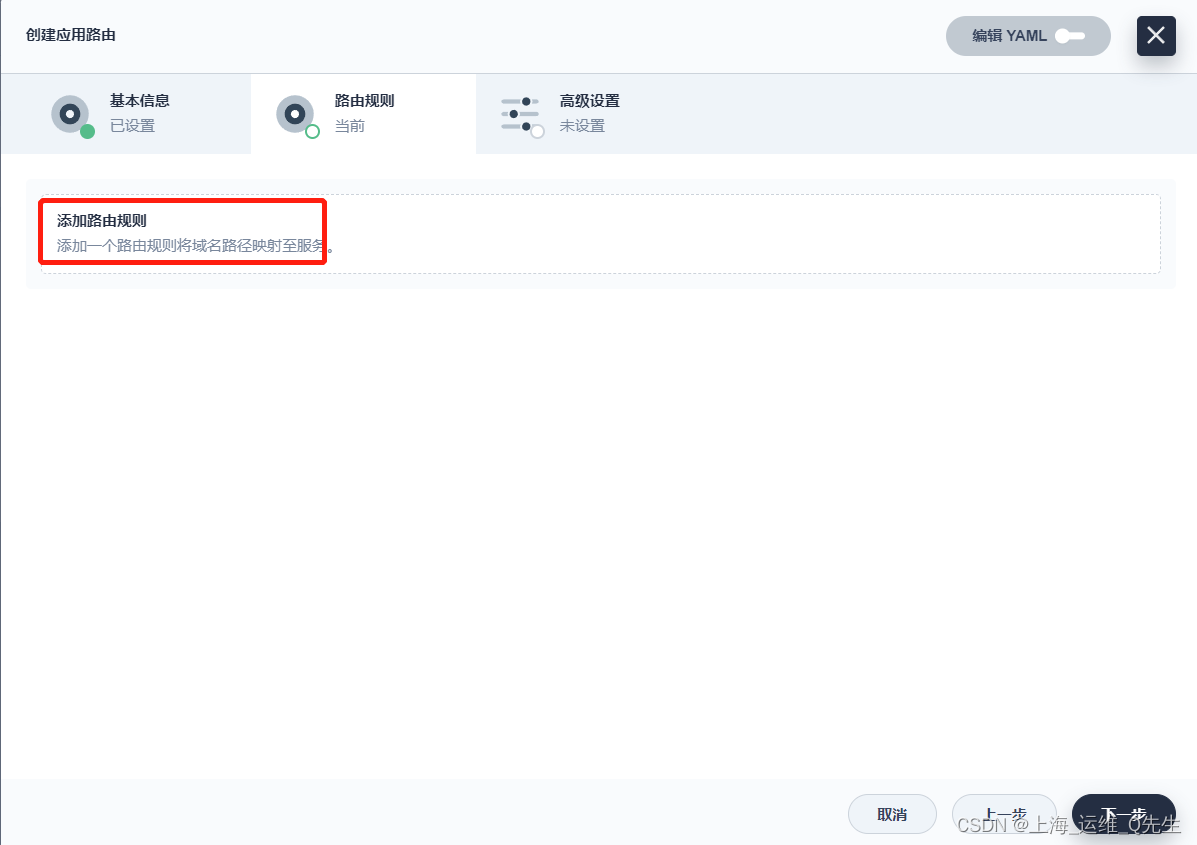
2.2 创建路由

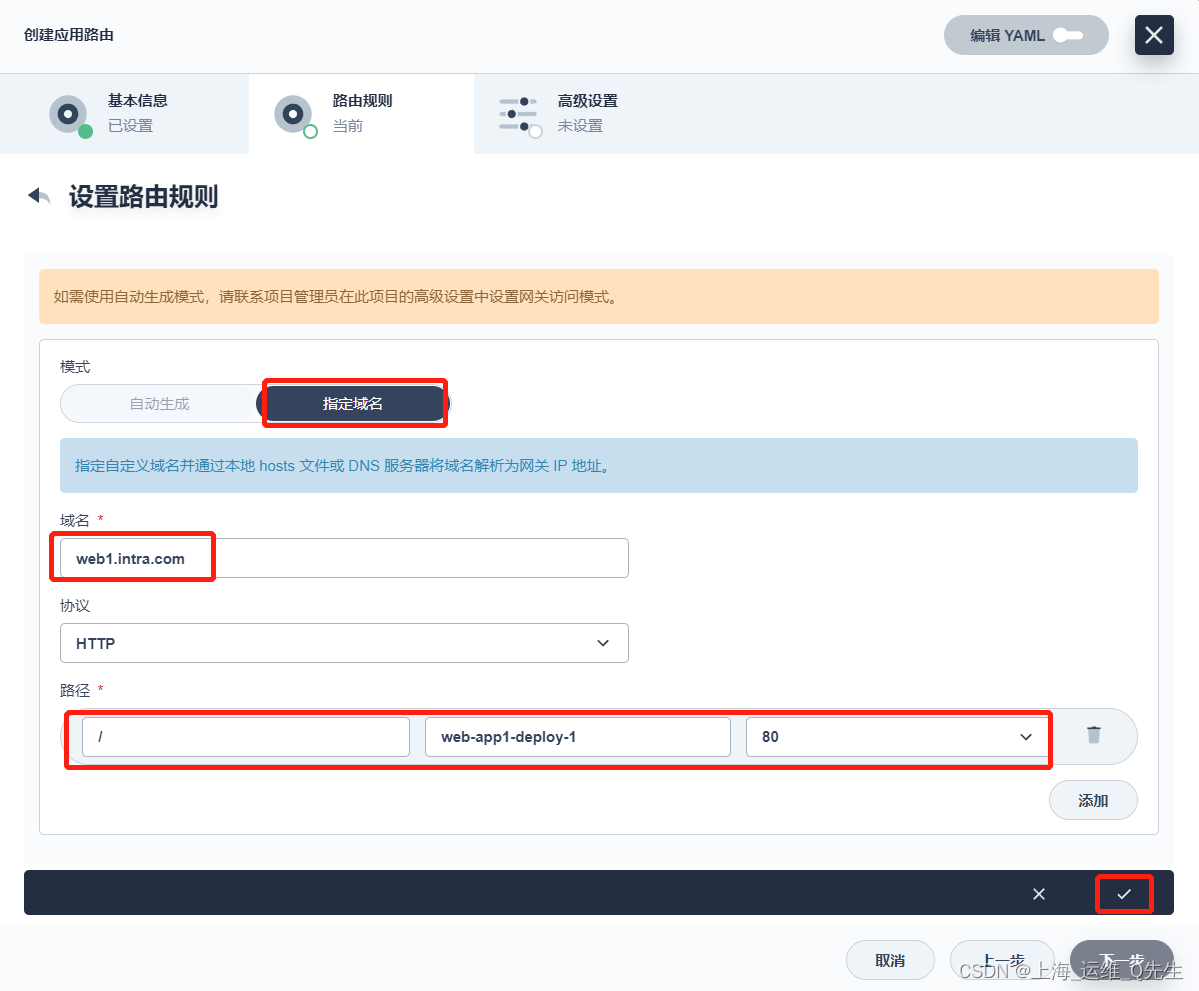
指定域名
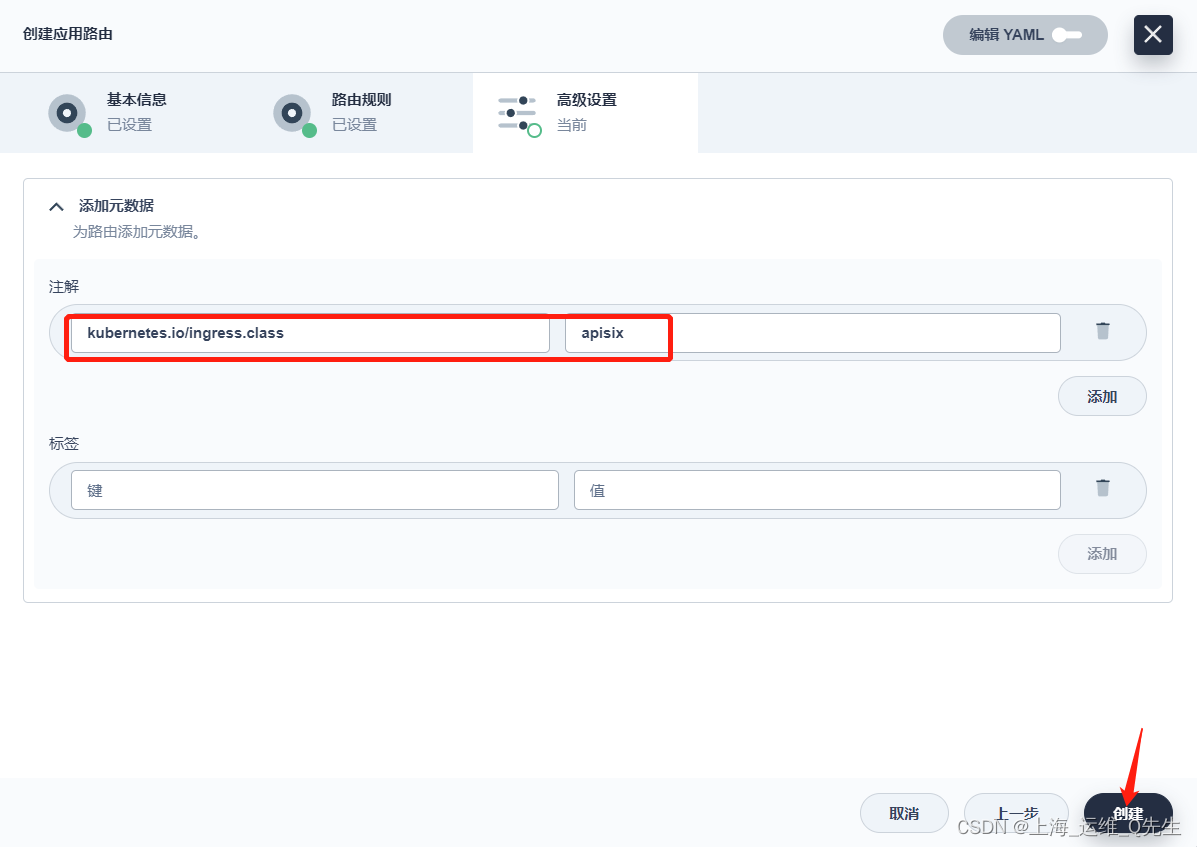
kubernetes.io/ingress.class: apisix
应用路由被创建完成

同时在APISIX的路由下也能看到该路由

2.3 访问测试
先获取到apisix的端口

看到这里的apisix-gateway的端口是30201

修改pod中index.html内容
echo web-app1-deploy-1-v1-5cf8c95d74-bzpfm > /usr/share/nginx/html/index.html

到hosts中绑定
192.168.31.131 ks-master.cluster.local ks-master web1.intra.com
此时再访问域名web1-intra.com
root@ks-master:~/openelb# curl http://web1.intra.com:30201/
web-app1-deploy-1-v1-5cf8d95d74-bzpfm
3. 结合OpenELB实现APISIX访问
上面实现了通过绑定节点nodeport方式来将流量转入apisix-gateway,但实际用户无法直接获取到该端口.

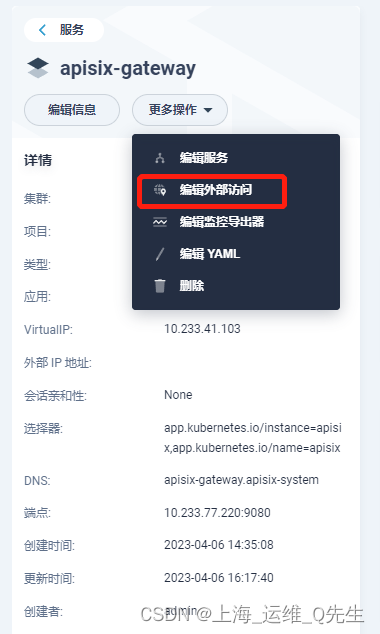
由于我们kubesphere环境中获取eip的名字
root@ks-master:~# kubectl get eip
NAME         CIDR                            USAGE   TOTAL
layer3-eip   192.168.31.210-192.168.31.220   1       11
	lb.kubesphere.io/v1alpha1: openelb
    protocol.openelb.kubesphere.io/v1alpha1: layer2
    eip.openelb.kubesphere.io/v1alpha2: layer3-eip
将以上值追加到注释中
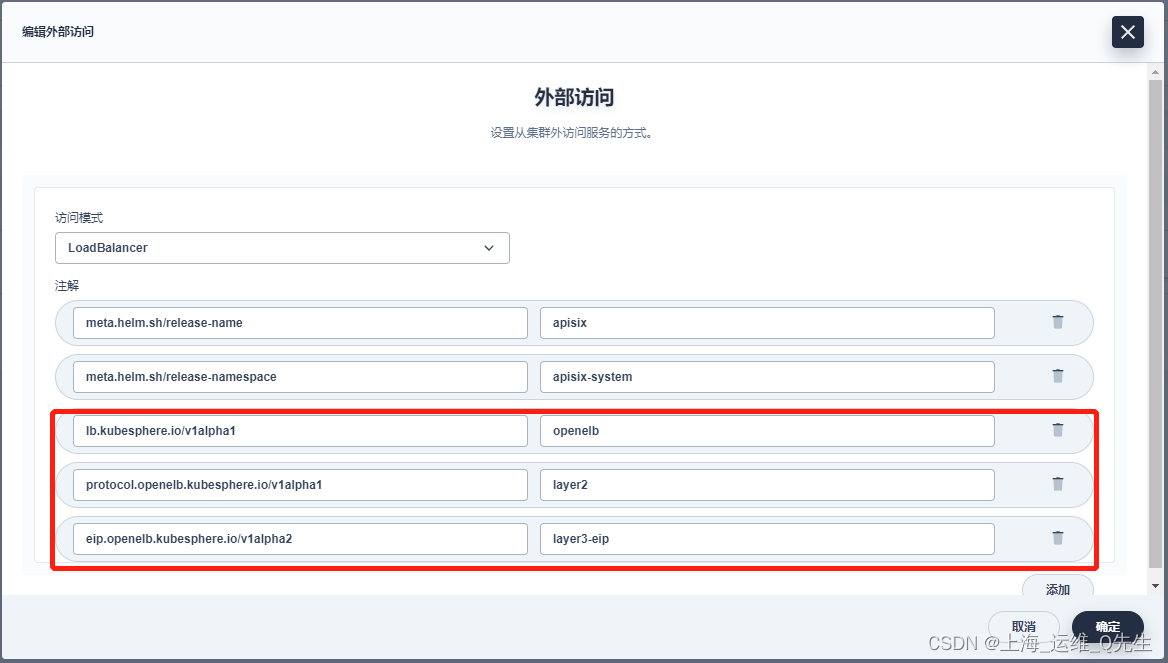
添加完成后,就会有外部ip出现

修改hosts或dns后再次测试发现,此时就不需要再填写端口号,直接通过gateway地址进行绑定即可
root@ks-master:~# tail -1 /etc/hosts
192.168.31.211 web1.intra.com web2.intra.com web3.intra.com
root@ks-master:~# curl web1.intra.com
web1
root@ks-master:~# curl web2.intra.com
web2
root@ks-master:~# curl web3.intra.com
web3
# kubectl get eip
NAME         CIDR                            USAGE   TOTAL
layer3-eip   192.168.31.210-192.168.31.220   2       11
4. 自定义监控APISIX网关
4.1 暴露APISIX监控指标
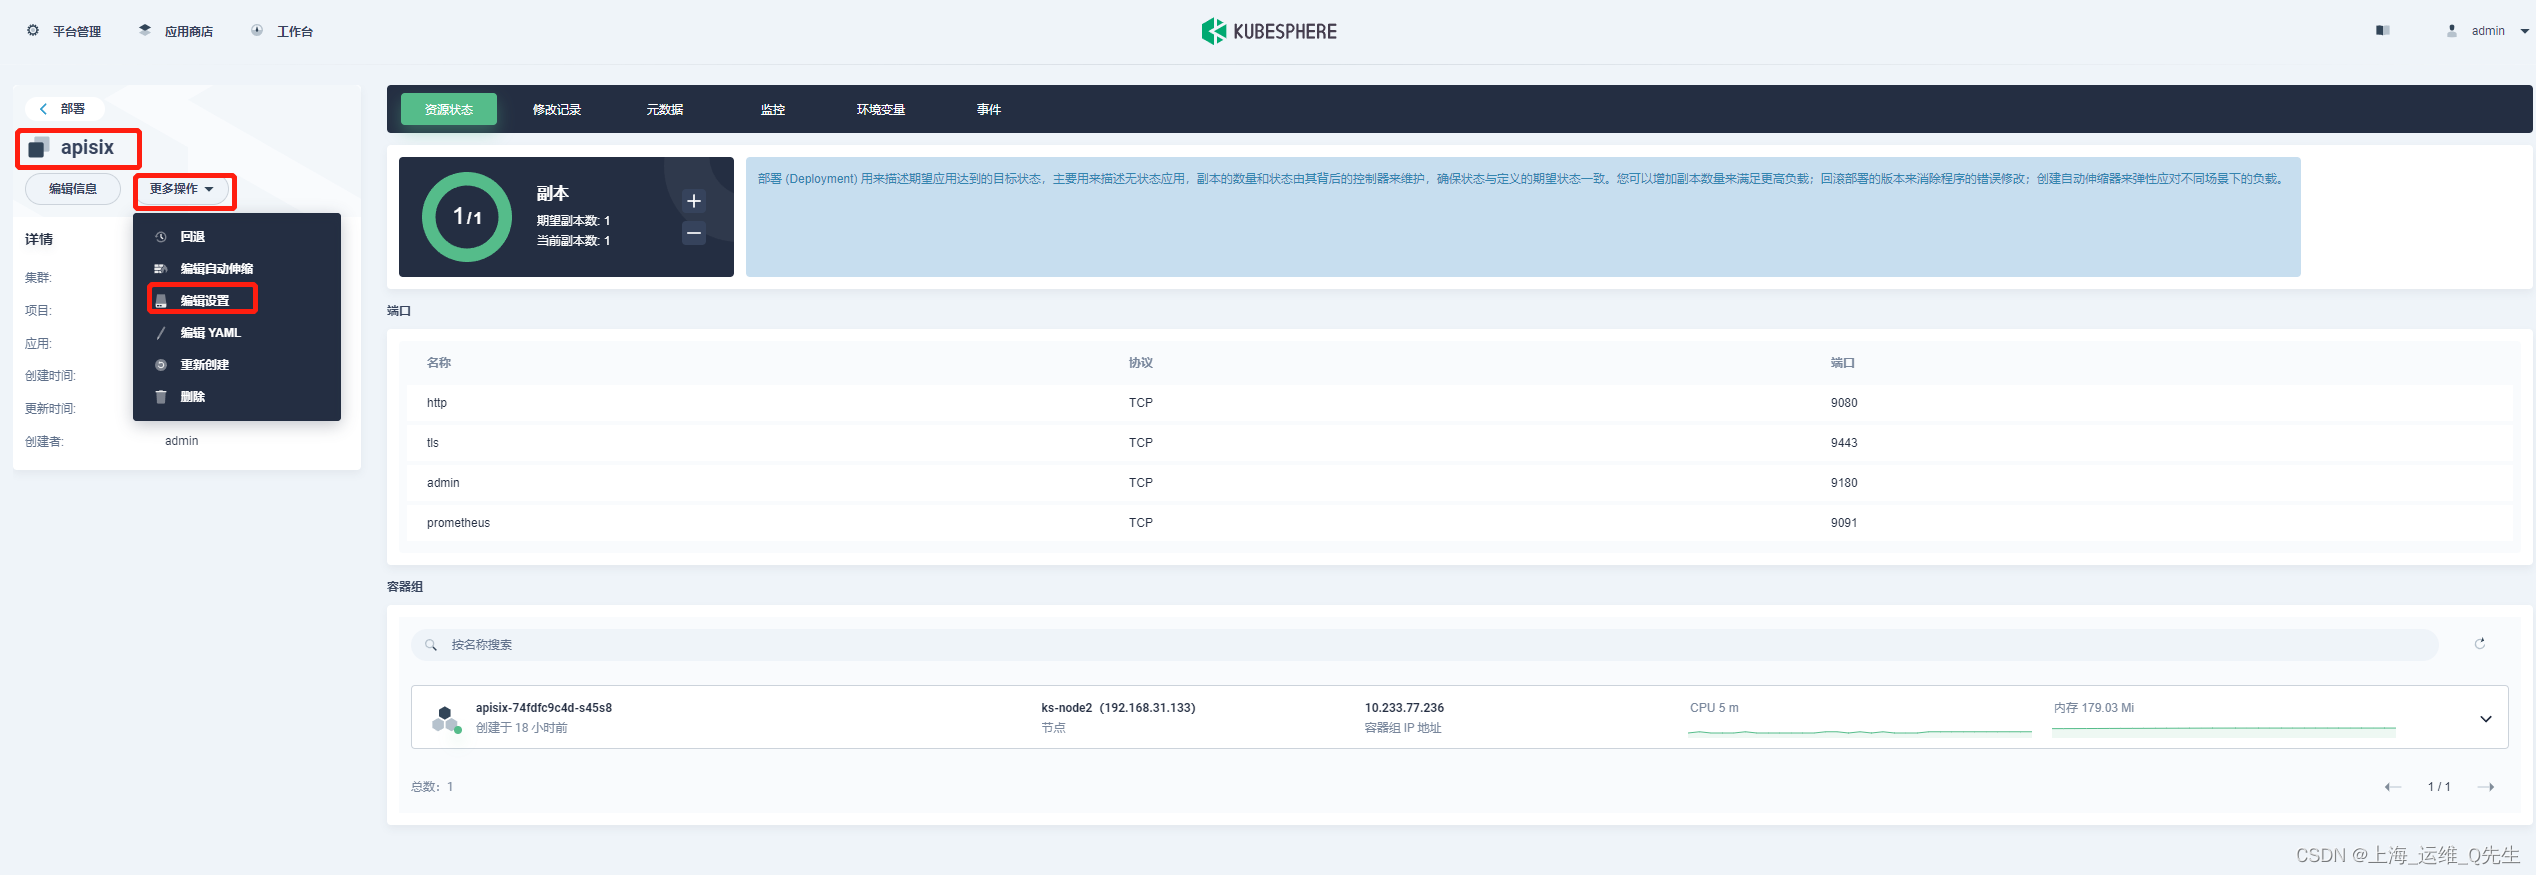
点击编辑
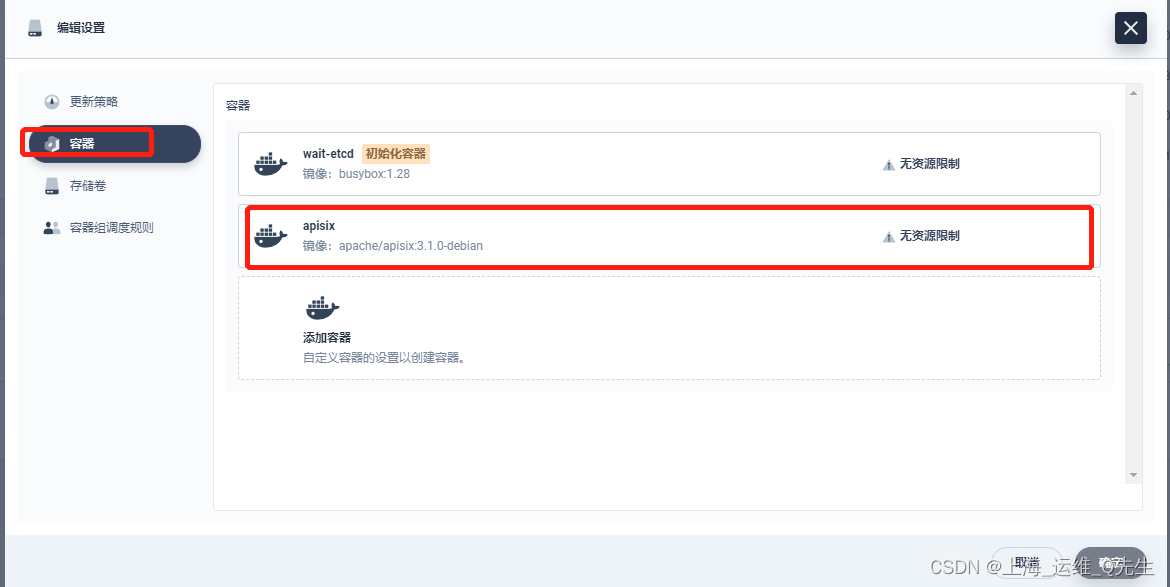
有9091就可以,没有就加上
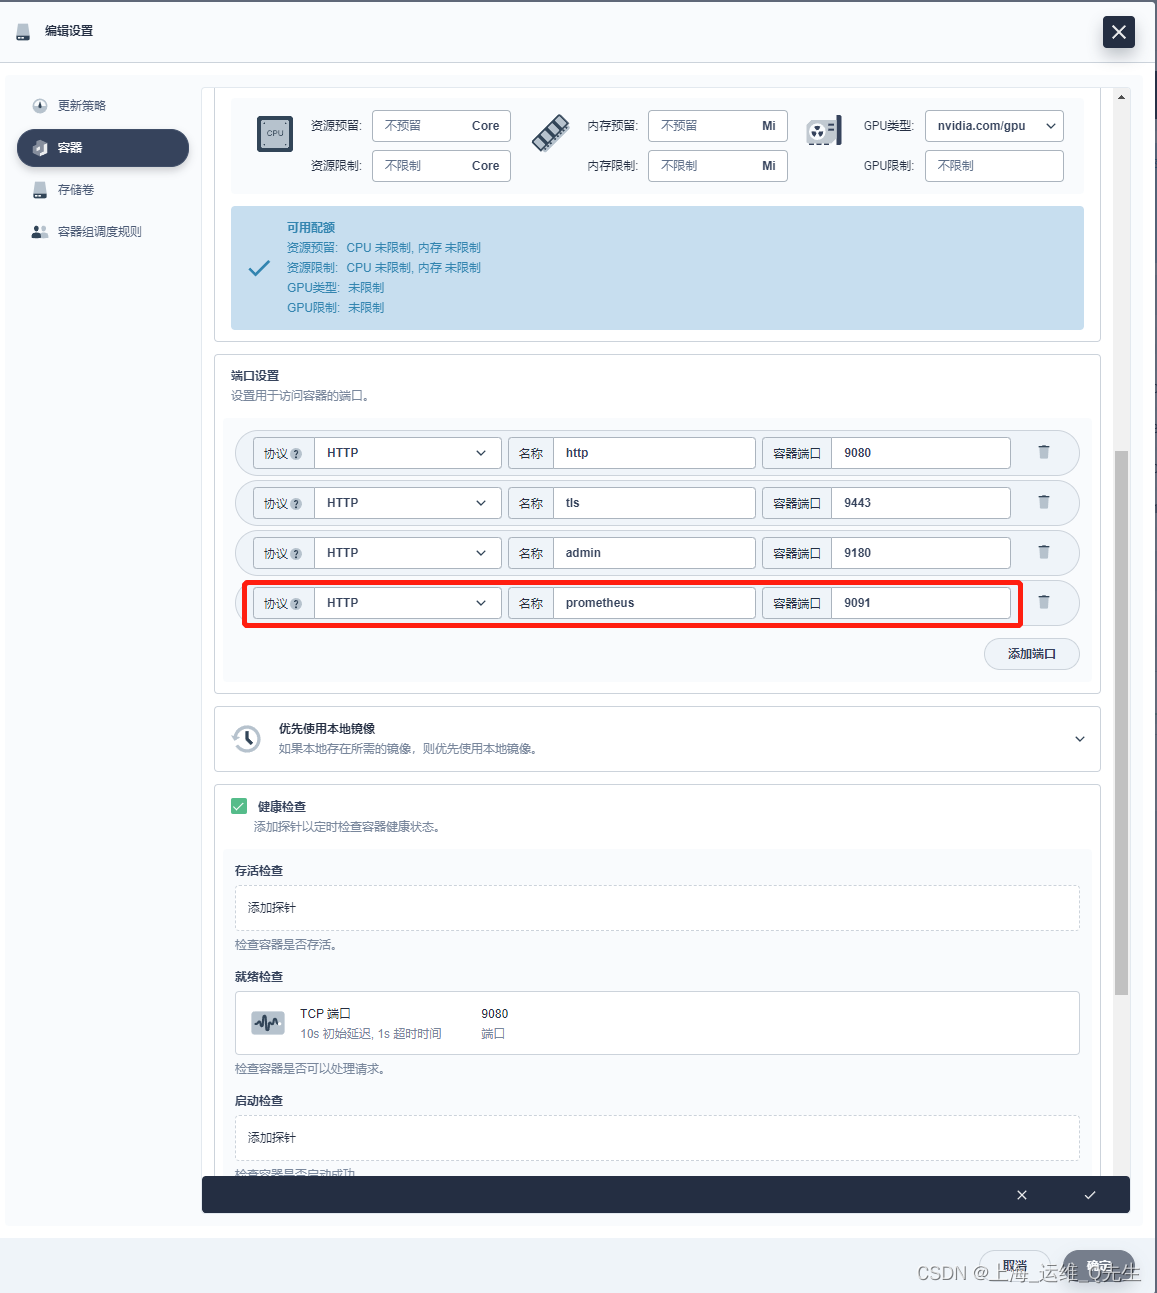
4.2 创建ServiceMonitor
Kubesphere通过Prometheus Operator来维护Prometheus系统,通过创建ServiceMonitor实现指定接口的接入
这里app.kubernetes.io/version和helm.sh/chart的值来自于我们安装时的选择.
apiVersion: monitoring.coreos.com/v1
kind: ServiceMonitor
metadata:
  name: apisix
  namespace: apisix-system
spec:
  endpoints:
    - scheme: http
      targetPort: prometheus
      path: /apisix/prometheus/metrics
      interval: 15s
  namespaceSelector:
    matchNames:
      - apisix-system
  selector:
    matchLabels:
      app.kubernetes.io/name: apisix
      app.kubernetes.io/version: 3.1.1
      helm.sh/chart: apisix-0.11.5
创建ServiceMonitor
# kubectl apply -f sm.yaml
Warning: resource servicemonitors/apisix is missing the kubectl.kubernetes.io/last-applied-configuration annotation which is required by kubectl apply. kubectl apply should only be used on resources created declaratively by either kubectl create --save-config or kubectl apply. The missing annotation will be patched automatically.
servicemonitor.monitoring.coreos.com/apisix configured
确认是否创建完成

点击编辑

可以看到内容和我们之前创建的是一样的

4.3 项目级别的自定义监控
创建自定监控

监控指标sum(apisix_nginx_http_current_connections)

添加折线图

图表名称: Nginx 连接状态
图例名称:{{state}}
监控指标:sum(apisix_nginx_http_current_connections) by (state)
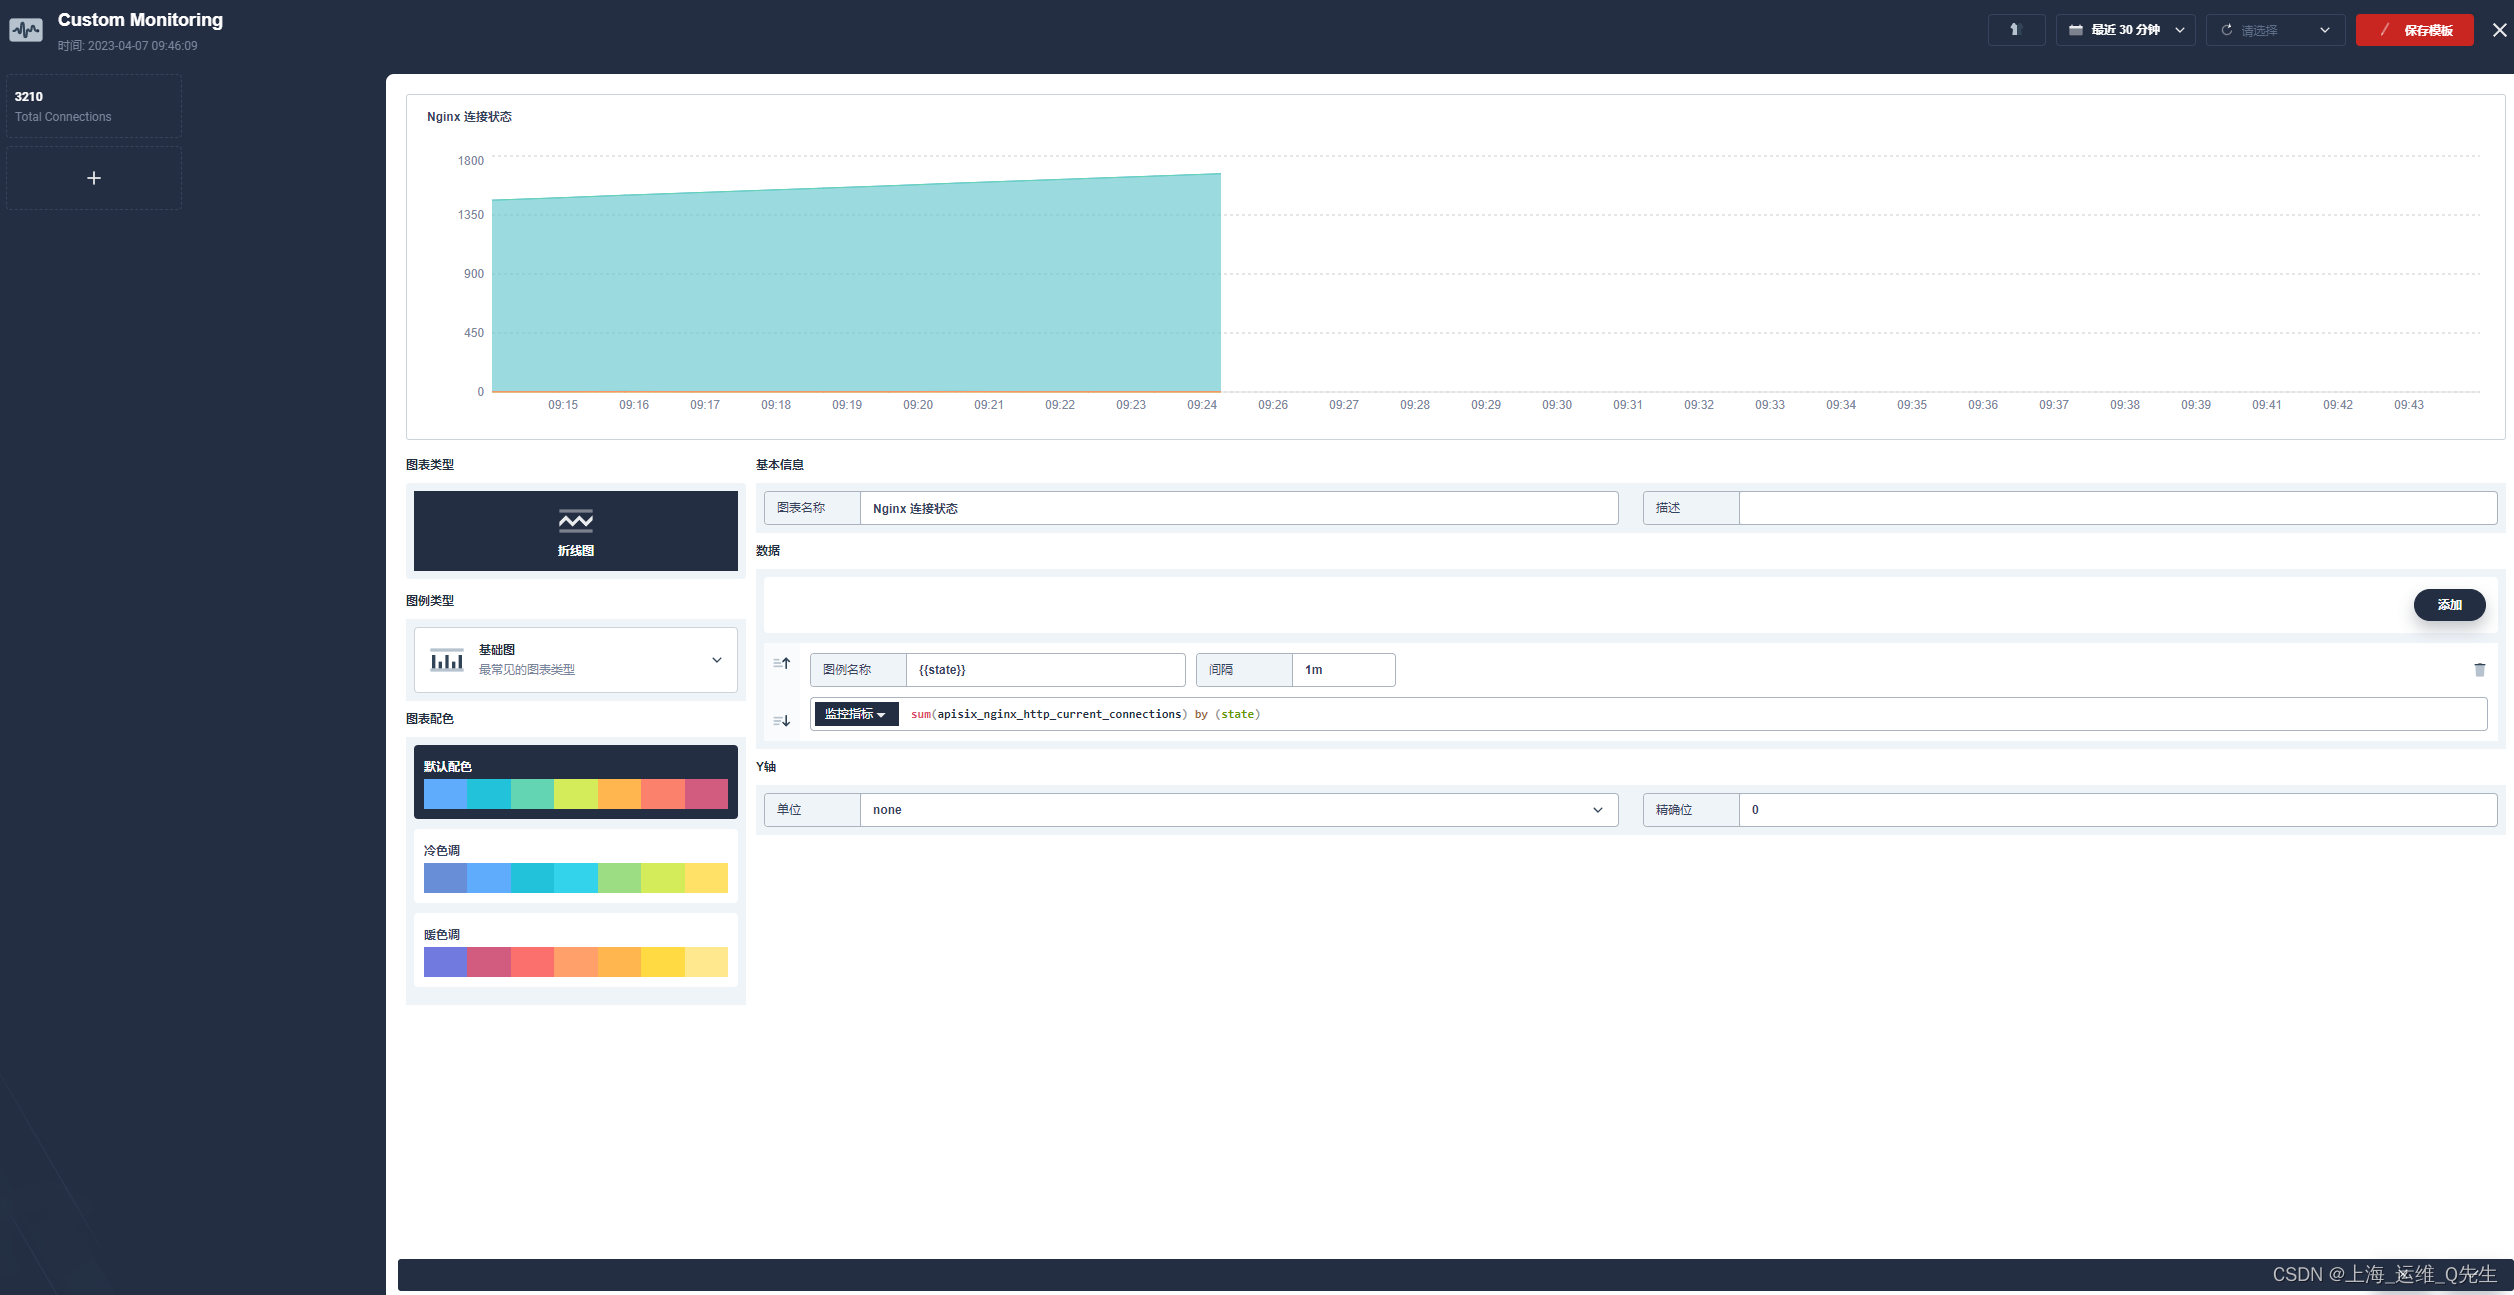
确认后将它保存为模板

4.4 集群级别的监控
在[平台管理]中操作
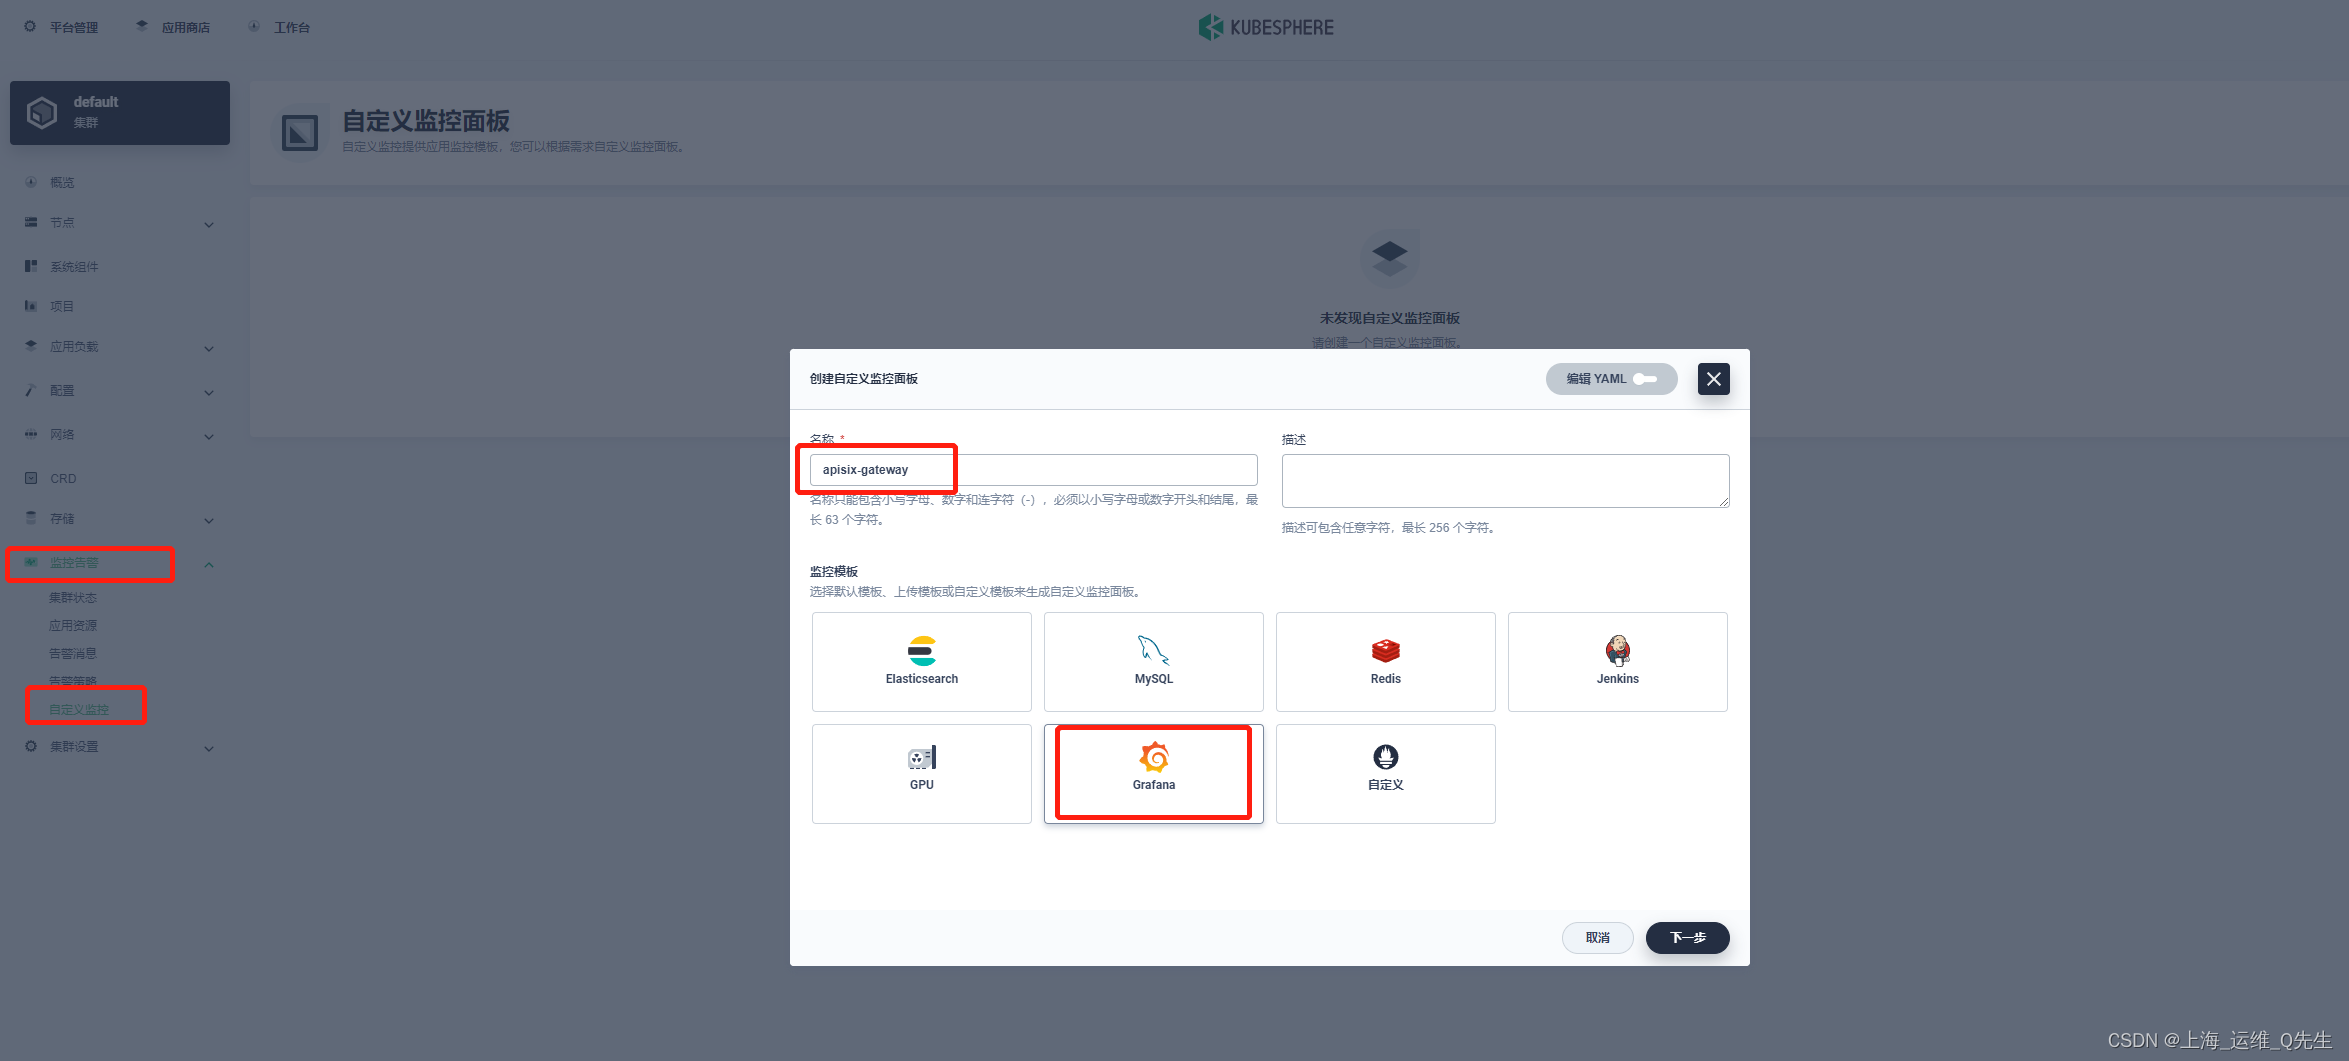
获取Grafana Dashboard的Json
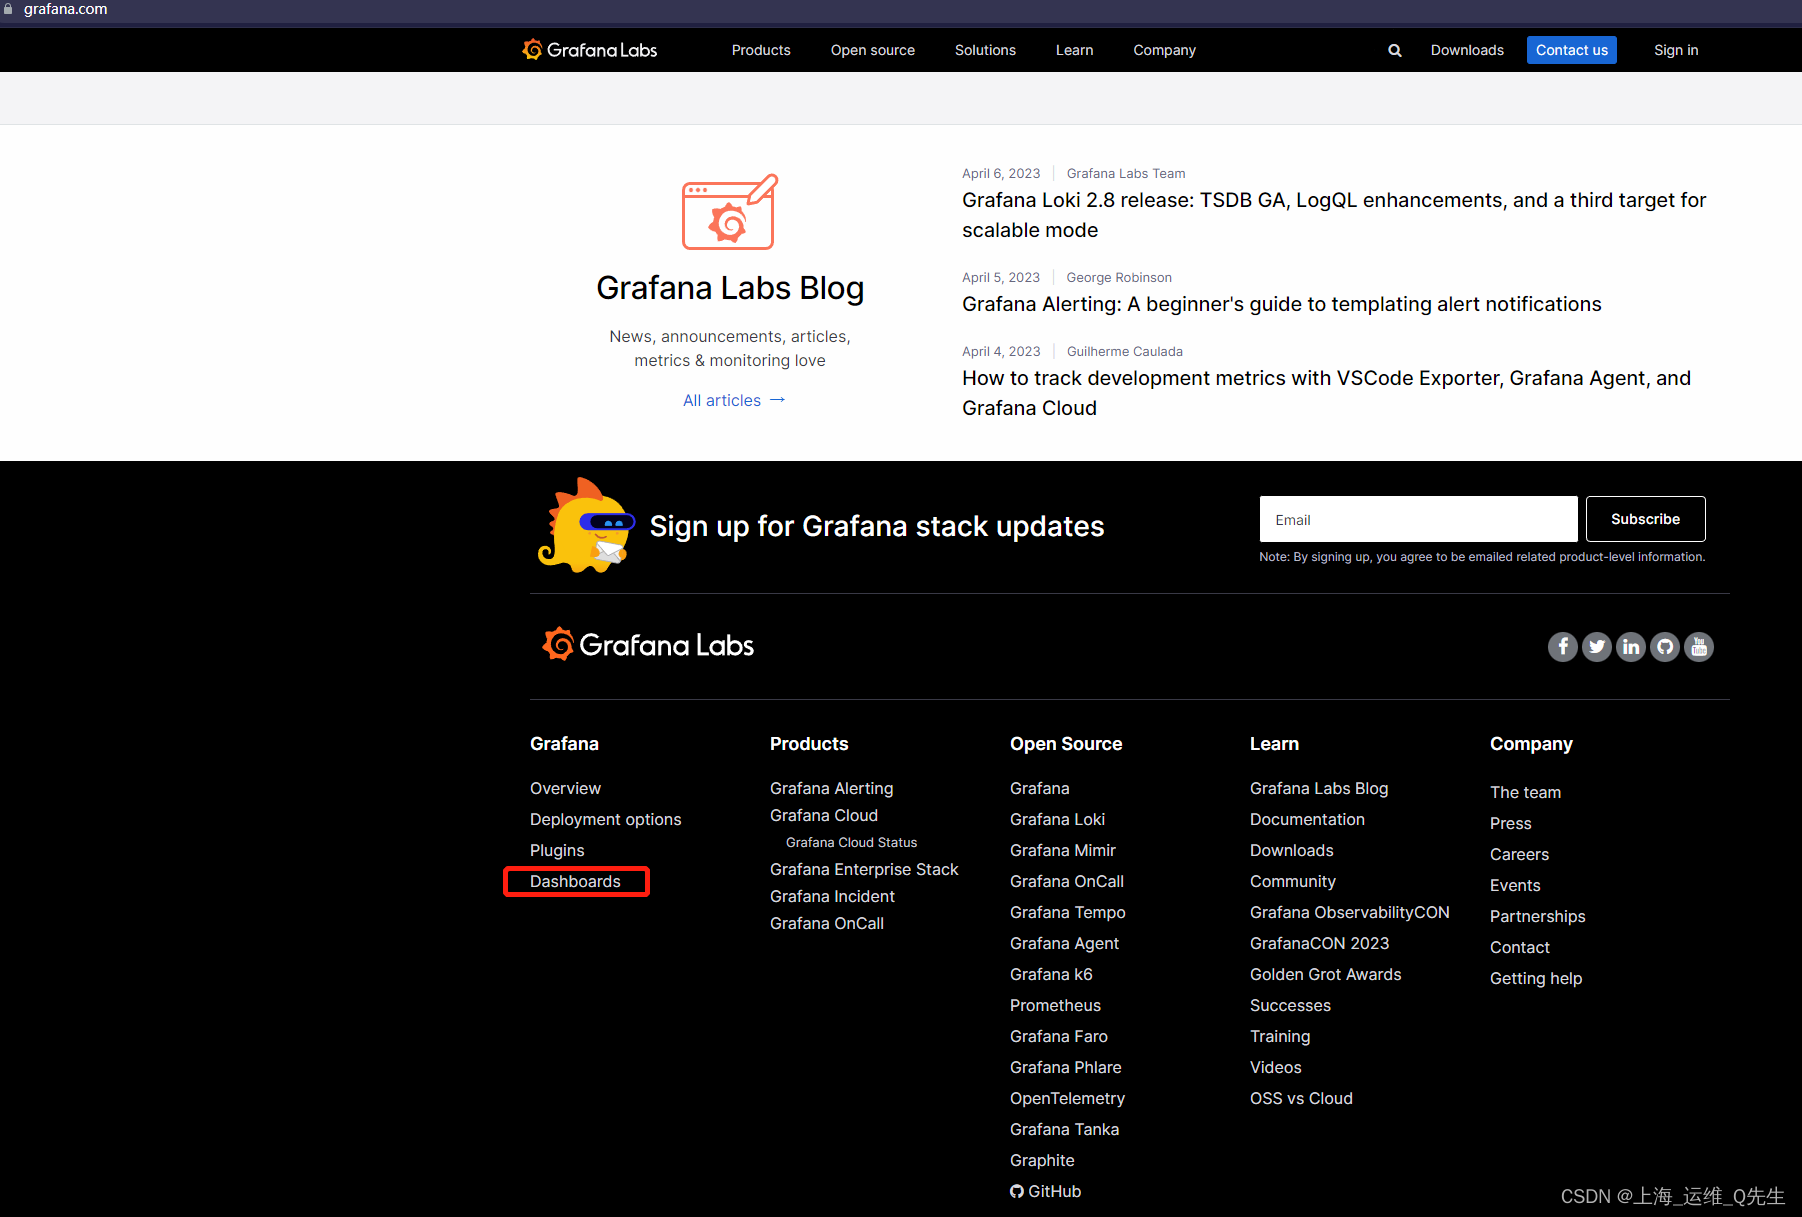

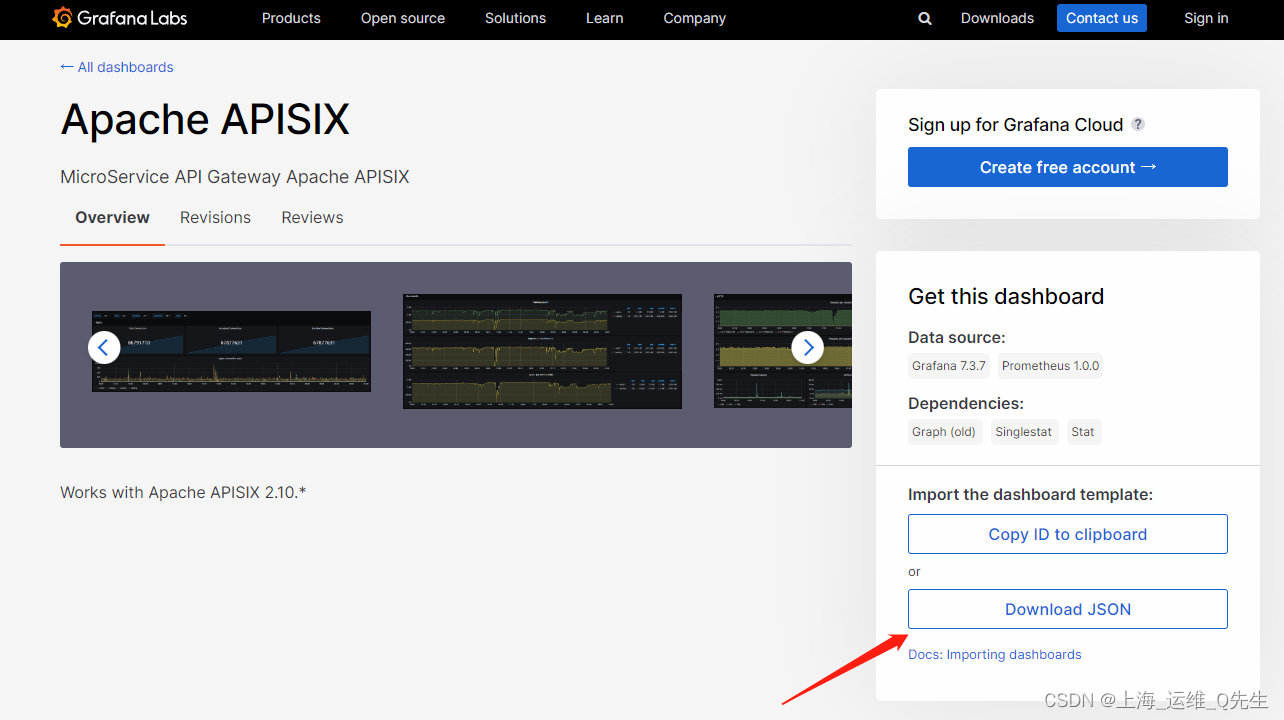
将json文件上传
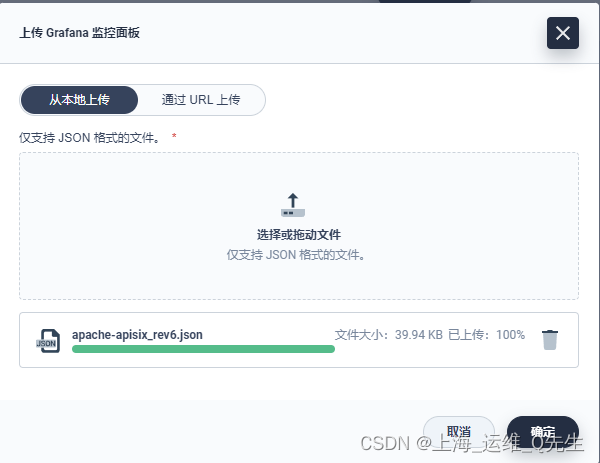
确认后自定义面板被创建

相关数据也被采集到

