文章目录
- 一、volume container
- 二、 data-packed volume container
- 三、利用数据卷驱动共享数据
- 注意要在同一个网络配置下!
- 3.1服务端
- 3.2客户端
一、volume container
这里我觉得很好理解,volume container是专门为其他容器提供volume的容器。其实也就相当于我把我所依赖的容器卷做了一个封装,下一次,我们如果要使用相同的容器卷,我们直接使用这个封装就好了。
准备工作:
cd ~
mkdir htdocs
vim htdocs/index.html
<html><body><h1>This is a file in host file system !</h1></body></html>
具体步骤如下:
取一个名字为test1 的封装,然后指定我们卷的位置
docker create --name test1 -v ~/htdocs:/usr/local/apache2/htdocs busybox
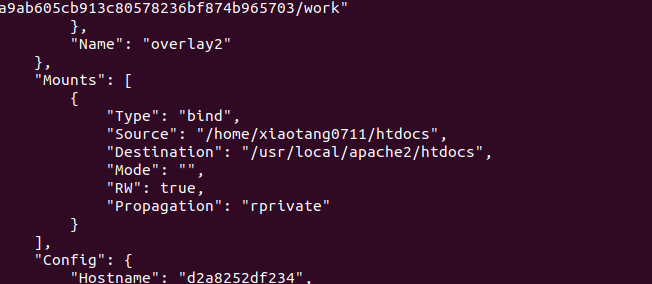
然后接下来我们的容器卷都去使用这个封装
docker run --name web1 -d -p 80 --volumes-from test1 httpd
docker run --name web2 -d -p 80 --volumes-from test1 httpd
docker run --name web3 -d -p 80 --volumes-from test1 httpd

然后我们再去查看我们每一个的结果
dockers ps

curl 127.0.0.1:32770
curl 127.0.0.1:32769
curl 127.0.0.1:32768

二、 data-packed volume container
上面我们的例子还是在host中,现在我们使用dockerfile直接打包至我们的容器目录中
cd ~
ls
vim Dockerfile
#########################################
FROM busybox:latest
#执行的命令
ADD htdocs  /usr/local/apache2/htdocs(容器里面你的位置)
VOLUME ~/htdocs(你本地机的位置)
#########################################

docker build -t datapacked .

在使用我们刚刚的命令创建镜像,类比刚刚创建test1封装的过程
docker create --name test2 datapacked
然后去调用,我们刚刚创建号的数据卷
docker run -d -p 90 --volumes-from test2 httpd

三、利用数据卷驱动共享数据
注意要在同一个网络配置下!
3.1服务端
apt-get install openssh-server
创建目录
cd ~
mkdie /web
vim /web/index.html
<html><body><h1>This is a file in host file system !</h1></body></html>
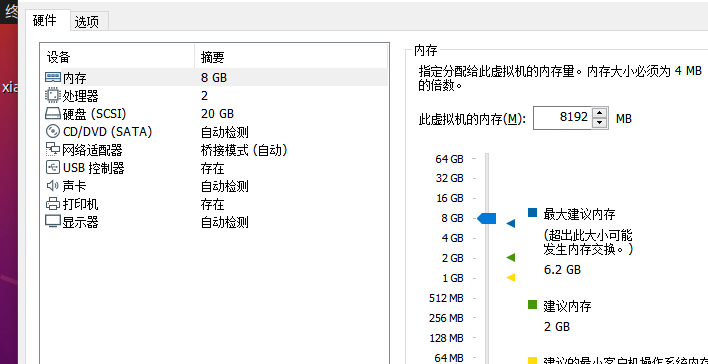
查看本地地址
ip addr

在我们电脑上访问应该是(因为之前我们的服务没有关)

没有显示的话,去看看自己的网络配置
3.2客户端
先去ping我们的地址
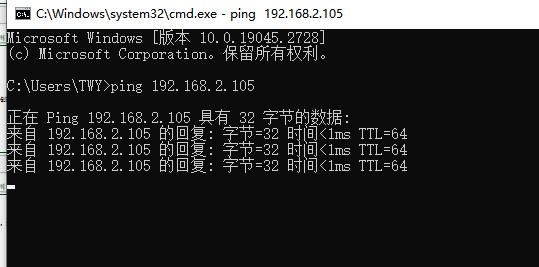
可以之后
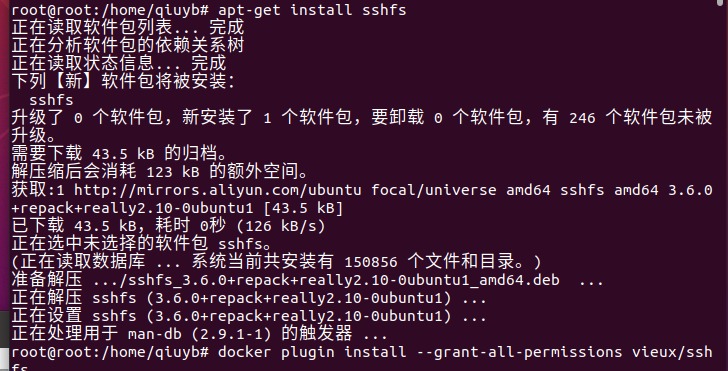
apt-get install sshfs

会有点慢,等一会
docker docker volume create --driver vieux/sshfs

远程创建
docker volume create --driver vieux/sshfs -o sshcmd=root(用户名)@192.168.2.105(服务端地址):/web\  -o allow_other -o password='123456' (密码)sshvolume

docker volume ls
