valgrind 介绍
valgrind是查找内存泄漏的神器,你可以自动的检测许多内存管理和线程的bug,避免花费太多的时间在bug寻找上,使得你的程序更加稳固。 下载地址:https://valgrind.org/downloads/ 本人下载的是valgrind-3.19.0
valgrind编译
1:先准备好交叉编译器,我这里的编译器是aarch64-linux-gnu-*

2:查看README文件,源码包中有多个README文件,注意找到对应的文件,我这里是README.aarch64,这里介绍了交叉编译执行过程

按照文档的顺序依次执行
export CC=aarch64-linux-gnu-gcc
export LD=aarch64-linux-gnu-ld
export AR=aarch64-linux-gnu-ar
./autogen.sh
./configure --prefix=`pwd`/install --host=aarch64-unknown-linux --enable-only64bit
make -j4
sudo make -j4 install
执行完后,在install目录下就是valgrind编译完生成的,后面将这里的文件转到开发板上。
valgrind移植到目标板上
我这里将下面的内容移植到开发板上并设置好对应的环境变量 export VALGRIND_LIB=/lib/valgrind
 编译机                                                          开发板
 install/bin/valgrind                              ==>             /bin/
 install/lib/valgrind/libmpiwrap-arm64-linux.so    ==>             /bin/valgrind/
 install/libexec/valgrind/*                        ==>             /bin/valgrind/
valgrind环境适配问题解决
当我满心欢喜时,现实往往给我惨疼的一个大逼斗,不出意外的话出现了意外。
执行
valgrind --error-limit=no --leak-check=full --tool=memcheck ./smartmi-demo
出现了类似如下的错误
valgrind --error-limit=no --leak-check=full --tool=memcheck ./smartmi-demo
==701== Memcheck, a memory error detector
==701== Copyright (C) 2002-2015, and GNU GPL'd, by Julian Seward et al.
==701== Using Valgrind-3.12.0 and LibVEX; rerun with -h for copyright info
==701== Command: /usr/local/bin/sample
==701==

valgrind:  Fatal error at startup: a function redirection
valgrind:  which is mandatory for this platform-tool combination
valgrind:  cannot be set up.  Details of the redirection are:
valgrind:
valgrind:  A must-be-redirected function
valgrind:  whose name matches the pattern:      strcmp
valgrind:  in an object with soname matching:   ld-linux-aarch64.so.1
valgrind:  was not found whilst processing
valgrind:  symbols from the object with soname: ld-linux-aarch64.so.1
valgrind:
valgrind:  Possible fixes: (1, short term): install glibc's debuginfo
valgrind:  package on this machine.  (2, longer term): ask the packagers
valgrind:  for your Linux distribution to please in future ship a non-
valgrind:  stripped ld.so (or whatever the dynamic linker .so is called)
valgrind:  that exports the above-named function using the standard
valgrind:  calling conventions for this platform.  The package you need
valgrind:  to install for fix (1) is called
valgrind:
valgrind:    On Debian, Ubuntu:                 libc6-dbg
valgrind:    On SuSE, openSuSE, Fedora, RHEL:   glibc-debuginfo
valgrind:
valgrind:  Note that if you are debugging a 32 bit process on a
valgrind:  64 bit system, you will need a corresponding 32 bit debuginfo
valgrind:  package (e.g. libc6-dbg:i386).
valgrind:
valgrind:  Cannot continue -- exiting now.  Sorry.
上面的错误就是提示ld-linux-aarch64.so.1加载器 是strip过的没有symbols的信息导致的,在网上很多说下libc6-dbg,说在buildroot重新编译glibc库,我为此也折腾一天,发现又要重新去下载低版本的ubutun编译宿主机就进行,觉得挺麻烦的就放弃了。
最后发现我在目标板上在准备一套为二进制程序加载的环境不就行了。
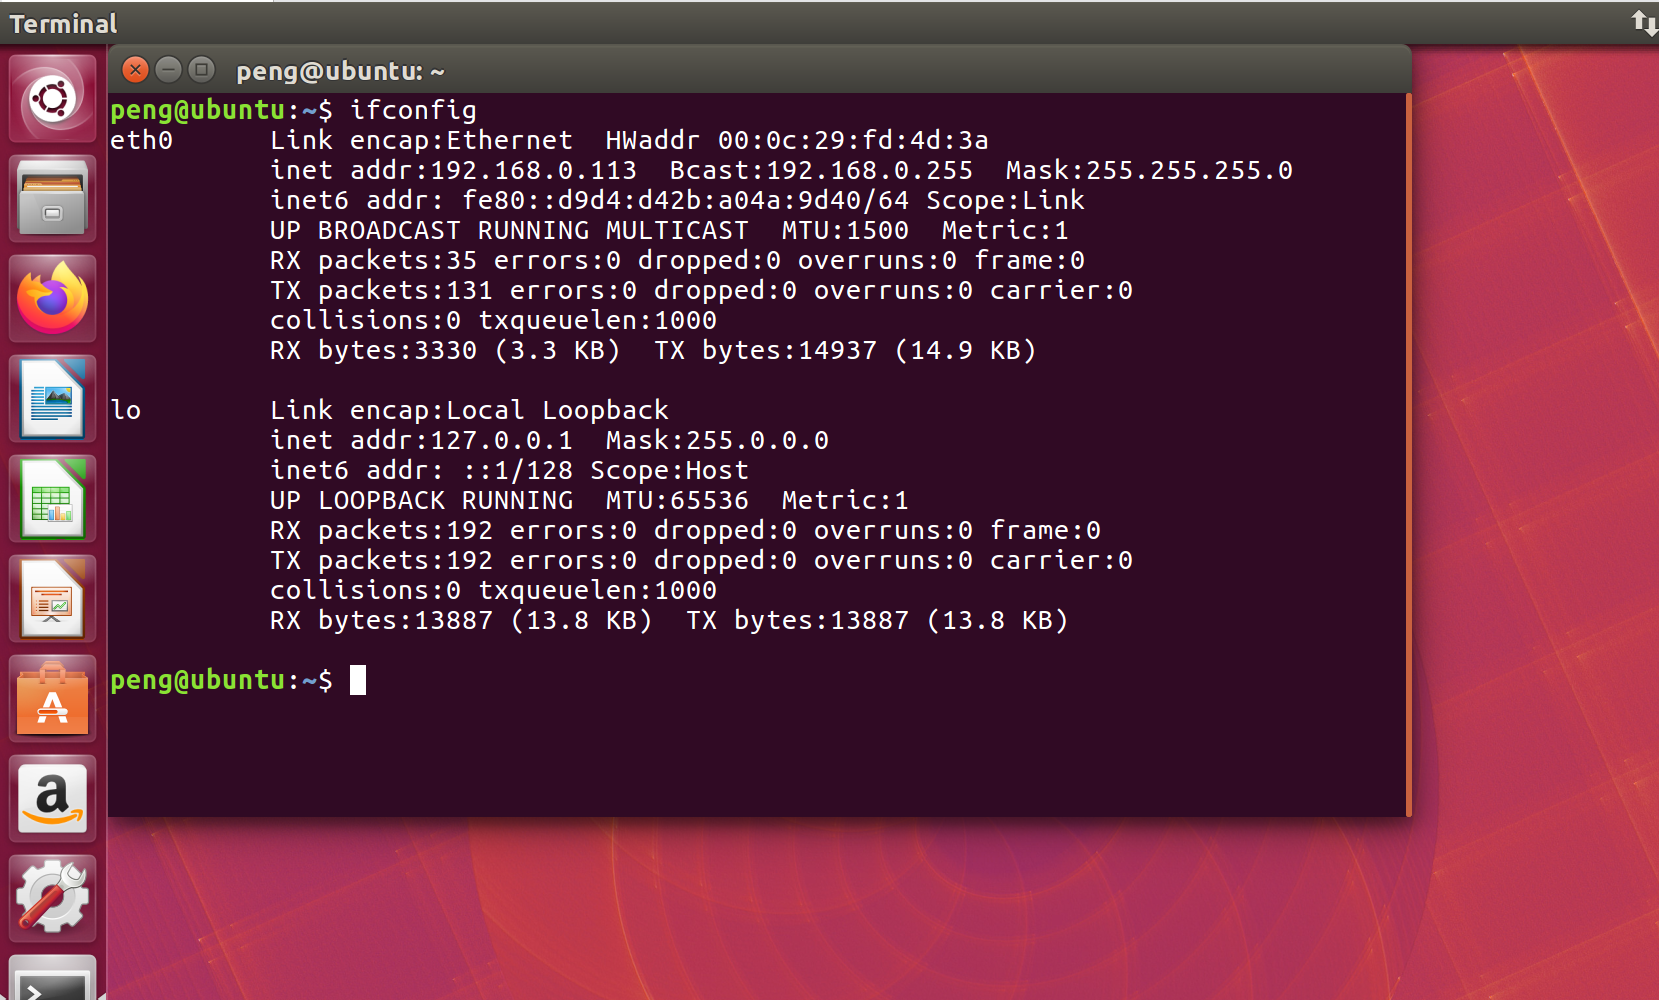
查看目标开发板的环境信息:
下面的信息主要是链接器ld和标准C库的链接版本信息,都为2.27,可以找些低版本的来组一套新的环境。
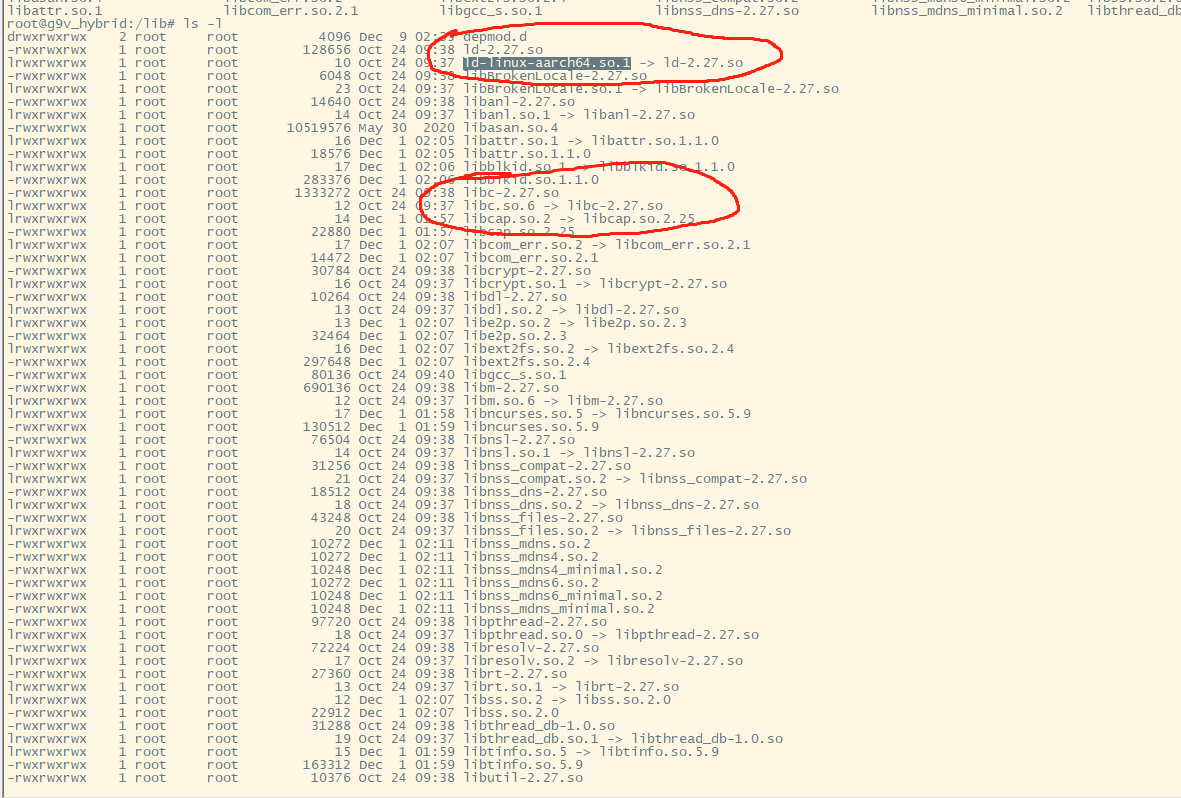
二进制程序需要那些环境:
在看下我的目标程序需要依赖库:

发现只需两个库,一个标准C库一个是进程库。
目标板上在建一套加载环境
将交叉工具链里的libc-2.25.so libpthread-2.25.so ld-2.25.so 拷贝到开发板上的/lib/valgrind 目录上,将/lib/valgrind作为二进制程序的加载环境
设置以下软链接
ln -s libc-2.25.so ld-linux-aarch64.so.1
ln -s libc.so.6 libc-2.25.so
ln -s libpthread.so.0 libpthread-2.25.so
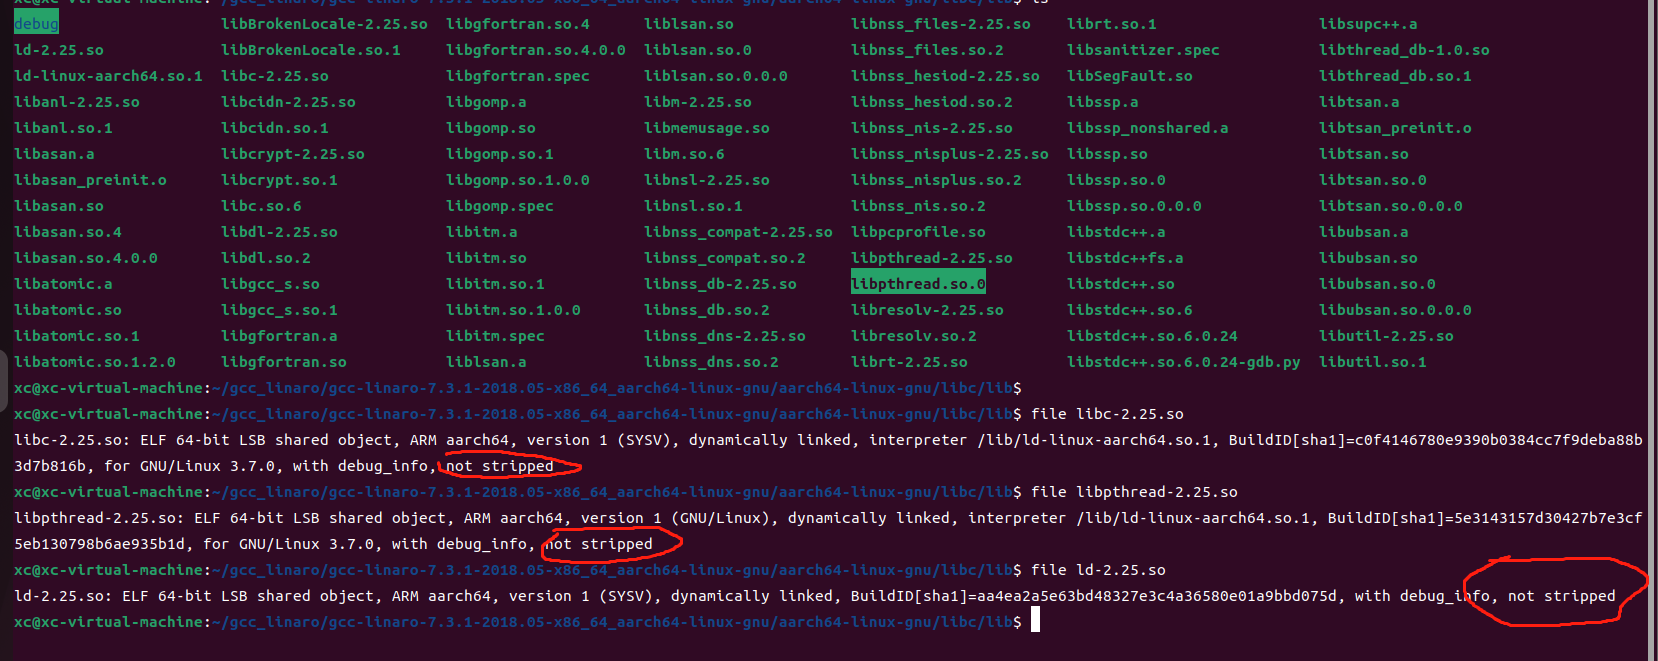
从下图可以看出,这三个库都是 not stripped.
重新编译验证的二进制程序
编译的时候设置--dynamic-linker和 -rpath两个配置选项。
set (CMAKE_C_FLAGS "${CMAKE_C_FLAGS} -g -ggdb -Wl,--dynamic-linker=/lib/valgrind/ld-linux-aarch64.so.1,-rpath=/lib/valgrind")测试验证
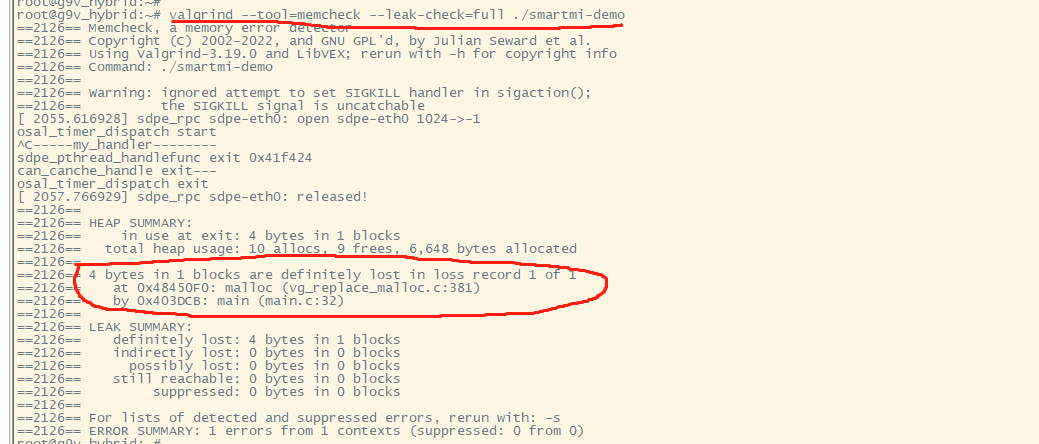
执行:valgrind --tool=memcheck --leak-check=full ./smartmi-demo ,valgrind检测出在main.c
32行有4字节loss,至此valgrind在arm64平台上完成。



![[NOIP2002 普及组] 过河卒](https://img-blog.csdnimg.cn/b816aaea74df43e99e02192b8569591a.png)

