这篇教程中,我会教你如何用vite快速构建一个react网站,并把网站免费部署到Netlify上,让别人可以经由网址访问你的react网站。
1. 使用vite构建基础框架
npm create vite@latest

cd vite-project
npm install
npm run dev
2. 网站内容设计
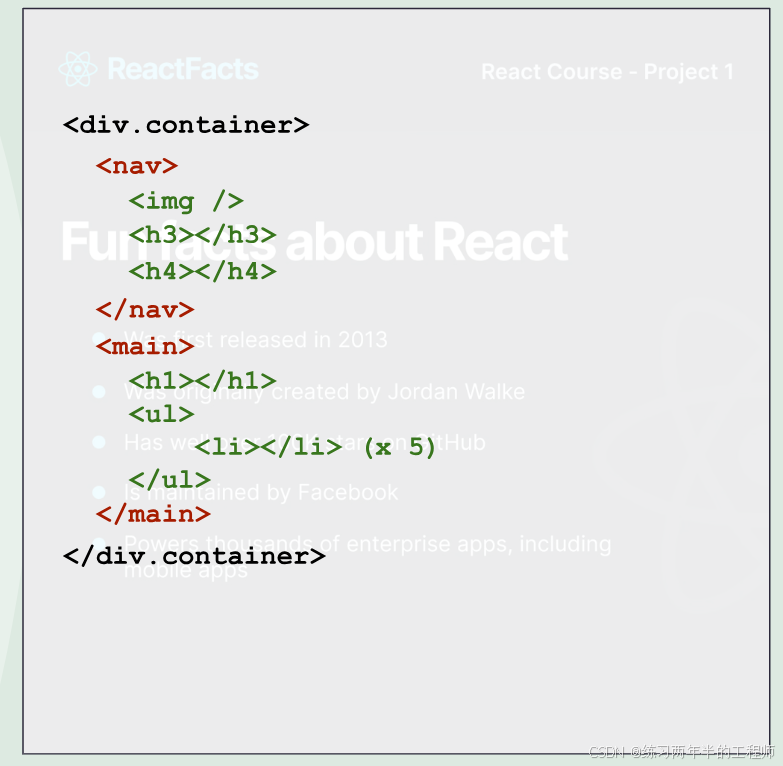
3. 构建nav和main的jsx文件
JSX 是 JavaScript 的一个语法扩展,它允许你在 JavaScript 代码中写类似于 HTML 的标记。JSX 最初由 React 团队开发,用于在 React 应用程序中描述用户界面。
创建components文件夹,与src文件夹在同一个级别。
在components文件夹之下,创建Navbar.jsx
export default function Navbar() {
    return (
        <nav>
            <img src="/images/react-icon-small.png" className="nav--icon" />
            <h3 className="nav--logo_text">ReactFacts</h3>
            <h4 className="nav--title">React Course - Project 1</h4>
        </nav>
    )
}
在public文件夹之下,创建images文件夹,并添加两张图片。

public\images\react-icon-small.png

public\images\react-icon-large.png
写好Navbar.jsx之后,另外创建一个文件Main.jsx。
export default function Main() {
    return (
        <main>
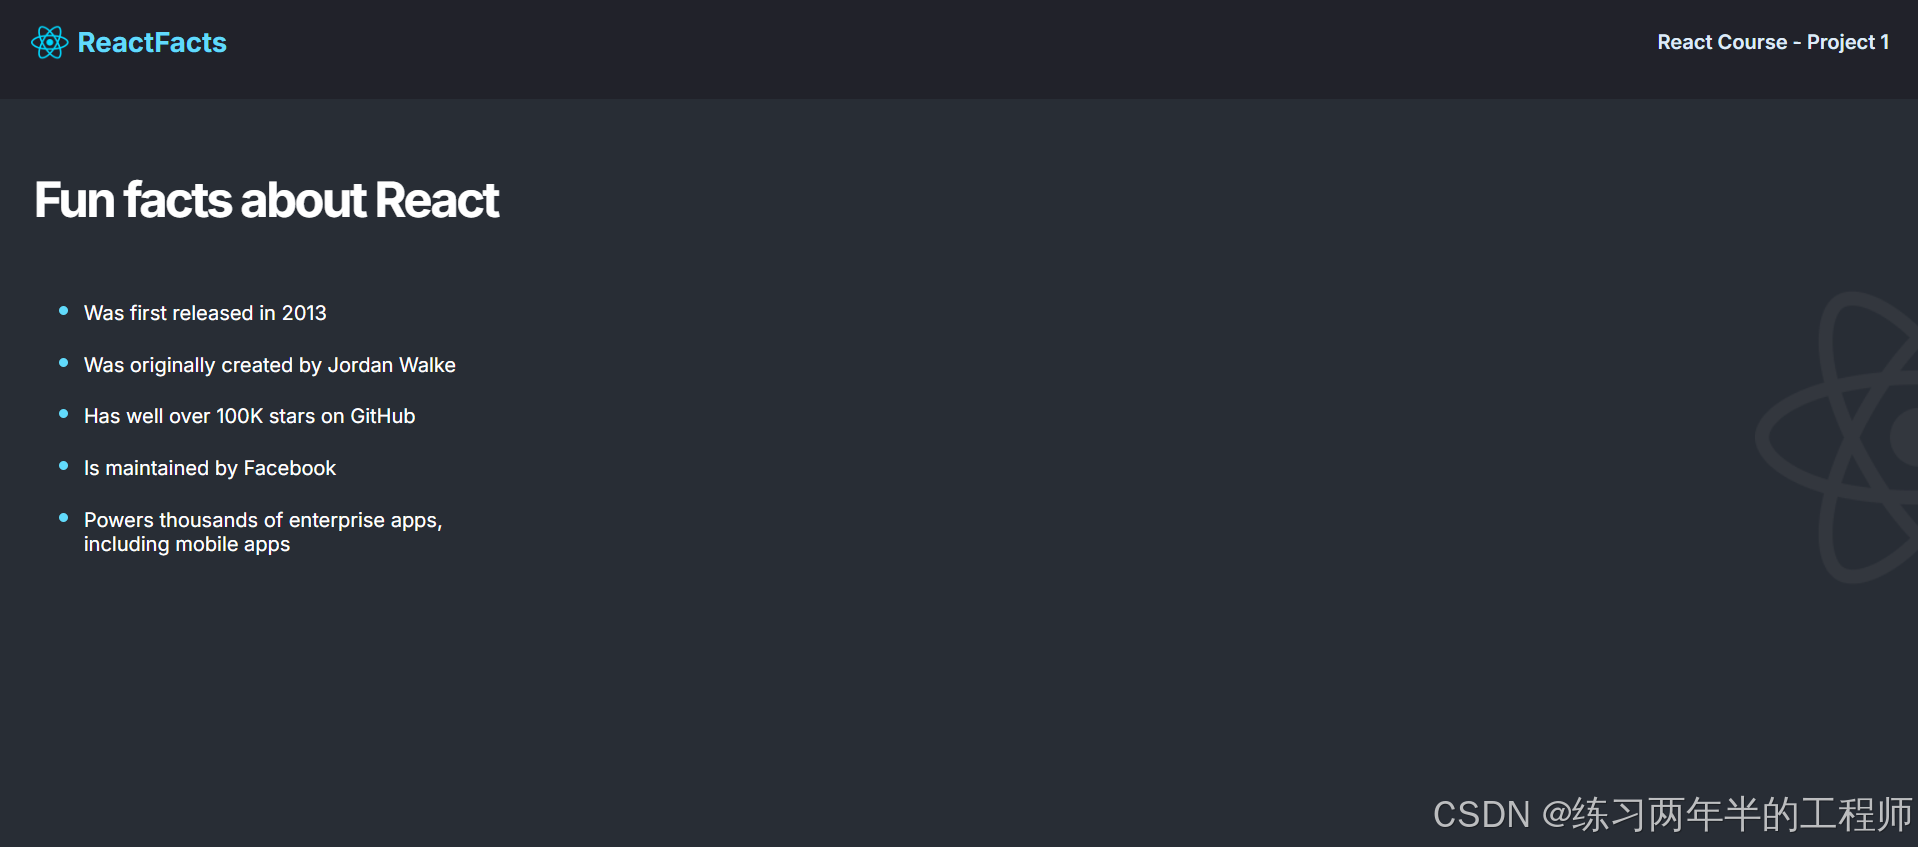
            <h1 className="main--title">Fun facts about React</h1>
            <ul className="main--facts">
                <li>Was first released in 2013</li>
                <li>Was originally created by Jordan Walke</li>
                <li>Has well over 100K stars on GitHub</li>
                <li>Is maintained by Facebook</li>
                <li>Powers thousands of enterprise apps, including mobile apps</li>
            </ul>
        </main>
    )
}
4. 更新App的内容
更新src文件夹中App.jsx的内容
import './App.css'
import Navbar from "../components/Main"
import Main from "../components/Navbar"

export default function App() {
    return (
        <div className="container">
            <Main />
            <Navbar />

        </div>
    )
}
清空App.css中的内容。
5. 更新index.css的内容
* {
  box-sizing: border-box;
}

body {
  margin: 0;
  font-family: Inter, sans-serif;
  height: 100vh;
  background-color: #282D35;
}

nav {
  display: flex;
  align-items: center;
  background-color: #21222A;
  height: 90px;
  padding: 30px 25px;
}

/* display: flex; align-items: center; 使导航栏元素水平排列并垂直居中。 */
/* background-color: #21222A; 设置导航栏背景色为深灰色。 */

.nav--logo_text, .nav--title {
  margin: 0;
}

.nav--logo_text {
  margin-right: auto;
  color: #61DAFB;
  font-weight: 700;
  font-size: 22px;
}

/* margin-right: auto; 将.nav--logo_text推到左边,使其他内容靠右对齐。 */
/* color: #61DAFB; 设置字体颜色为浅蓝色。 */
/* font-weight: 700; font-size: 22px; 设置加粗字体,字号为22px。 */

.nav--title {
  color: #DEEBF8;
  font-weight: 600;
}

/* color: #DEEBF8; 设置字体颜色为浅蓝白色。 */
/* font-weight: 600; 设置字体加粗程度稍弱于.nav--logo_text。 */


.nav--icon {
  height: 30px;
  margin-right: 7px;
}
/* height: 30px; 设置图标高度为30px。 */
/* margin-right: 7px; 图标与后续内容之间的间距为7px。 */

main {
  padding: 57px 27px;
  color: white;
  background-image: url(/images/react-icon-large.png);
  background-repeat: no-repeat;
  background-position: right 75%;
}
/* padding: 57px 27px; 设置顶部和底部57px,左右27px的内边距。 */
/* color: white; 设置主区域的文本颜色为白色。 */
/* background-image、background-repeat 和 background-position 在右侧75%高度处设置背景图,且不重复。 */

.main--title {
  margin: 0;
  font-size: 39px;
  letter-spacing: -0.05em;
}
/* margin: 0; 去除外边距。 */
/* font-size: 39px; 设置字体大小为39px。 */
/* letter-spacing: -0.05em; 调整字间距,使字符更紧密。 */


.main--facts {
  margin-top: 46px;
  max-width: 400px;
}
/* margin-top: 46px; 设置顶部外边距为46px。 */
/* max-width: 400px; 限制宽度为400px,以保证文本不会过宽,便于阅读。 */


.main--facts > li {
  line-height: 19px;
  padding-block: 10px;
}
/* line-height: 19px; 设置行高为19px,增加行距。 */
/* padding-block: 10px; 列表项上下各有10px的内边距。 */


.main--facts > li::marker {
  font-size: 1.4rem;
  color: #61DAFB;
}
/* font-size: 1.4rem; 将列表标记符号放大为1.4倍。 */
/* color: #61DAFB; 设置列表标记的颜色为浅蓝色。 */
- 将
box-sizing属性设置为border-box,让所有元素在计算宽度和高度时包含内边距(padding)和边框(border),方便布局的控制,避免溢出问题。
6. 在本地部署
npm run dev
7. 上传到github
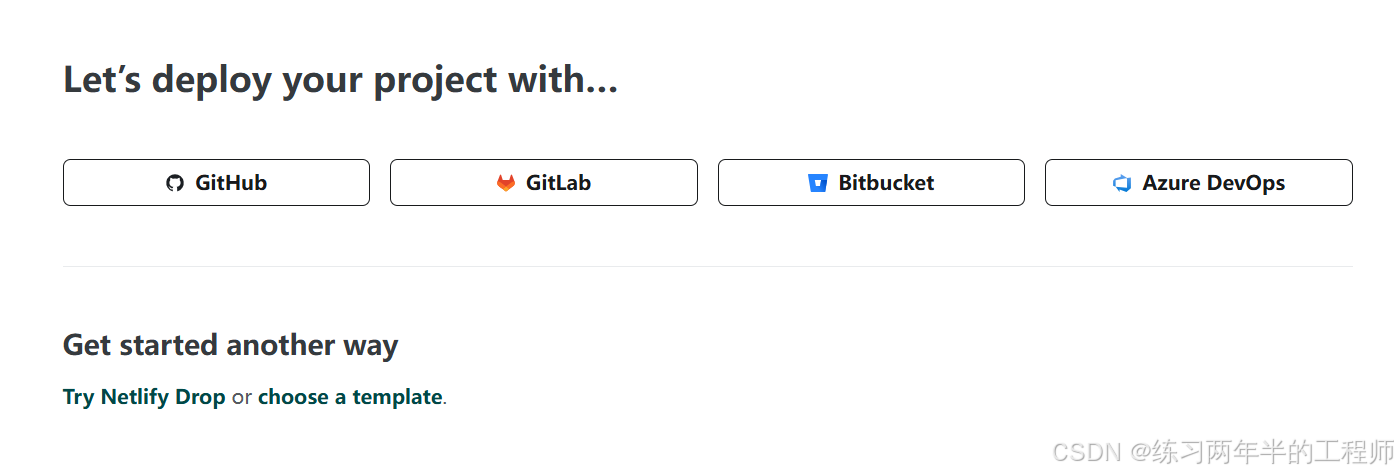
8. 部署到Netlify
9. 成果
