文章目录
- vue后台管理系统从0到1(5)
- 完善侧边栏
- 修改bug
- 渲染header导航栏
vue后台管理系统从0到1(5)
接上一期,我们需要完善我们的侧边狼
完善侧边栏
我们在 element 组件中可以看见,这一个侧边栏是符合我们的要求的

我们就使用这样一个侧边栏动态渲染我们的各个选项,但是目前没有接入后端接口,我们需要自己先定义静态侧边栏数据,然后在使用v-for动态渲染上去

这是我写好的侧边栏动态v-for渲染代码

这里是渲染数据和渲染方法
这里是加上的样式
以上代码,不懂的自己查gpt或者查一些ai
CommonAside.vue 完整代码
<template>
  <el-aside width="200px">
    <el-menu @select="handleMenuSelect" background-color="#545c64" text-color="#fff">
      <h3>通用后台管理系统</h3>
      <el-menu-item
          v-for="item in noChildren"
          :index="item.path"
          :key="item.path"
      >
        <i :class="item.icon"></i>
        <span>{{ item.label }}</span>
      </el-menu-item>

      <el-sub-menu
          v-for="item in hasChildren"
          :index="item.path"
          :key="item.path"
      >
        <template #title>
          <i :class="item.icon"></i>
          <span>{{ item.label }}</span>
        </template>
        <el-menu-item
            v-for="subItem in item.children"
            :index="subItem.path"
            :key="subItem.path"
        >
          <i :class="subItem.icon"></i>
          <span>{{ subItem.label }}</span>
        </el-menu-item>
      </el-sub-menu>
    </el-menu>
  </el-aside>
</template>

<script setup>
import { ref, computed } from 'vue';
import { useRouter } from 'vue-router';

const router = useRouter();
const list = ref([
  { path: '/home', name: 'home', label: '首页', icon: 'el-icon-house', url: 'Home' },
  { path: '/mall', name: 'mall', label: '商品管理', icon: 'el-icon-video-play', url: 'Mall' },
  { path: '/user', name: 'user', label: '用户管理', icon: 'el-icon-user', url: 'User' },
  {
    path: '/other', label: '其他', icon: 'el-icon-location',
    children: [
      { path: '/page1', name: 'page1', label: '页面1', icon: 'el-icon-setting', url: 'Page1' },
      { path: '/page2', name: 'page2', label: '页2', icon: 'el-icon-setting', url: 'Page2' }
    ]
  }
]);

const noChildren = computed(() => list.value.filter(item => !item.children));
const hasChildren = computed(() => list.value.filter(item => item.children));

const handleMenuSelect = (index) => {
  const item = list.value.find(item => item.path === index) ||
      list.value.flat().find(item => item.path === index);
  if (item) {
    router.push(item.path);
  }
};
</script>

<style lang="less" scoped>
.icons {
  width: 18px;
  height: 18px;
  margin-right: 5px;
}

.el-menu{
  border-right: none;
  h3{
    line-height: 48px;
    color: #fff;
    text-align: center;
  }
}

.el-aside{
  height: 10000px;
  background-color: #545c64;
}

</style>
为了防止出错,重构 Main.vue 代码如下,不懂的gpt,我认为重要的是整个项目完成的流程

<script setup>
// 可以在这里添加组件的逻辑
import CommonAside from '@/components/CommonAside.vue'
</script>

<template>
  <div class="common-layout">
    <el-container>
      <el-aside width="200px"  class="aside-container">
        <!-- 侧边栏内容 -->
        <common-aside></common-aside>
      </el-aside>
      <el-container>
        <el-header class="el-header">
          <common-header></common-header>
        </el-header>
        <el-main class="right-main">
          main
        </el-main>
      </el-container>
    </el-container>
  </div>
</template>

<style>

.common-layout{
  width: 100%;
  height: 100%;
  margin: 0;
  padding: 0;
  overflow: hidden;
}
el-container{
  width: 100%;
  height: 100%;
  margin: 0;
  padding: 0;
  overflow: hidden;
}
.el-header{
  background-color: #333;
}
</style>
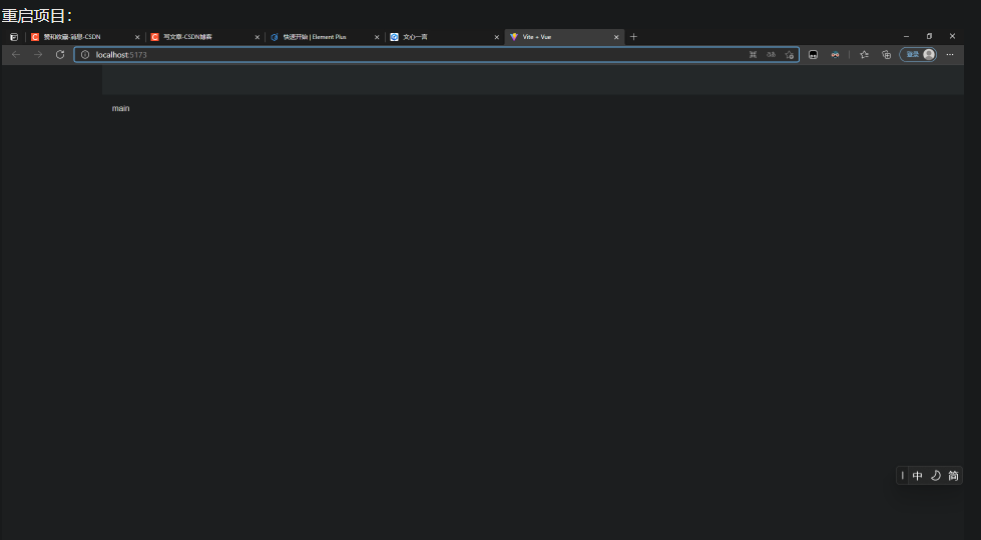
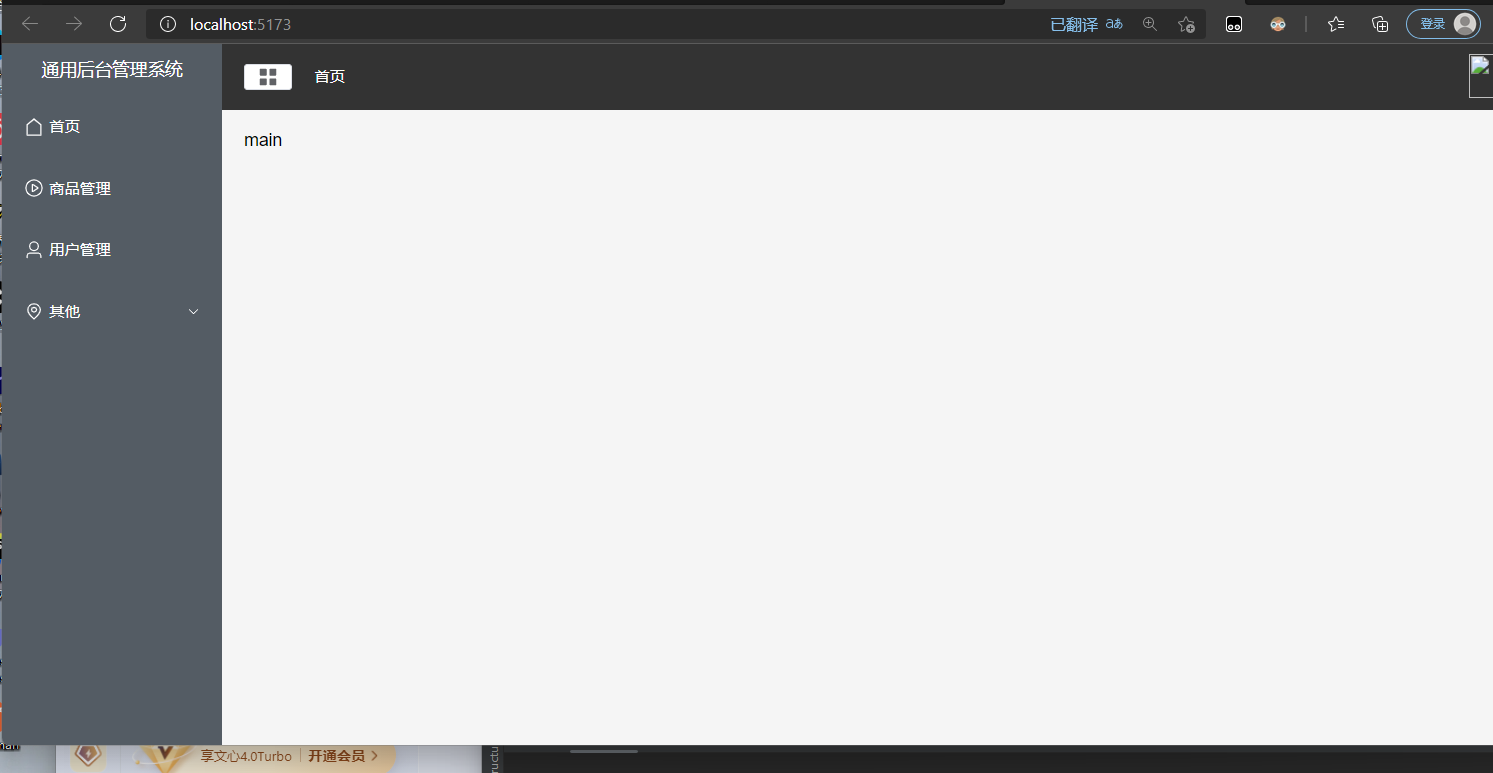
然后就是重新跑项目:

如果对于以上代码有问题可以私信我,我们的侧边栏就渲染完成了,这里有一个bug,就是我们的 icon 没有加载出来,我还没有发现问题在哪,如果你们发现了,可以私信我。
紧接着上文,我们的项目目前仍然存在侧边栏 icon 加载问题,我今天好好的看了一下代码,发现展示 icon 的地方代码出了问题
修改bug
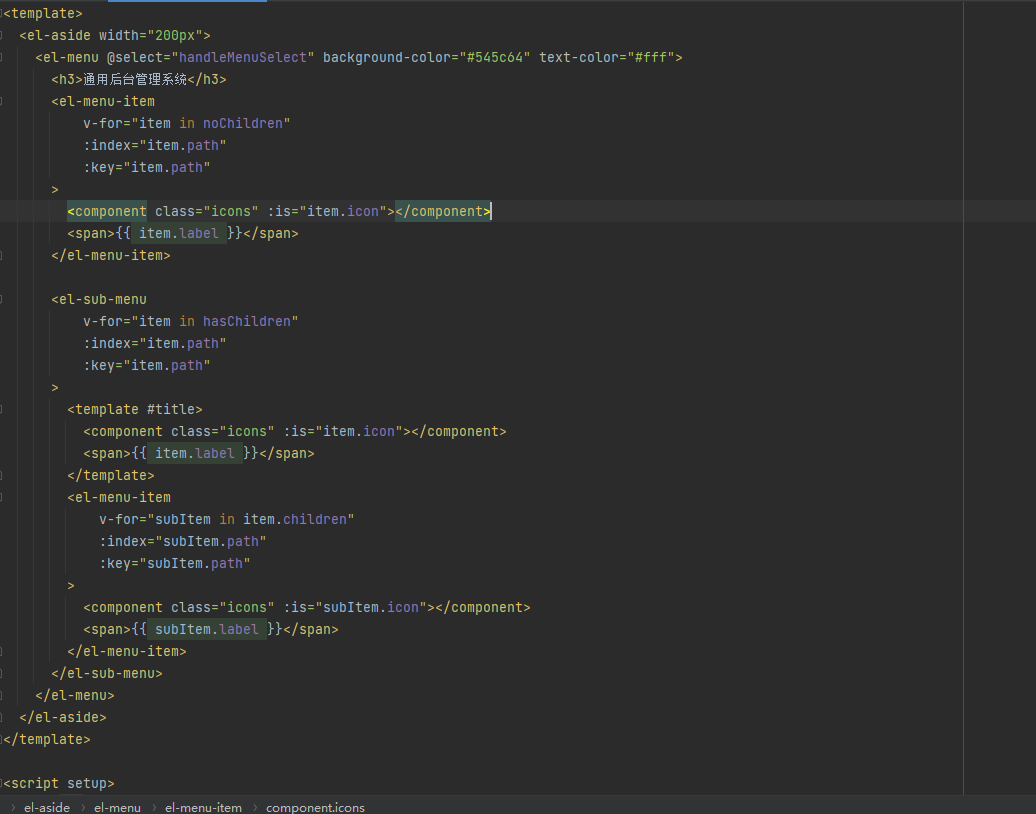
这是我修改过的代码
我原本写的展示 icon 使用 标签,并且把 icon 的渲染写成了 class 属性里
重构 commonAside.vue 如下:
<template>
<el-aside width="200px">
<el-menu @select="handleMenuSelect" background-color="#545c64" text-color="#fff">
<h3>通用后台管理系统</h3>
<el-menu-item
v-for="item in noChildren"
:index="item.path"
:key="item.path"
>
<component class="icons" :is="item.icon"></component>
<span>{{ item.label }}</span>
</el-menu-item>
<el-sub-menu
v-for="item in hasChildren"
:index="item.path"
:key="item.path"
>
<template #title>
<component class="icons" :is="item.icon"></component>
<span>{{ item.label }}</span>
</template>
<el-menu-item
v-for="subItem in item.children"
:index="subItem.path"
:key="subItem.path"
>
<component class="icons" :is="subItem.icon"></component>
<span>{{ subItem.label }}</span>
</el-menu-item>
</el-sub-menu>
</el-menu>
</el-aside>
</template>
<script setup>
import { ref, computed } from 'vue';
import { useRouter } from 'vue-router';
const router = useRouter();
const list = ref([
{ path: '/home', name: 'home', label: '首页', icon: 'house', url: 'Home' },
{ path: '/mall', name: 'mall', label: '商品管理', icon: 'video-play', url: 'Mall' },
{ path: '/user', name: 'user', label: '用户管理', icon: 'user', url: 'User' },
{
path: '/other', label: '其他', icon: 'location',
children: [
{ path: '/page1', name: 'page1', label: '页面1', icon: 'setting', url: 'Page1' },
{ path: '/page2', name: 'page2', label: '页2', icon: 'setting', url: 'Page2' }
]
}
]);
const noChildren = computed(() => list.value.filter(item => !item.children));
const hasChildren = computed(() => list.value.filter(item => item.children));
const handleMenuSelect = (index) => {
const item = list.value.find(item => item.path === index) ||
list.value.flat().find(item => item.path === index);
if (item) {
router.push(item.path);
}
};
</script>
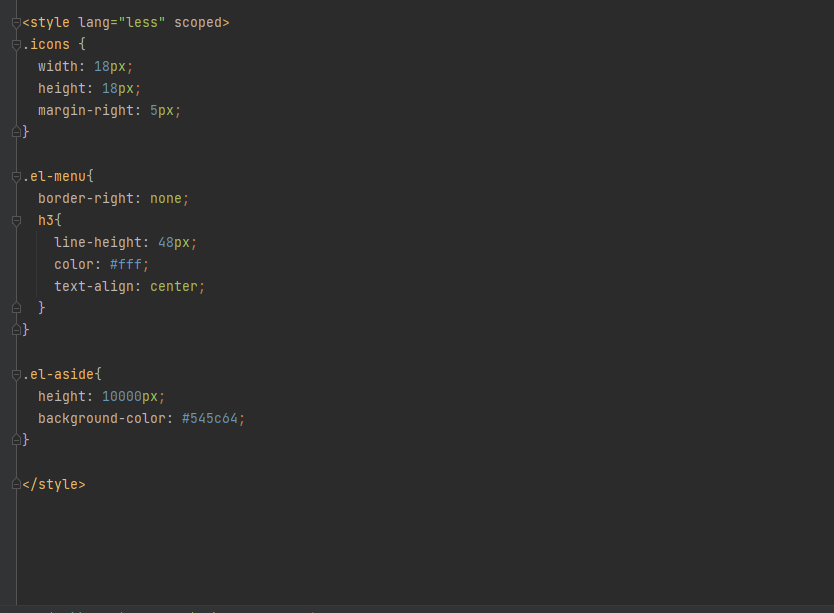
<style lang="less" scoped>
.icons {
width: 18px;
height: 18px;
margin-right: 5px;
}
.el-menu{
border-right: none;
h3{
line-height: 48px;
color: #fff;
text-align: center;
}
}
.el-aside{
height: 10000px;
background-color: #545c64;
}
</style>
渲染header导航栏
然后我们接着渲染我们的 header 导航栏部分,目标是渲染成这样

那么第一步分析界面布局
可以得出以下两个部分,也是我们需要分开写的两个部件
首先,使用一个 header 把整体包起来
  <div class="header">


  </div>
然后我们把导航栏分成左右两部分,左边有图标和首页字体,右边是用户头像
  <div class="header">
    <div class="l-content">

    </div>

    <div class="r-content">

    </div>

  </div>
然后我们具体实现左右两边的东西
  <div class="header">
    <div class="l-content">
    	//图标
      <el-button size="small">
        <component class="icons" is="menu"></component>
      </el-button>
		//面包屑字体
      <el-breadcrumb separator="/" class="bread">
        <el-breadcrumb-item :to="{path:'/'}">首页</el-breadcrumb-item>
      </el-breadcrumb>

    </div>

    <div class="r-content">
    //用户头像
     <el-dropdown>
    <span class="el-dropdown-link">
      <img :src="getImageUrl(user)" class="user"/>
    </span>
        <template #dropdown>
        //单击头像退出按钮
          <el-dropdown-menu>
            <el-dropdown-item>个人中心</el-dropdown-item>
            <el-dropdown-item>退出</el-dropdown-item>
          </el-dropdown-menu>
        </template>
      </el-dropdown>

    </div>
  </div>
然后我们加入样式
<style lang="less" scoped>
.header {
  display: flex;
  justify-content: space-between;
  align-items: center;
  width: 100%;
  height: 100%;
  background-color: #333;

}

.icons {
  width: 20px;
  height: 20px;
}

.l-content {
    display: flex;
    align-items: center;
    .el-button{
      margin-right: 20px;
    }
  }


.r-content  {
  .user{
    width: 40px;
    height: 40px;
    border-radius: 50%;
  }
}

/* 注意::deep() 是一个 Vue.js 中的作用域穿透伪元素,用于在 scoped CSS 中访问子组件的样式。
   但它不是标准的 CSS 语法,且在新版本的 Vue.js 中可能已经被废弃或替换。
   如果这段代码是在 Vue.js 项目中使用的,请确保你的项目支持这种语法。
   此外,由于选择器中包含特殊字符(如点号和括号),你可能需要对其进行适当的转义或使用其他方法来实现相同的效果。
   但在这里,为了保持原始信息的完整性,我保留了这段代码的原样。 */
:deep(.bread span) {
  color: #fff !important;
  cursor: pointer !important;
}

</style>
再加入渲染数据的代码
<script setup>
import {ref, computed} from 'vue';
import {useRouter} from 'vue-router';

const router = useRouter();
const list = ref([
  {path: '/home', name: 'home', label: '首页', icon: 'el-icon-house', url: 'Home'},
  {path: '/mall', name: 'mall', label: '商品管理', icon: 'el-icon-video-play', url: 'Mall'},
  {path: '/user', name: 'user', label: '用户管理', icon: 'el-icon-user', url: 'User'},
  {
    path: '/other', label: '其他', icon: 'el-icon-location',
    children: [
      {path: '/page1', name: 'page1', label: '页面1', icon: 'el-icon-setting', url: 'Page1'},
      {path: '/page2', name: 'page2', label: '页2', icon: 'el-icon-setting', url: 'Page2'}
    ]
  }
]);

const getImageUrl = (user) => {
  return new URL(`../assets/images/${user}.png`, import.meta.url).href;
};
</script>
最后整合代码:
CommonHeader.vue代码:
<template>
  <div class="header">
    <div class="l-content">
      <el-button size="small">
        <component class="icons" is="menu"></component>
      </el-button>

      <el-breadcrumb separator="/" class="bread">
        <el-breadcrumb-item :to="{path:'/'}">首页</el-breadcrumb-item>
      </el-breadcrumb>
    </div>

    <div class="r-content">
      <el-dropdown>
    <span class="el-dropdown-link">
      <img :src="getImageUrl(user)" class="user"/>
    </span>
        <template #dropdown>
          <el-dropdown-menu>
            <el-dropdown-item>个人中心</el-dropdown-item>
            <el-dropdown-item>退出</el-dropdown-item>
          </el-dropdown-menu>
        </template>
      </el-dropdown>
    </div>
  </div>


</template>

<script setup>
import {ref, computed} from 'vue';
import {useRouter} from 'vue-router';

const router = useRouter();
const list = ref([
  {path: '/home', name: 'home', label: '首页', icon: 'el-icon-house', url: 'Home'},
  {path: '/mall', name: 'mall', label: '商品管理', icon: 'el-icon-video-play', url: 'Mall'},
  {path: '/user', name: 'user', label: '用户管理', icon: 'el-icon-user', url: 'User'},
  {
    path: '/other', label: '其他', icon: 'el-icon-location',
    children: [
      {path: '/page1', name: 'page1', label: '页面1', icon: 'el-icon-setting', url: 'Page1'},
      {path: '/page2', name: 'page2', label: '页2', icon: 'el-icon-setting', url: 'Page2'}
    ]
  }
]);

const getImageUrl = (user) => {
  return new URL(`../assets/images/${user}.png`, import.meta.url).href;
};
</script>

<style lang="less" scoped>
.header {
  display: flex;
  justify-content: space-between;
  align-items: center;
  width: 100%;
  height: 100%;
  background-color: #333;

}

.icons {
  width: 20px;
  height: 20px;
}

.l-content {
    display: flex;
    align-items: center;
    .el-button{
      margin-right: 20px;
    }
  }


.r-content  {
  .user{
    width: 40px;
    height: 40px;
    border-radius: 50%;
  }
}

/* 注意::deep() 是一个 Vue.js 中的作用域穿透伪元素,用于在 scoped CSS 中访问子组件的样式。
   但它不是标准的 CSS 语法,且在新版本的 Vue.js 中可能已经被废弃或替换。
   如果这段代码是在 Vue.js 项目中使用的,请确保你的项目支持这种语法。
   此外,由于选择器中包含特殊字符(如点号和括号),你可能需要对其进行适当的转义或使用其他方法来实现相同的效果。
   但在这里,为了保持原始信息的完整性,我保留了这段代码的原样。 */
:deep(.bread span) {
  color: #fff !important;
  cursor: pointer !important;
}

</style>
然后,我们启动项目,查看如下:
这样一个新的组件就被我们写好了。