文章目录
- CI&CD架构
- Jenkins介绍
- GitLab安装
- SonarQube安装
- Harbor安装
- 目标服务器的安装与配置
- Jenkins安装
- Jenkins集成SonarQube与target
- Jenkins集成Gitlab
- 推送代码到目标服务器
- 构建项目镜像
CI&CD架构
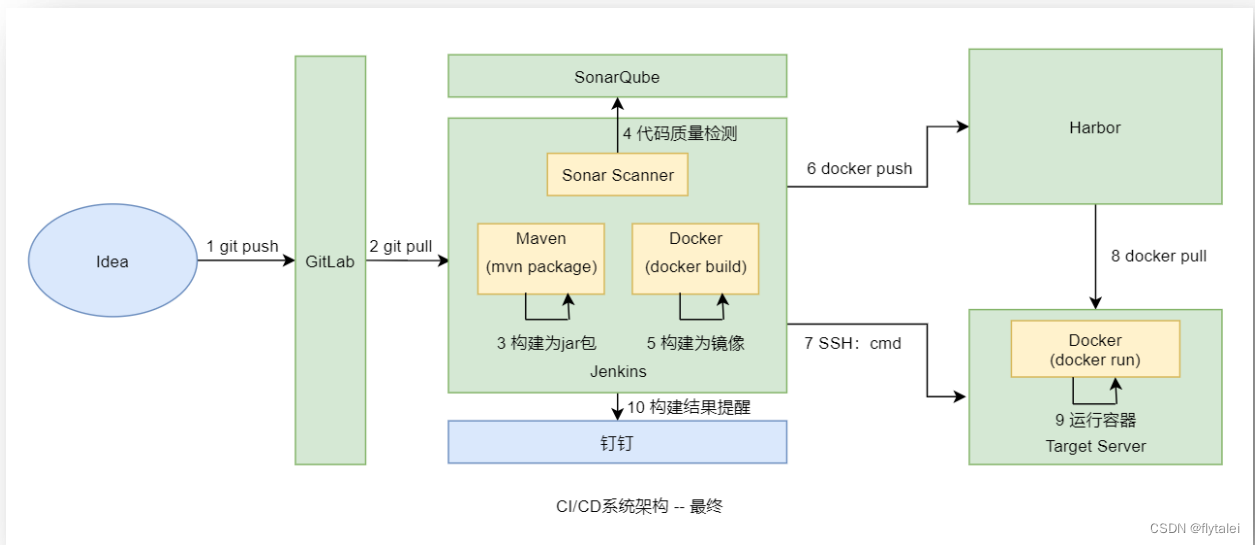
Jenkins介绍

Jenkins是一个独立的开源软件项目,是基于Java开发的一种CI(Continuous integration,持续集成)&CD(Continuous Delivery,持续交付)工具,用于监控持续重复的工作,旨在提供一个开放易用的软件平台,使软件的持续集成变成可能。其前身是商业软件Hudson。可用于自动化各种任务,如构建,测试和部署软件。
Jenkins作为一个可扩展的自动化服务器,Jenkins可以用作简单的CI服务器,或者变成任何项目的持续交付中心。
Jenkins 只是一个调度平台,其本身并不能完成项目的构建部署。
Jenkins需要安装各种插件,可能还需要编写Shell,python脚本等才能调用和集成众多的组件来实现复杂的构建部署功能
GitLab安装
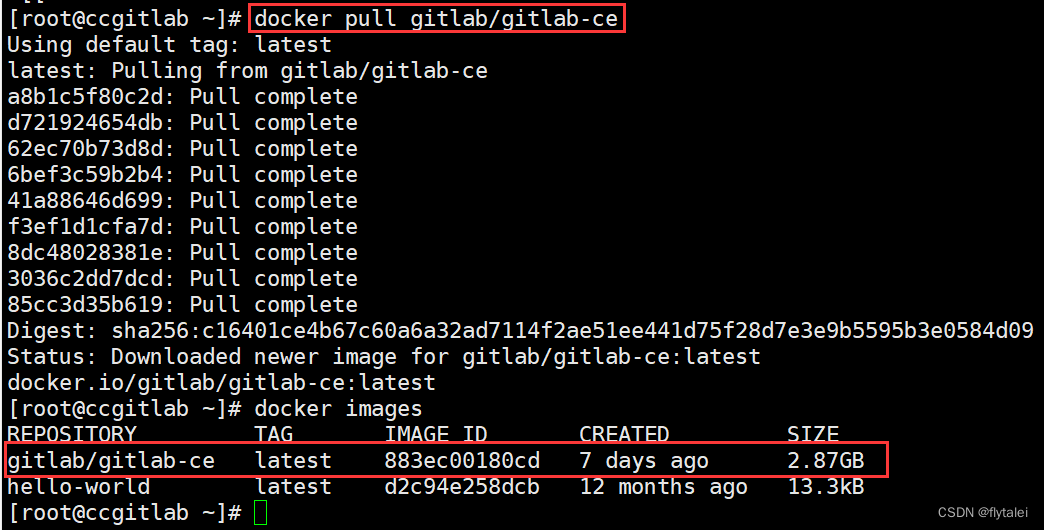
1.Docker pull 官方镜像
https://hub.docker.com/r/gitlab/gitlab-ce
Gitlab的docker安装官方手册https://docs.gitlab.com/ee/install/docker.html
docker pull gitlab/gitlab-ce
2.compose.yml
services:
  gitlab:
    image: gitlab/gitlab-ce
    container_name: gitlab
    restart: always
    environment:
      GITLAB_OMNIBUS_CONFIG: |
        external_url 'http://192.168.10.132:9999'
        gitlab_rails['gitlab_shell_ssh_port']=2222
    ports:
      - 9999:9999
      - 2222:2222
    volumes:
      - ./config:/etc/gitlab
      - ./logs:/var/log/gitlab
      - ./data:/var/opt/gitlab
使用docker-compose config 检测语法
[root@ccgitlab gitlab]# docker-compose config -q
[root@ccgitlab gitlab]# docker-compose config --help

Usage:  docker compose config [OPTIONS] [SERVICE...]

Parse, resolve and render compose file in canonical format

Aliases:
  docker compose config, docker compose convert

Options:
      --dry-run                 Execute command in dry run mode
      --format string           Format the output. Values: [yaml | json] (default "yaml")
      --hash string             Print the service config hash, one per line.
      --images                  Print the image names, one per line.
      --no-consistency          Don't check model consistency - warning: may produce invalid Compose output
      --no-interpolate          Don't interpolate environment variables
      --no-normalize            Don't normalize compose model
      --no-path-resolution      Don't resolve file paths
  -o, --output string           Save to file (default to stdout)
      --profiles                Print the profile names, one per line.
  -q, --quiet                   Only validate the configuration, don't print anything
      --resolve-image-digests   Pin image tags to digests
      --services                Print the service names, one per line.
      --variables               Print model variables and default values.
      --volumes                 Print the volume names, one per line.
查看gitlab的初始化登录密码在/etc/gitlab/initial_root_password文件中
[root@ccgitlab gitlab]# docker exec -it gitlab bash
root@4f2e85d0e984:/# cat /etc/gitlab/initial_root_password
# WARNING: This value is valid only in the following conditions
#          1. If provided manually (either via `GITLAB_ROOT_PASSWORD` environment variable or via `gitlab_rails['initial_root_password']` setting in `gitlab.rb`, it was provided before database was seeded for the first time (usually, the first reconfigure run).
#          2. Password hasn't been changed manually, either via UI or via command line.
#
#          If the password shown here doesn't work, you must reset the admin password following https://docs.gitlab.com/ee/security/reset_user_password.html#reset-your-root-password.

Password: ryOFN3v1X/MqpacfeTNgFeBMOCobKq5ZT7ZB5VATChM=

# NOTE: This file will be automatically deleted in the first reconfigure run after 24 hours.
root@4f2e85d0e984:/#
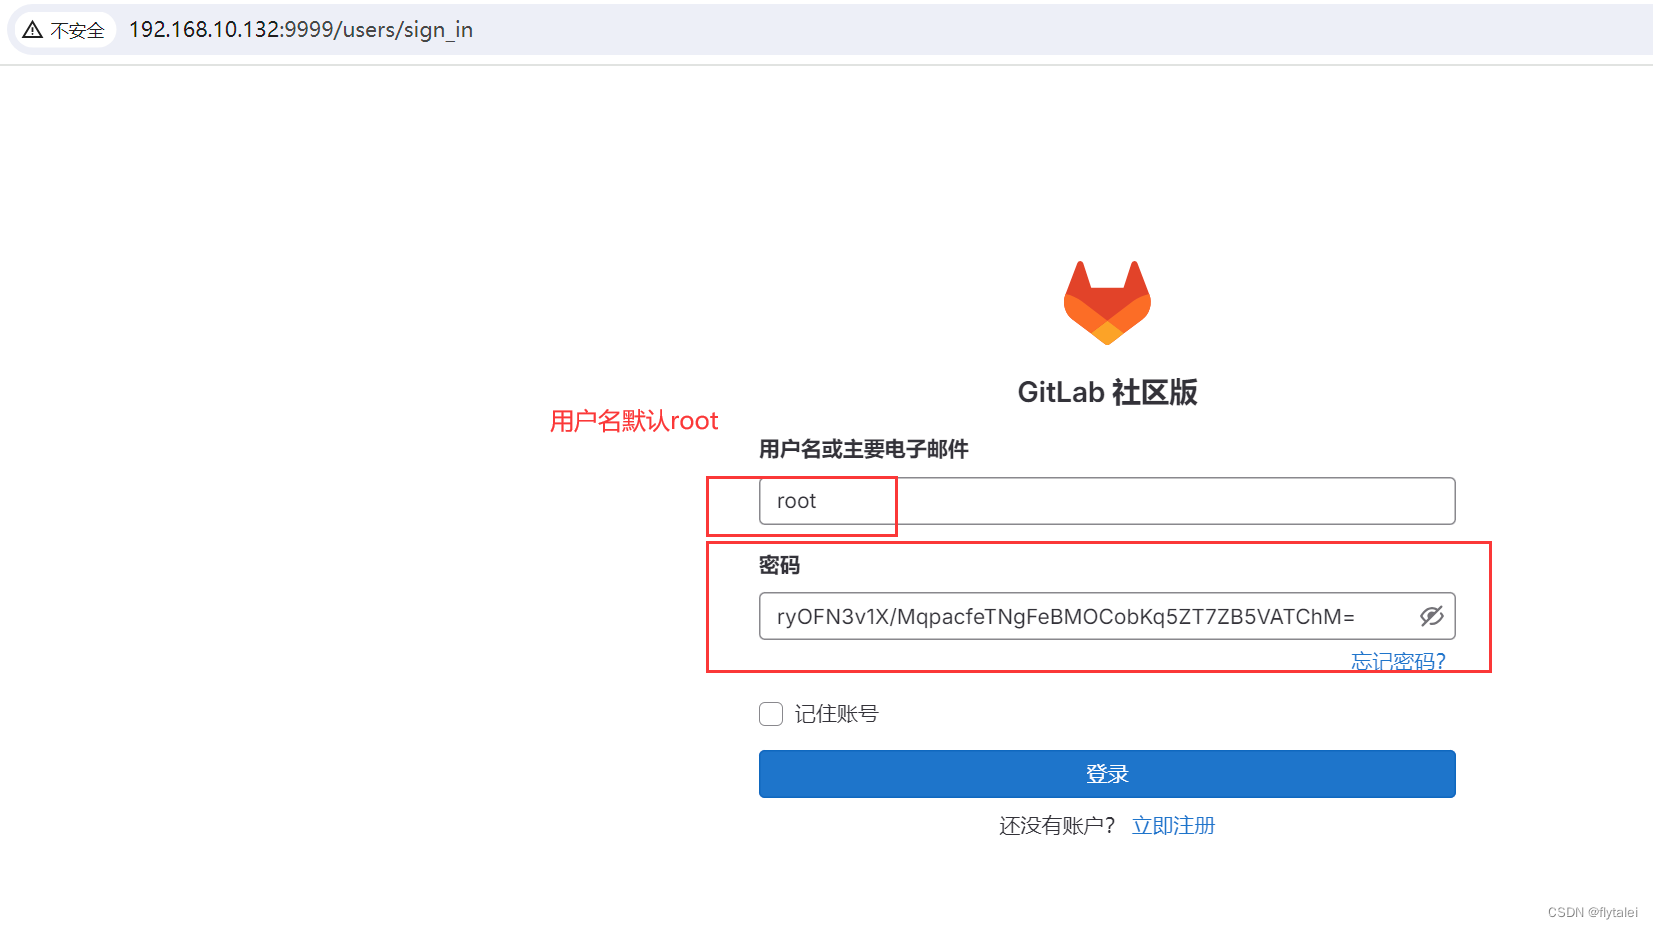
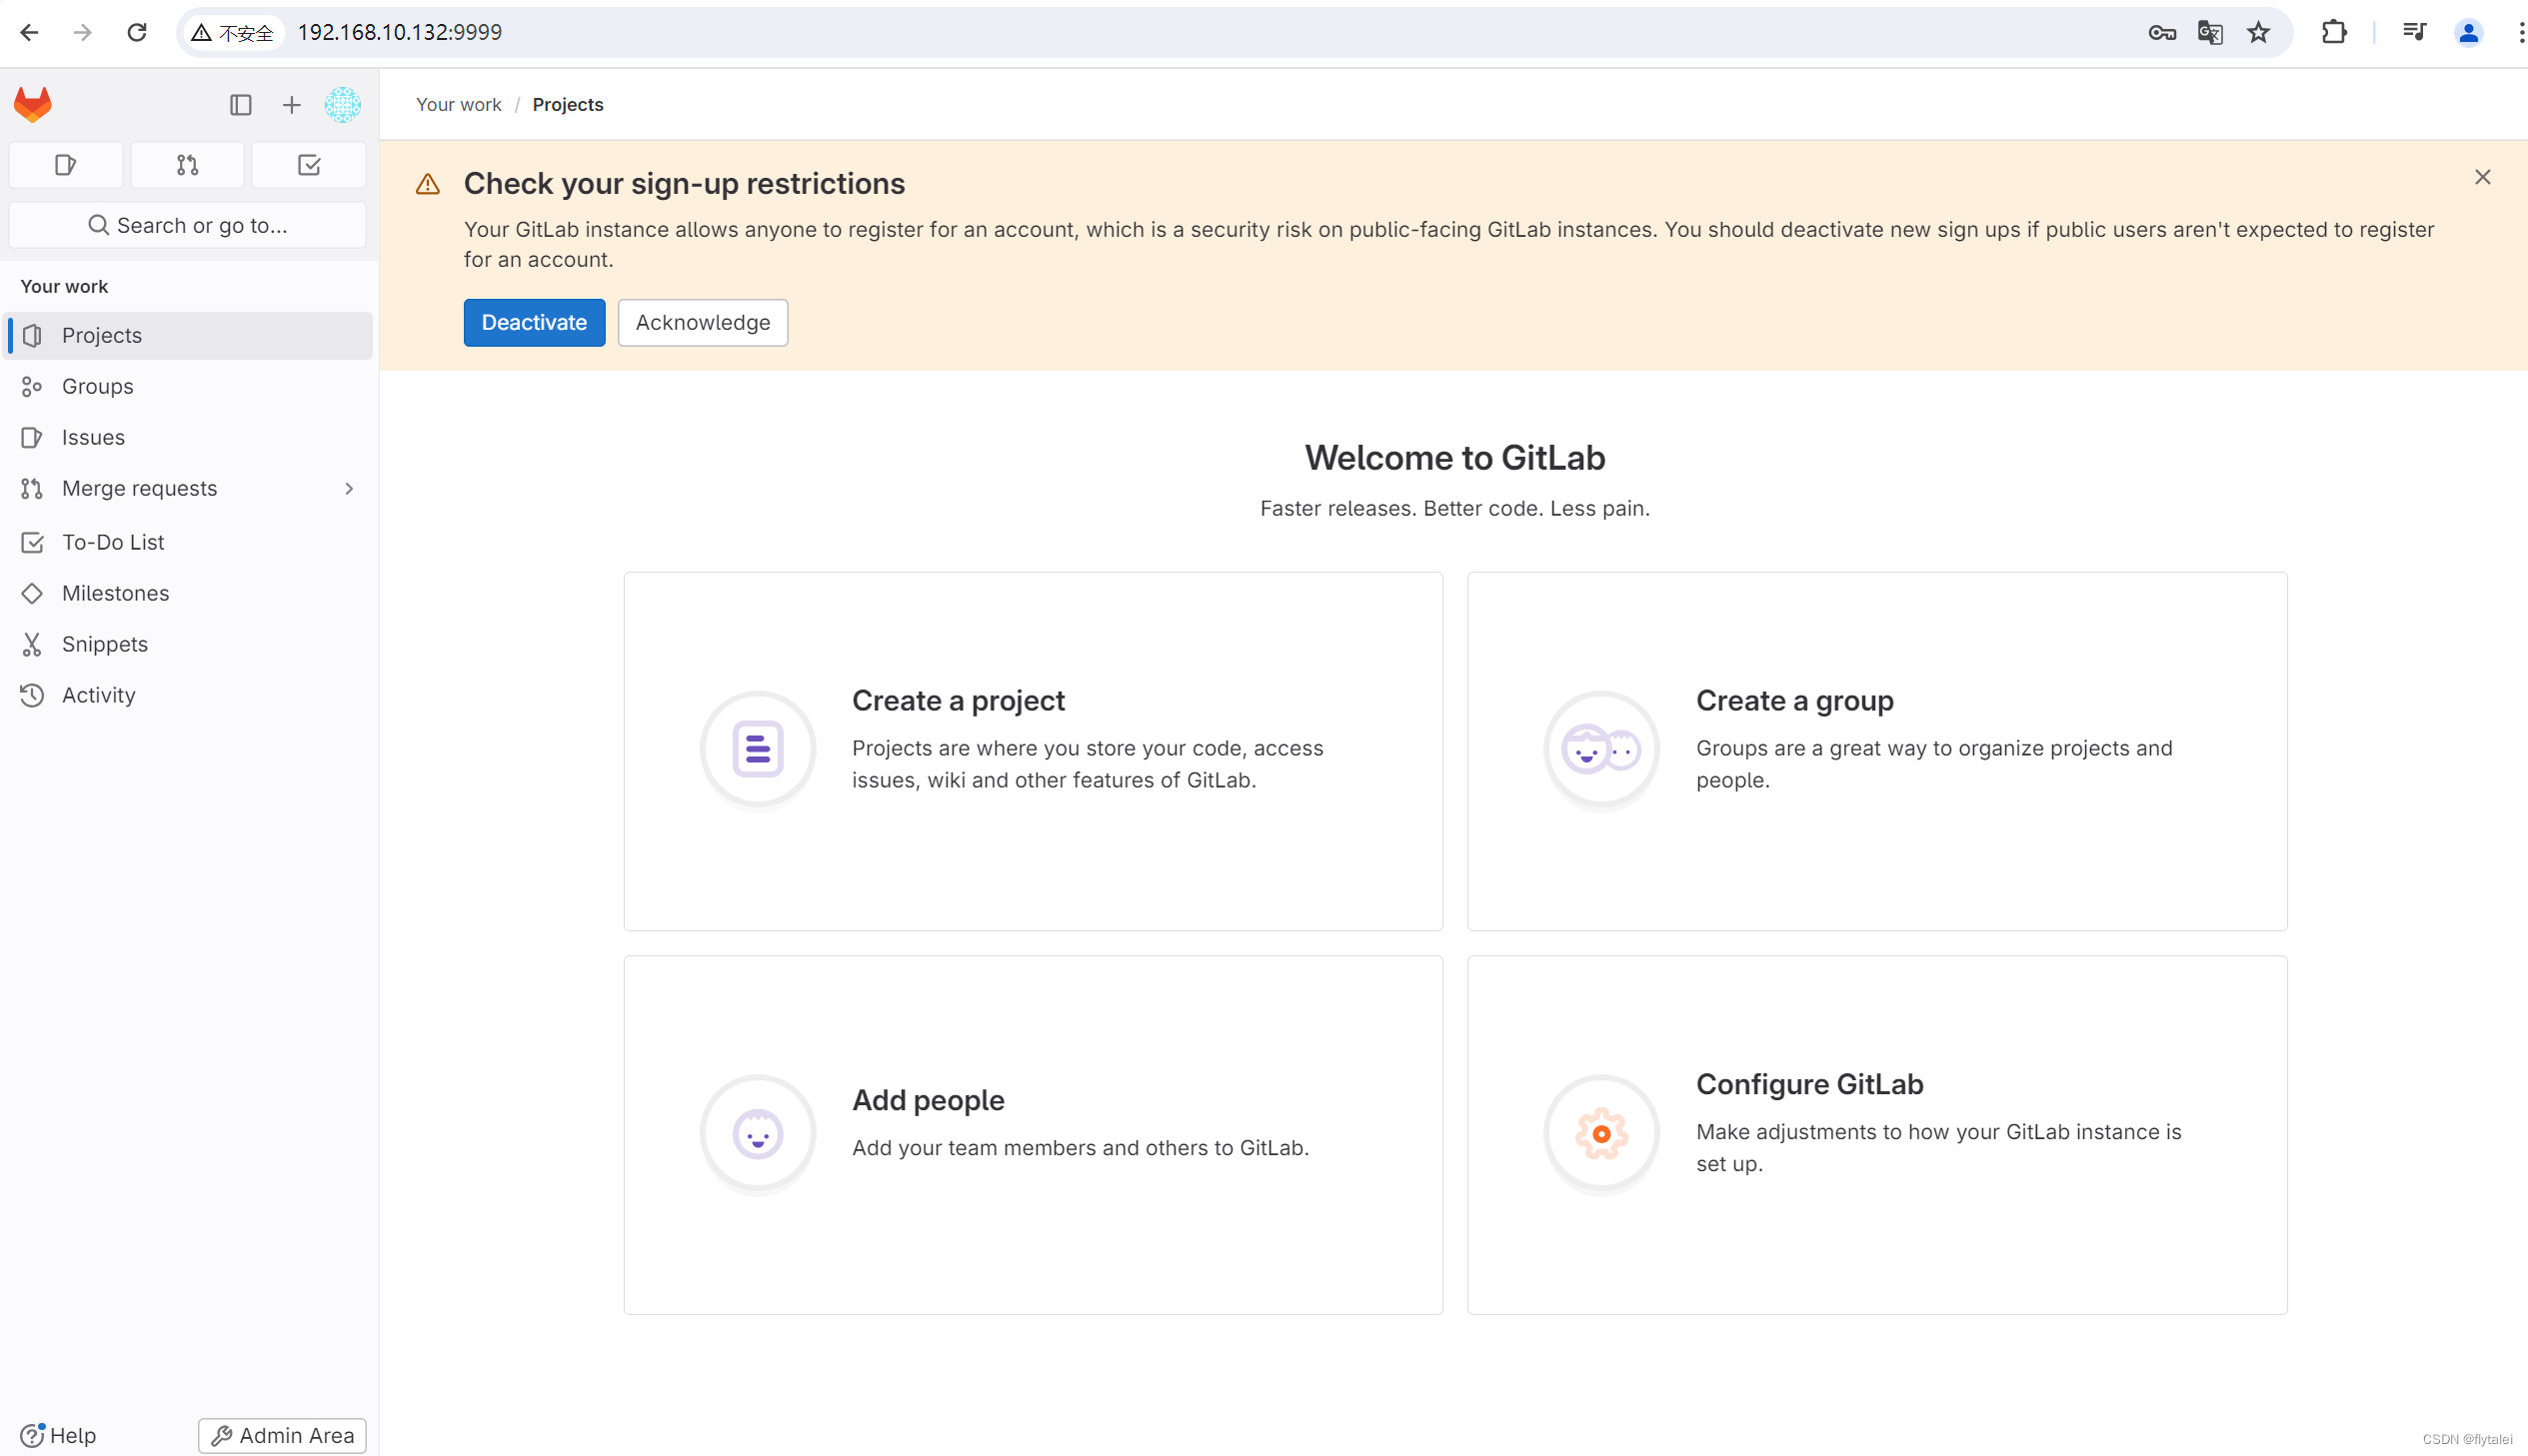
gitlab安装成功啦
SonarQube安装
SonarQube 是一个开源的代码扫描与分析平台,用来持续扫描、分析和评测项目源代码的质量与安全。
通过 SonarQube 可以检测项目中代码量、安全隐患、编写规范隐患、重复度、复杂度、代码增量、测试覆盖率等多个维度,并通过 SonarQube web UI 展示出来。
SonarQube 支持 30+种编程语言代码的扫描与分析,并能够方便的与代码 IDE、CI/CD 平台完美集成。
SonarQube官方网站:https://www.sonarsource.com/
由于 SonarQube 需要 Postgres 数据库的支持,所以安装 SonarQube 之前需要先安装Postgres 数据库
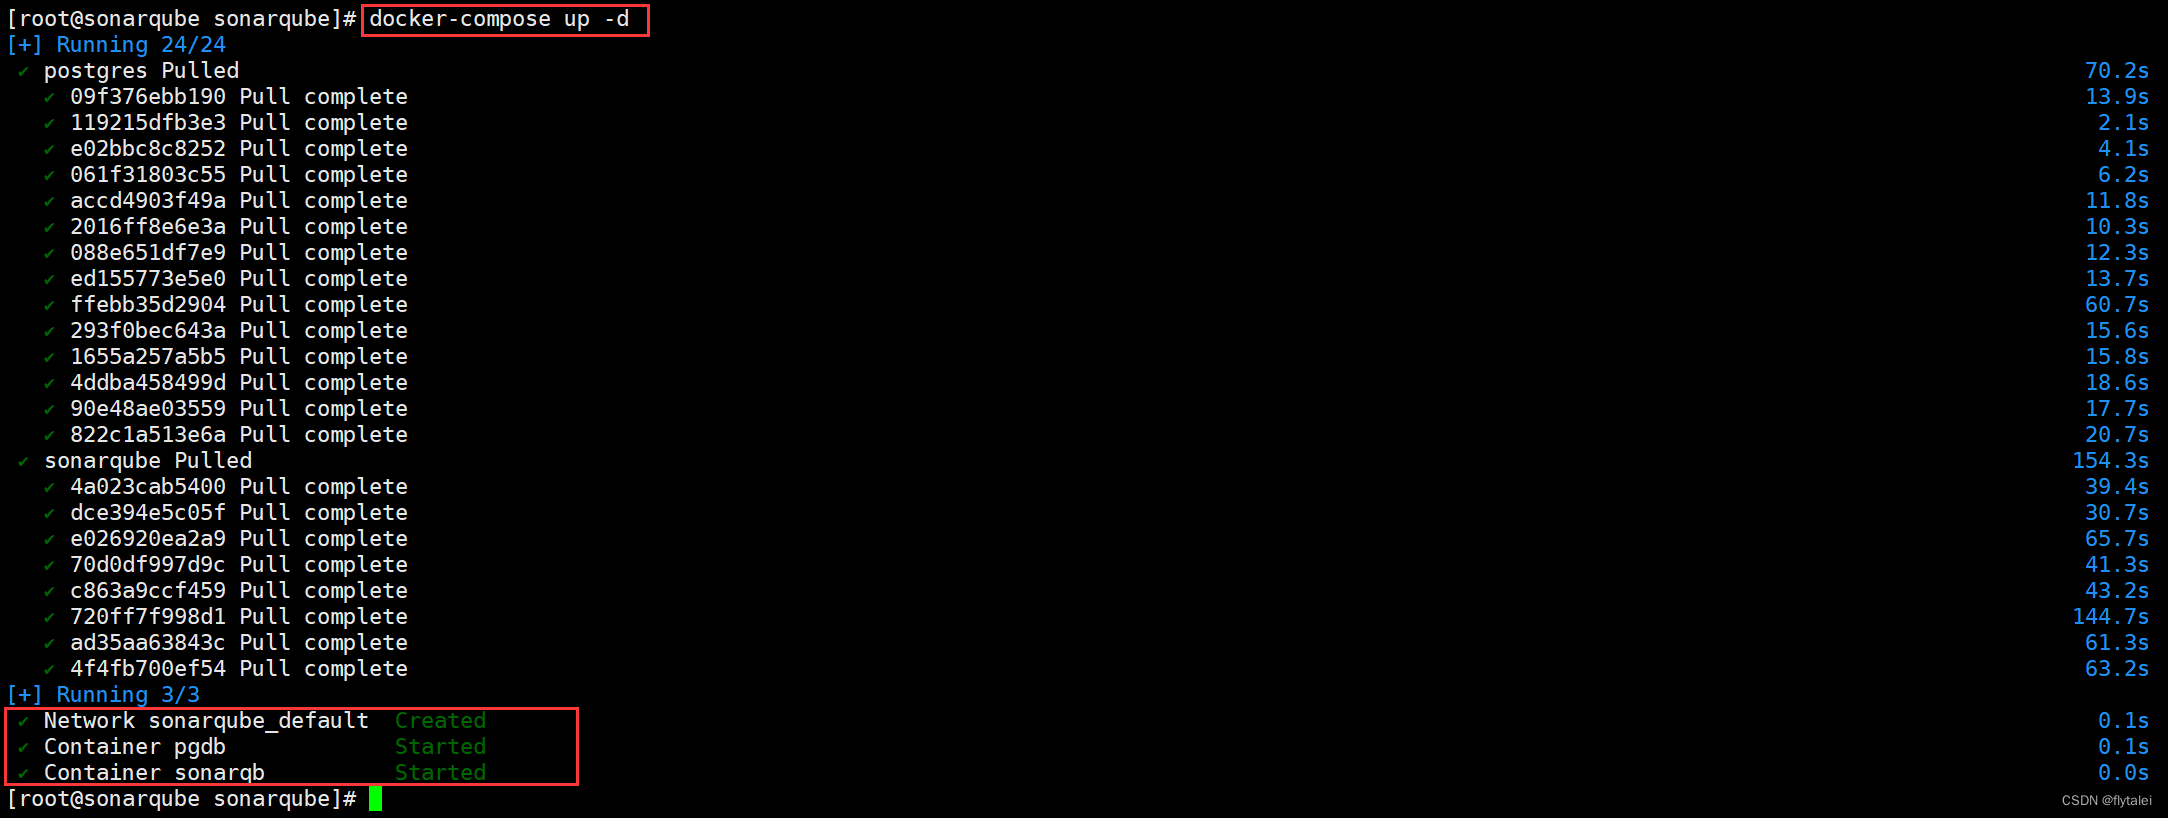
由于需要启动两个容器,所以这里使用 docker-compose 方式。
在/usr/local 下 mkdir 一个 sonarqube的目录,在其中定义 compose.yml 文件。
vim compose.yml
services:
  postgres:
    image: postgres
    container_name: pgdb
    restart: always
    ports:
      - 5432:5432
    environment:
      POSTGRES_USER: sonar
      POSTGRES_PASSWORD: sonar

  sonarqube:
    image: sonarqube:9.9-community
    container_name: sonarqb
    restart: always
    depends_on:
      - postgres
    ports:
      - 9000:9000
    environment:
      SONAR_JDBC_URL: jdbc:postgresql://pgdb:5432/sonar
      SONAR_JDBC_USERNAME: sonar
      SONAR_JDBC_PASSWORD: sonar
修改虚拟内存大小,
在 /etc/sysctl.conf文件中加上vm.max_map_count = 262144,修改保存后再运行 sysctl –p 命令使 Linux 内核加载文件中的配置。
vim /etc/sysctl.conf
[root@sonarqube sonarqube]# vim /etc/sysctl.conf
[root@sonarqube sonarqube]# sysctl -p
vm.max_map_count = 262144
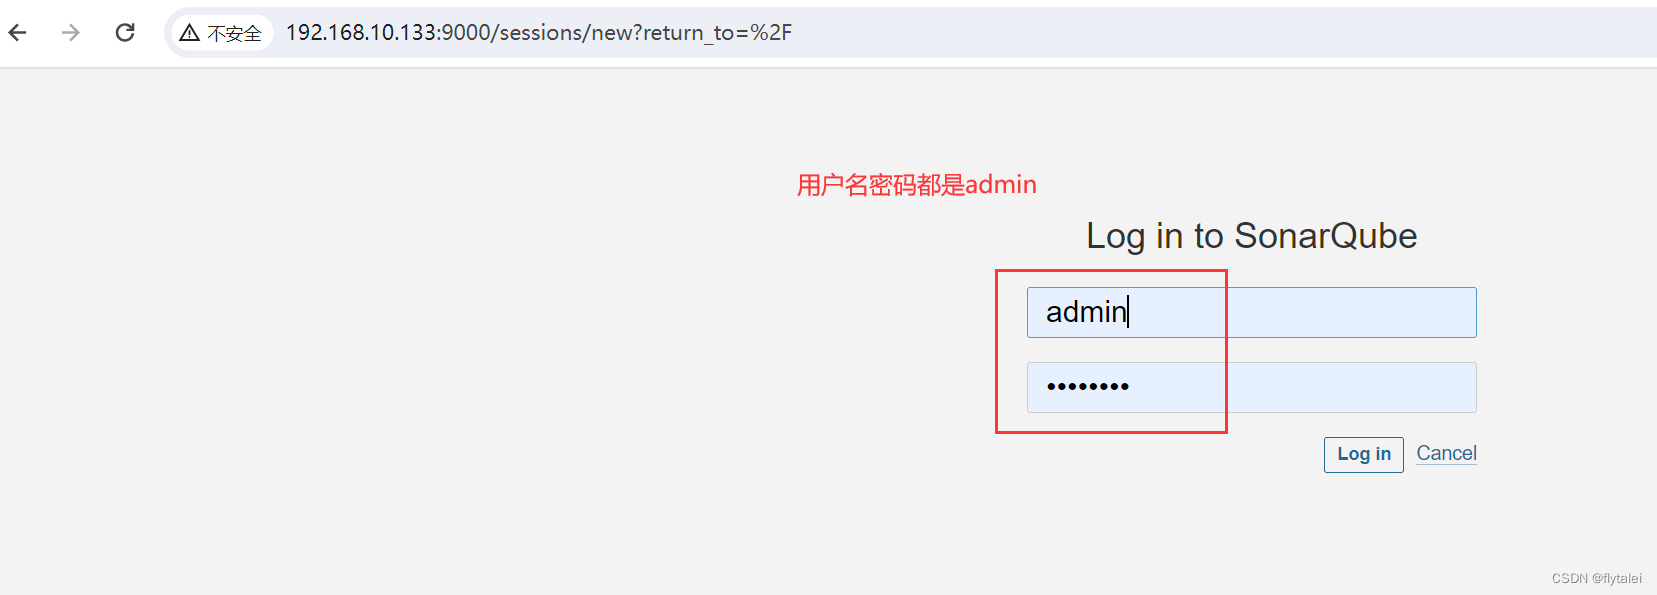
密码改了12345678
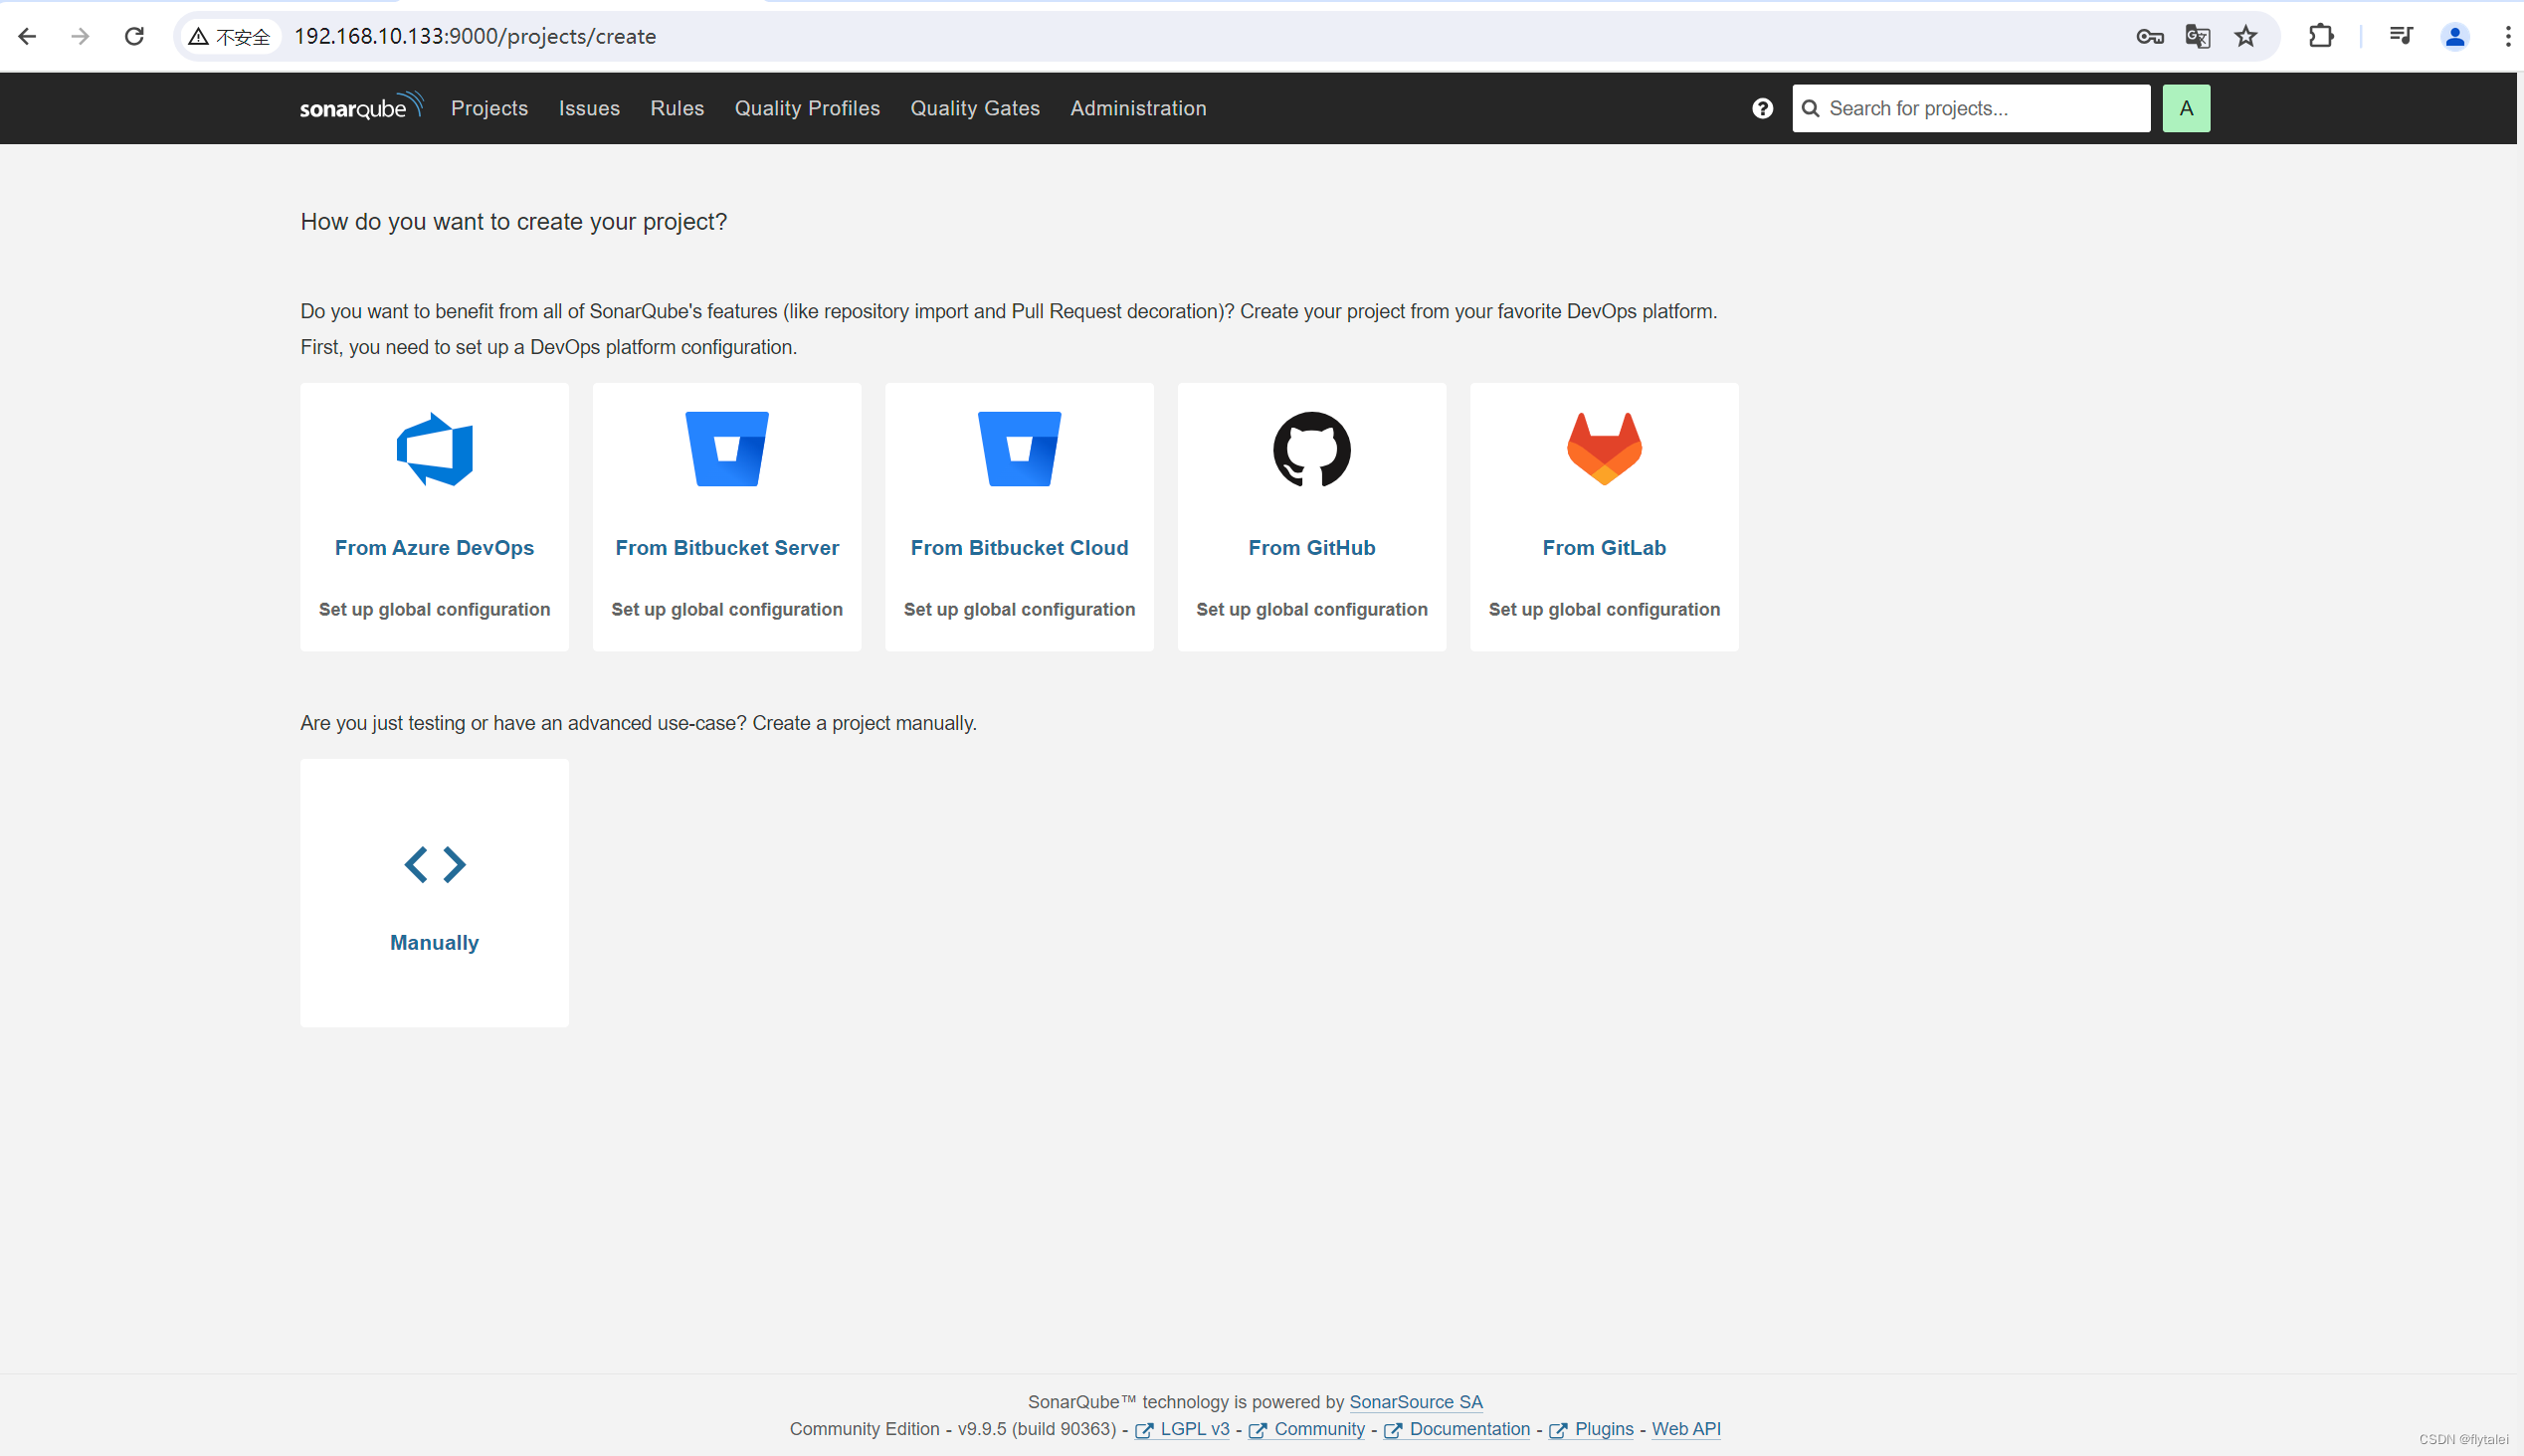
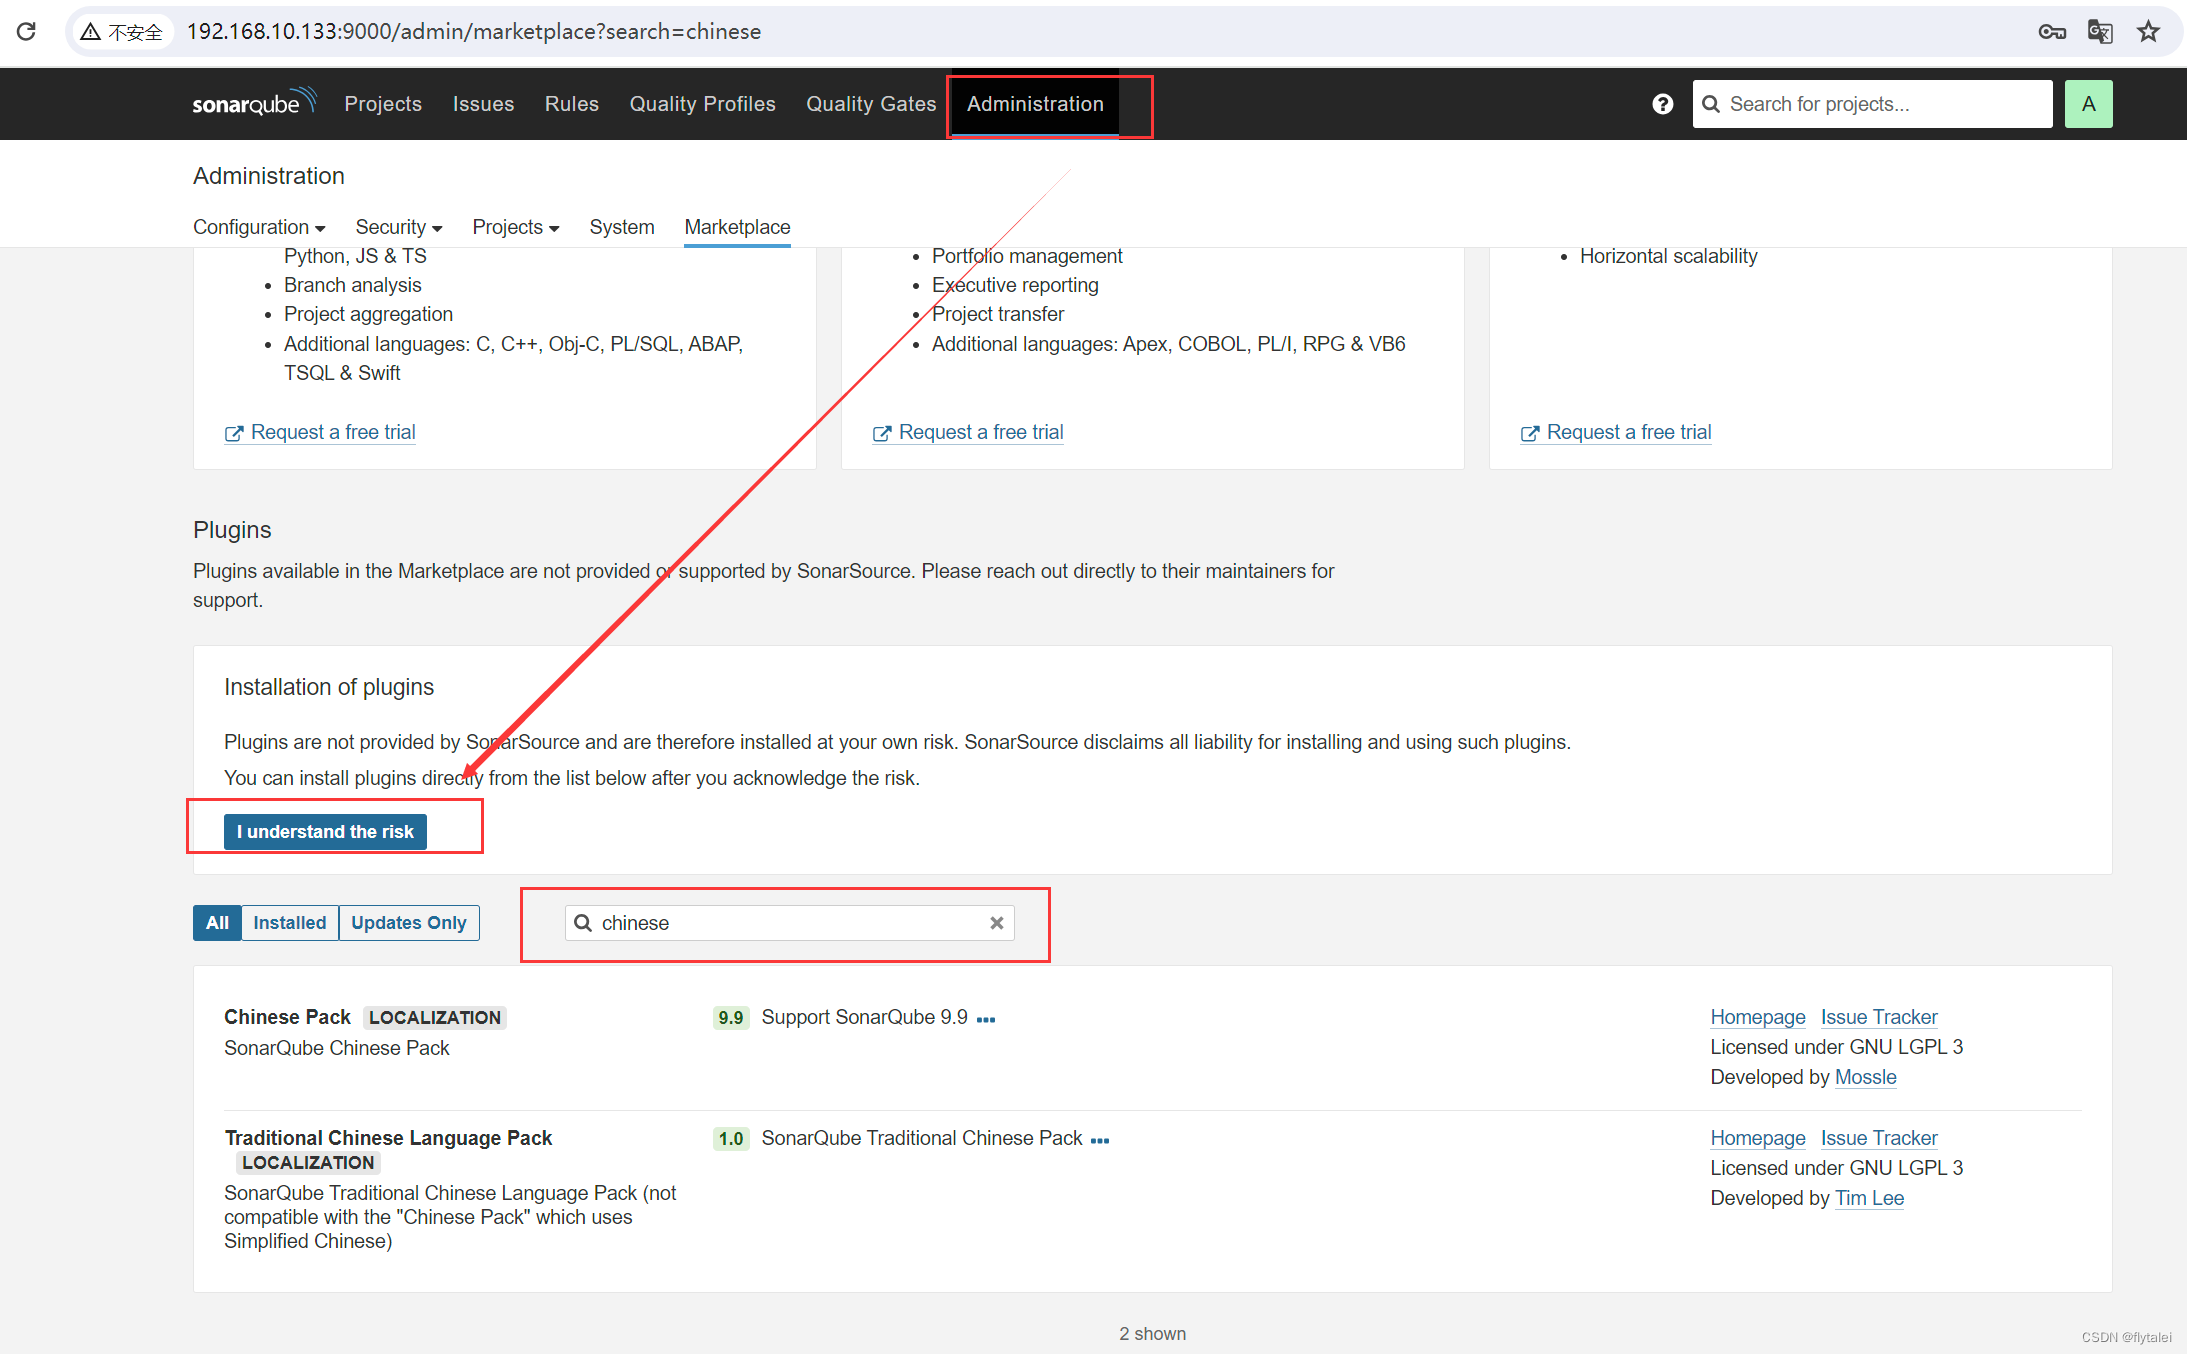
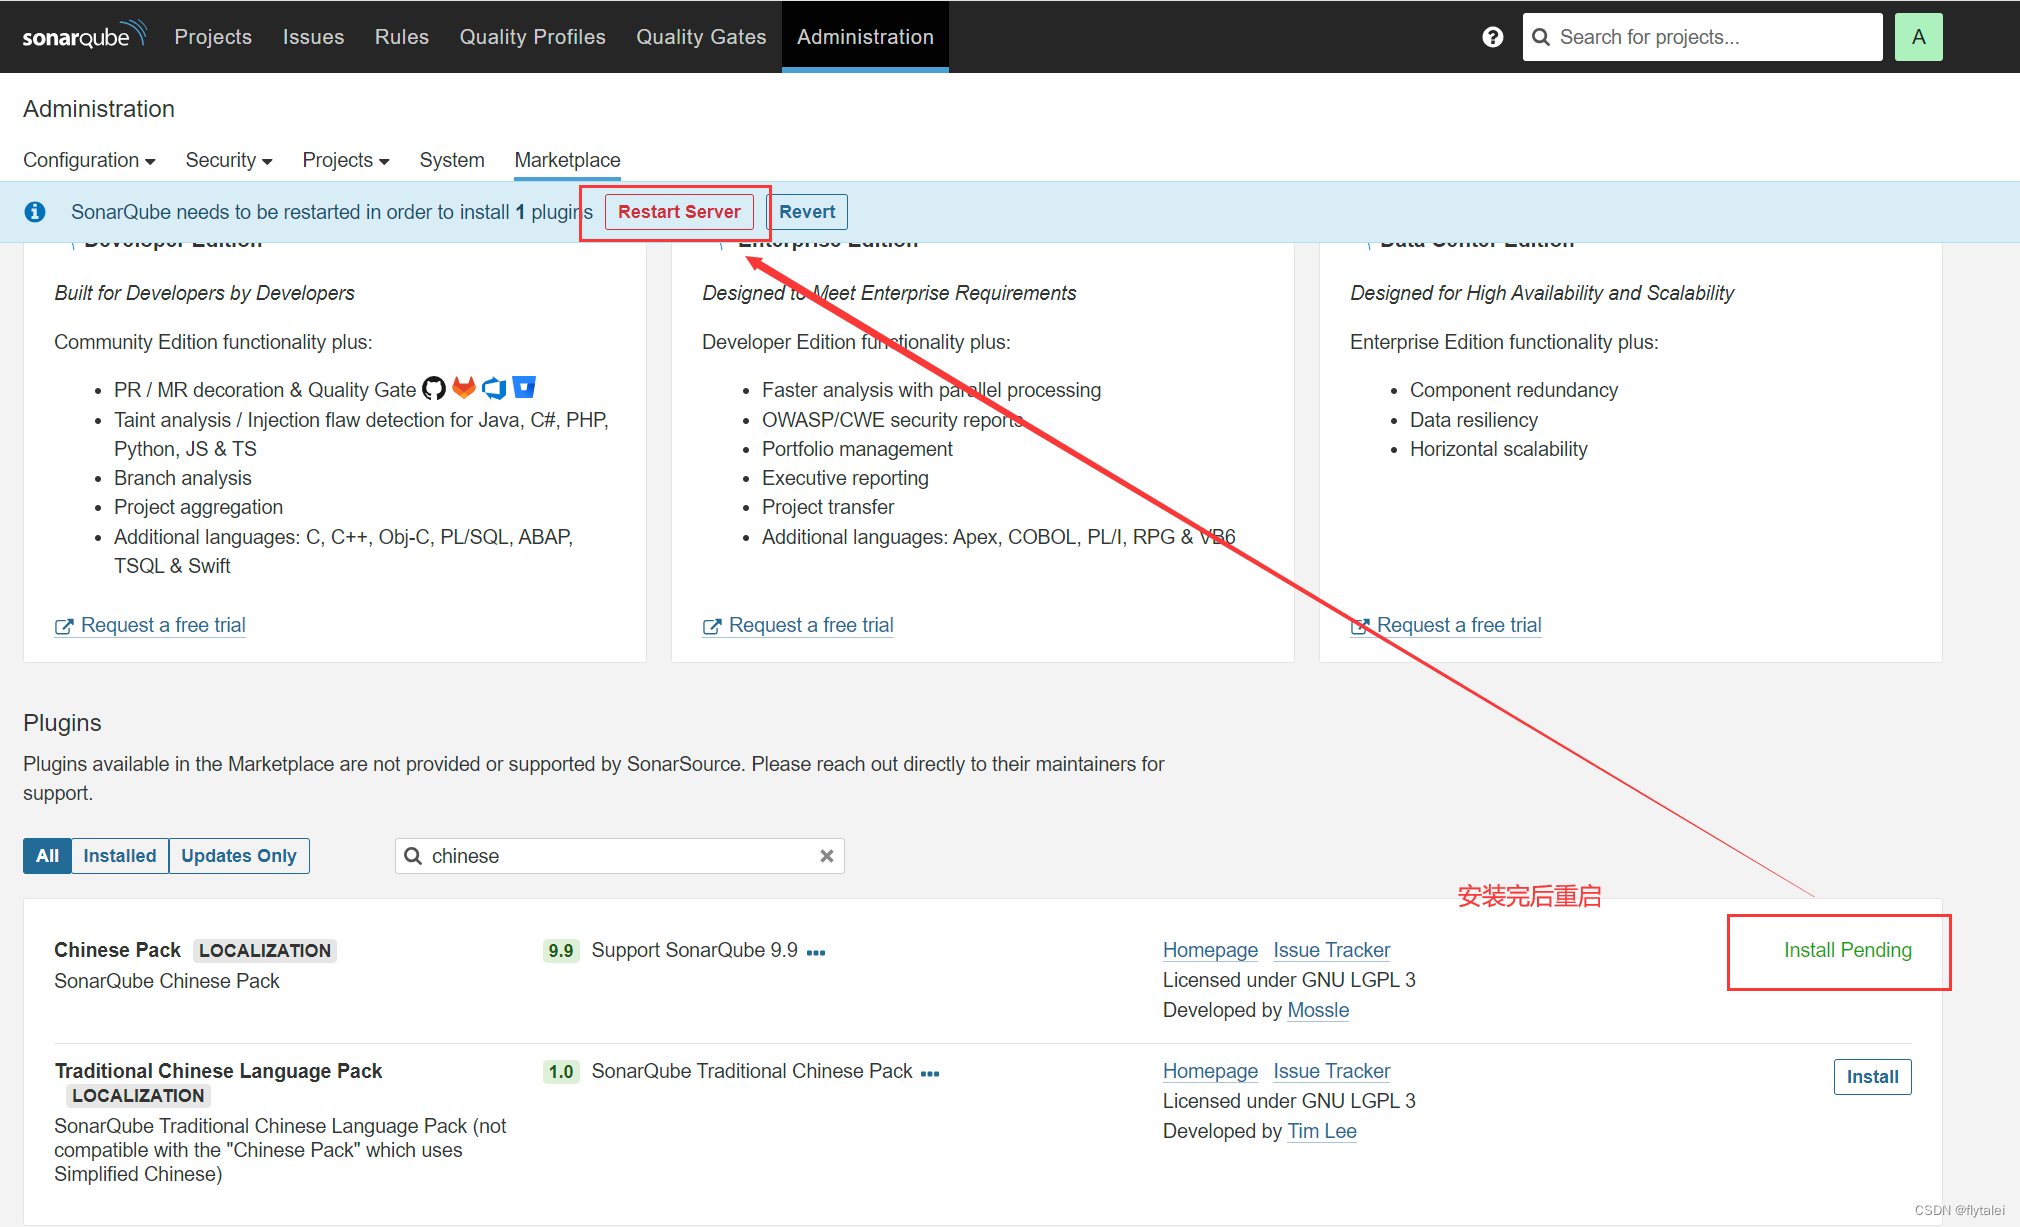
安装汉化插件
Harbor安装
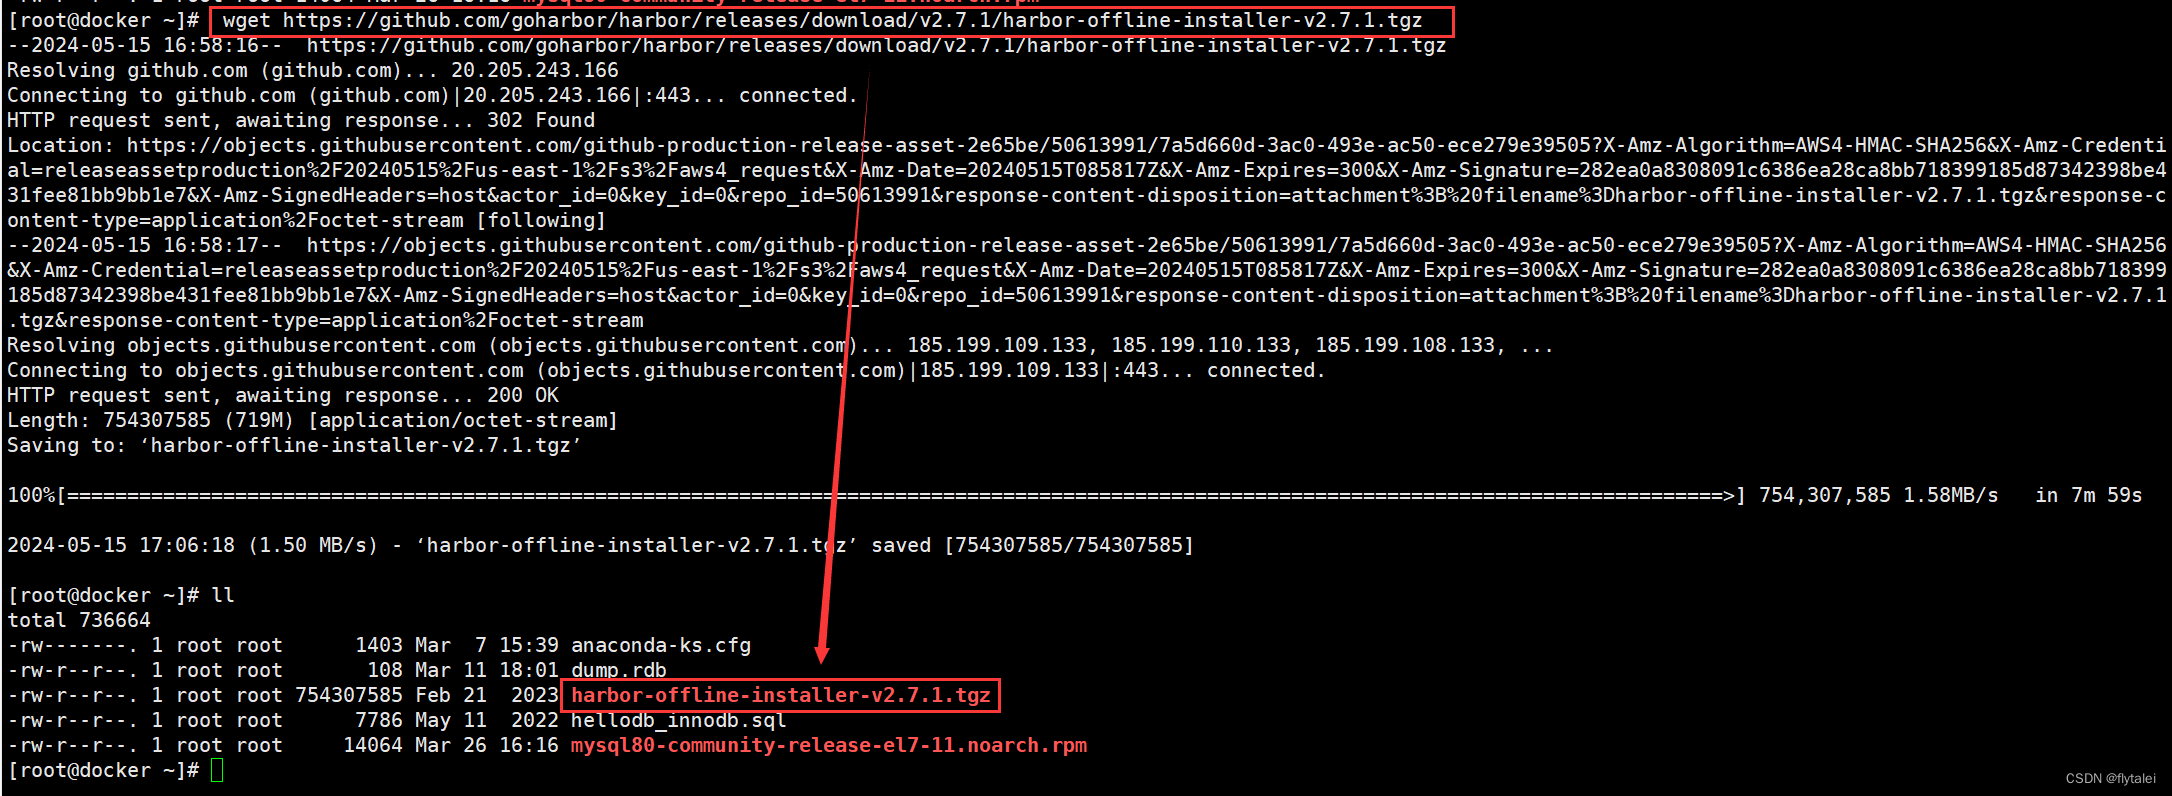
wget https://github.com/goharbor/harbor/releases/download/v2.7.1/harbor-offline-installer-v2.7.1.tgz
解压tgz包
tar -zxvf harbor-offline-installer-v2.7.1.tgz -C /usr/local/

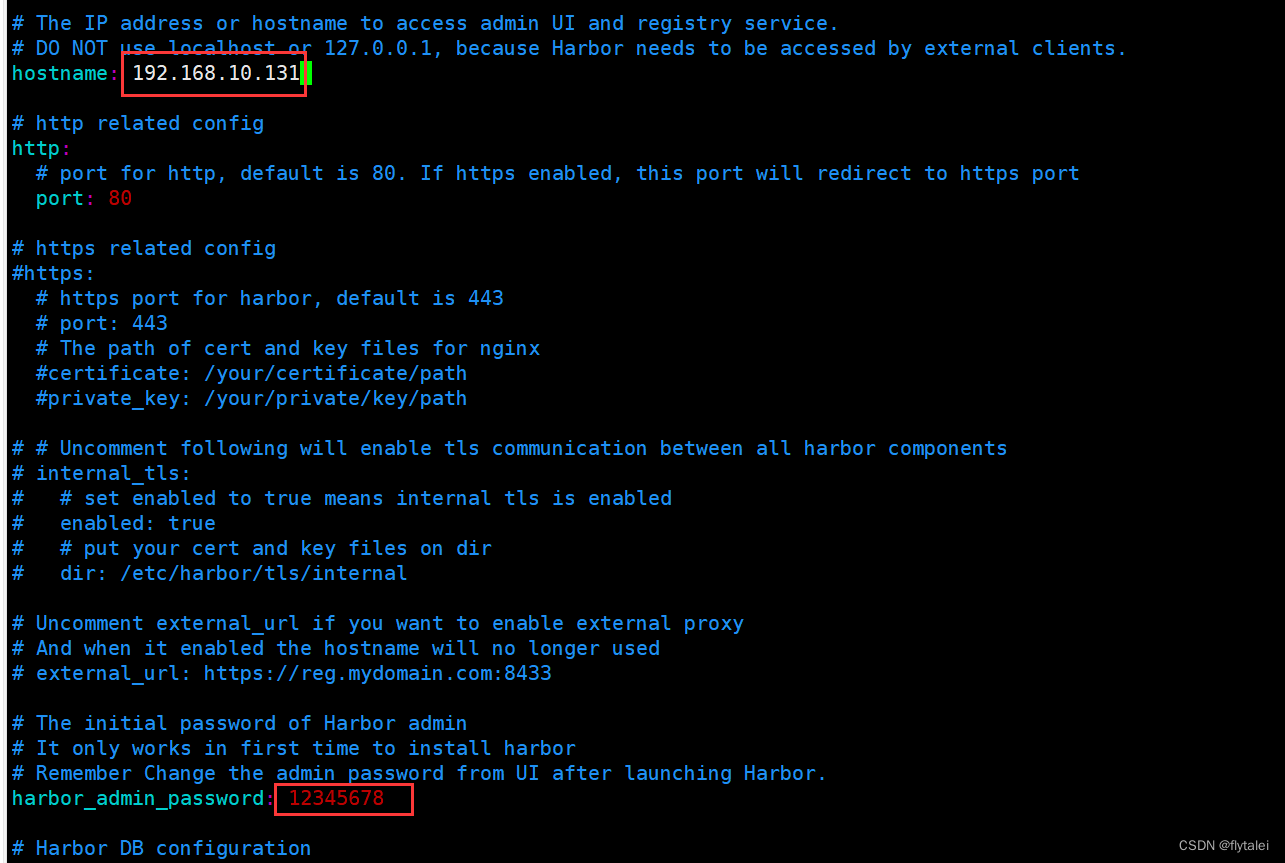
修改harbor.yml配置文件

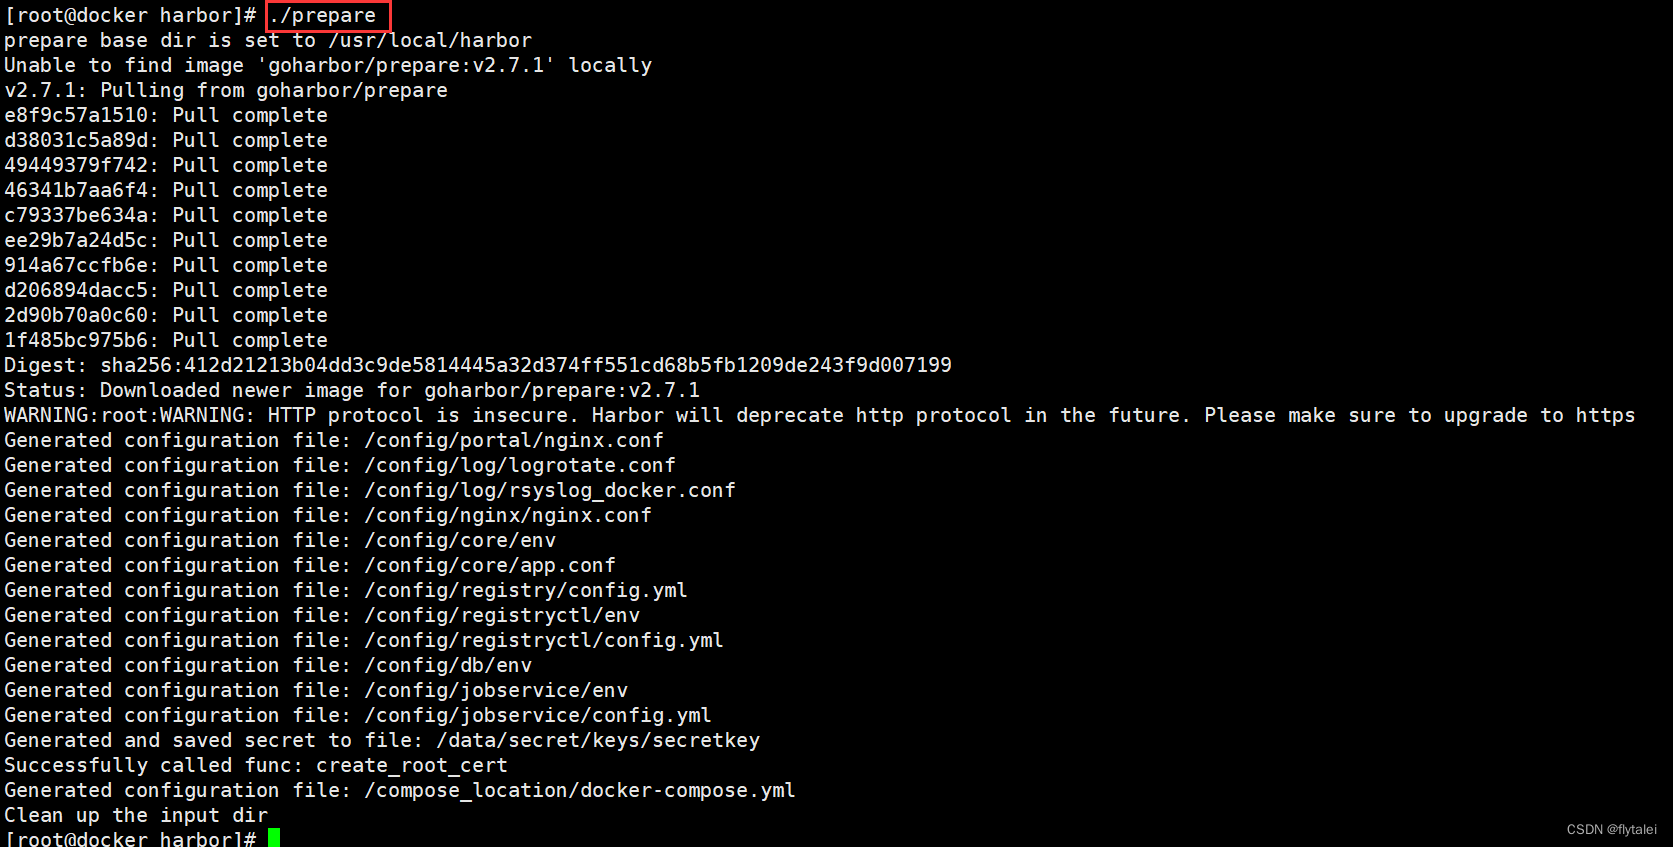
执行prepare
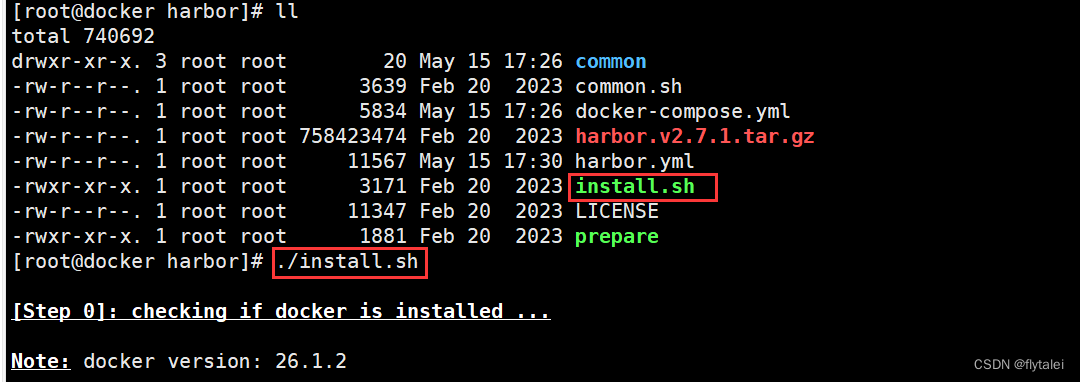
执行install.sh
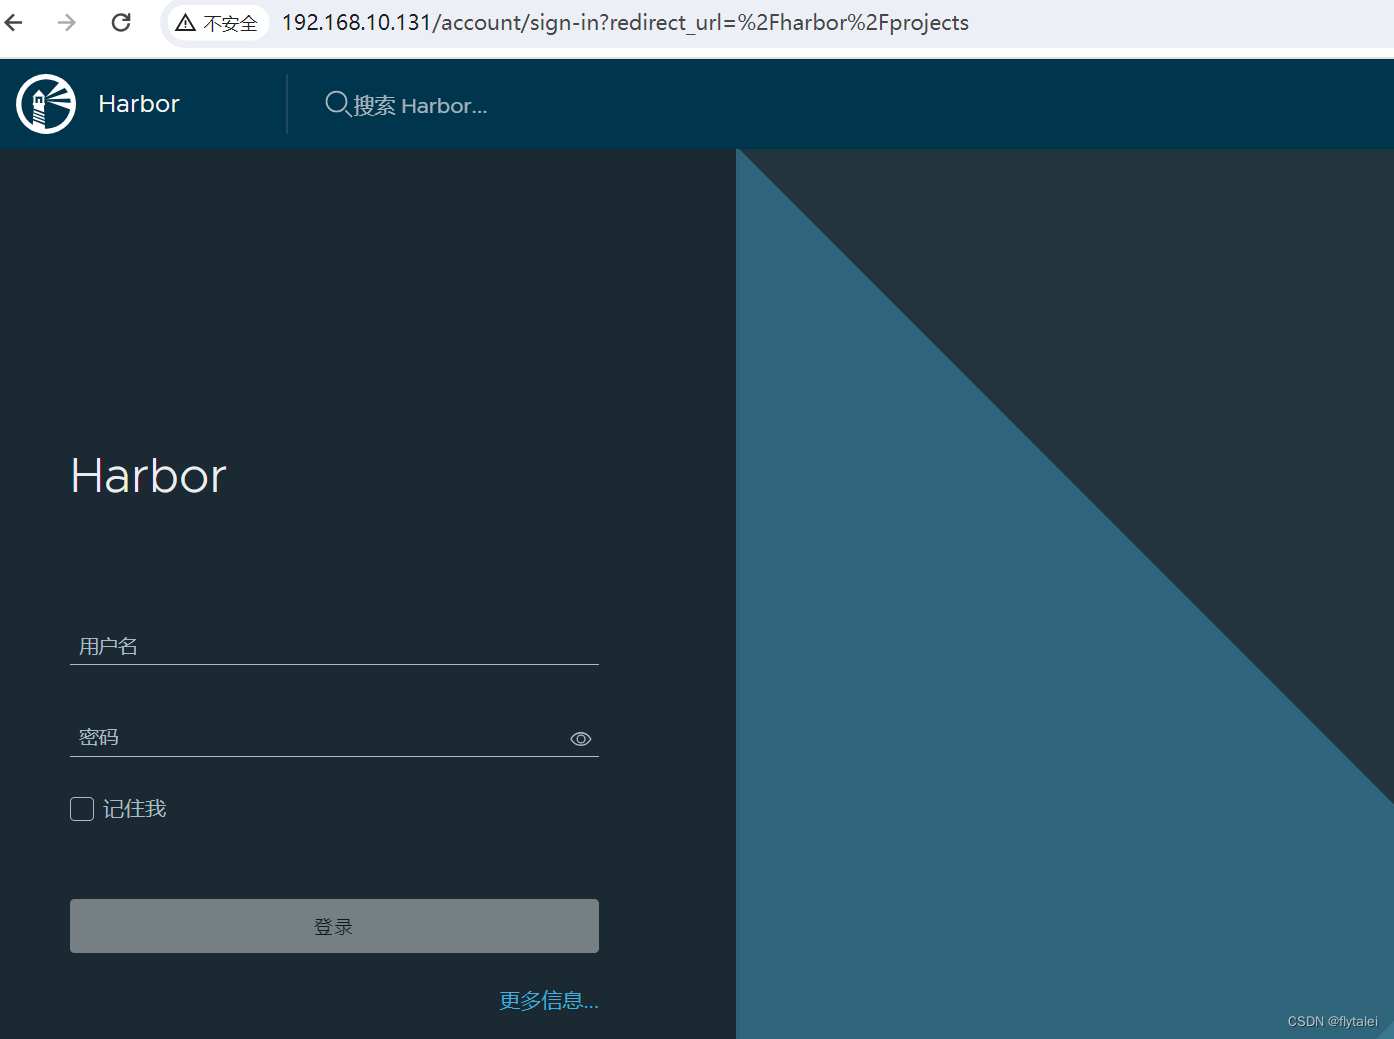
访问登录页,用户名admin,密码是harbor.yml里配置的12345678。
目标服务器的安装与配置
由于目标服务器需要从镜像中心 Harbor 中 docker pull 镜像,然后使用 docker run 来运行容器,所以目标服务器中需要安装Docker 引擎。
由于目标服务器需要通过 docker-compose 运行 compose.yml 文件来启动容器,所以目标服务器中需要安装 docker-compose。
Jenkins 通过 SSH 将命令发送到目标服务器,以使目标服务器可以从 Harbor 拉取镜像、运行容器等。所以在目标服务器中需要具有一个用户接收 Jenkins 发送数据的目录。本例将该接收目录创建在/usr/local/jenkins 中。
Processing triggers for systemd (245.4-4ubuntu3.17) ...
安装Jenkins完成!                                           [  OK  ]
active

Jenkins安装完成!                                           [  OK  ]
-------------------------------------------------------------------
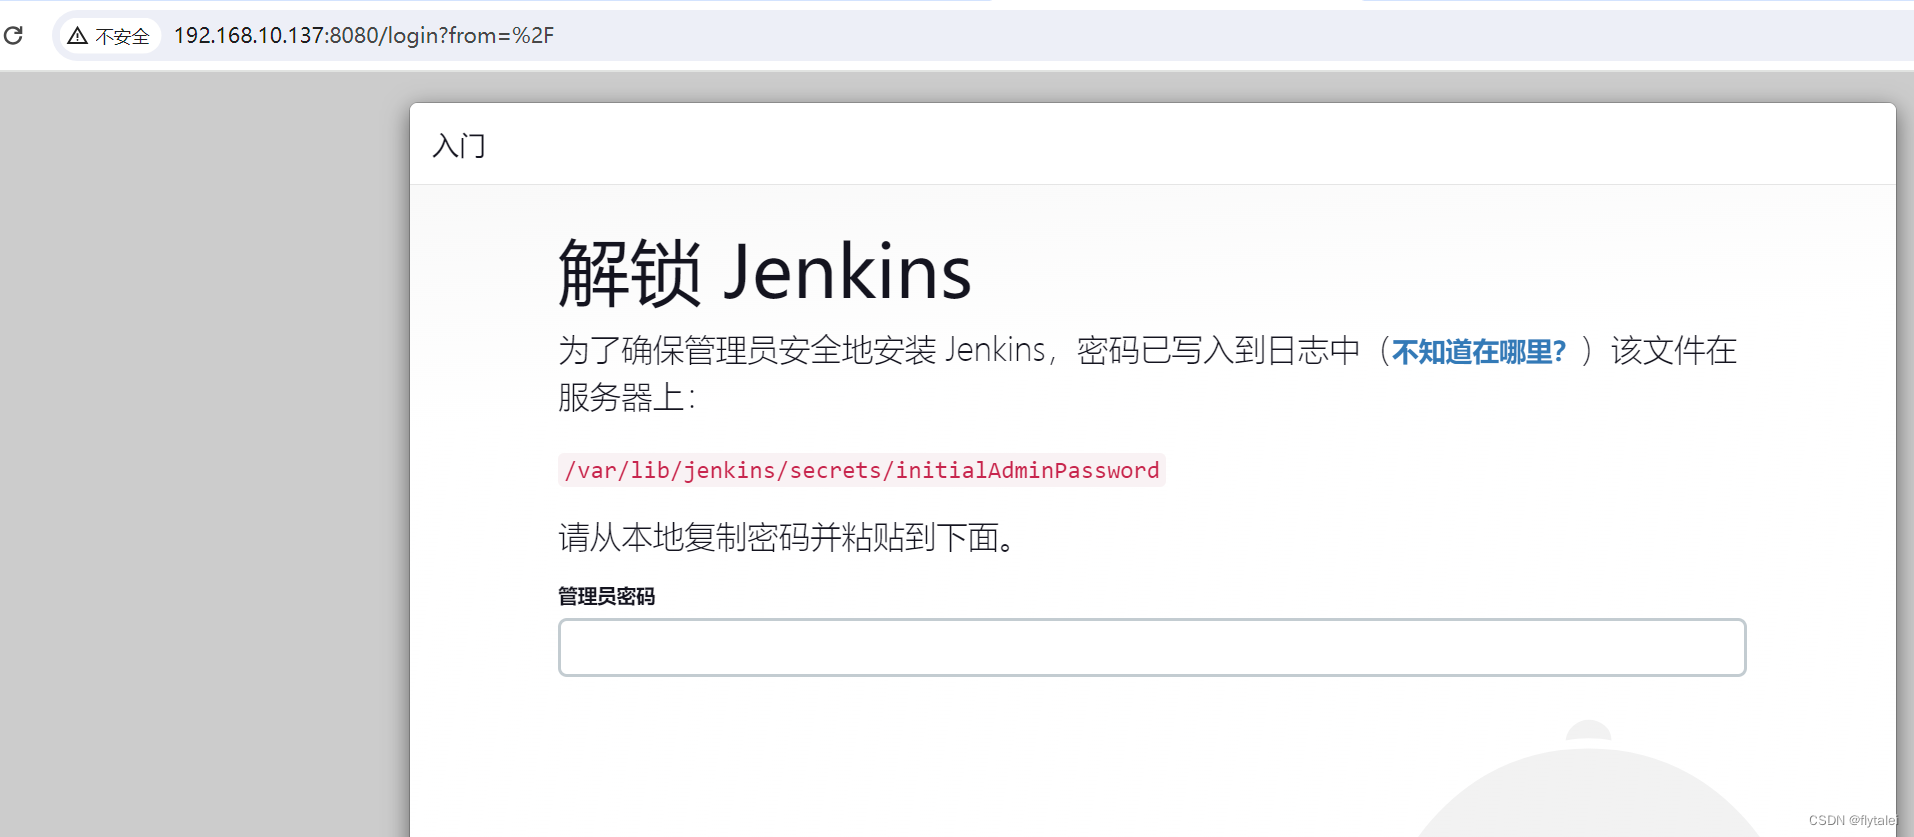
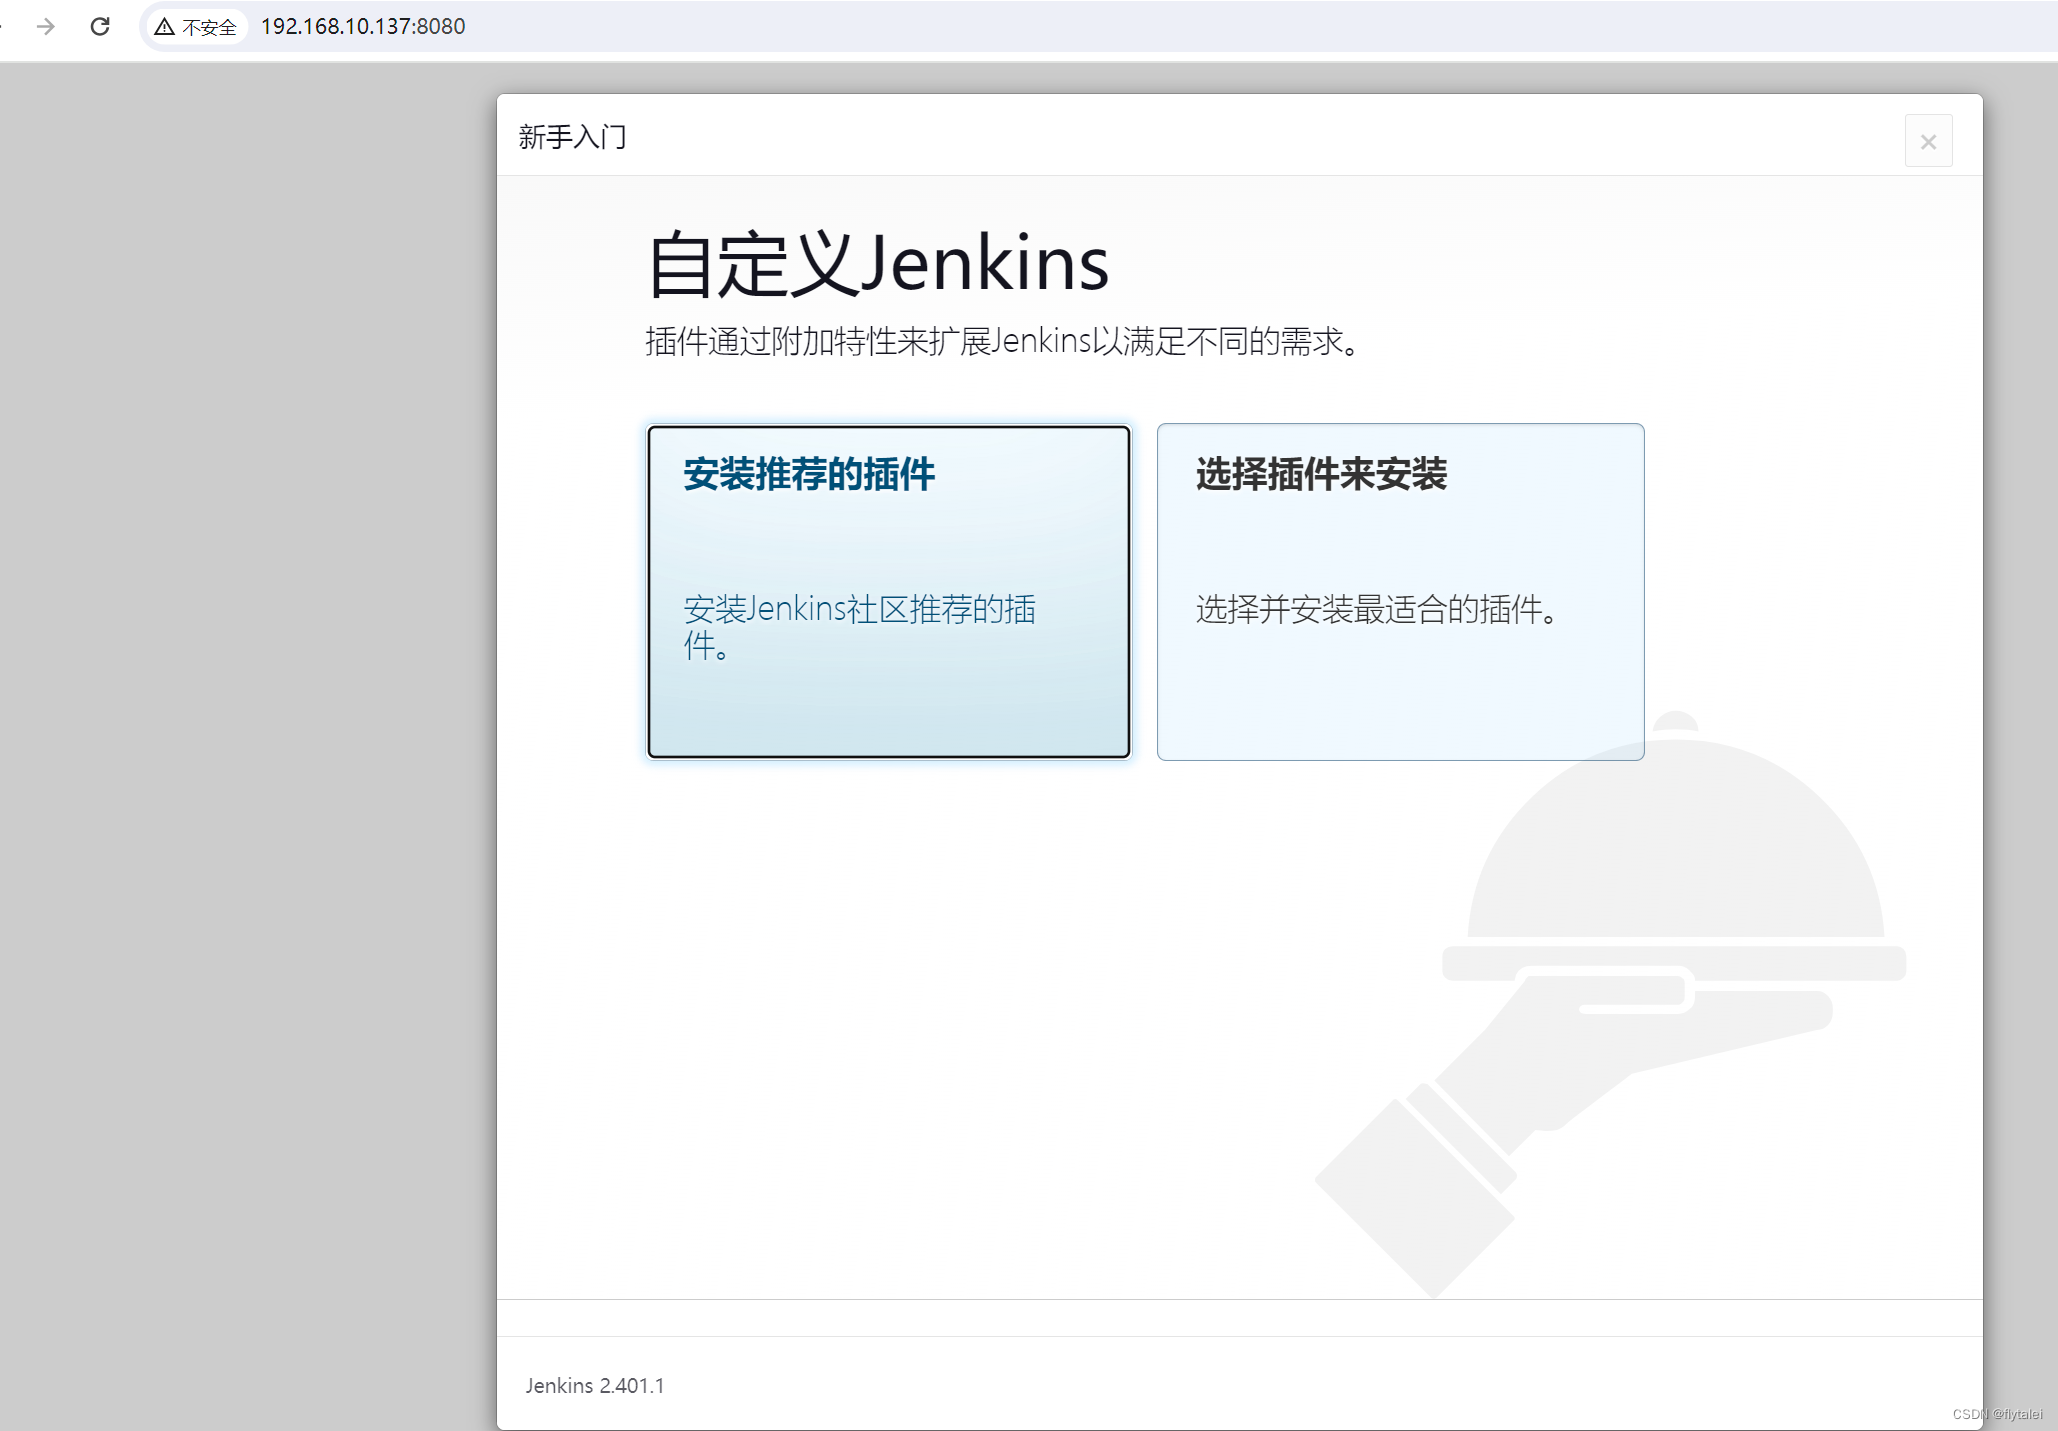
访问链接: http://192.168.10.137:8080/
登录秘钥: b07688cb2f854352a94ab4a5a5a63ea1
Jenkins安装
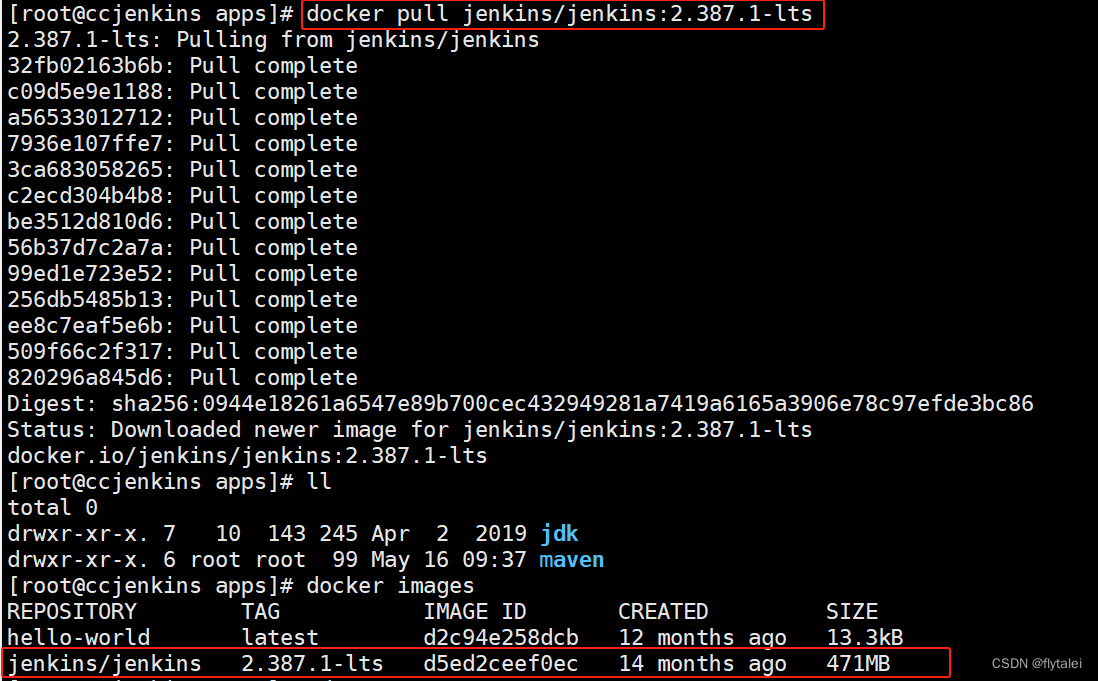
docker pull jenkins/jenkins:2.387.1-lts
启动Jenkins
[root@ccjenkins ~]# docker run --name jenkins \
> --restart always \
> -p 8080:8080 \
> -p 50000:50000 \
> -v /var/jenkins_home:/var/jenkins_home \
> -d jenkins/jenkins:2.387.1-lts
赋予最高权限,之后重启jenkins
chmod -R 777 /var/jenkins_home/
docker restart jenkins
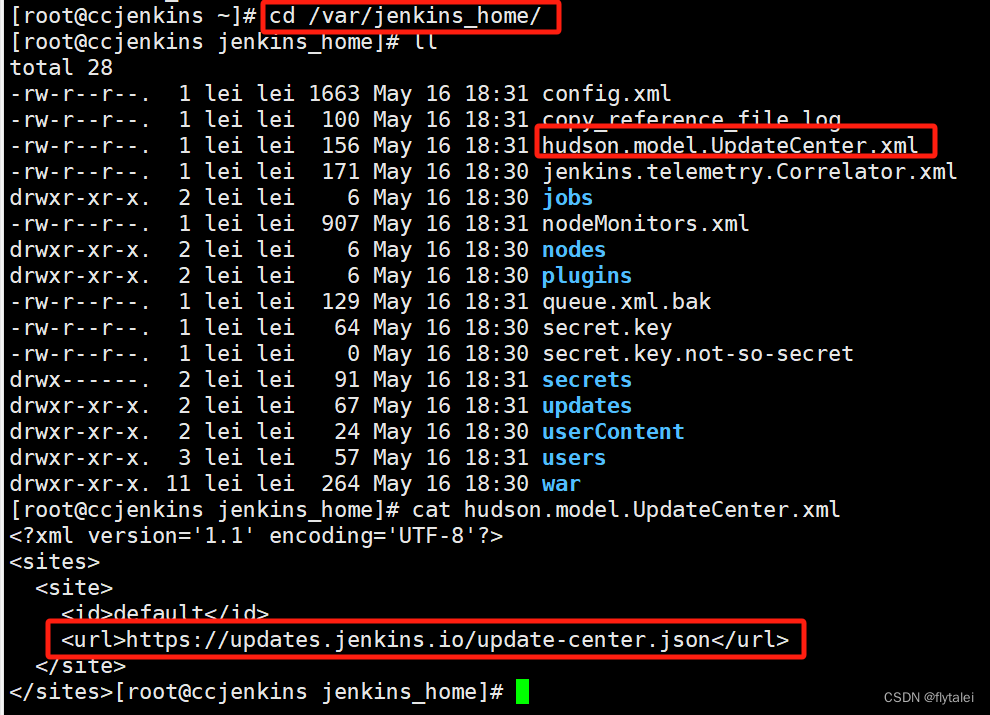
修改插件下载源,将其默认的下载源改为清华源
https://mirrors.tuna.tsinghua.edu.cn/jenkins/updates/current/update-center.json
查看admin默认密码docker logs jenkins
Jenkins initial setup is required. An admin user has been created and a password generated.
Please use the following password to proceed to installation:

1d5d277e8e3f43b2a97d5986595b3dbc

访问本主机的8080端口
http://192.168.10.135:8080/
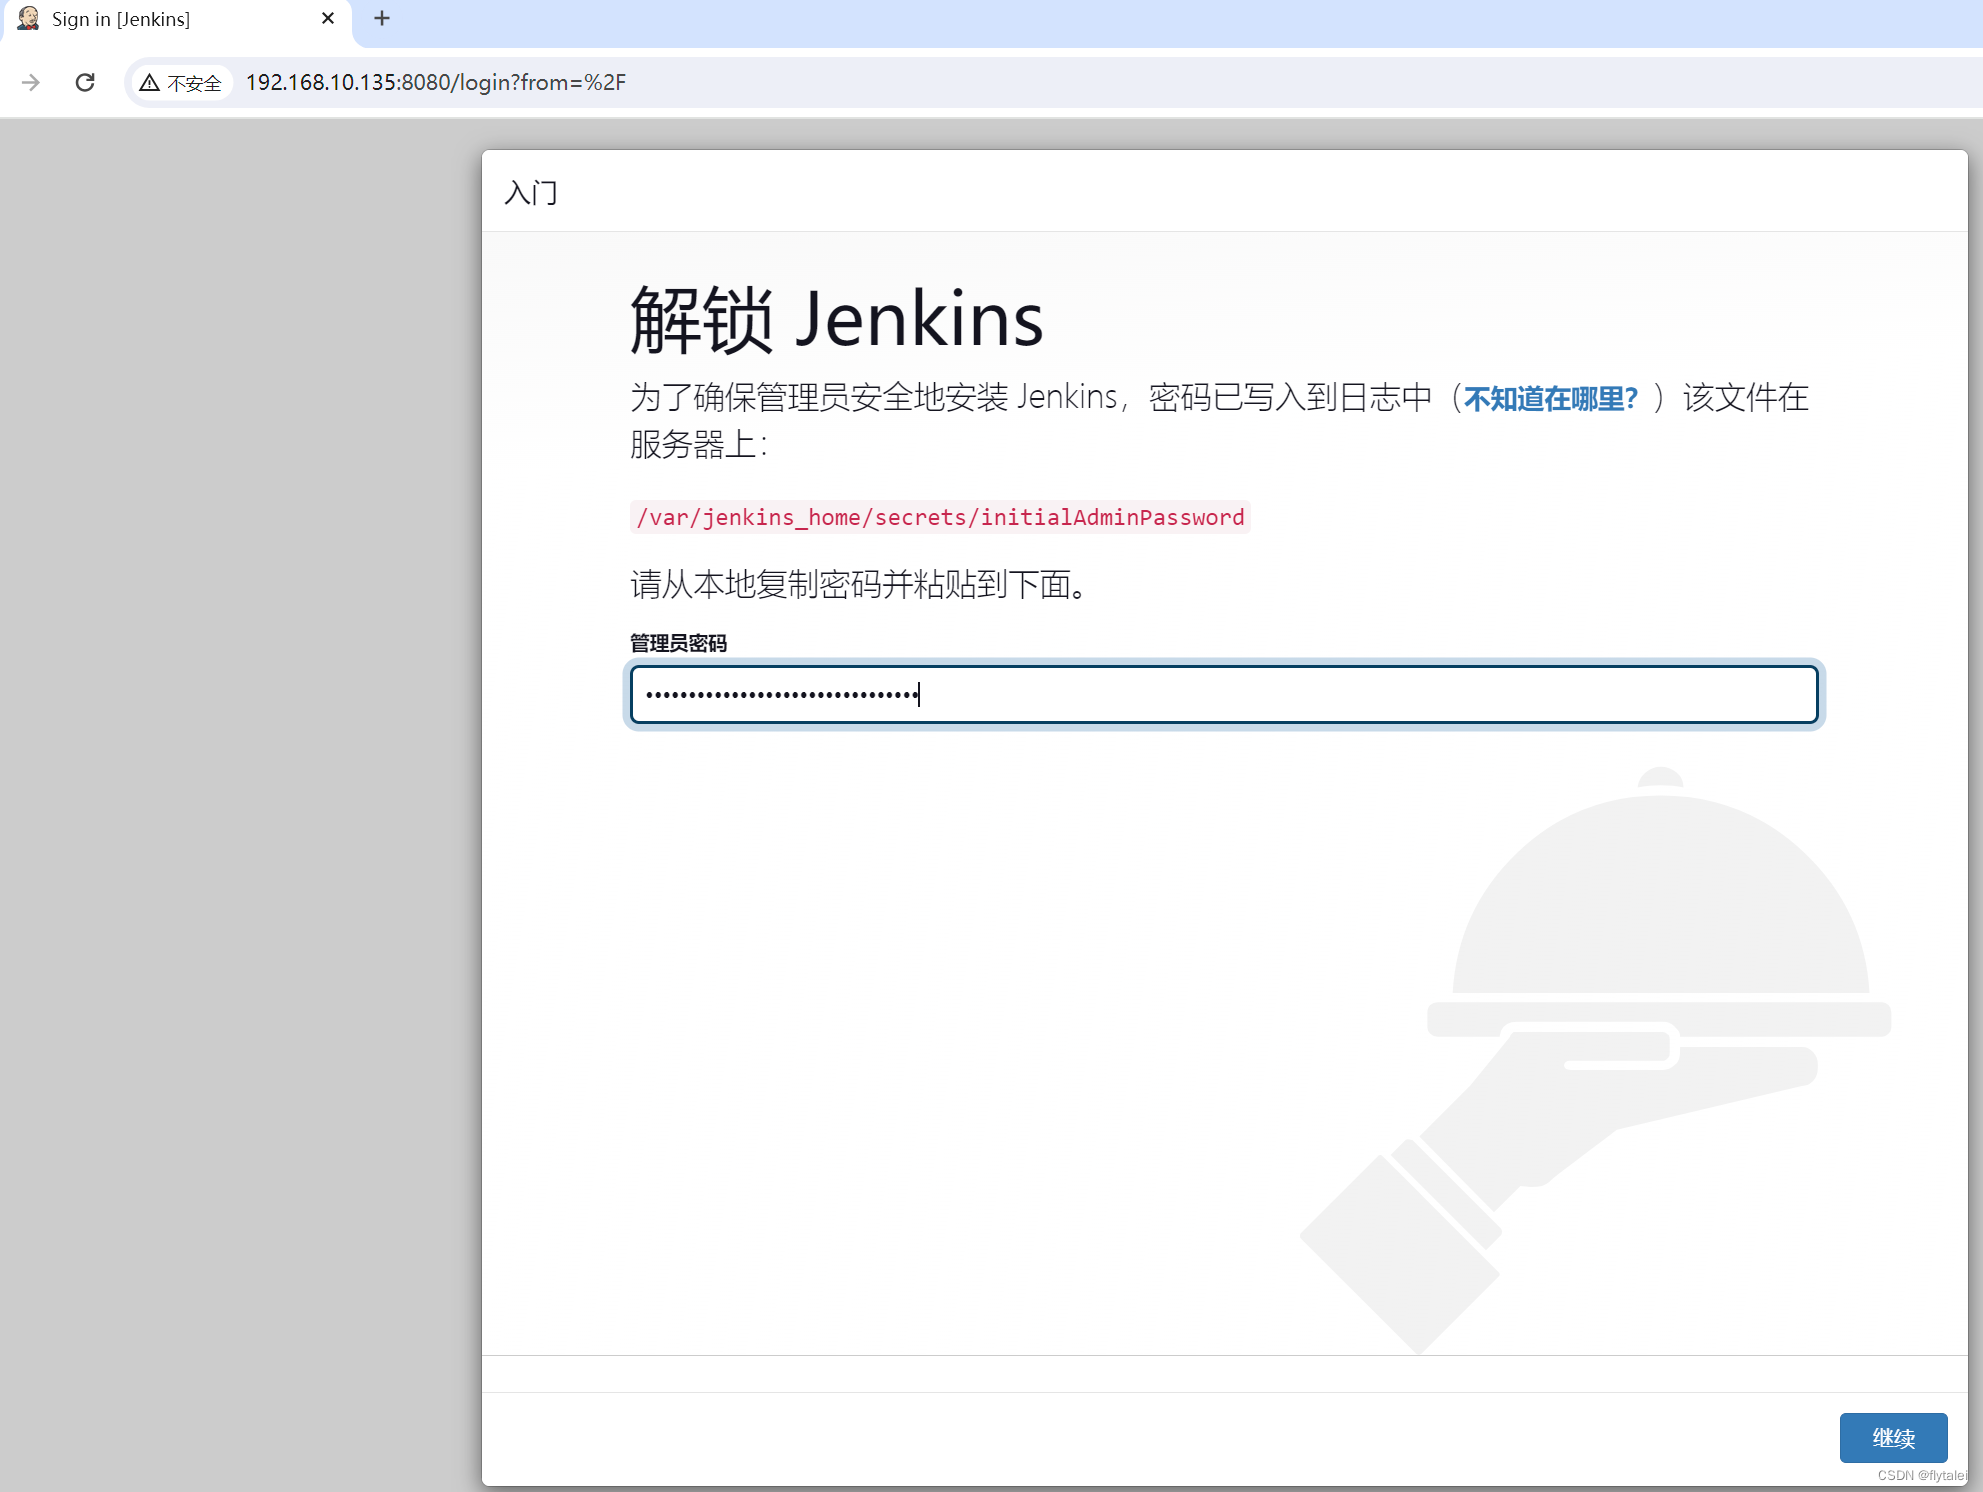
选择性的安装插件,由汉化插件等
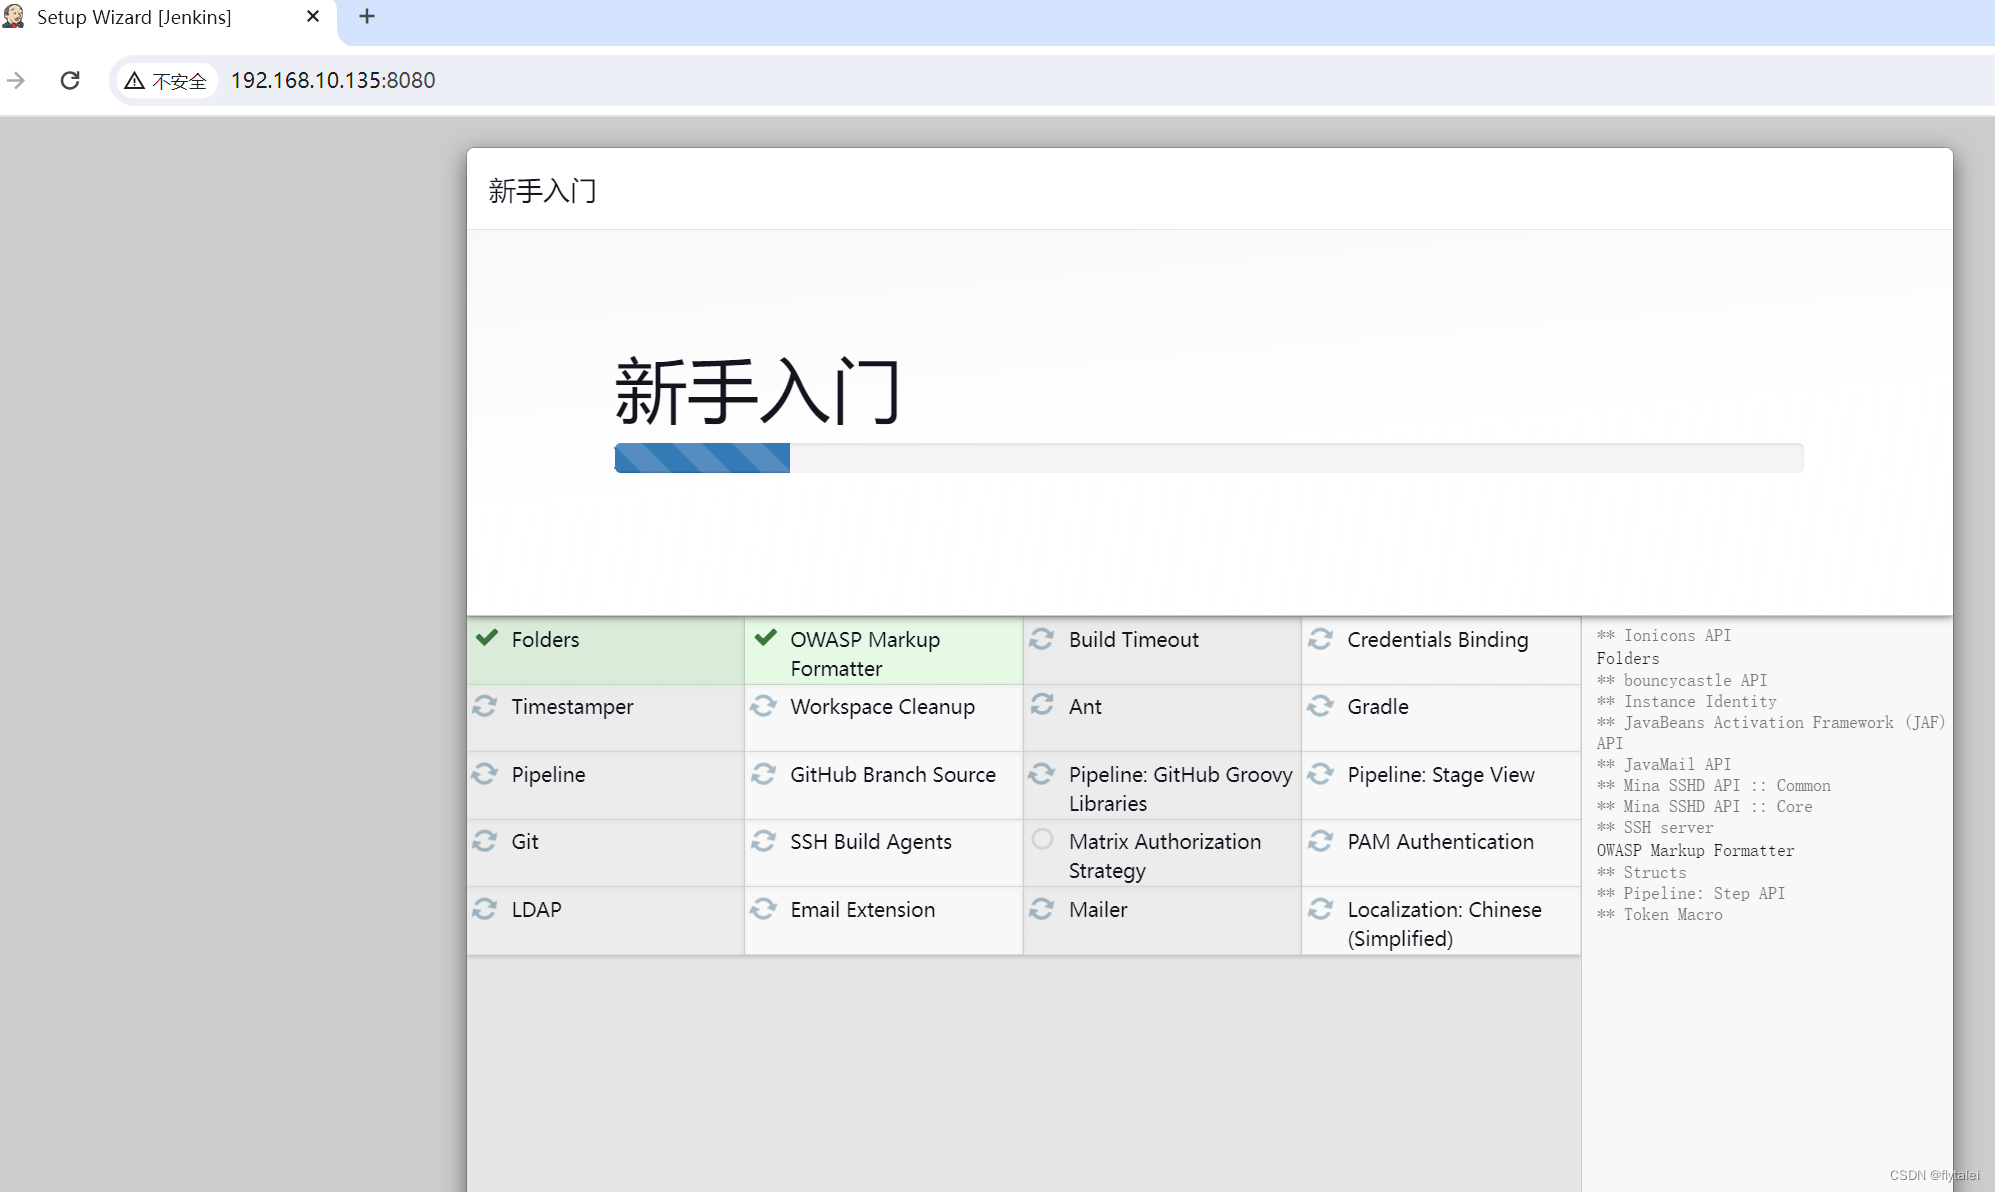
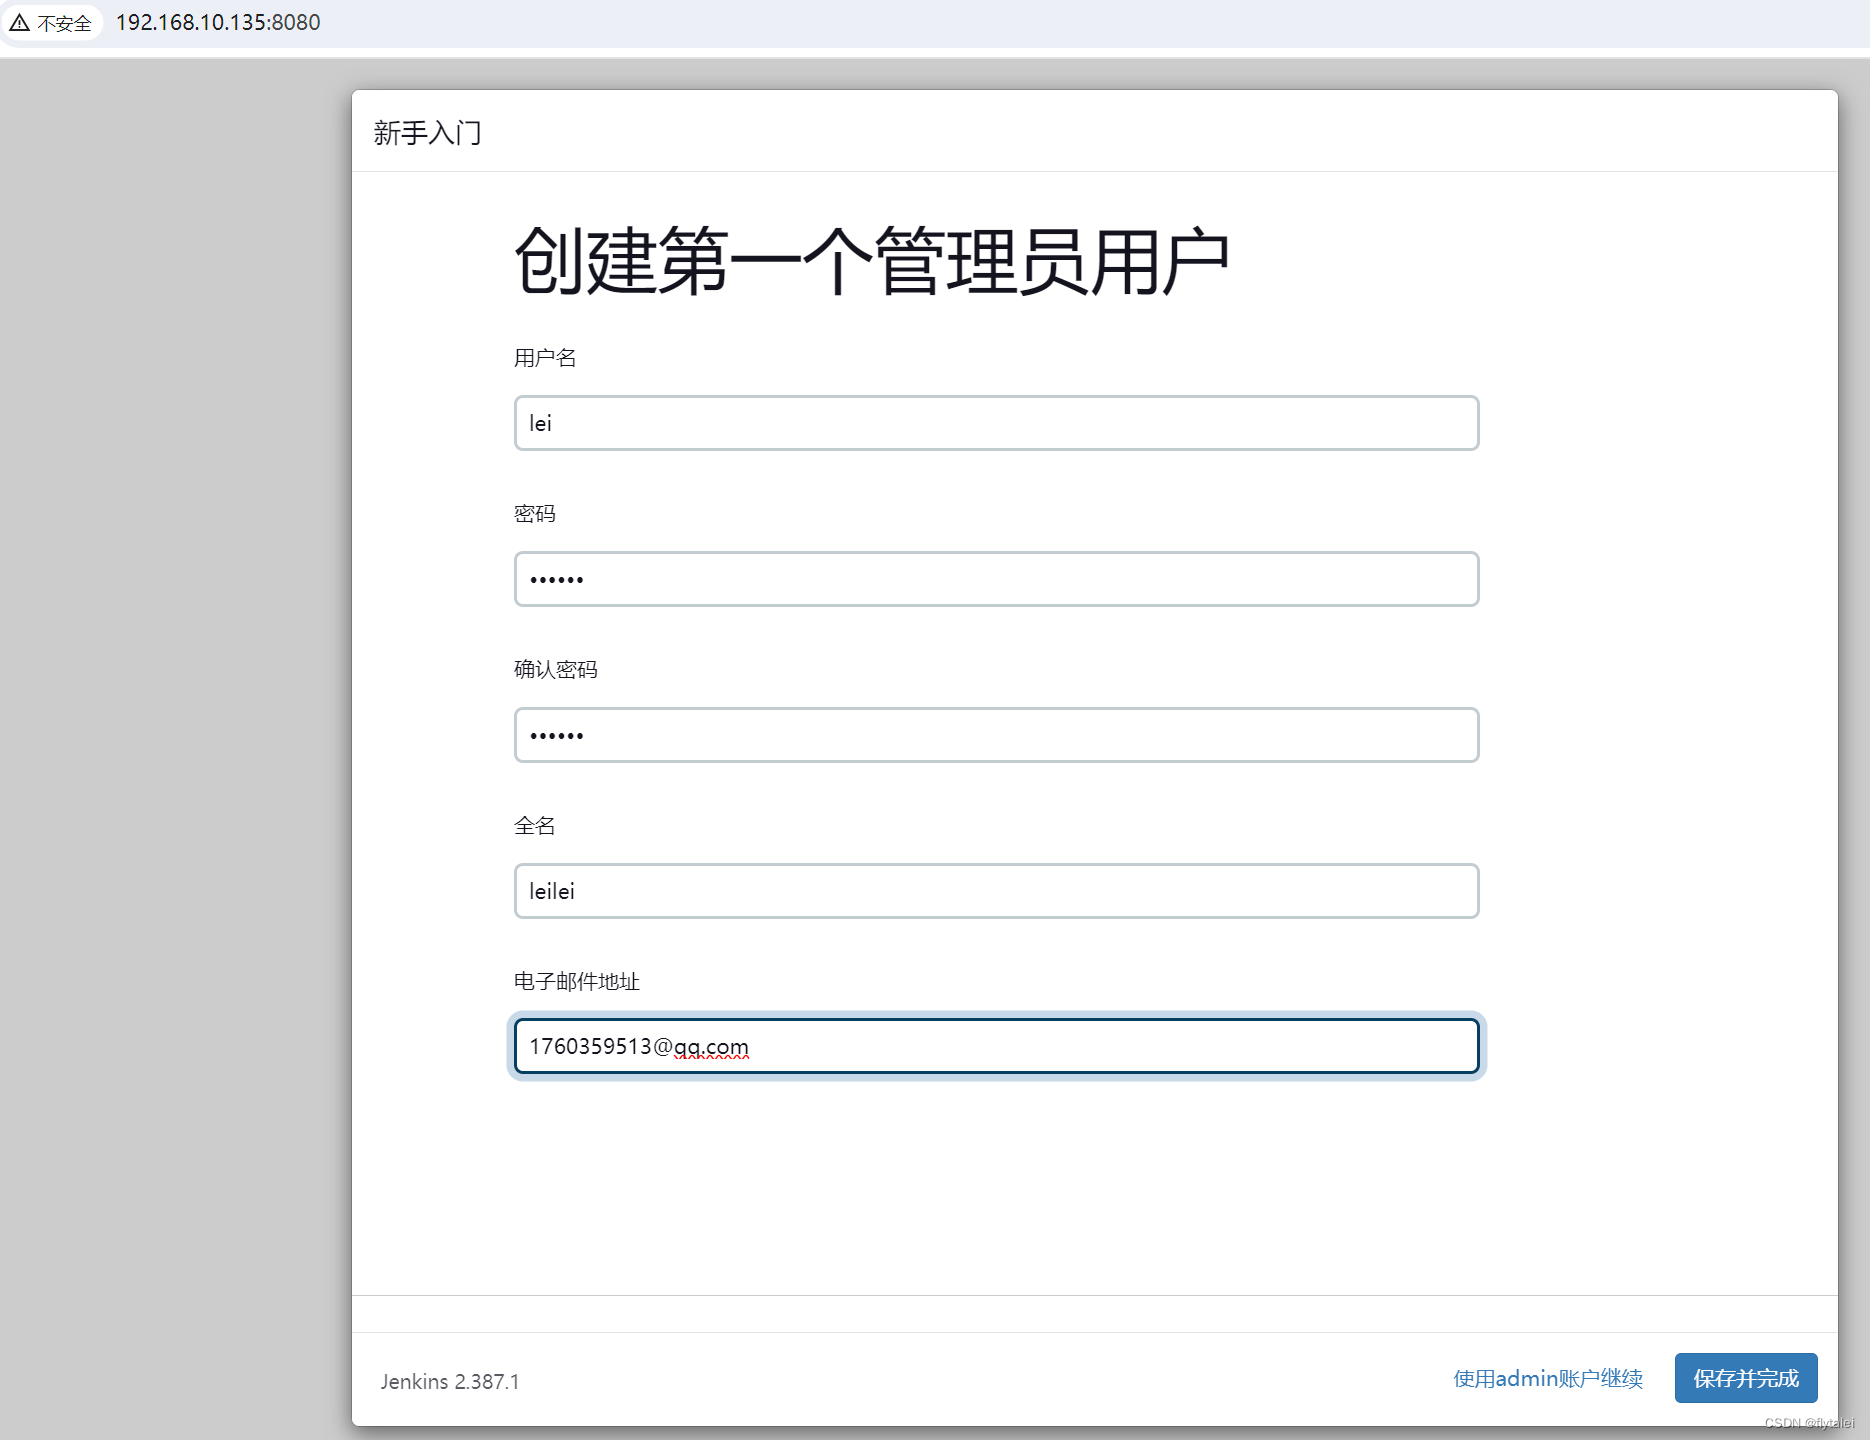
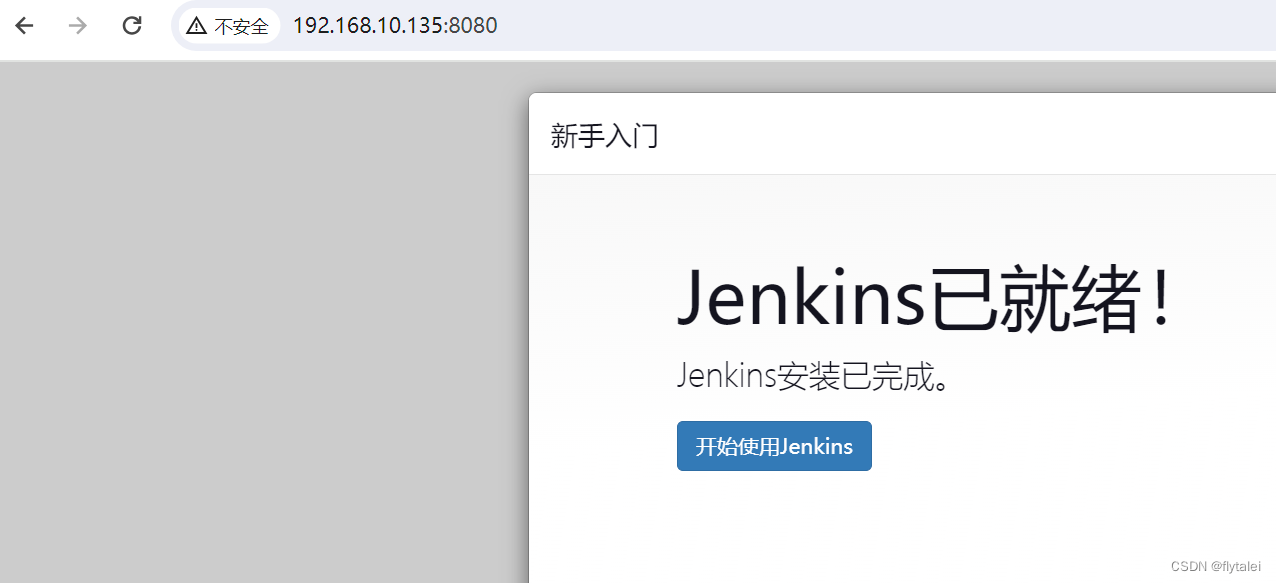
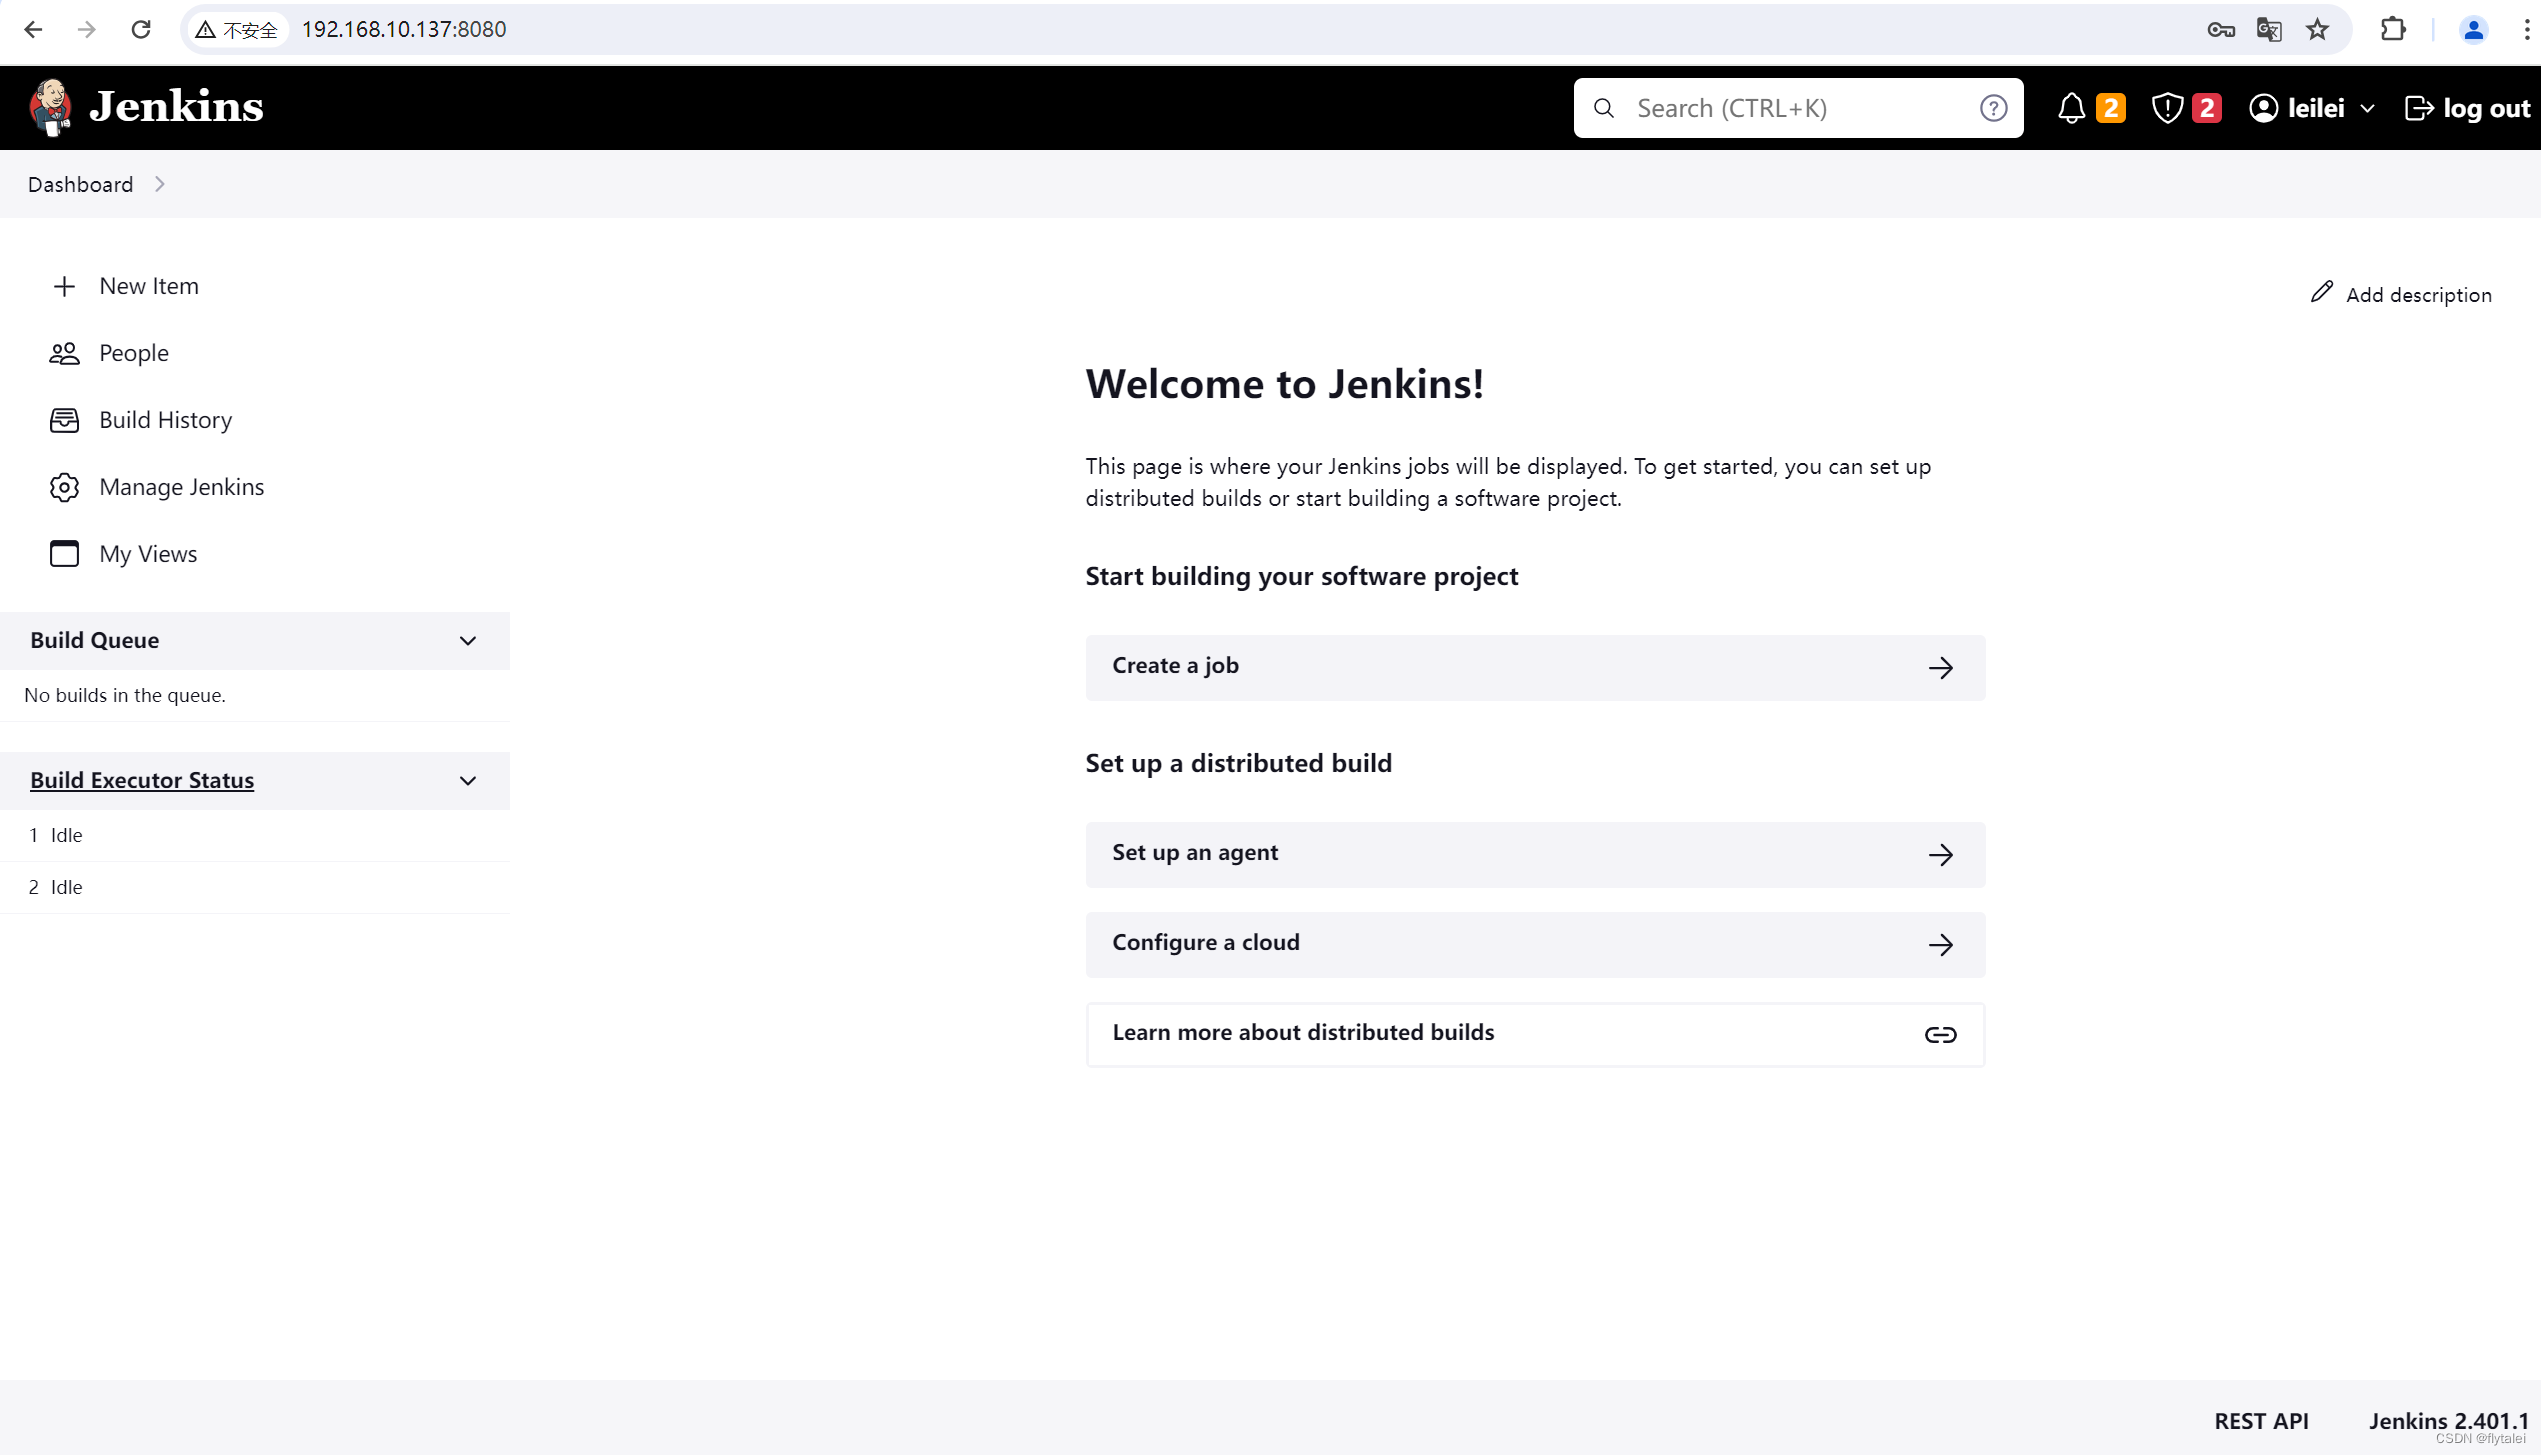
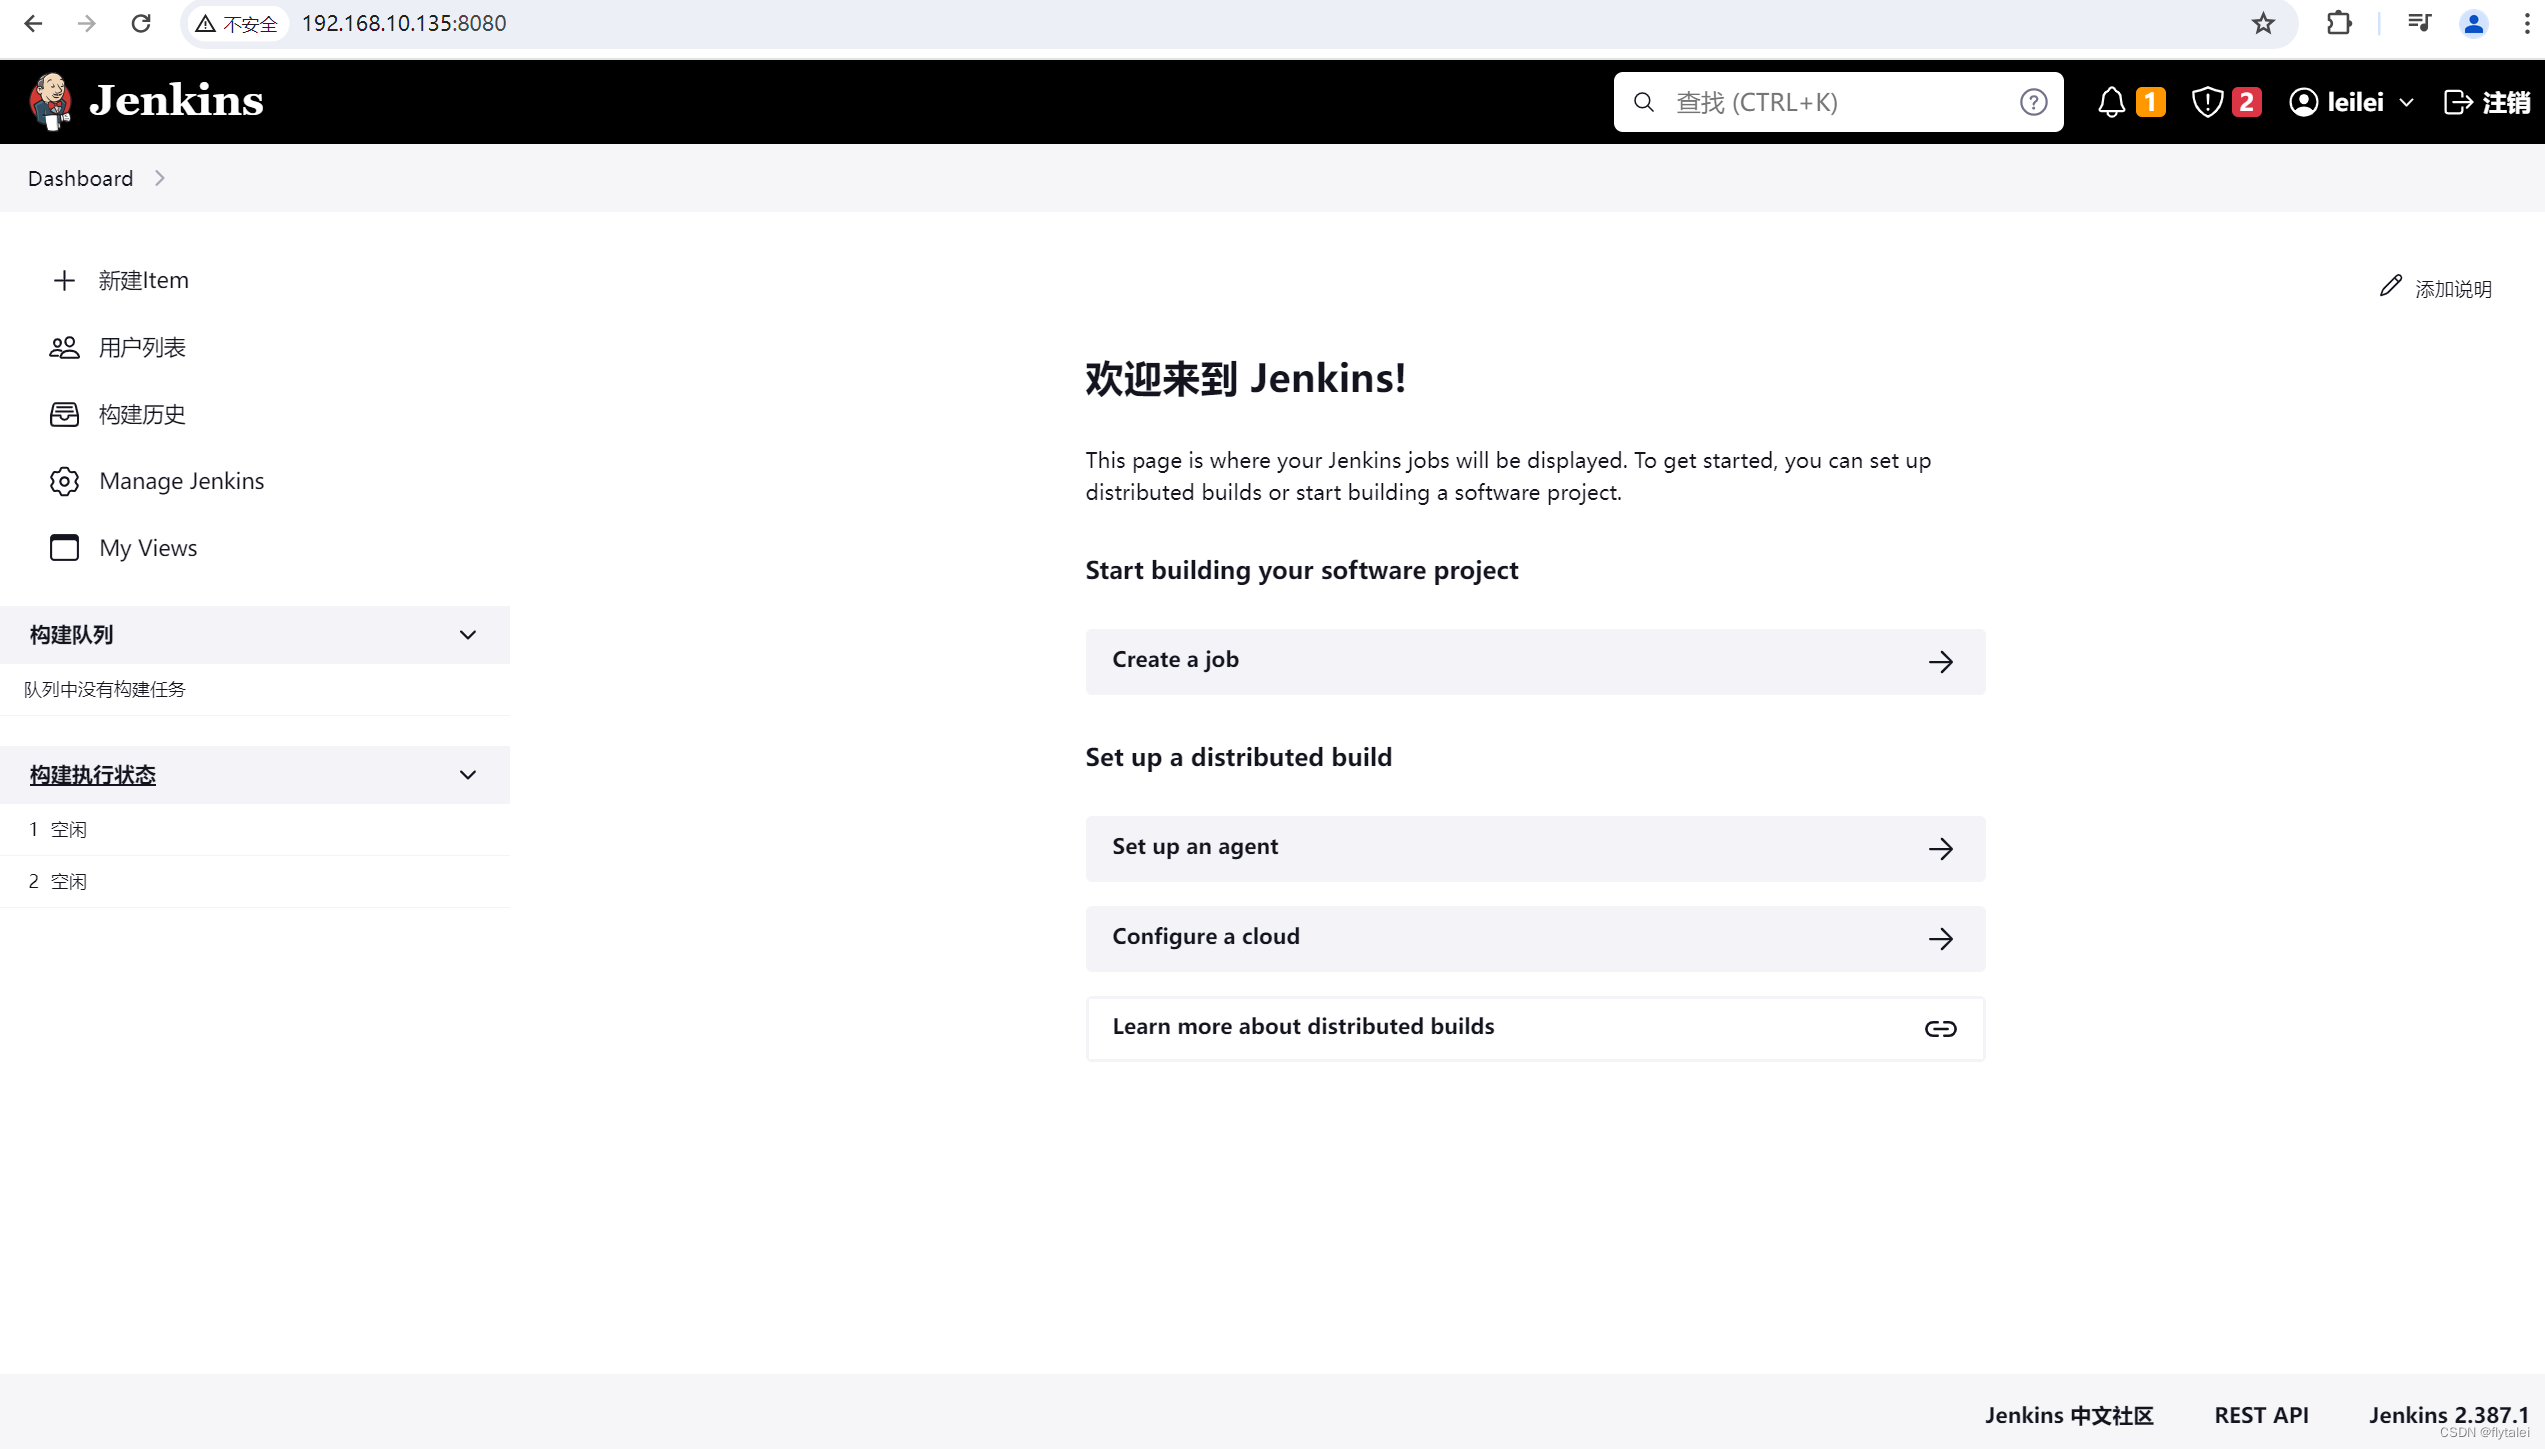
Jenkins首页
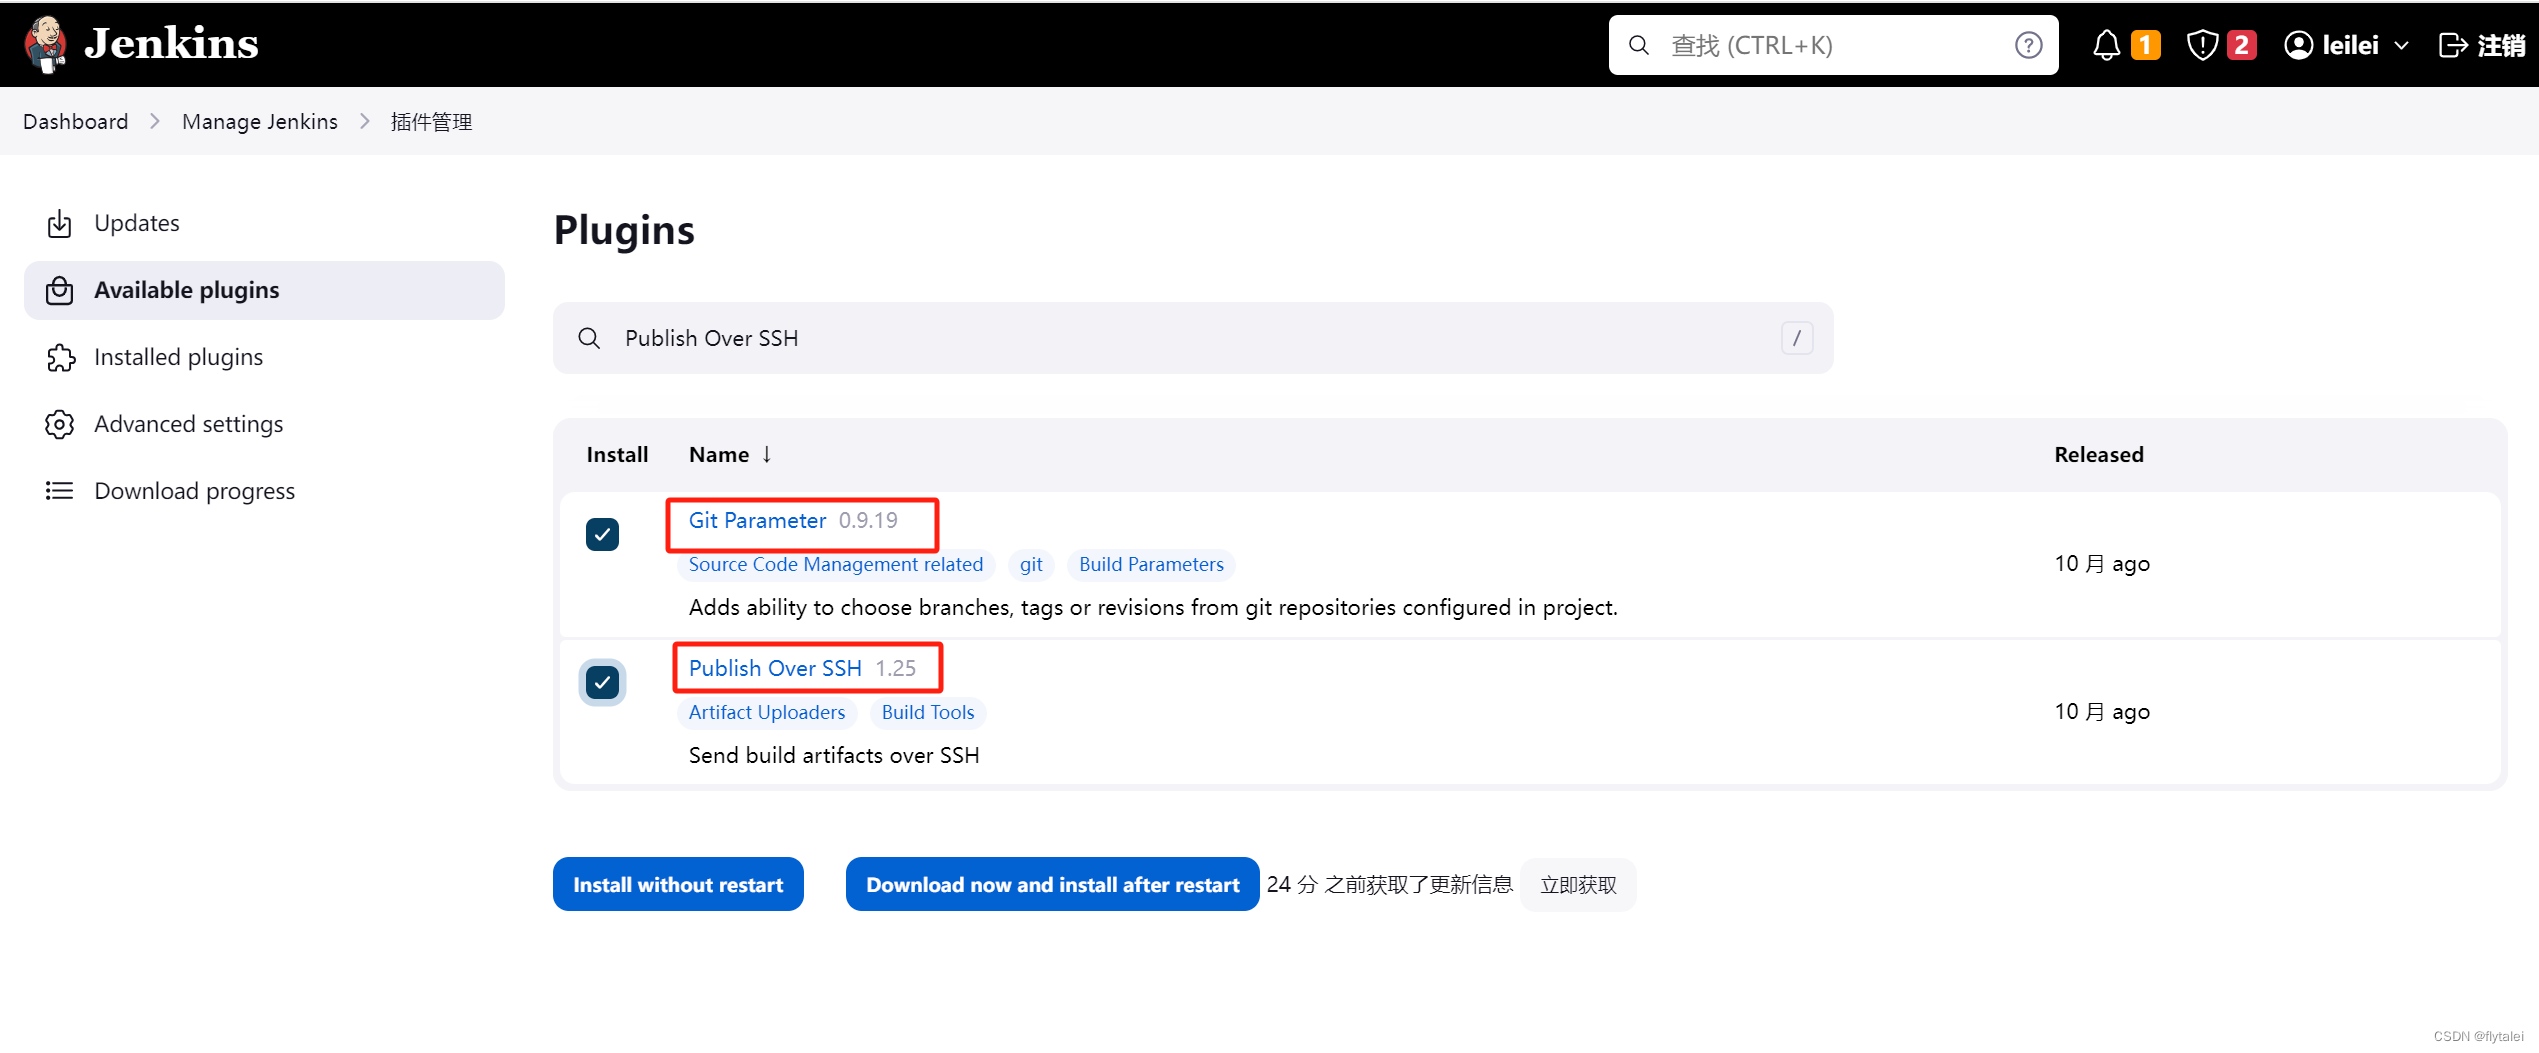
先安装两个插件
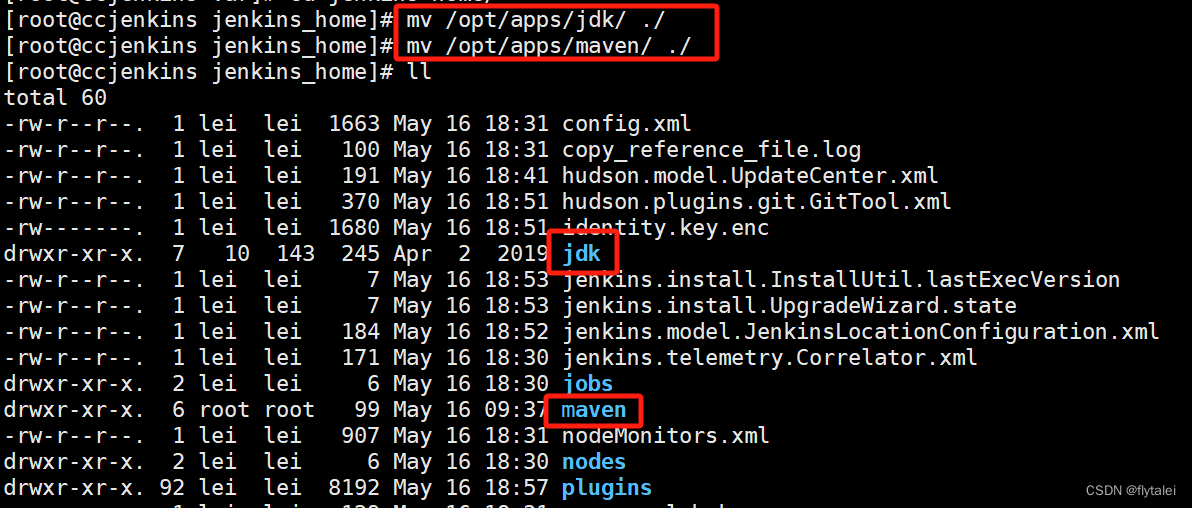
配置jdk和maven,我们之前已经在/opt/apps目录下下载并解压了jdk和maven的安装包,我们将它们移动到jenkins工作目录下
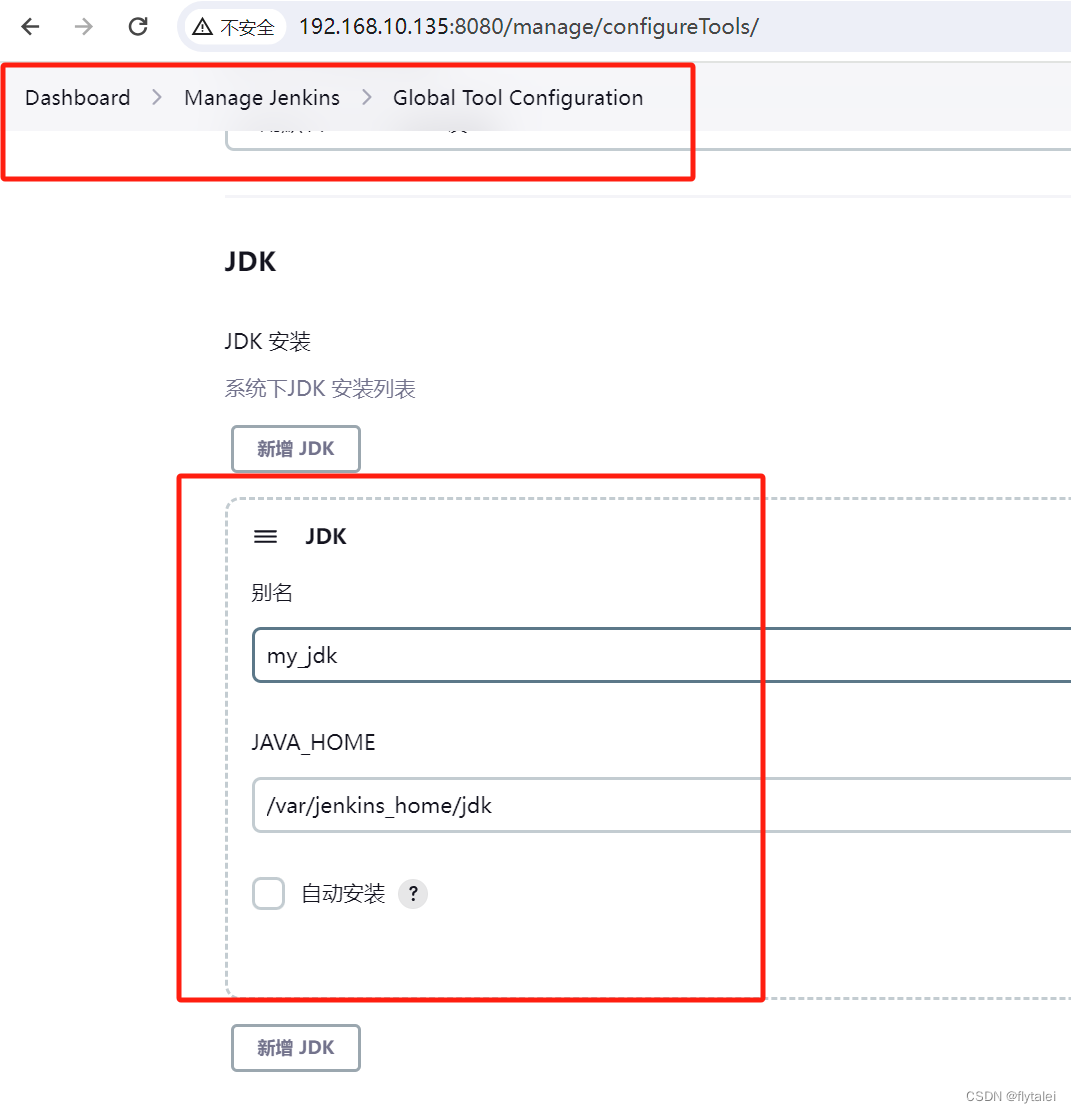
在jenkins的管理界面中添加jdk和maven
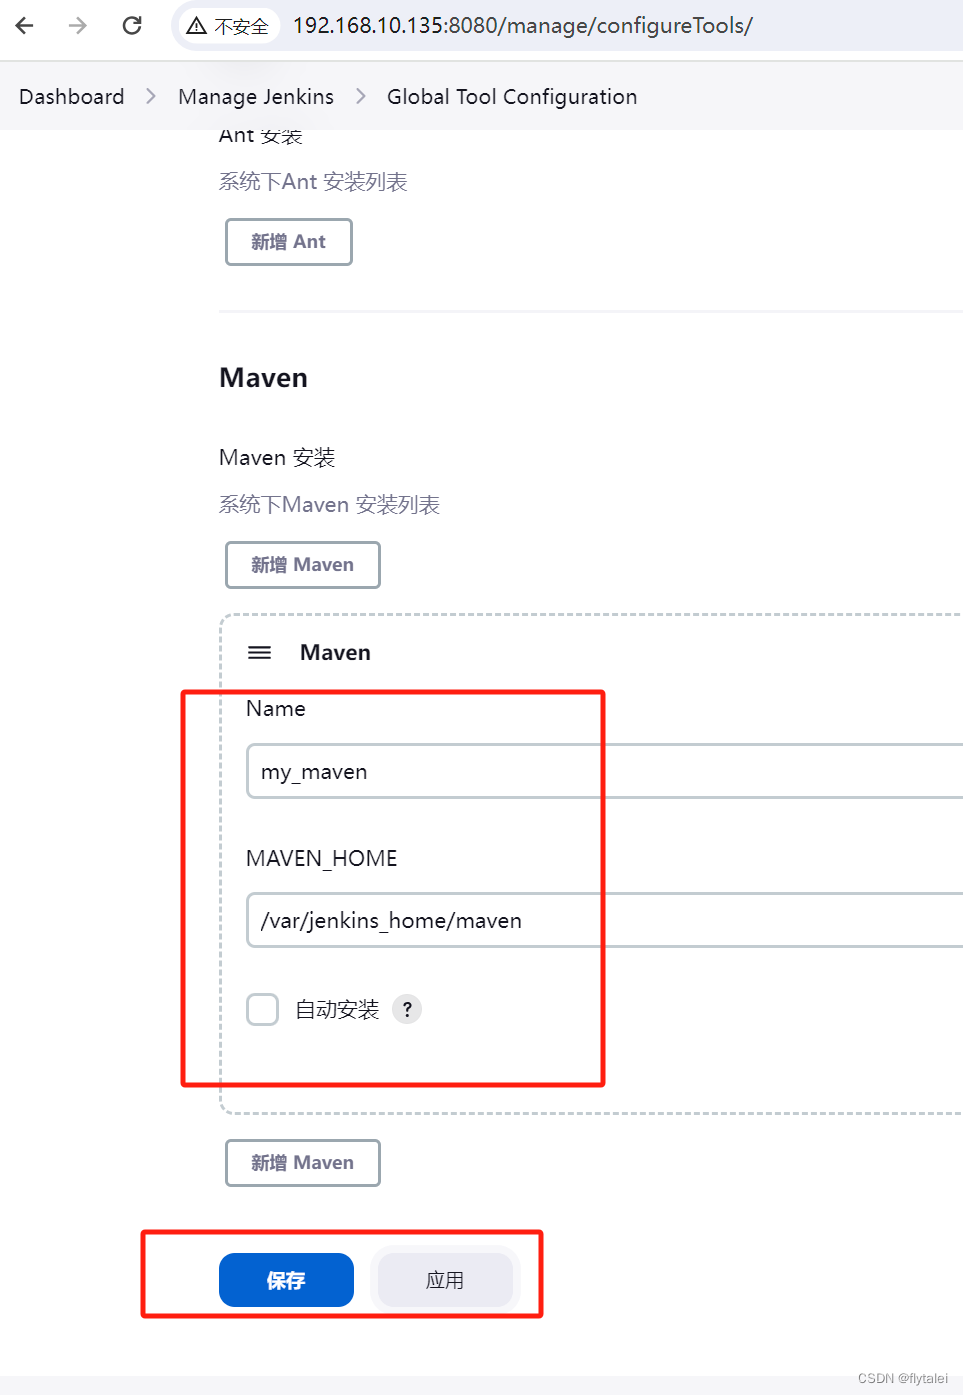
应用保存后Jenkins就安装成功啦
Jenkins集成SonarQube与target
Jenkins中安装SonarScanner
SonarScanner 是一种代码扫描工具,专门用来扫描和分析项目代码质量。扫描和分析完成之后,会将结果写入到 SonarQube 服务器的数据库中,并在 SonarQube 平台显示这些数据
SonarScanner下载 https://www.sonarsource.com/products/sonarqube/downloads/
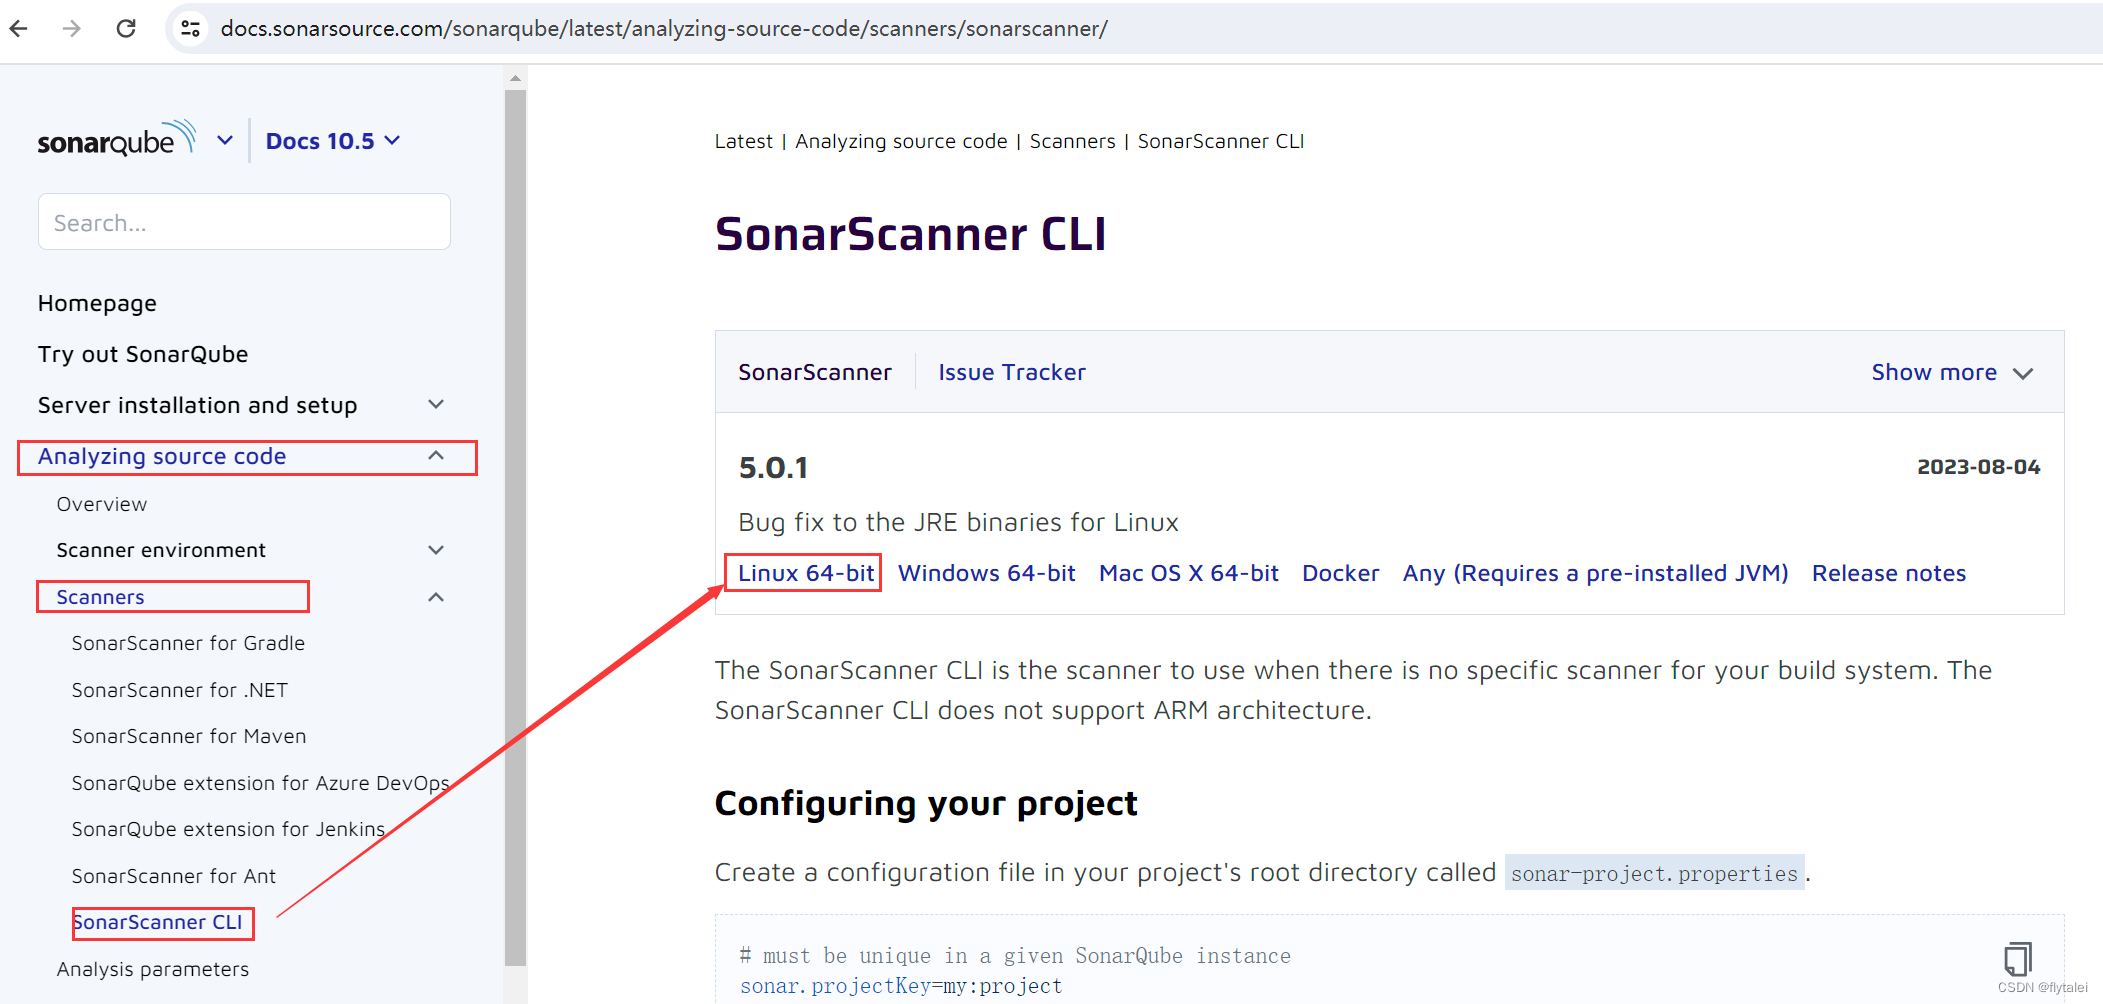
解压zip包


Jenkins 中集成 SonarScanner,需要 SonarScanner 存在于 Jenkins 服务器中的数据卷目录中。所以将解压后的目录移动到数据卷jenkins_home下并更名为sonar_scanner。


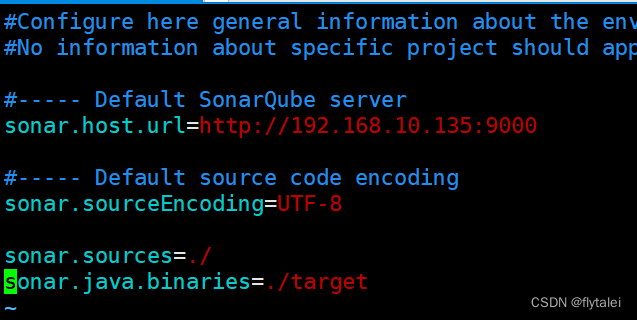
修改配置文件
在 sonar-scanner 目录的 conf 目录下有其配置文件 sonar-scanner.properties。修改该配置
文件。
vim sonar-scanner.properties
在Jenkins管理界面中安装SonarQube Scanner插件
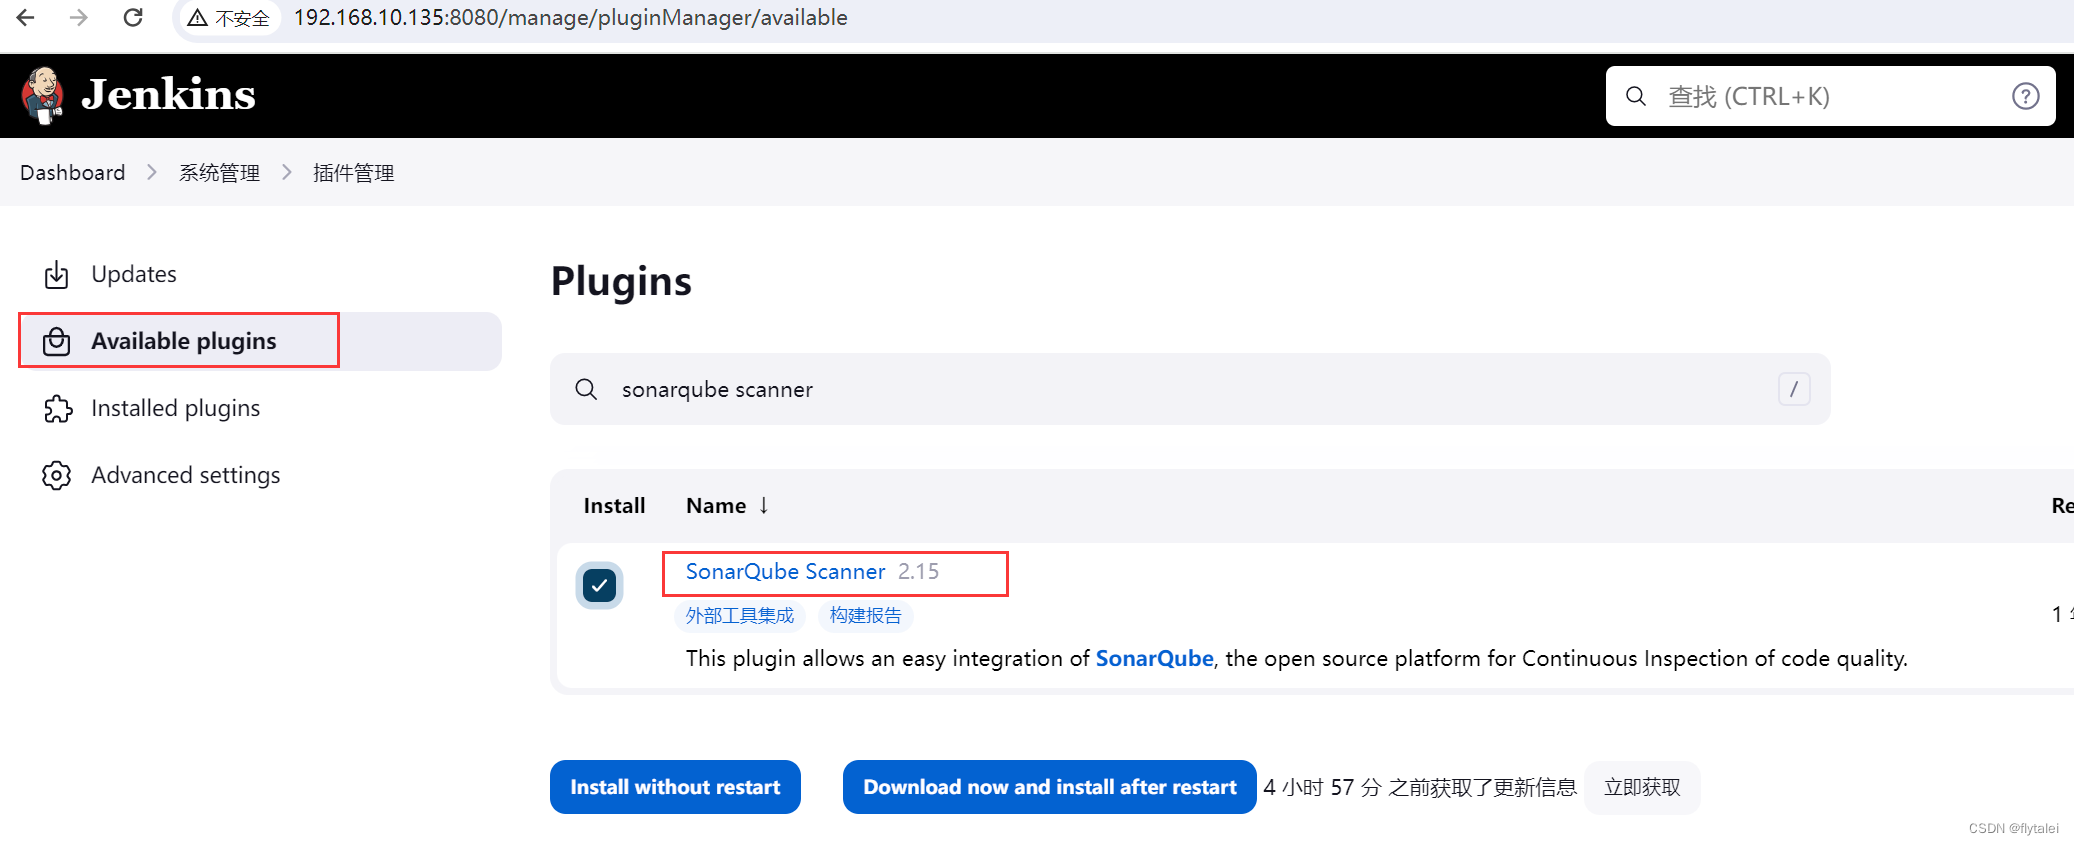
勾选安装完后重启Jenkins
添加 Sonarqube
打开 Jenkins 的 Manage Jenkins Configure System 页面,找到 SonarQube servers,添
加 SonarQube 服务器。
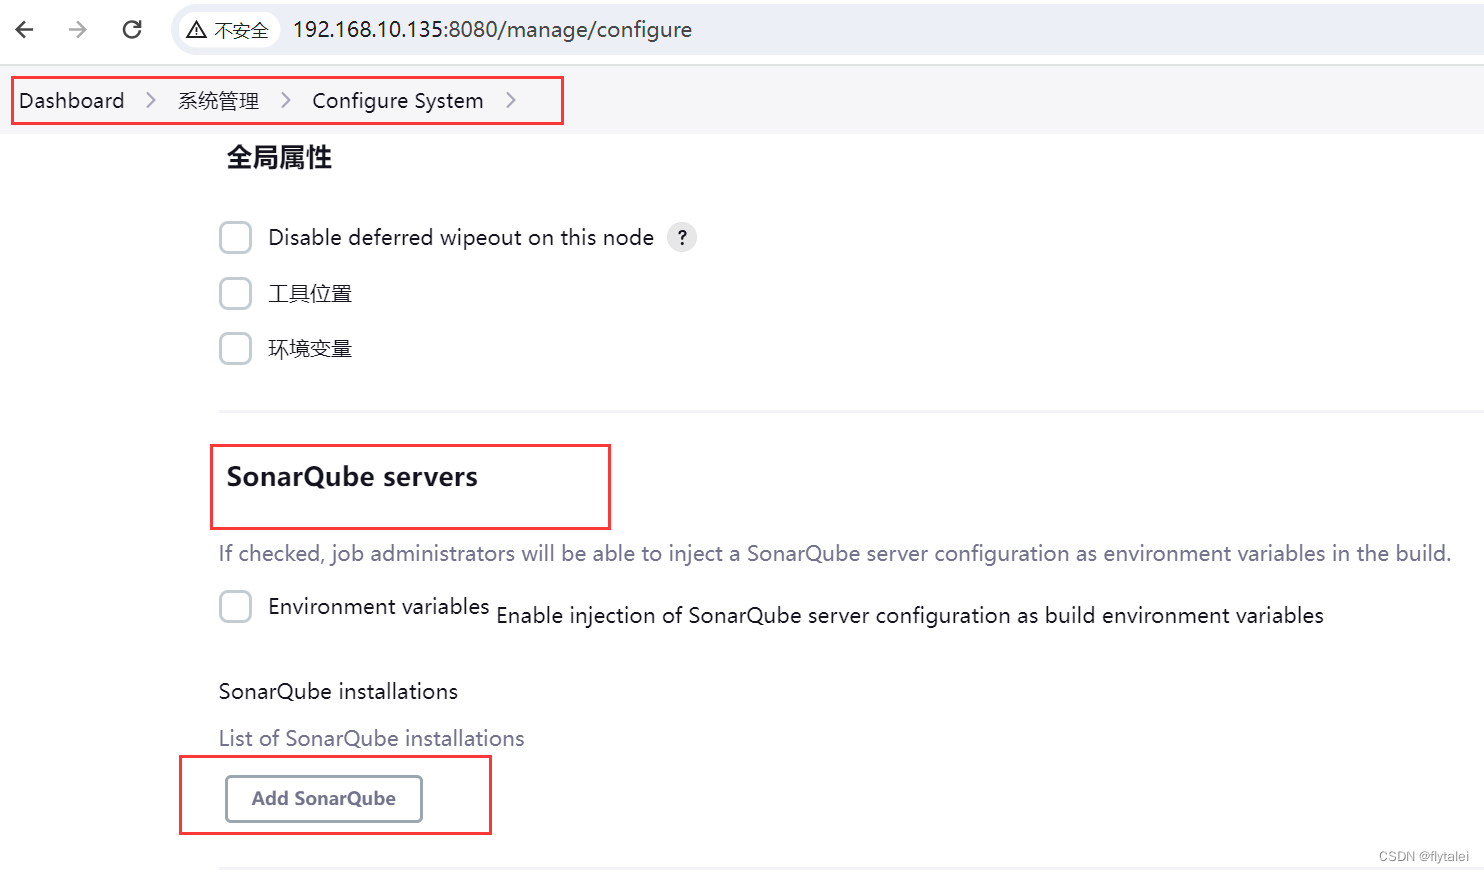
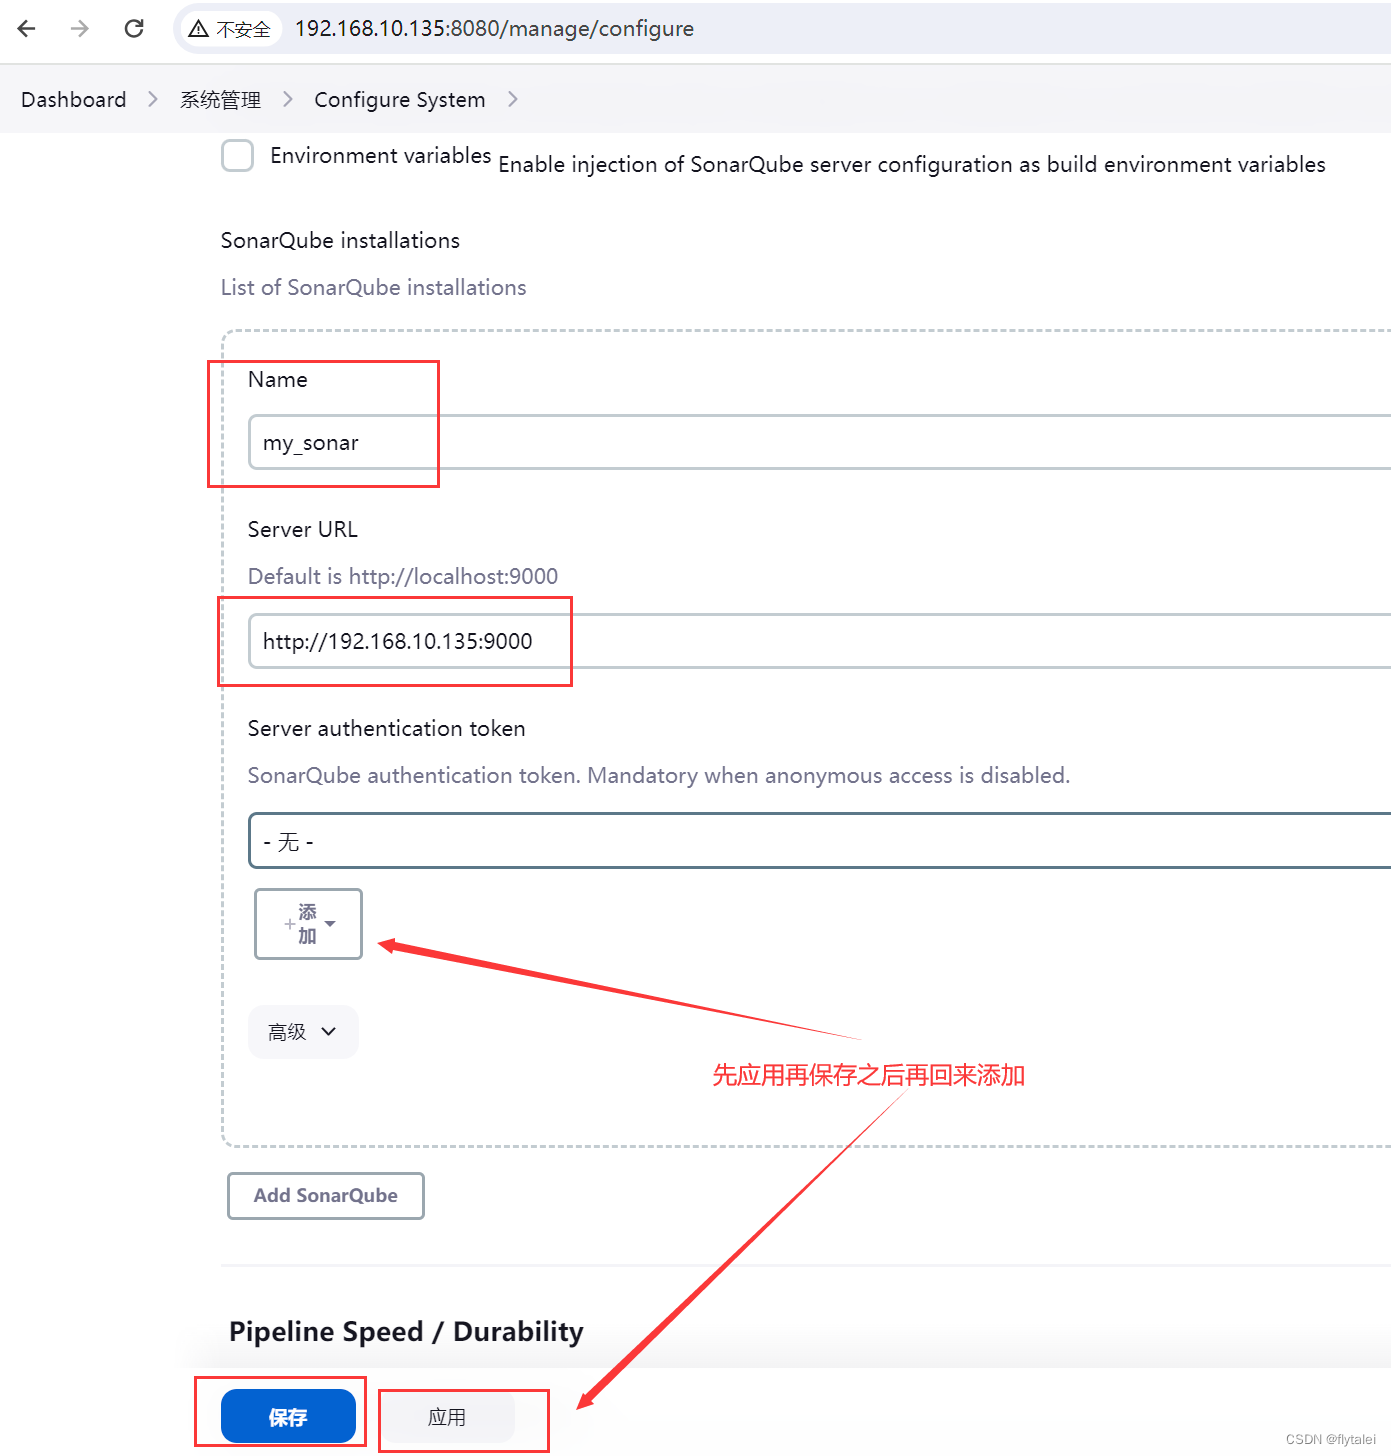
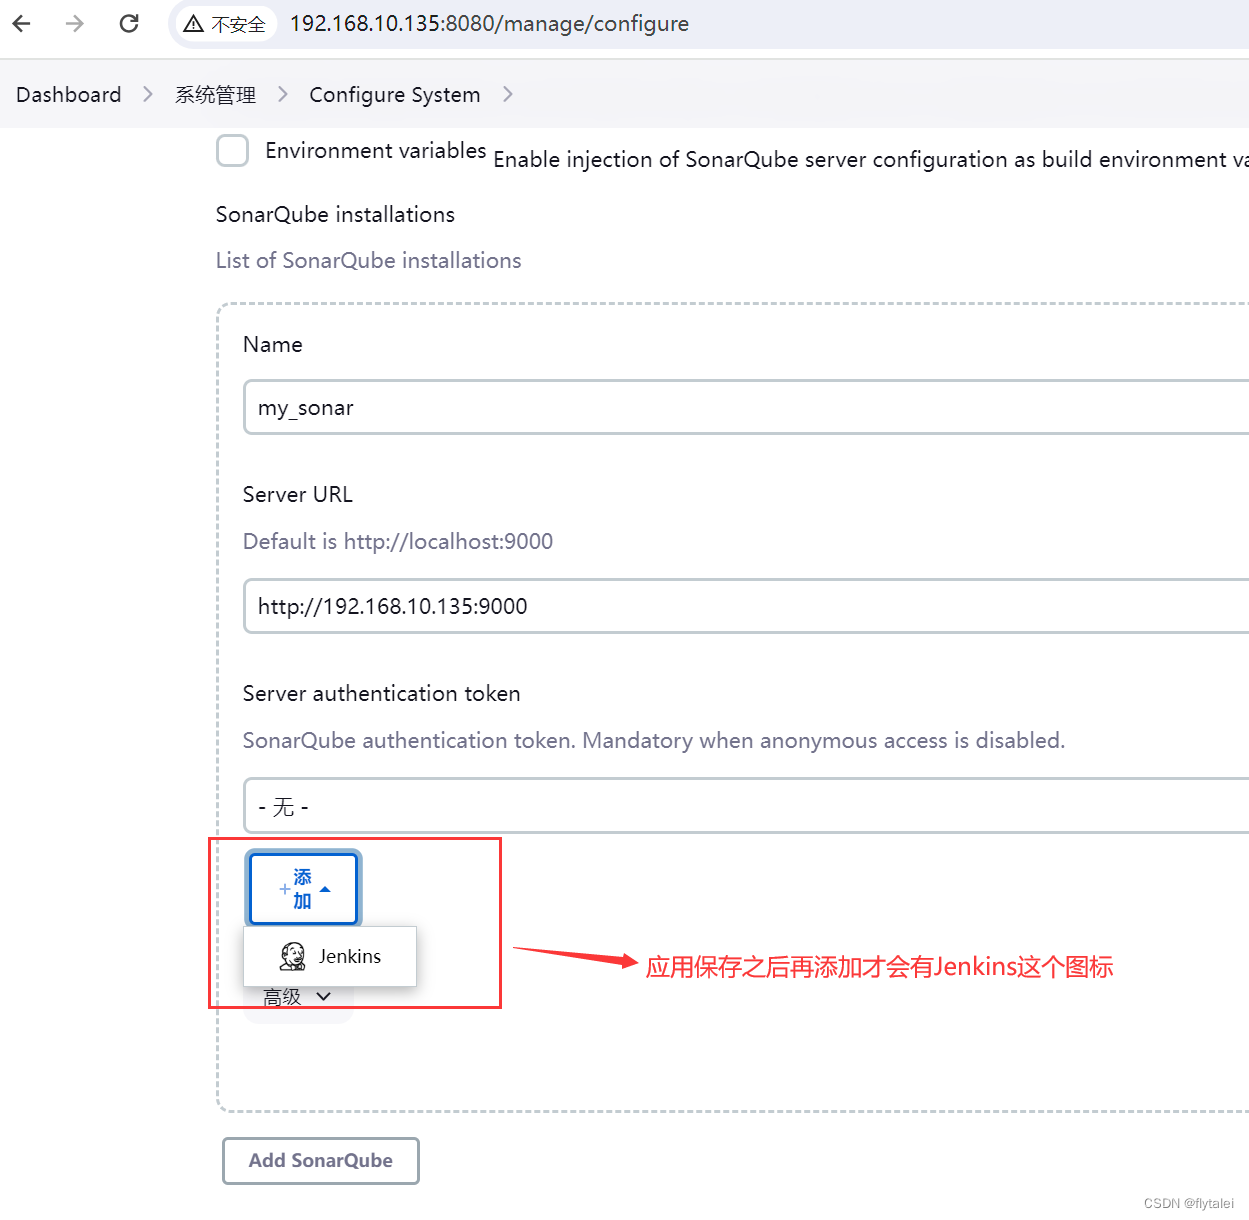
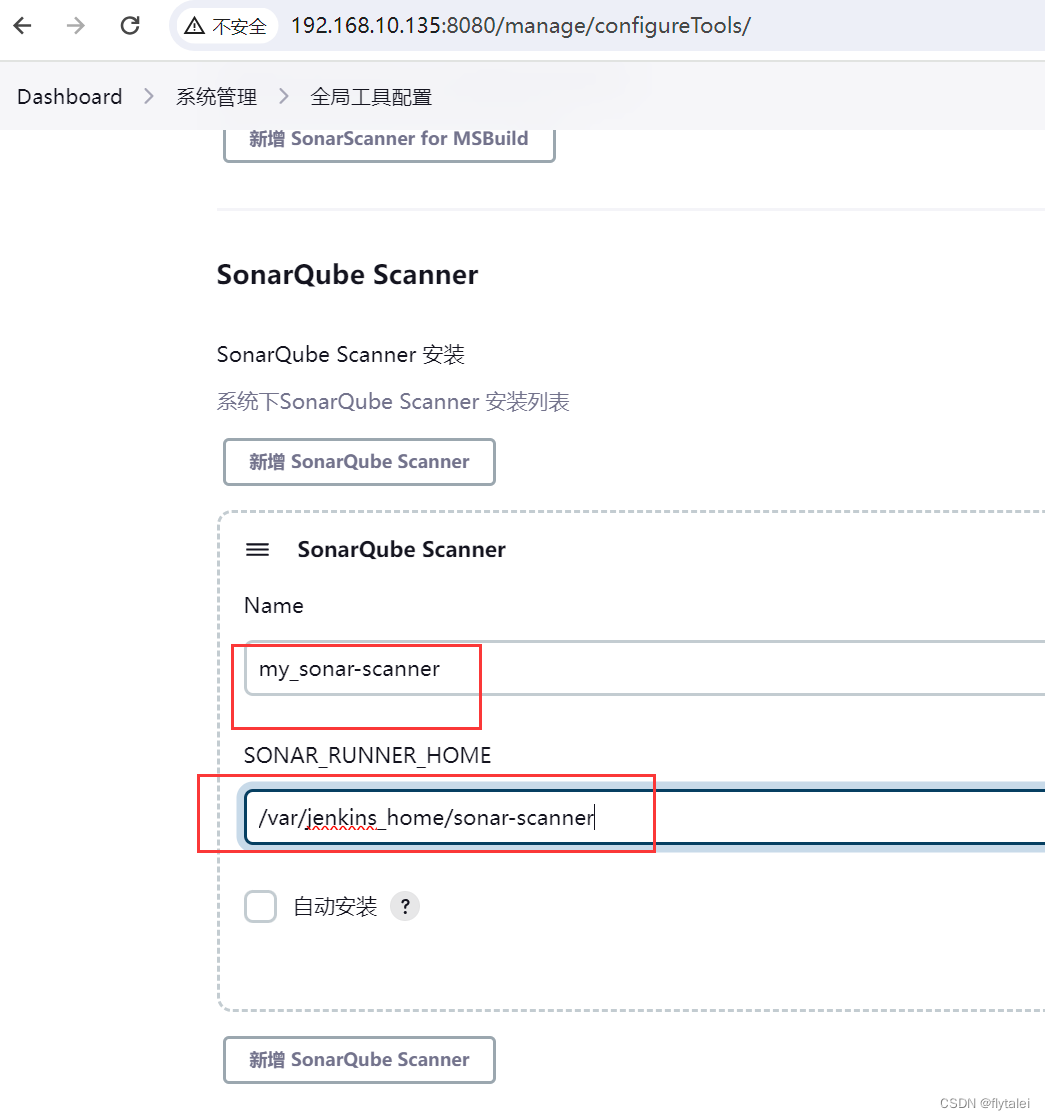
集成target-server
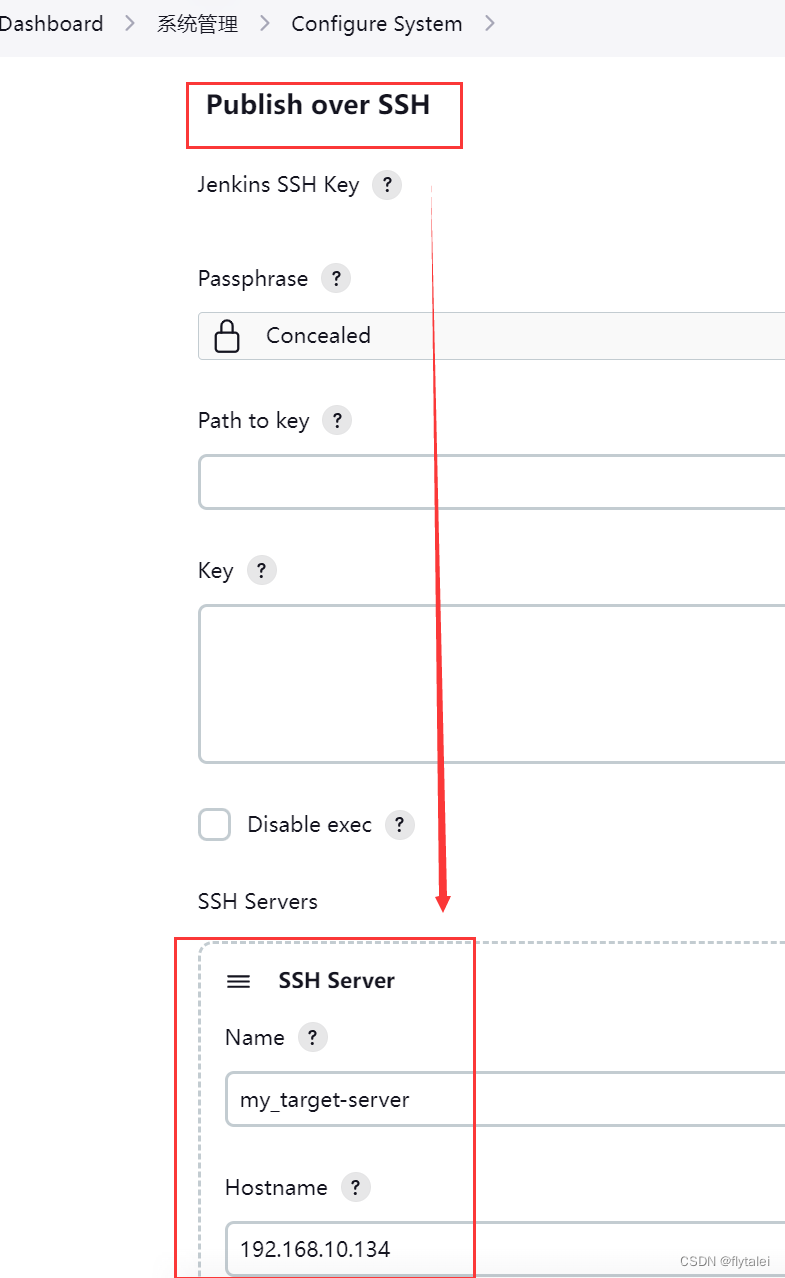
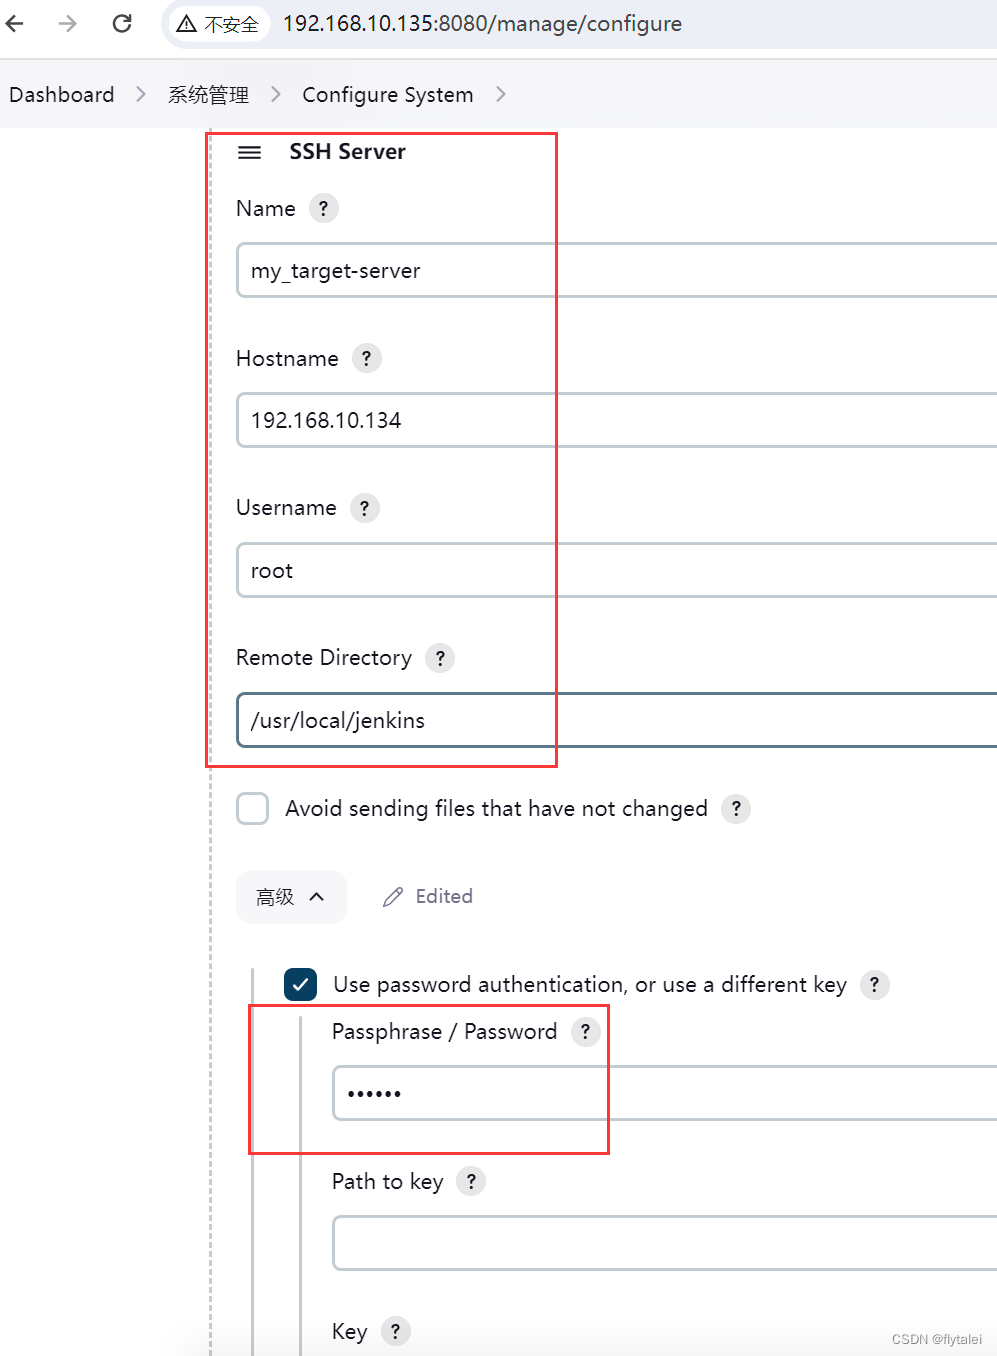
然后Test configuration

初始化Git仓库
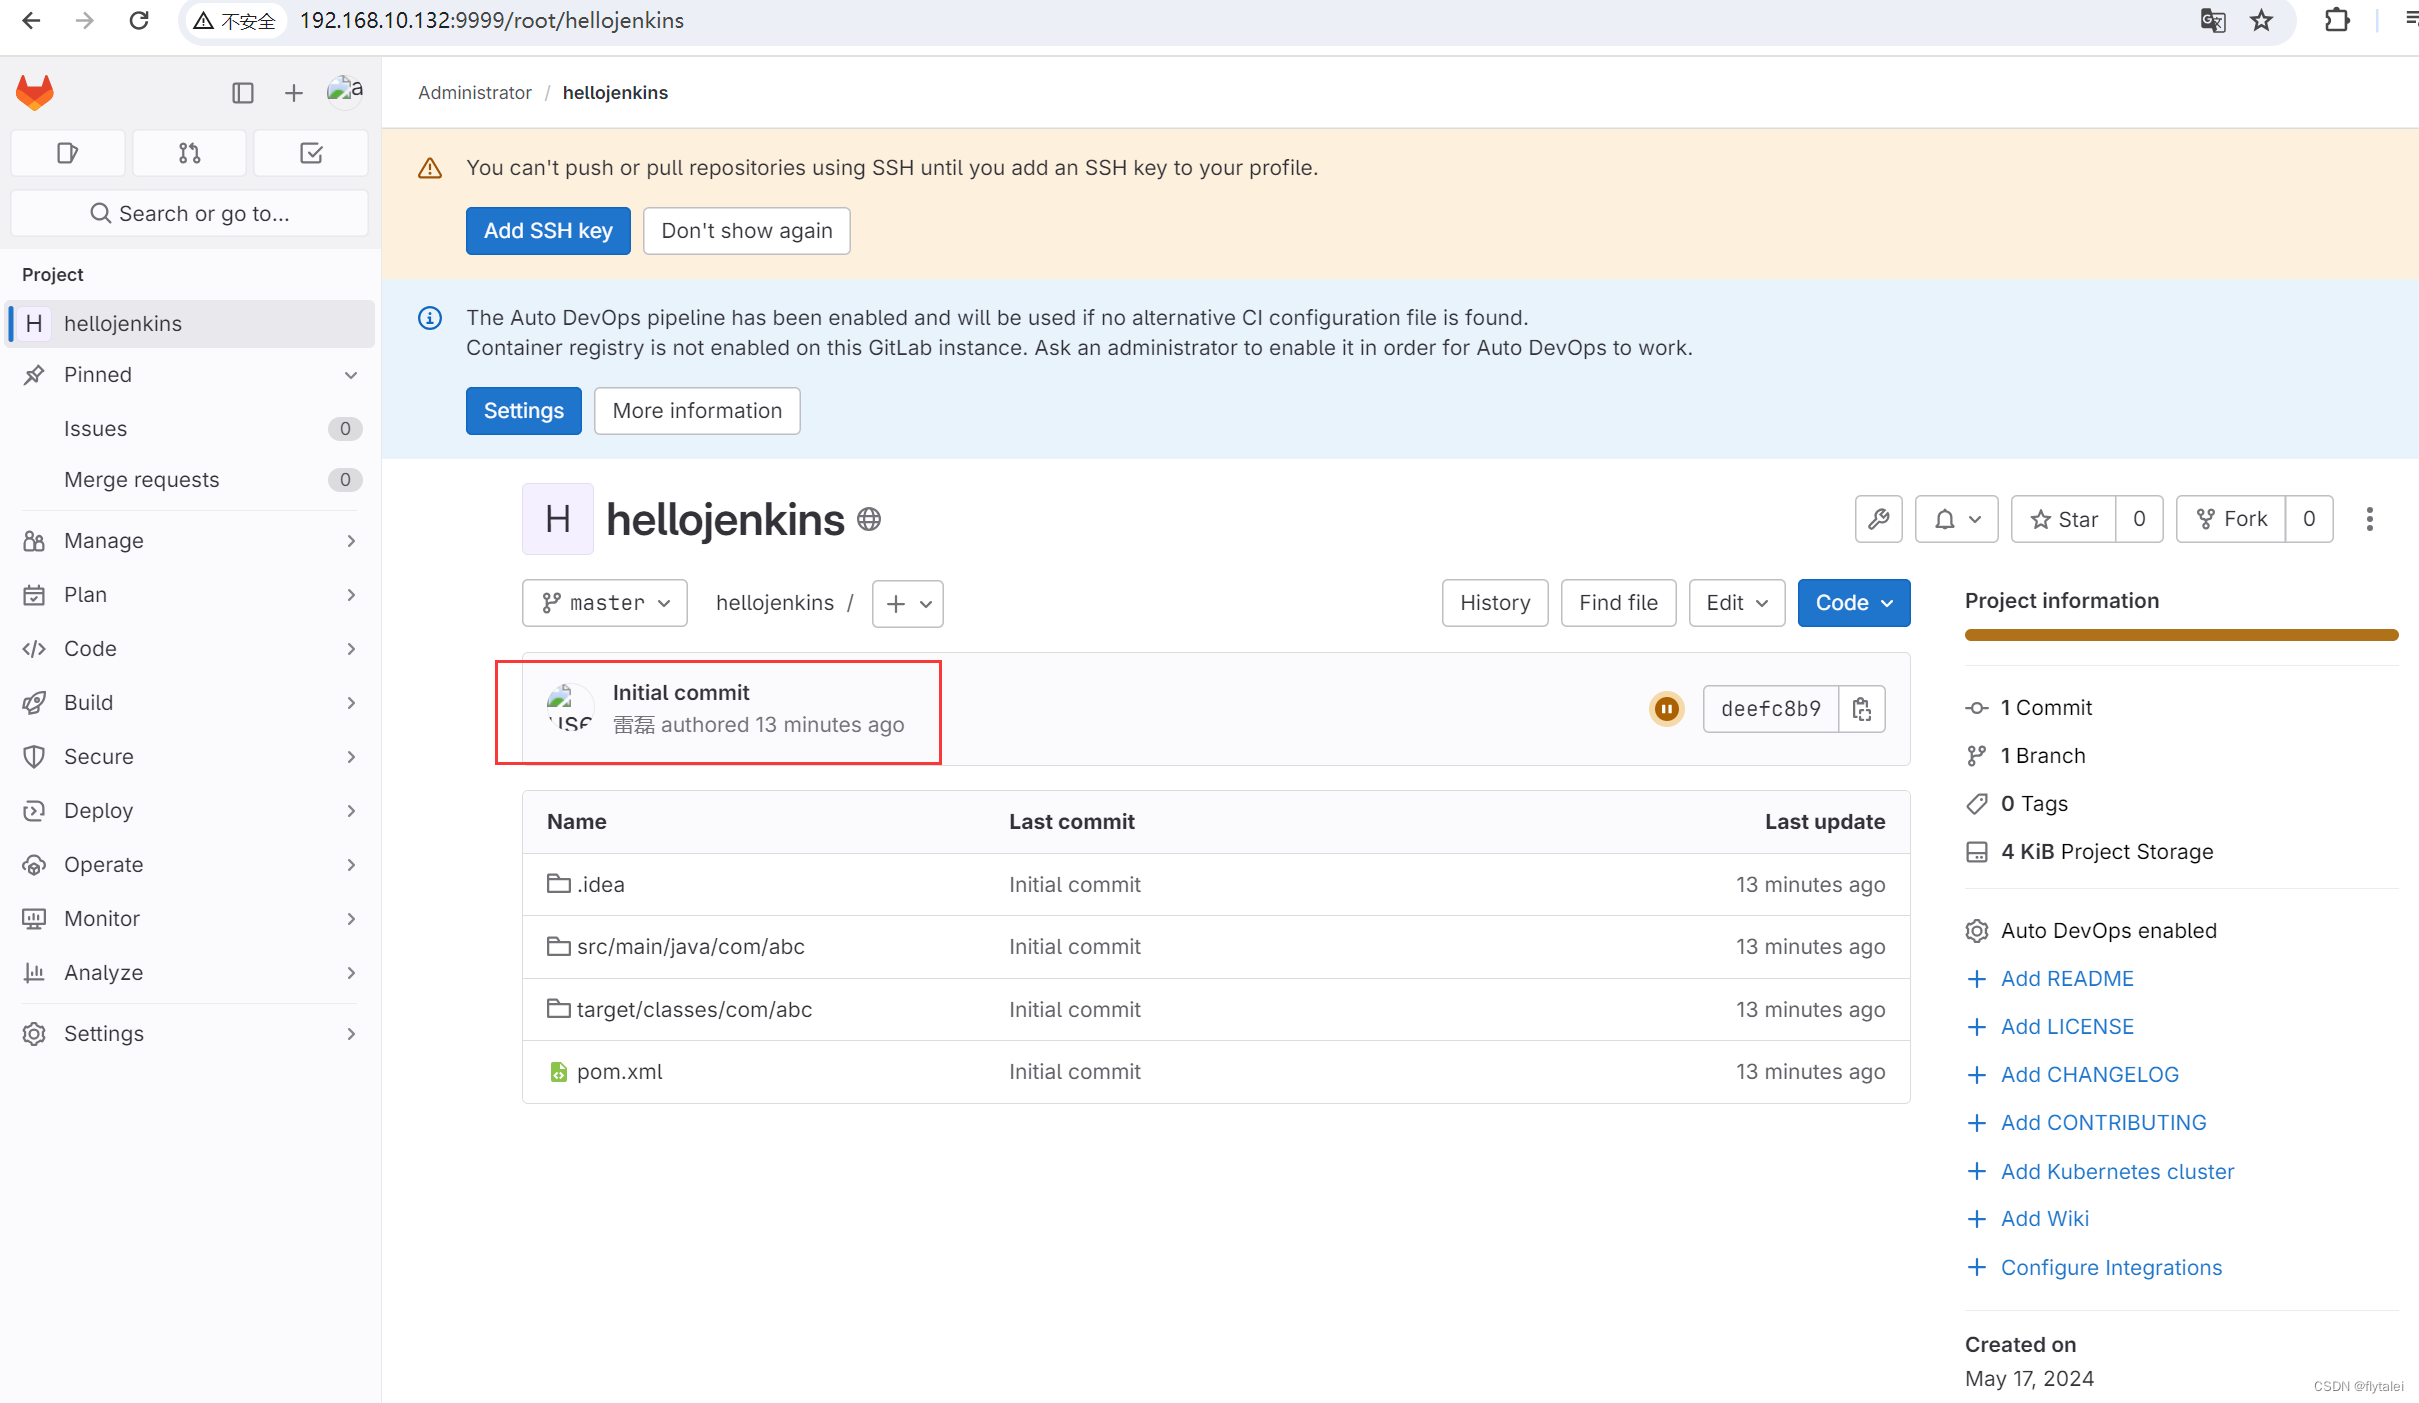
在Gitlab上创建一个project
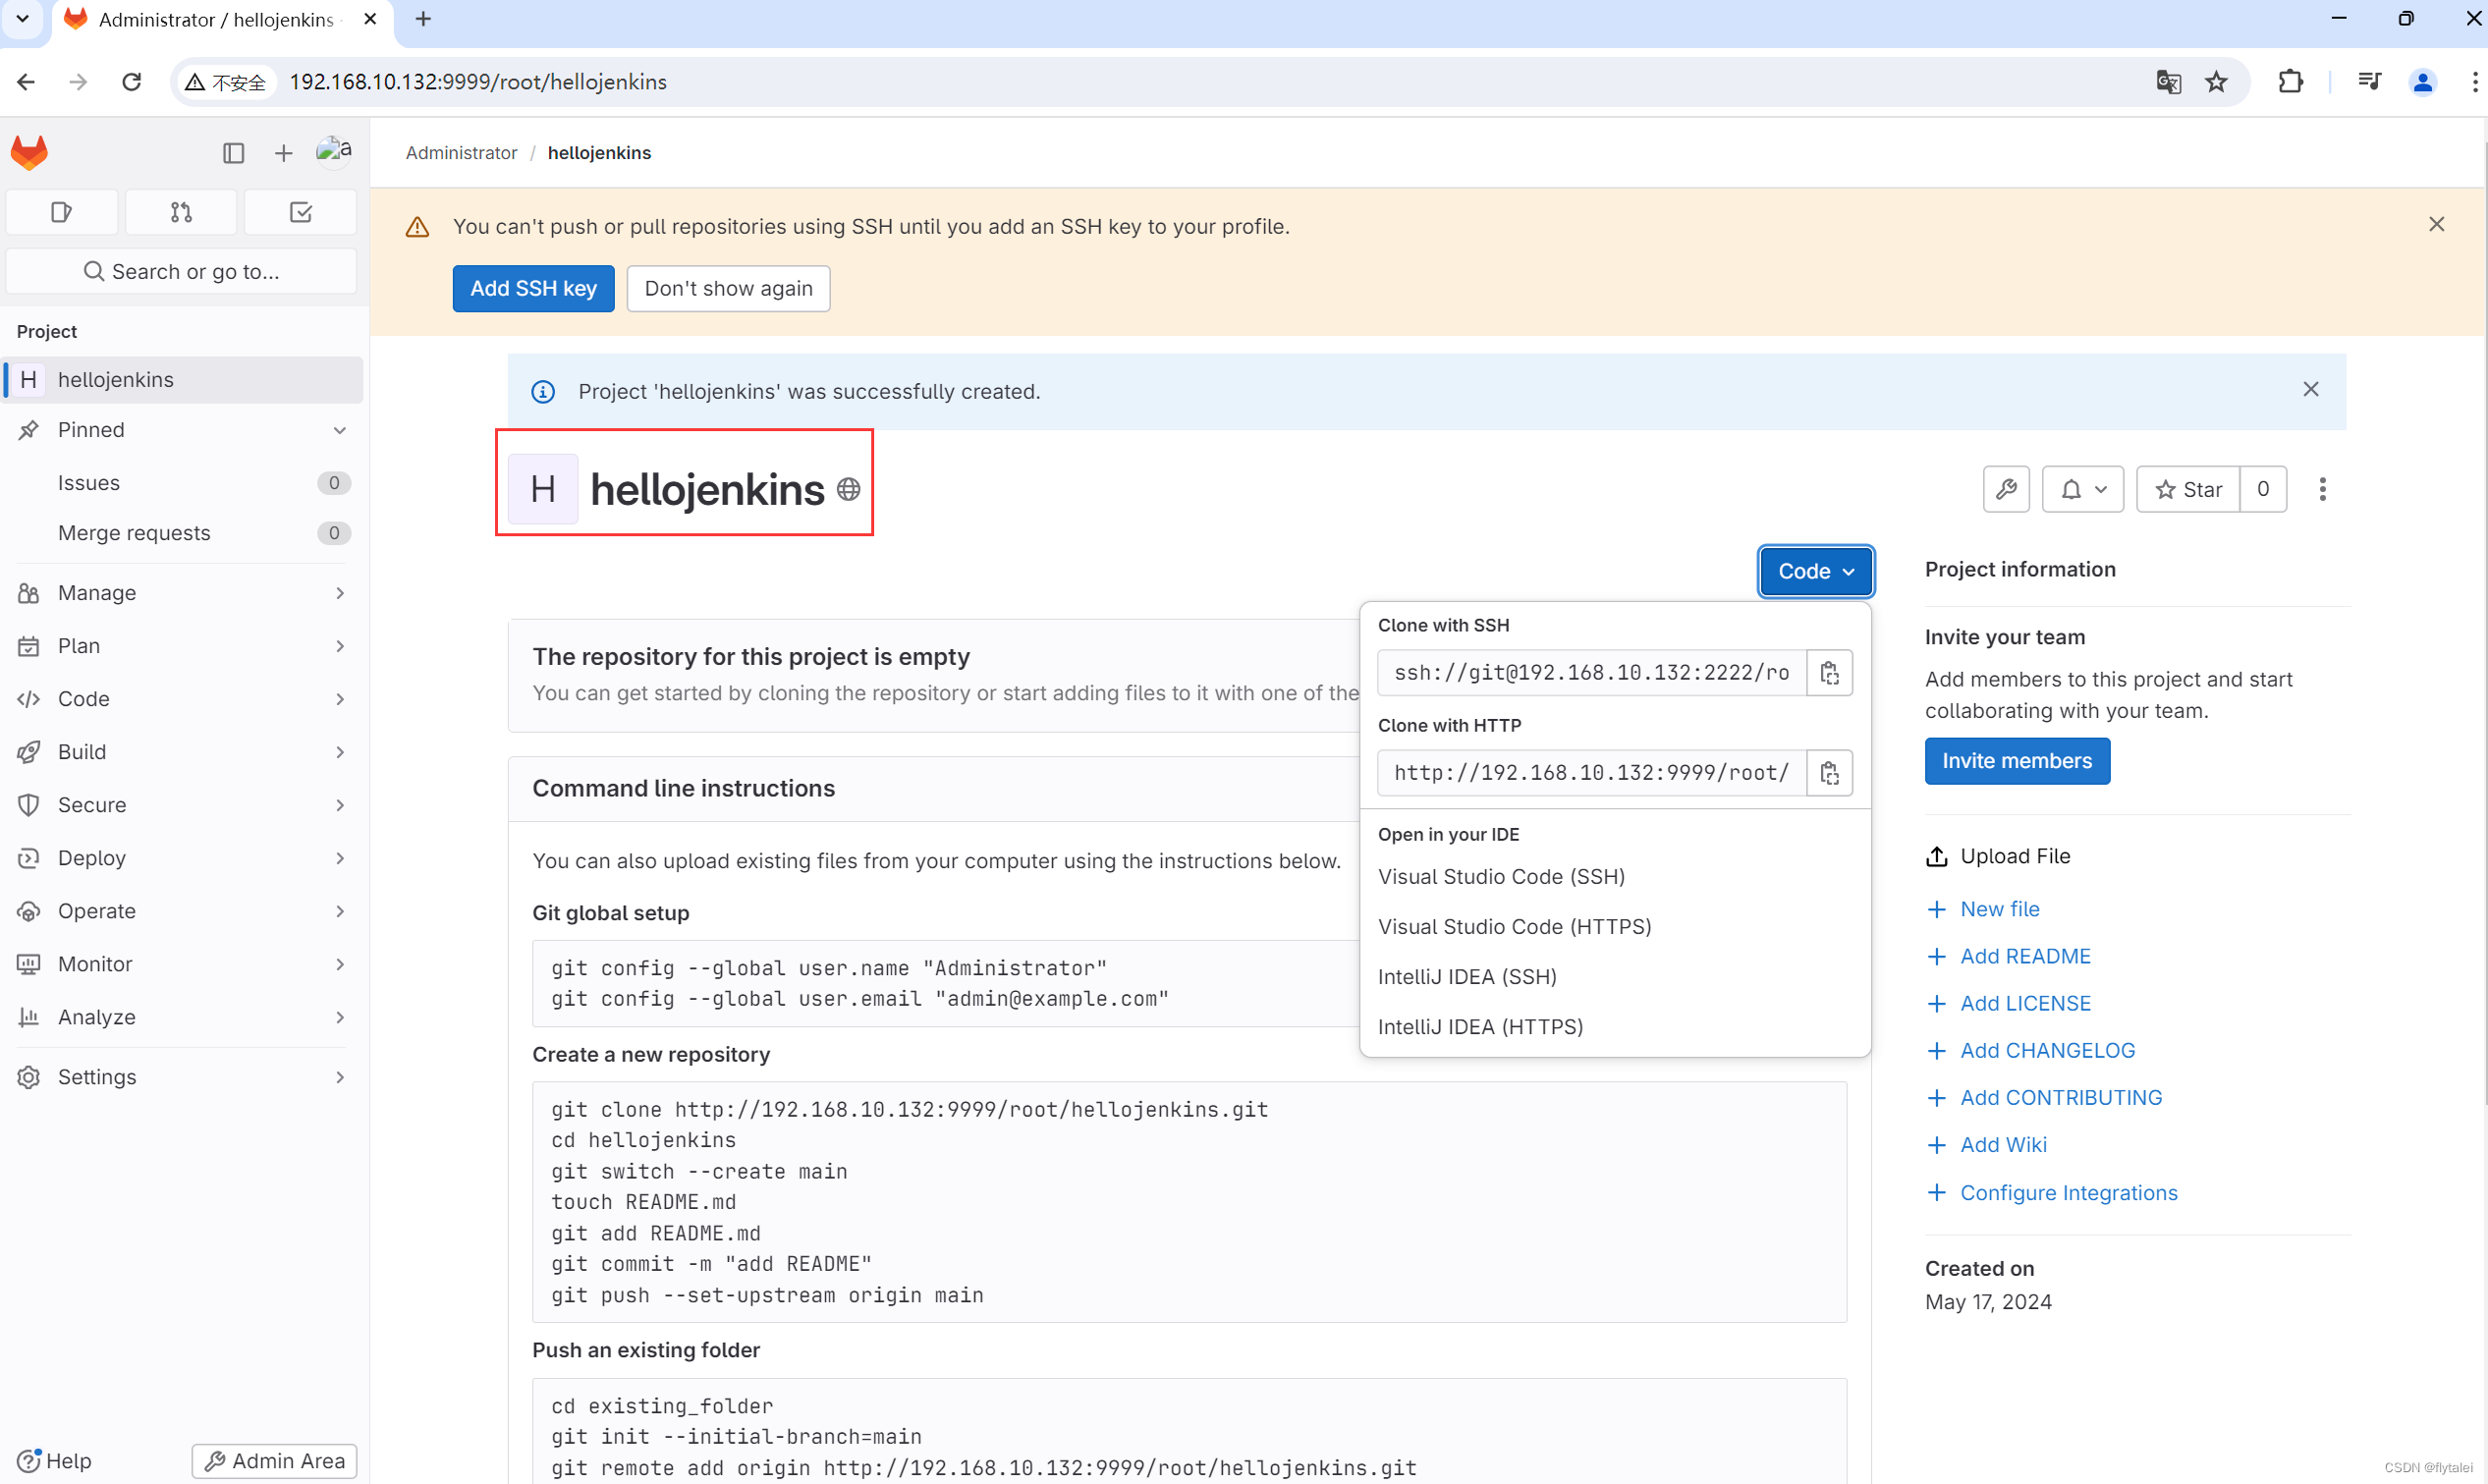
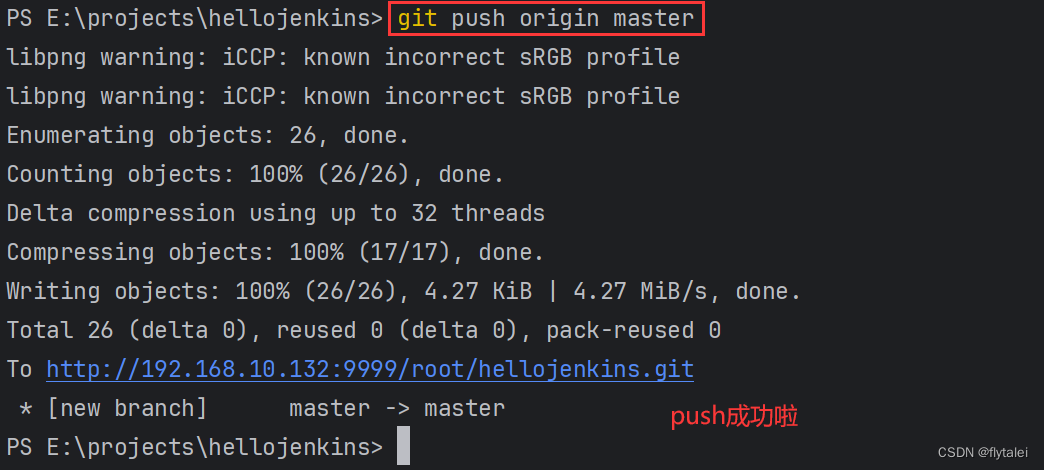
然后初始化一个本地仓库
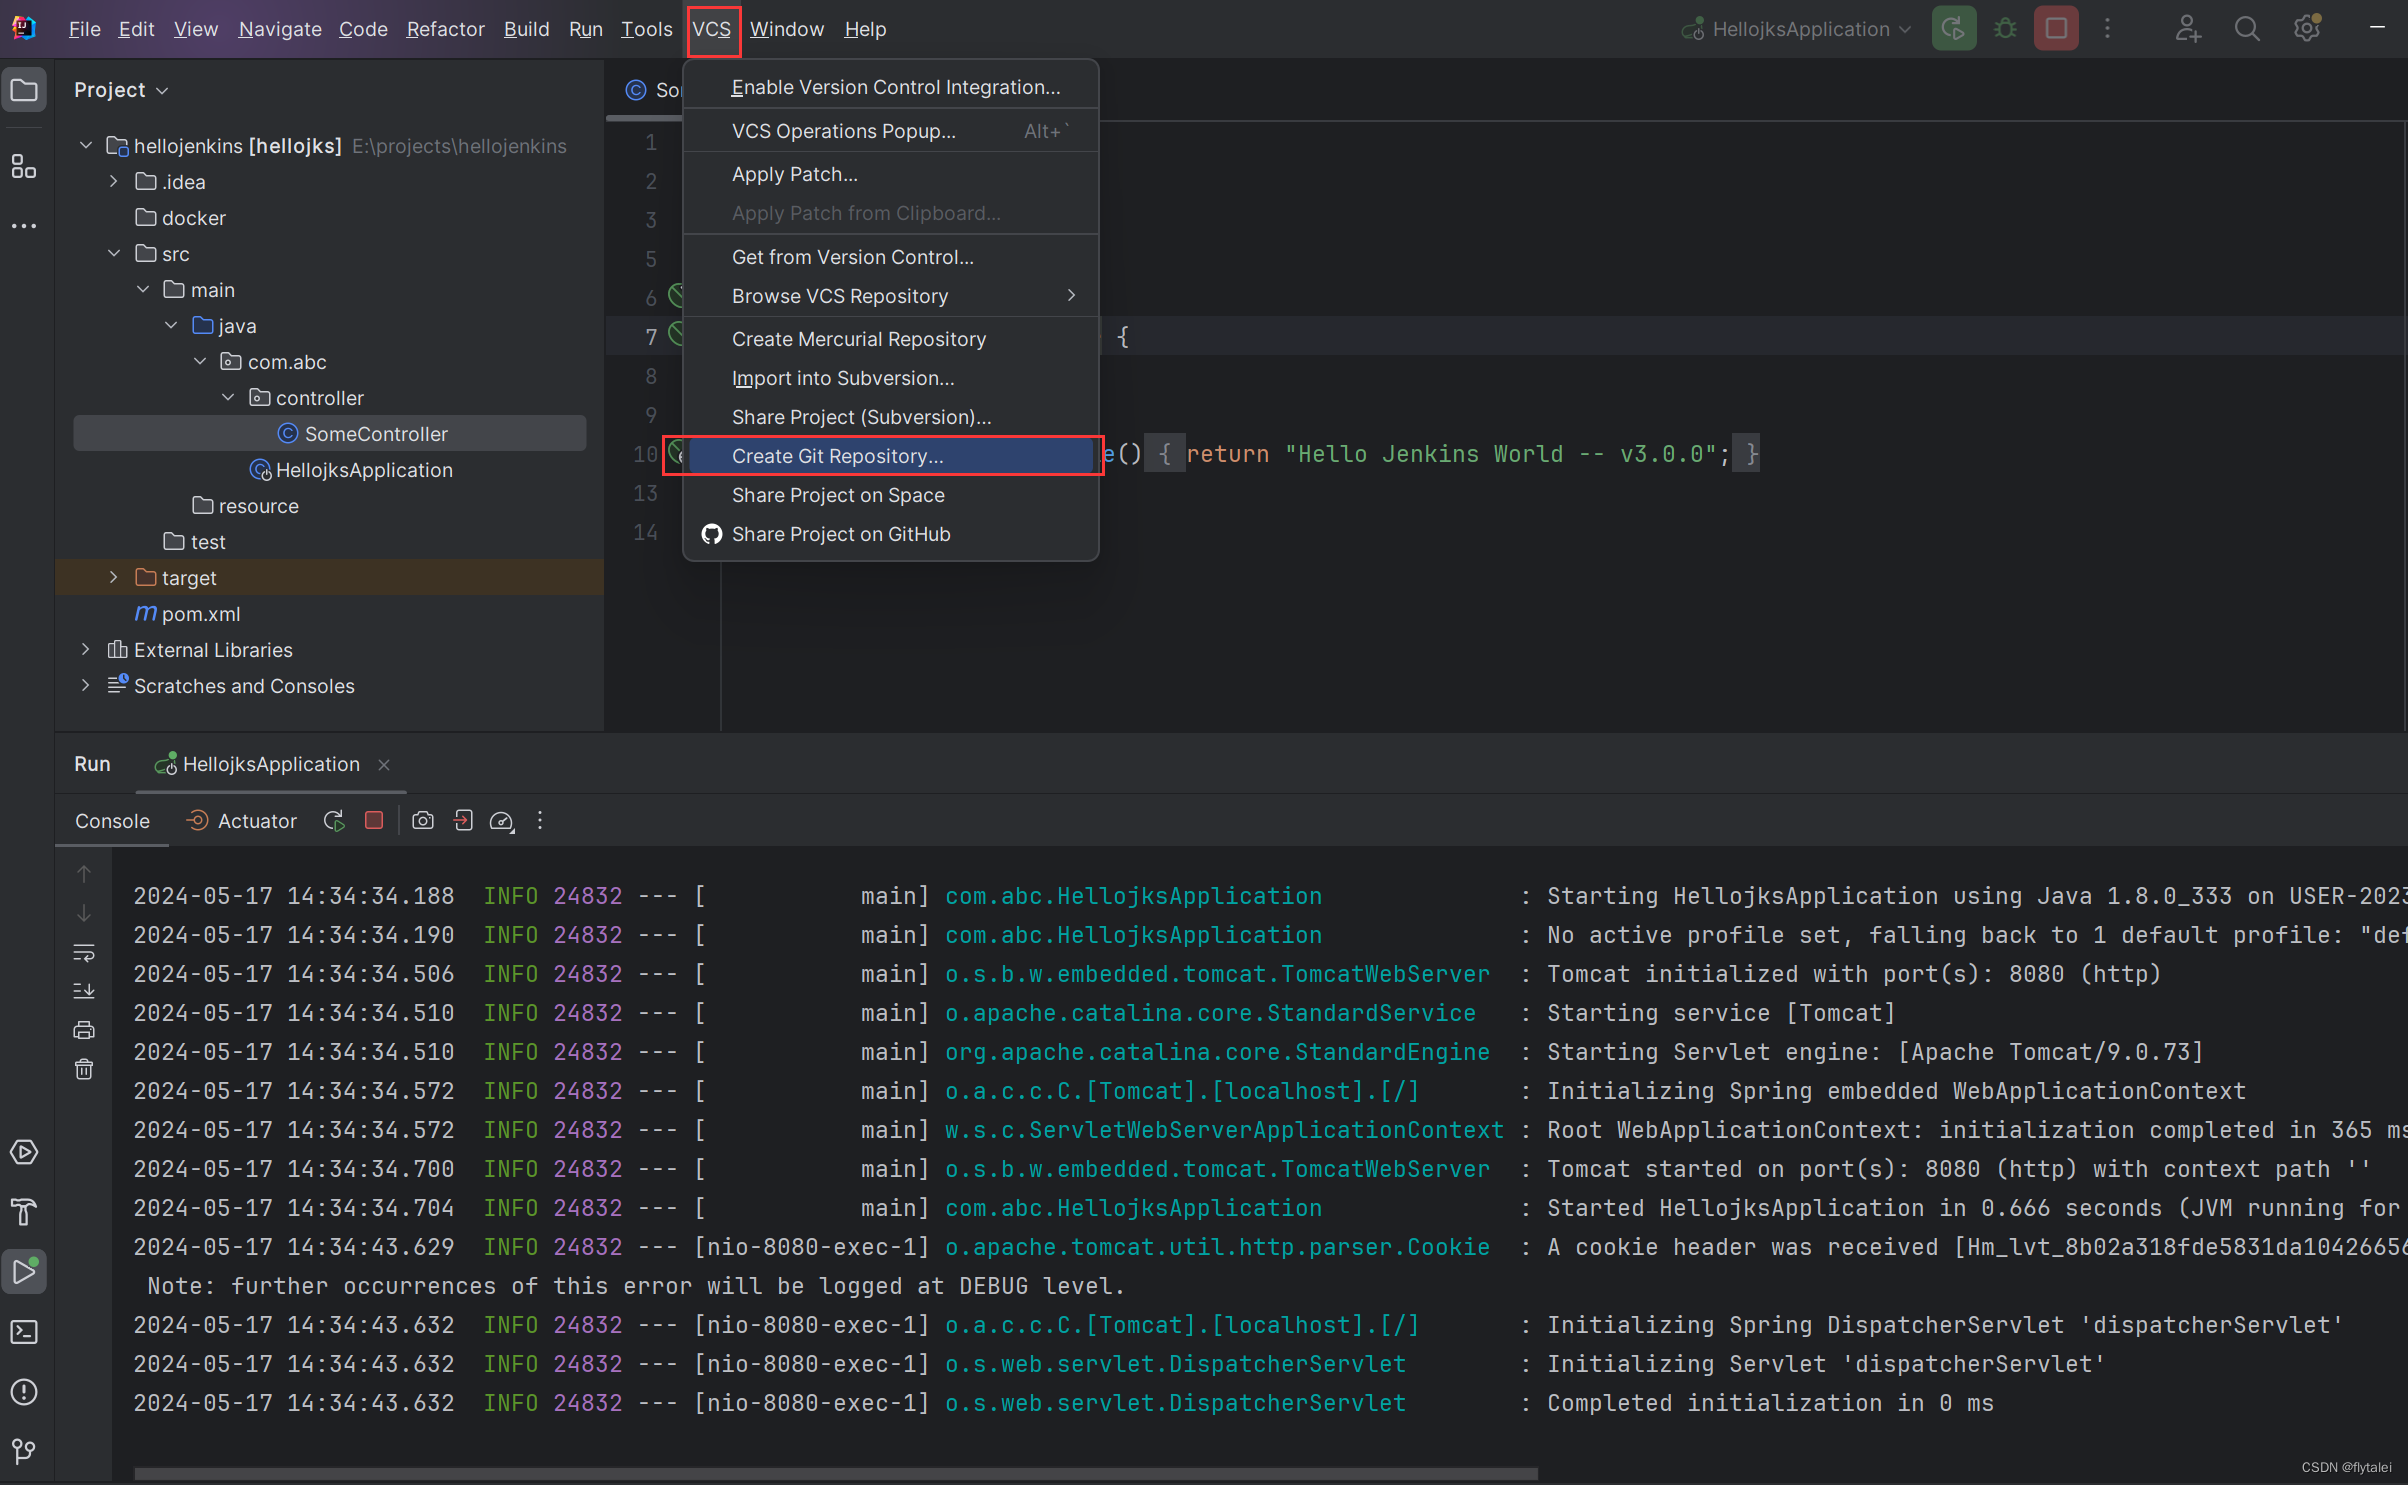
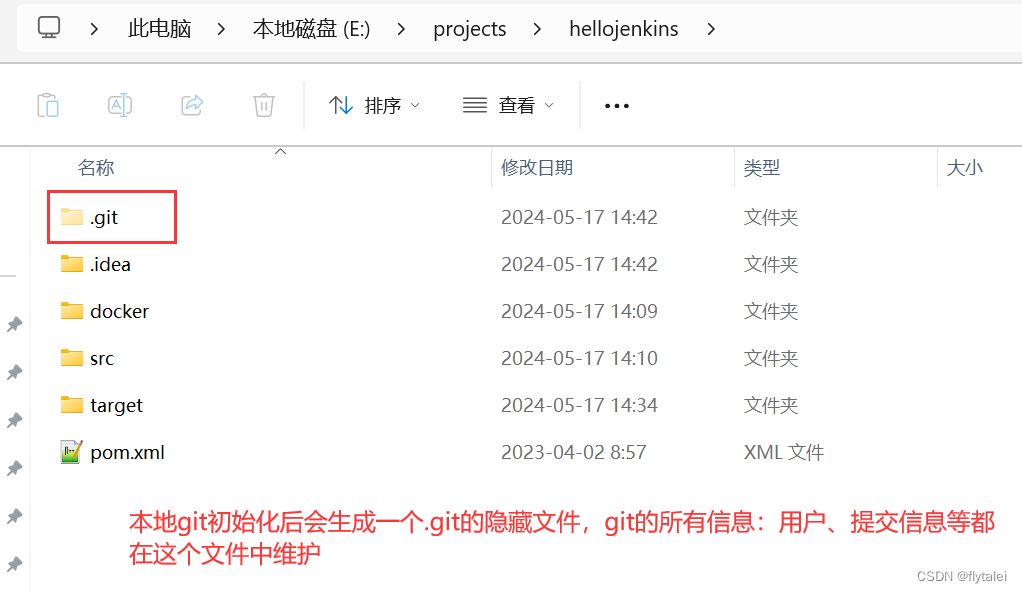
本地提交到远程的配置

Jenkins集成Gitlab
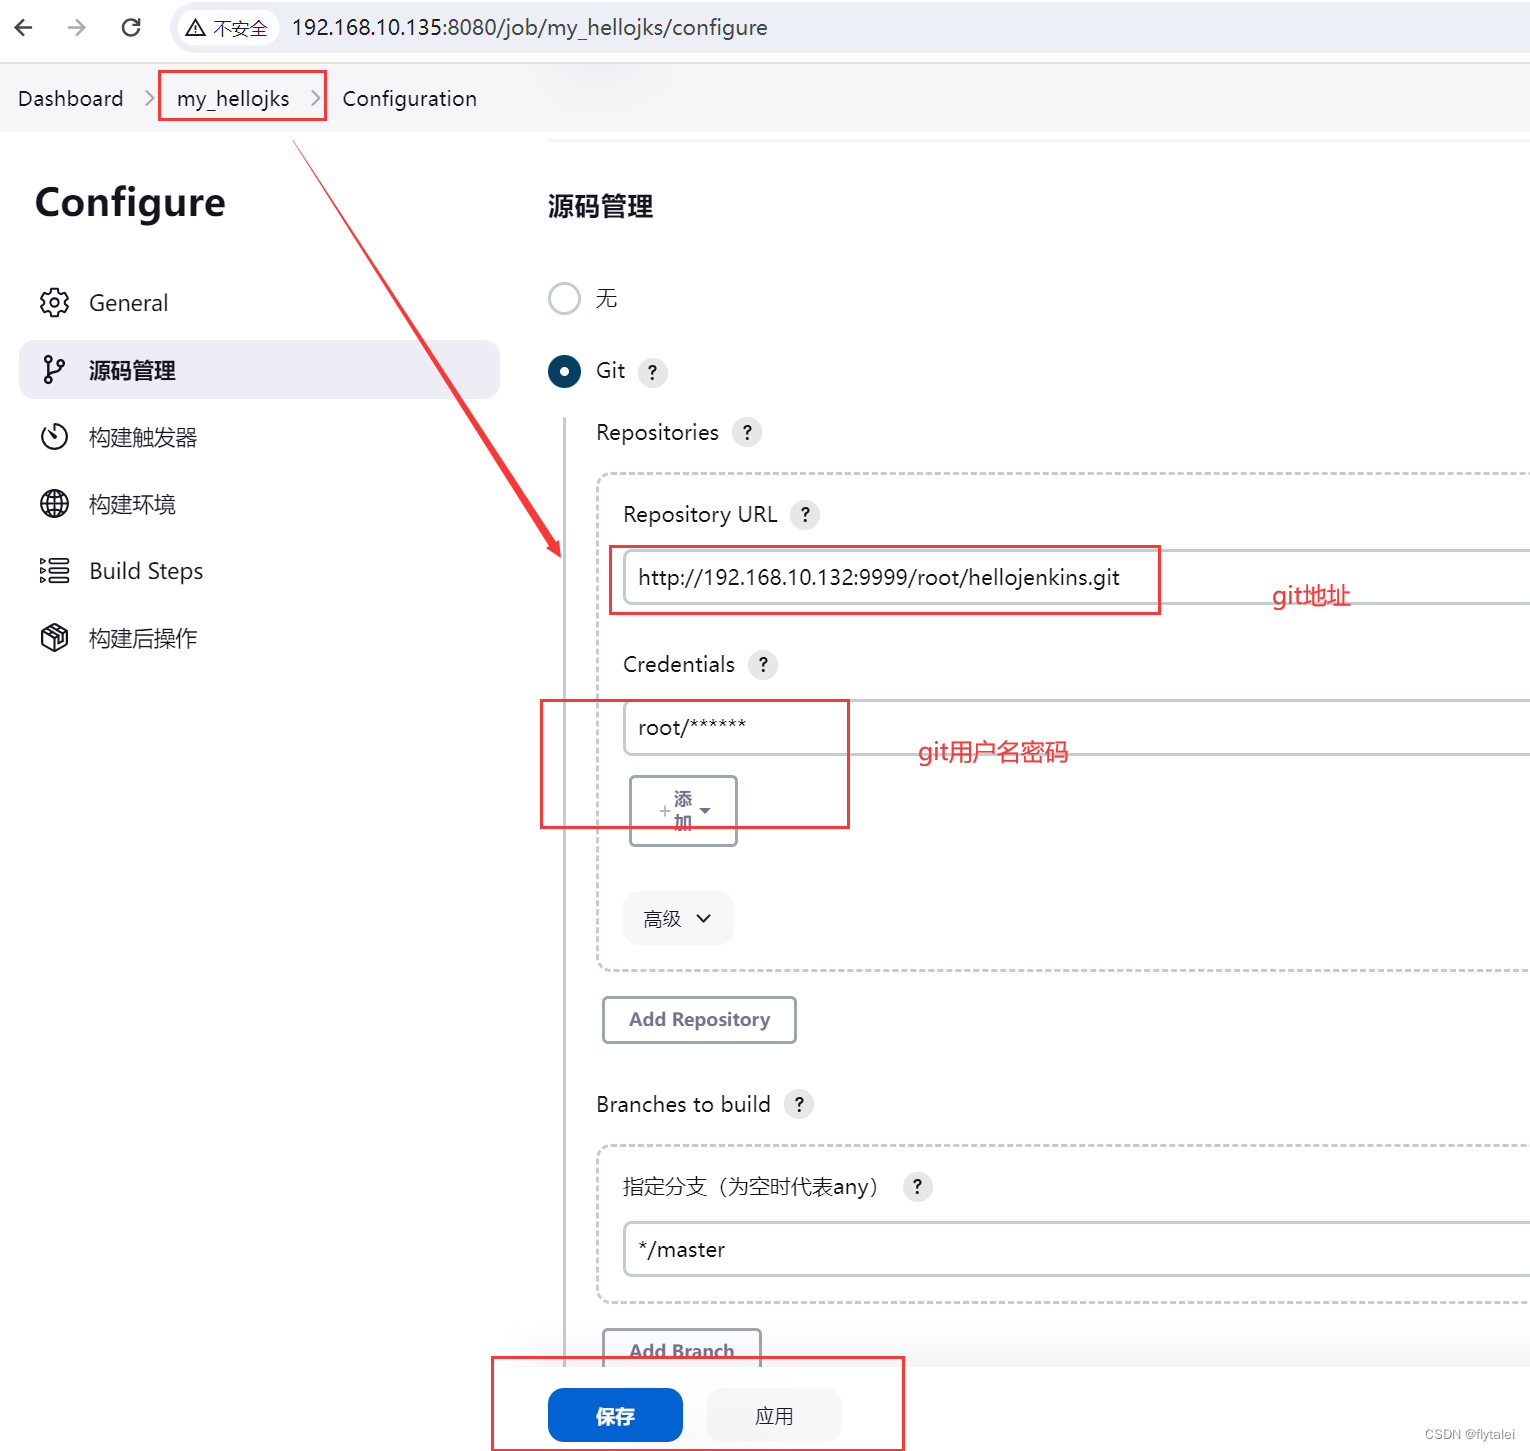
立即构建
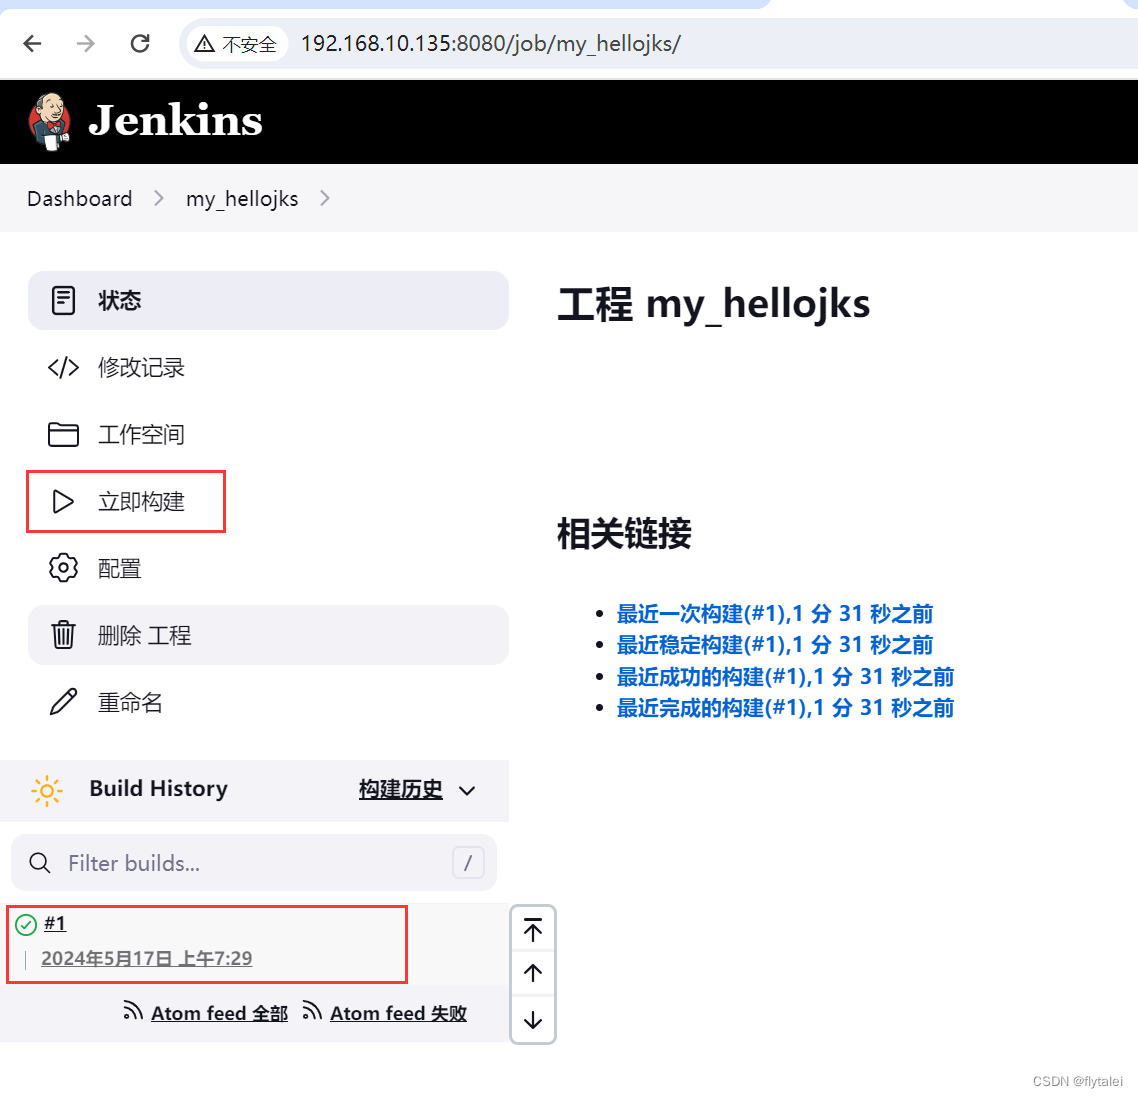
查看控制台输出
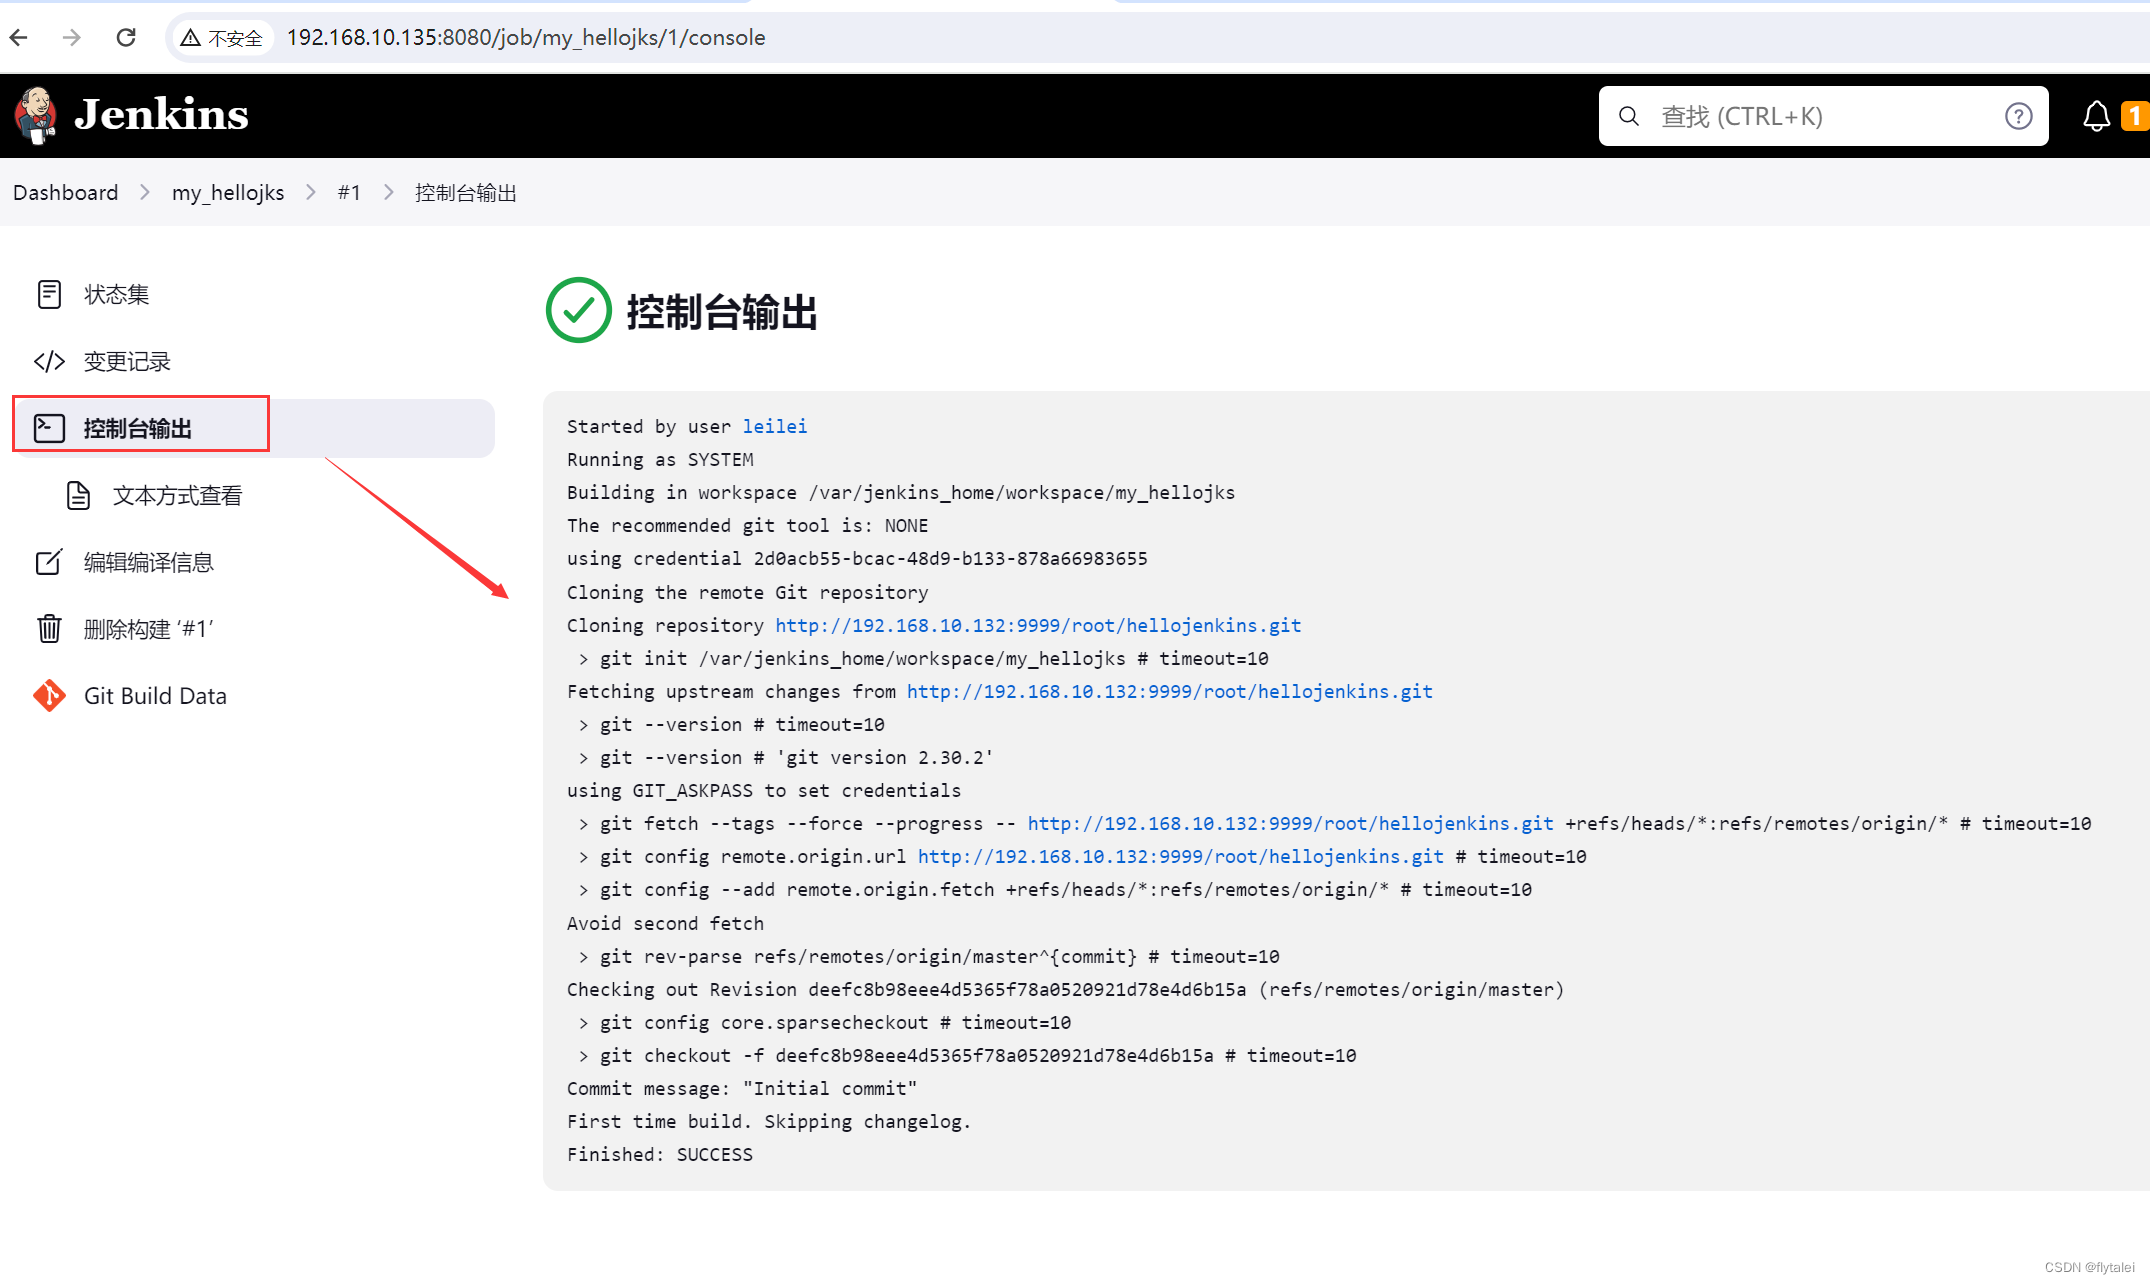
此时jenkins工作目录页生成了一个workspace目录

此时已经成功拉取了我们Java项目的目录结构了

构建项目Maven打包
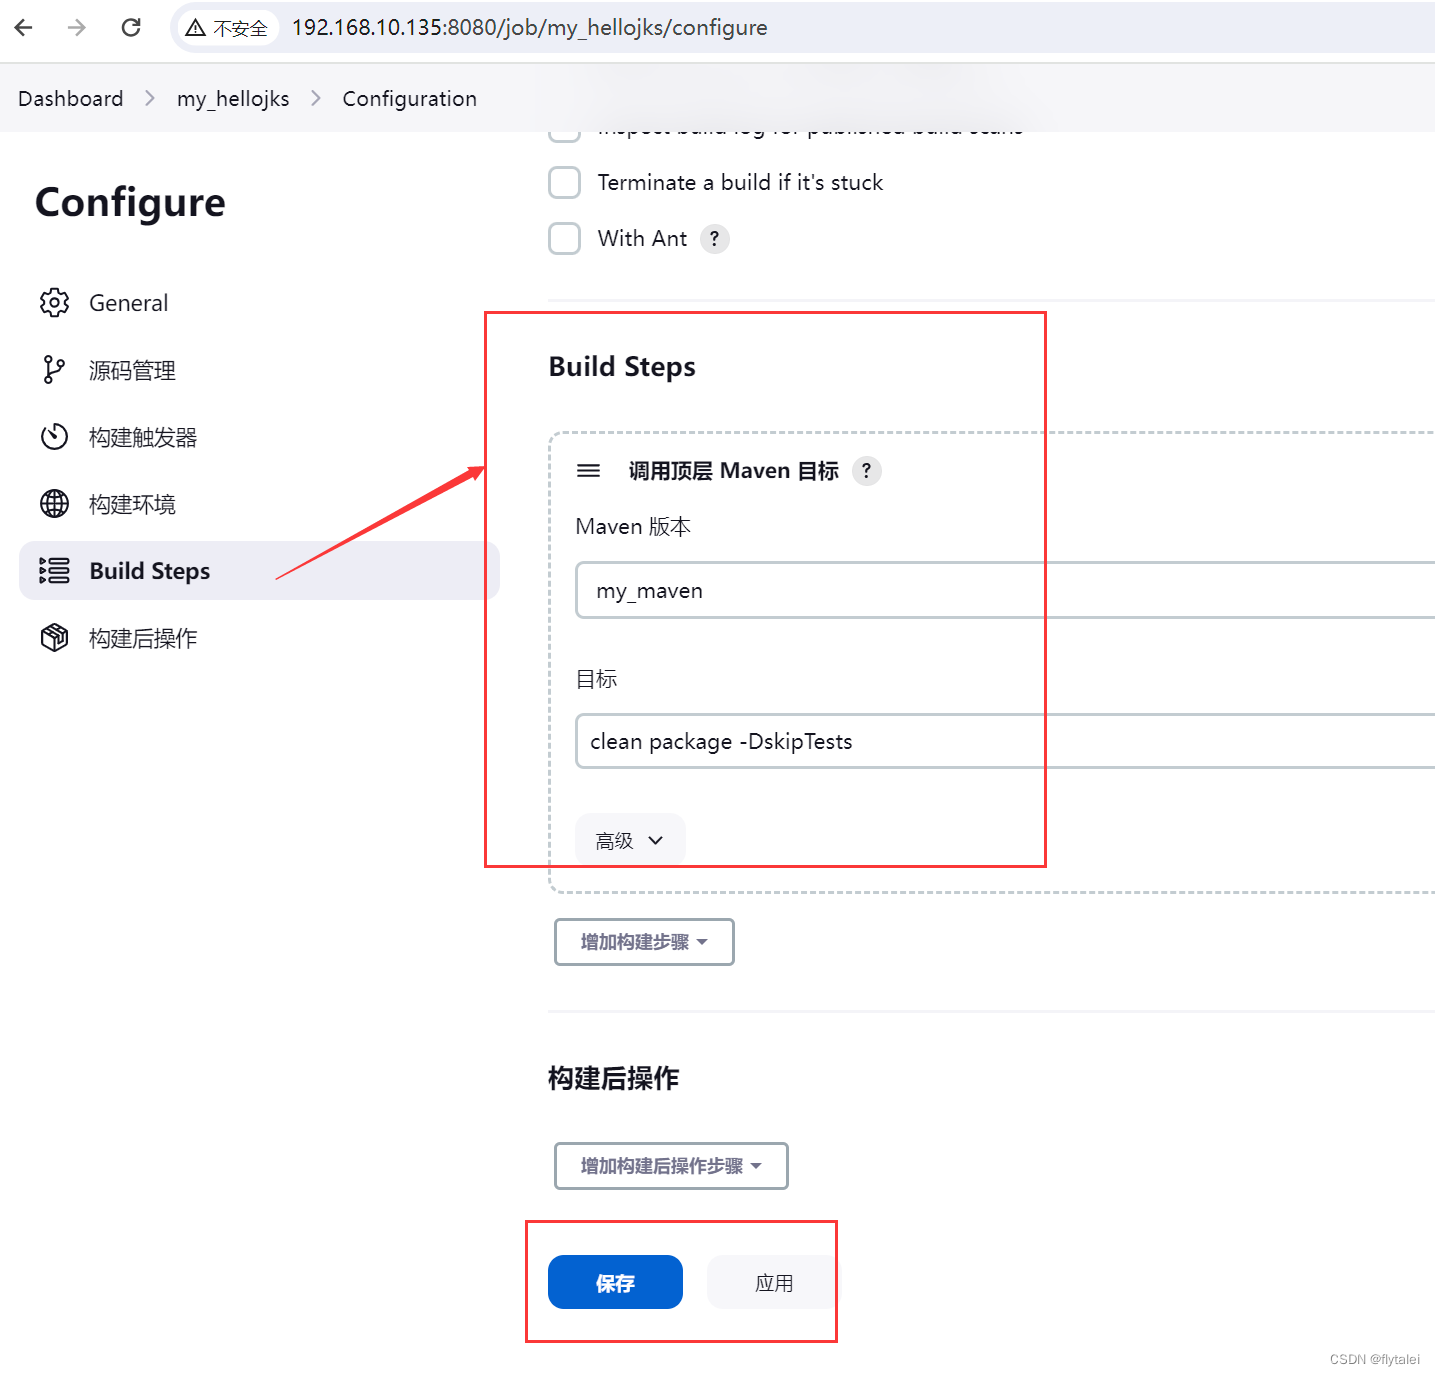
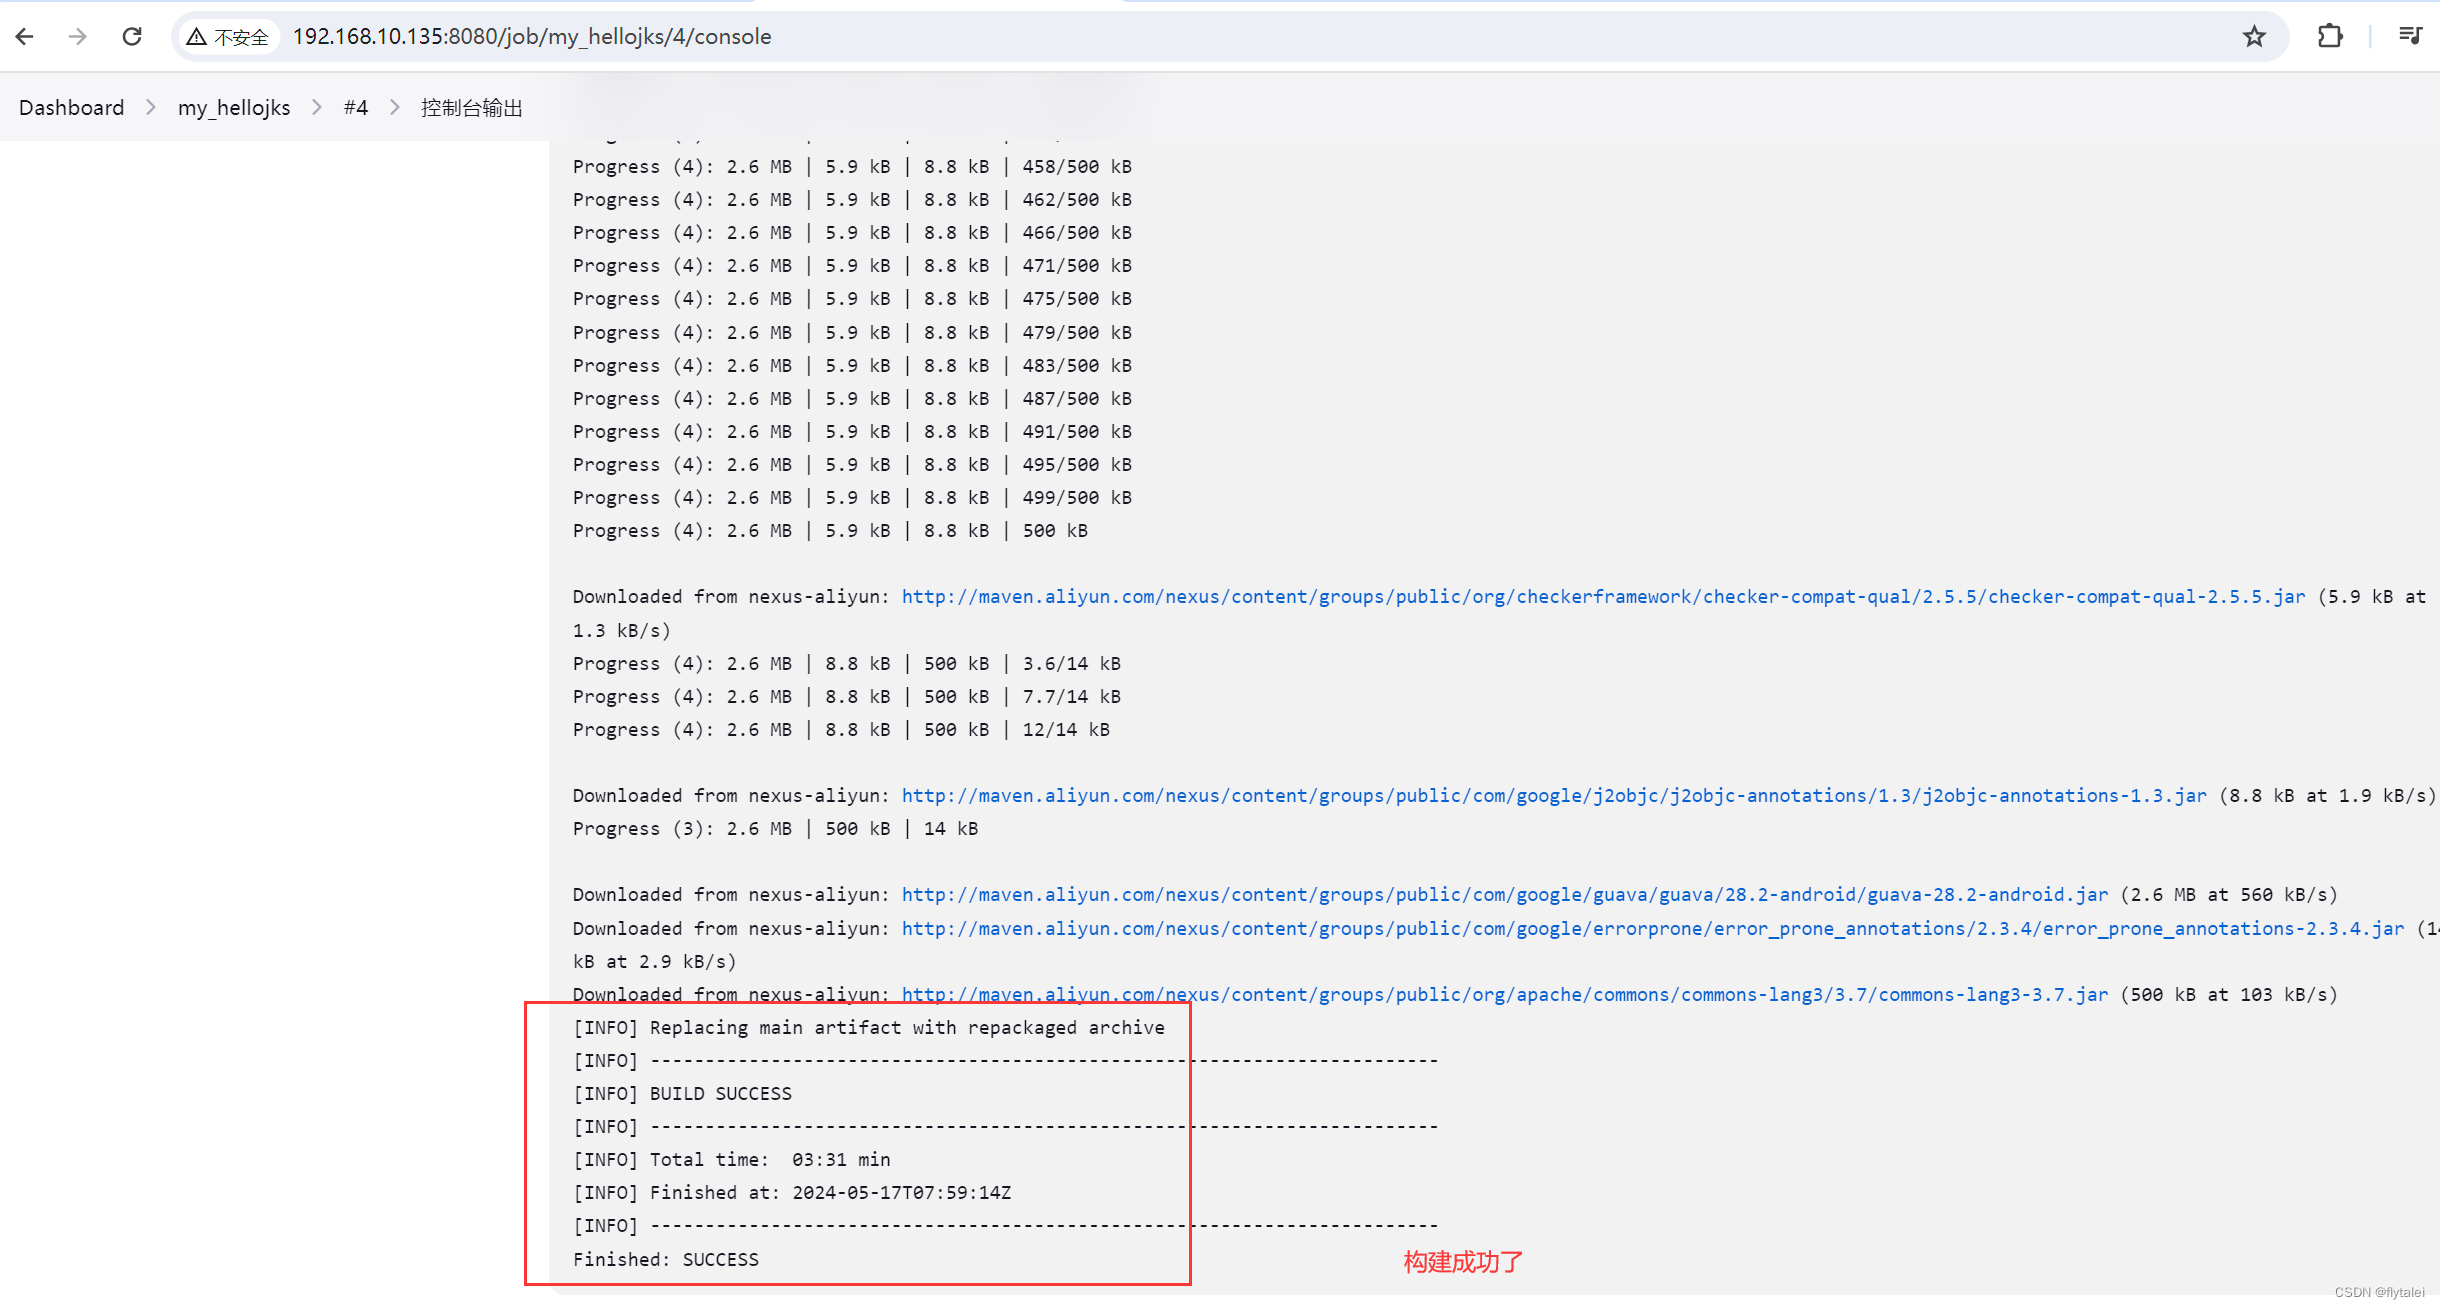
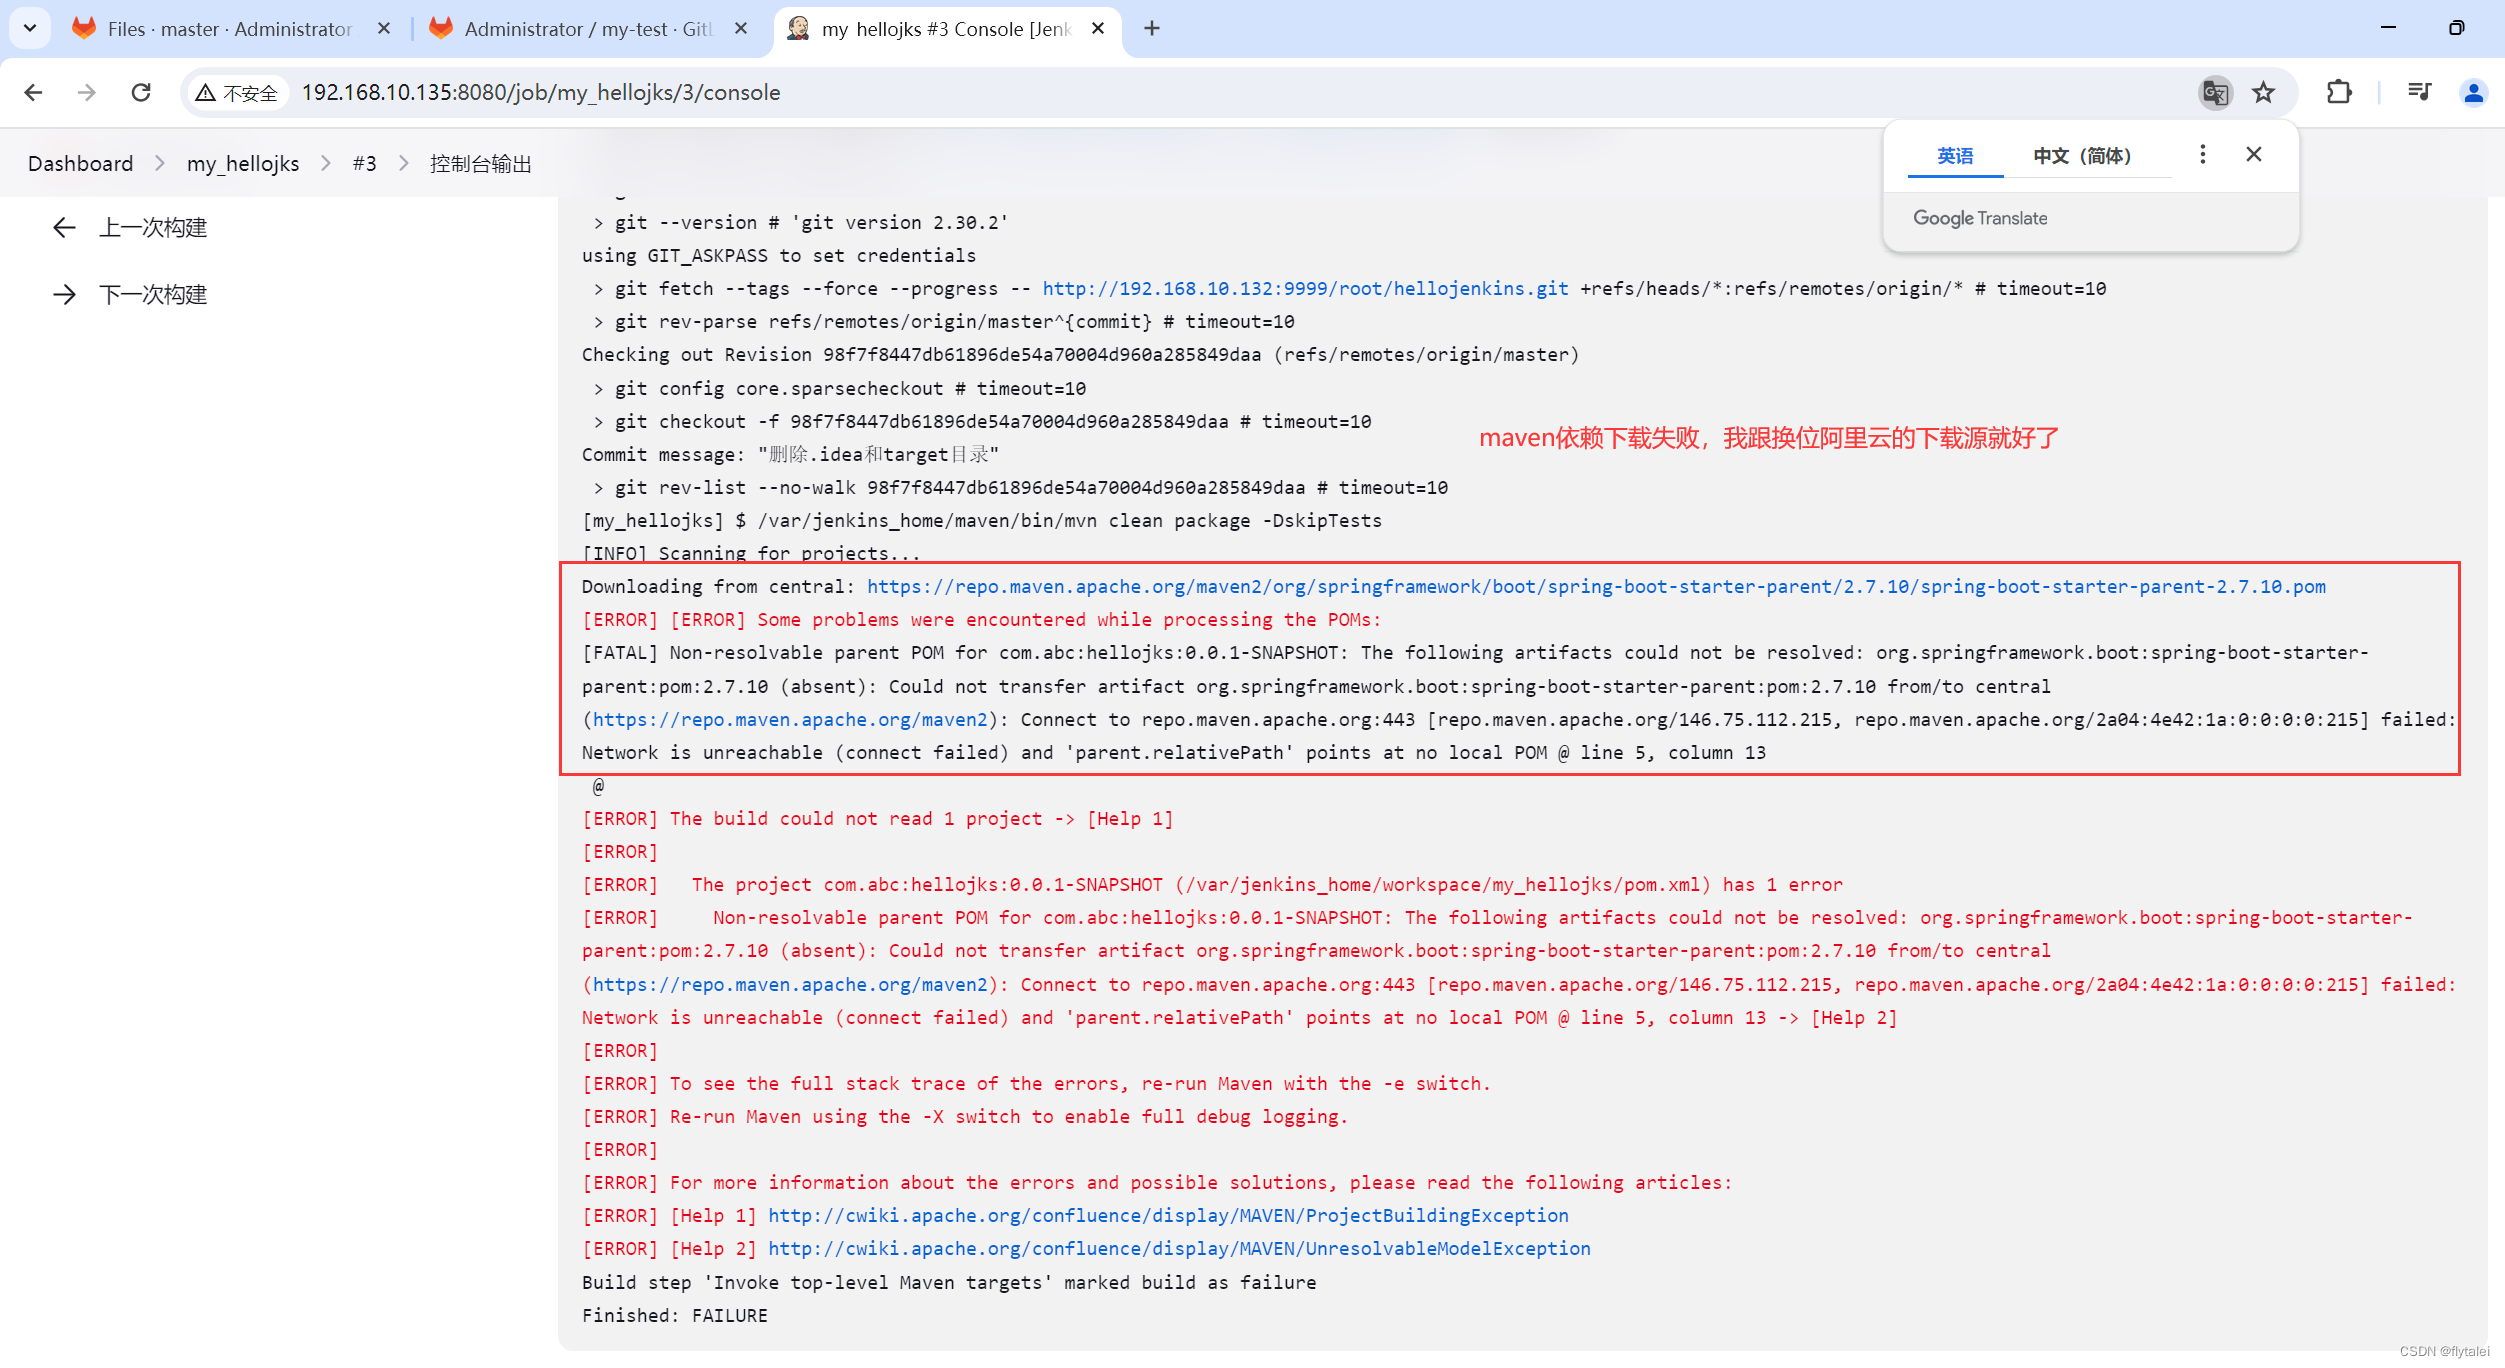
mavne打包成功了,之前失败过一次是因为maven的仓库地址没有配置成国内的镜像站点,导致一些依赖包下载失败

代码质量检测
 /var/jenkins_home/sonar-scanner/bin/sonar-scanner \
> -Dsonar.login=admin \
> -Dsonar.password=12345678 \
> -Dsonar.projectKey=my_hello_jks


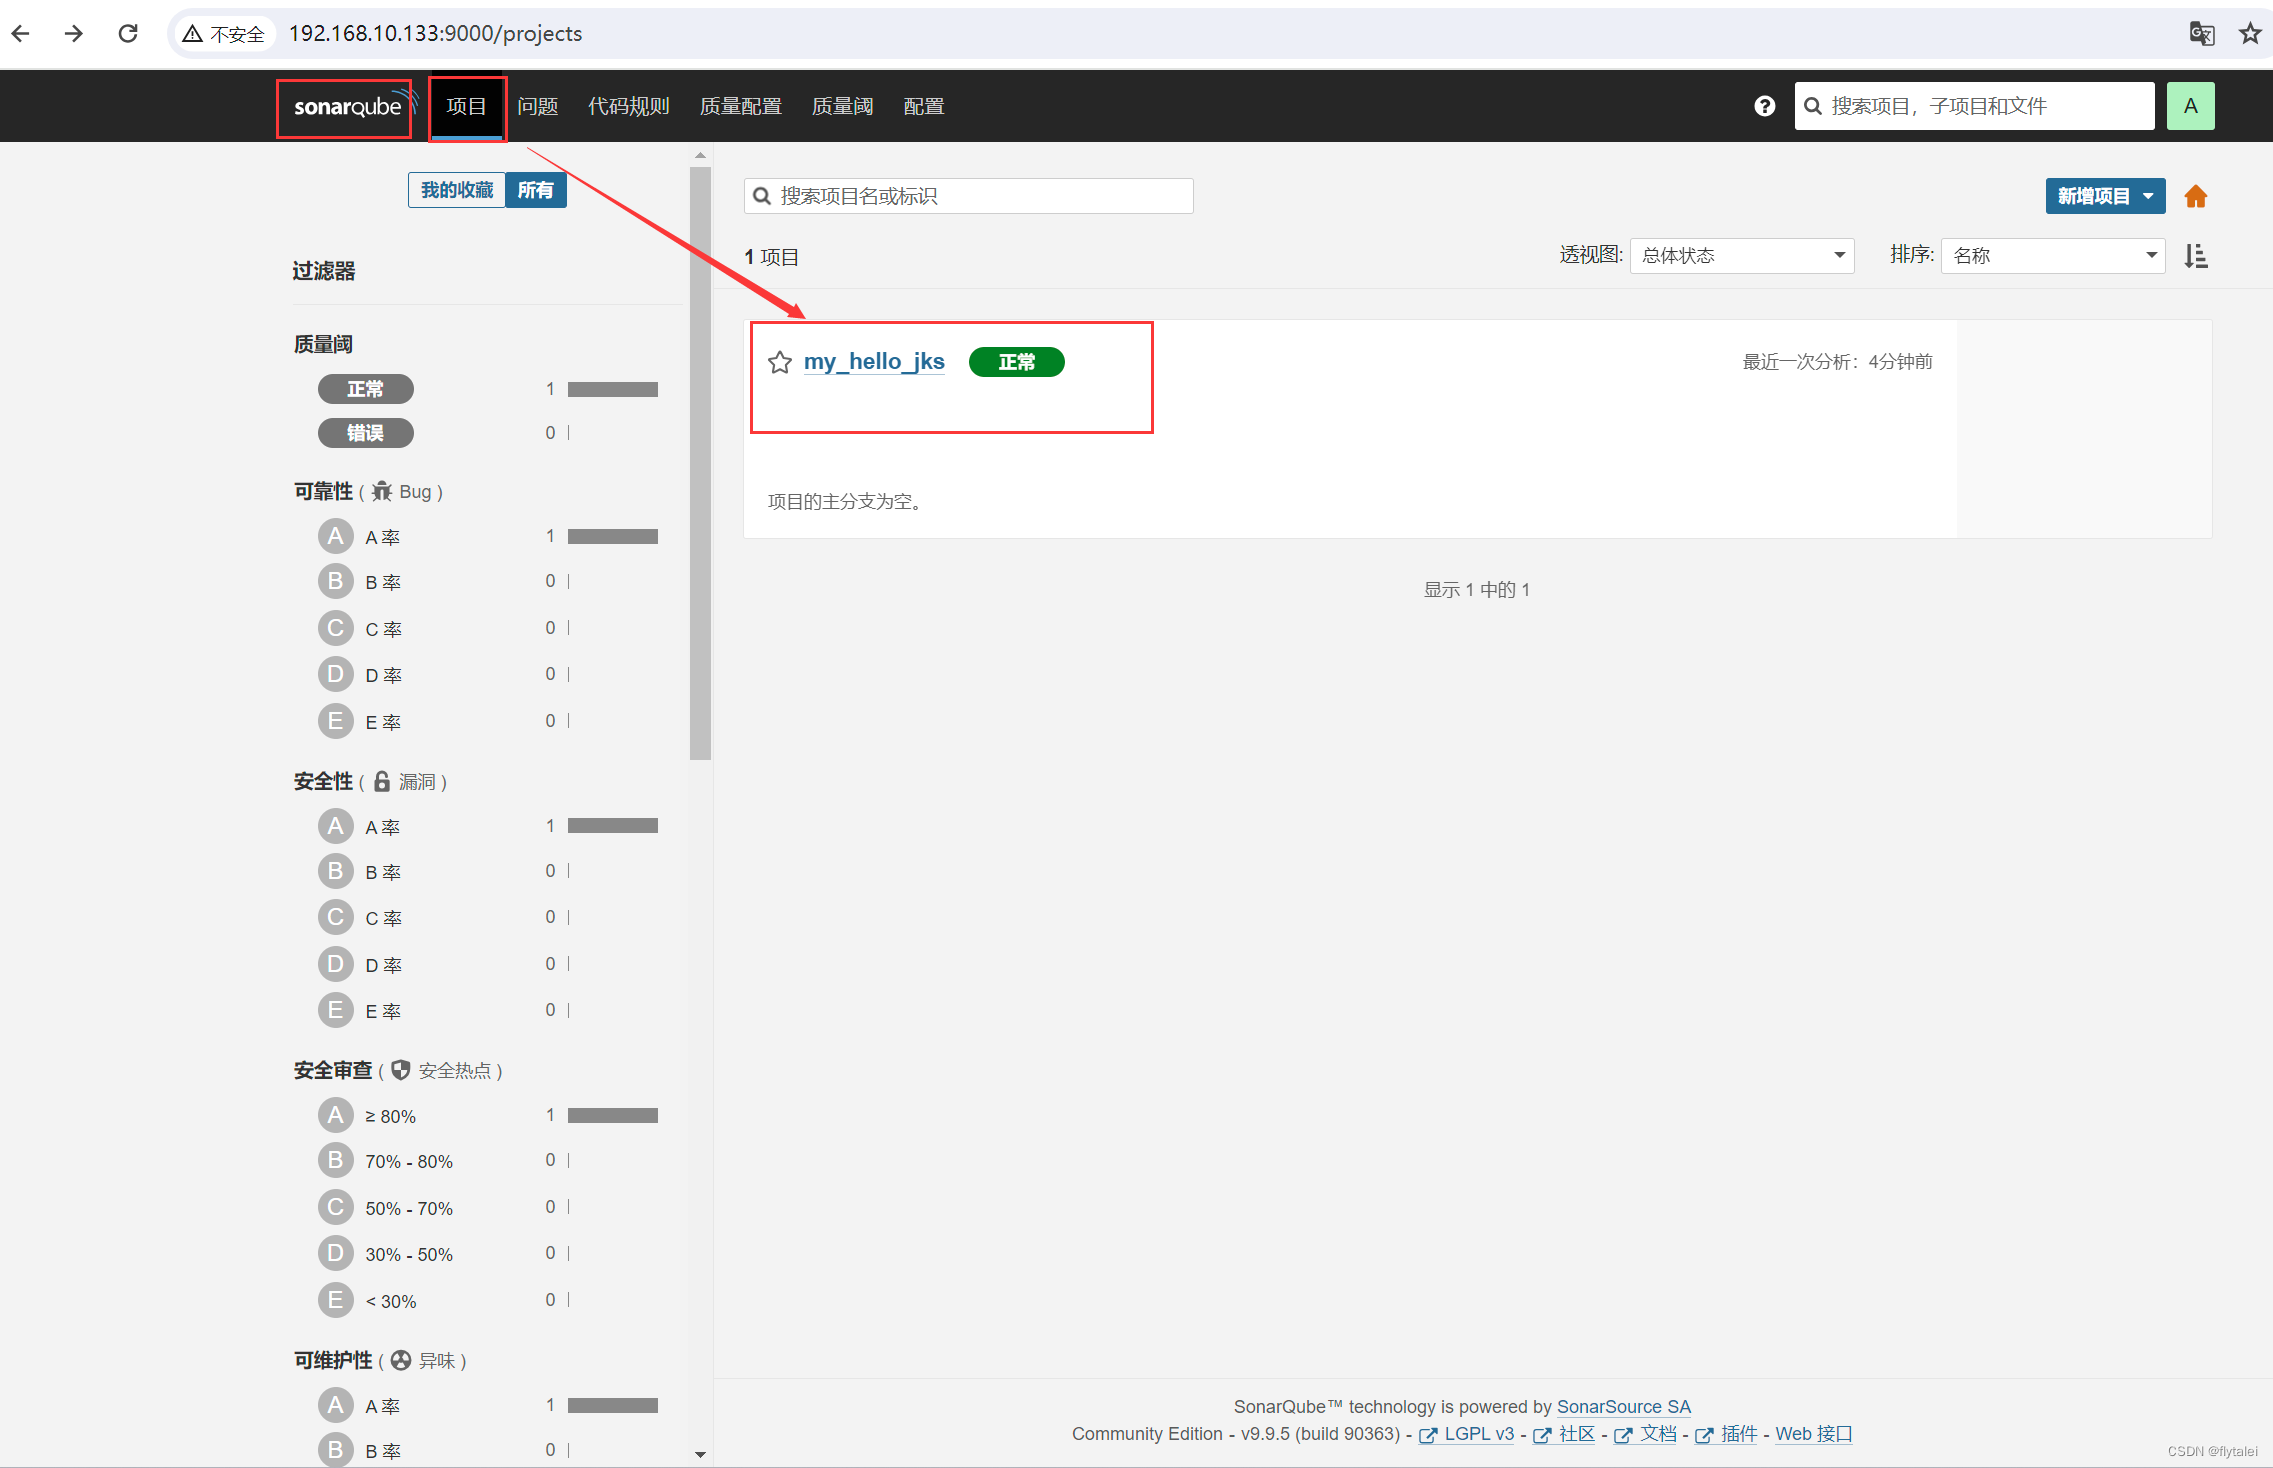
sonarqube里已经检测到了代码
推送代码到目标服务器
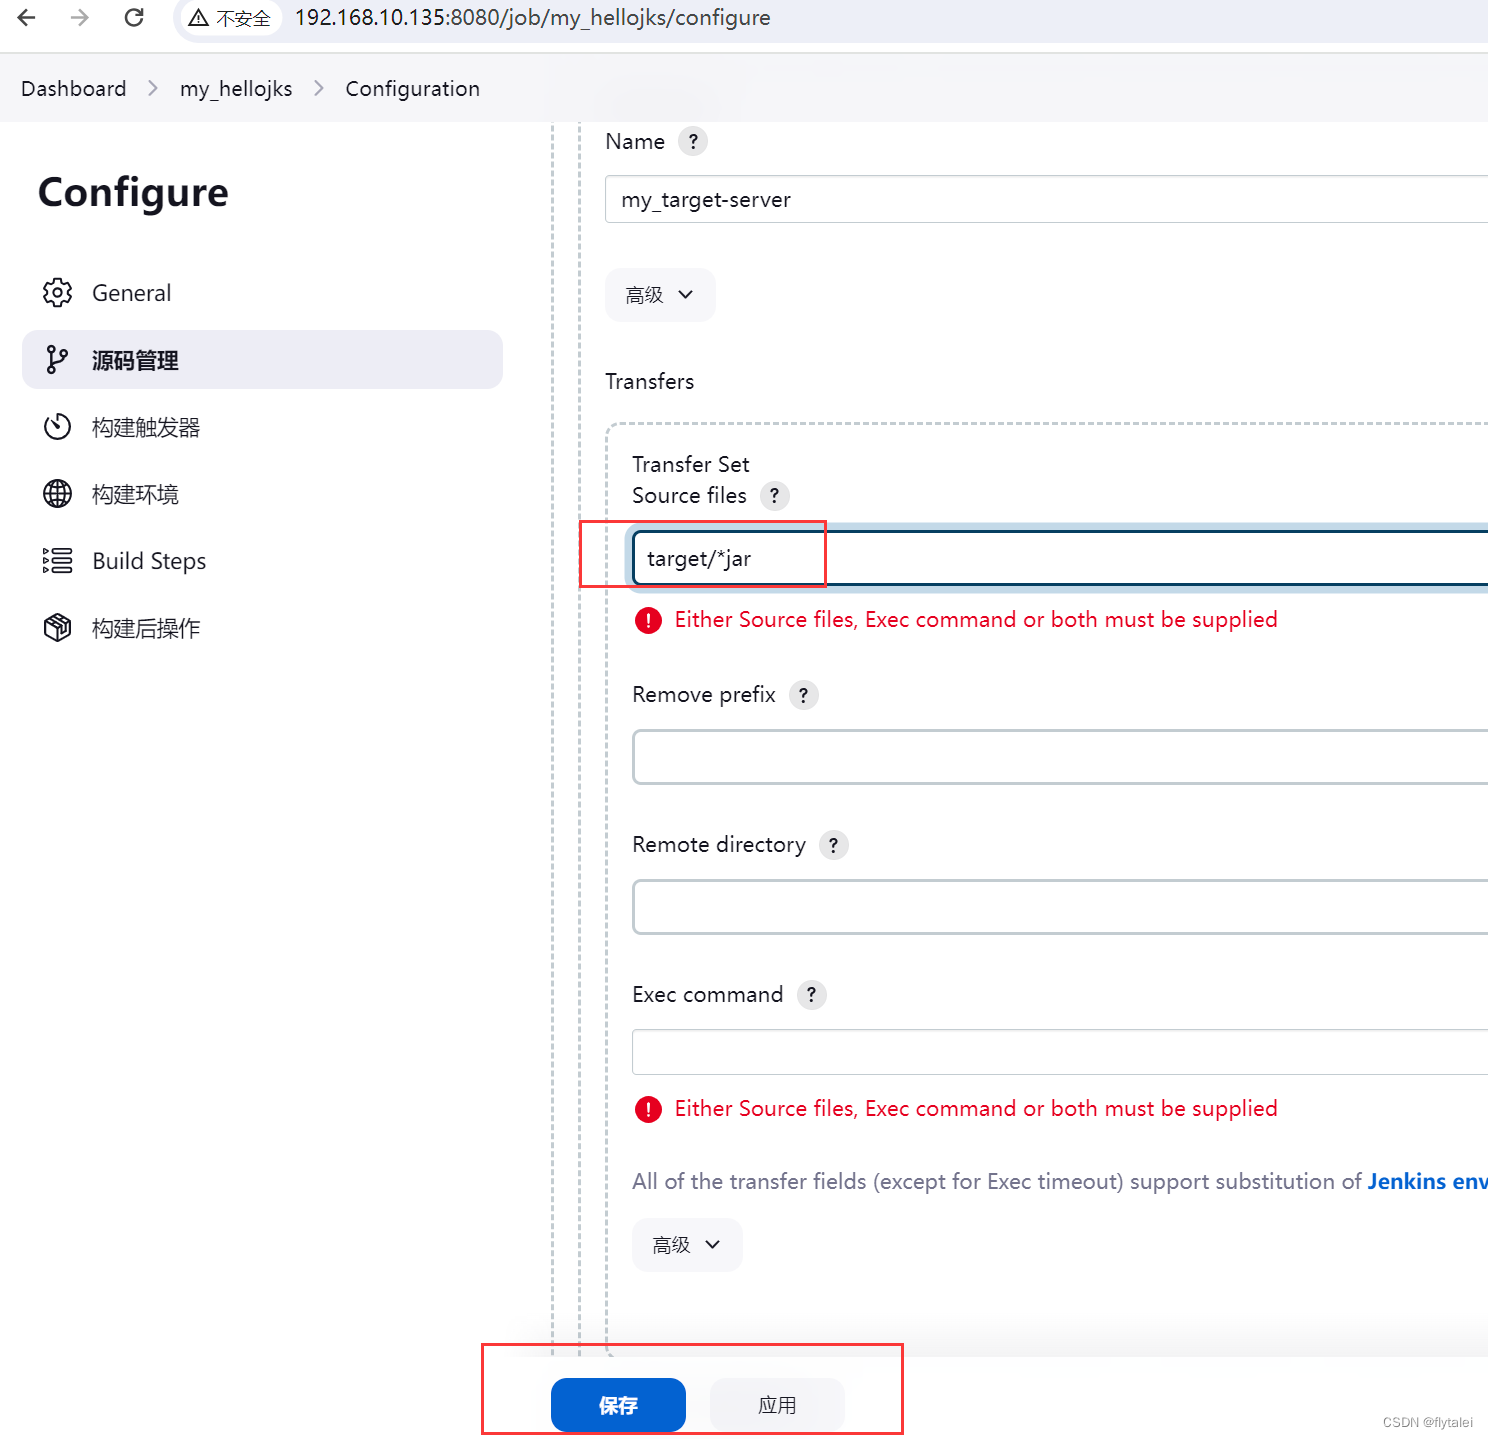
应用保存完后立即构建
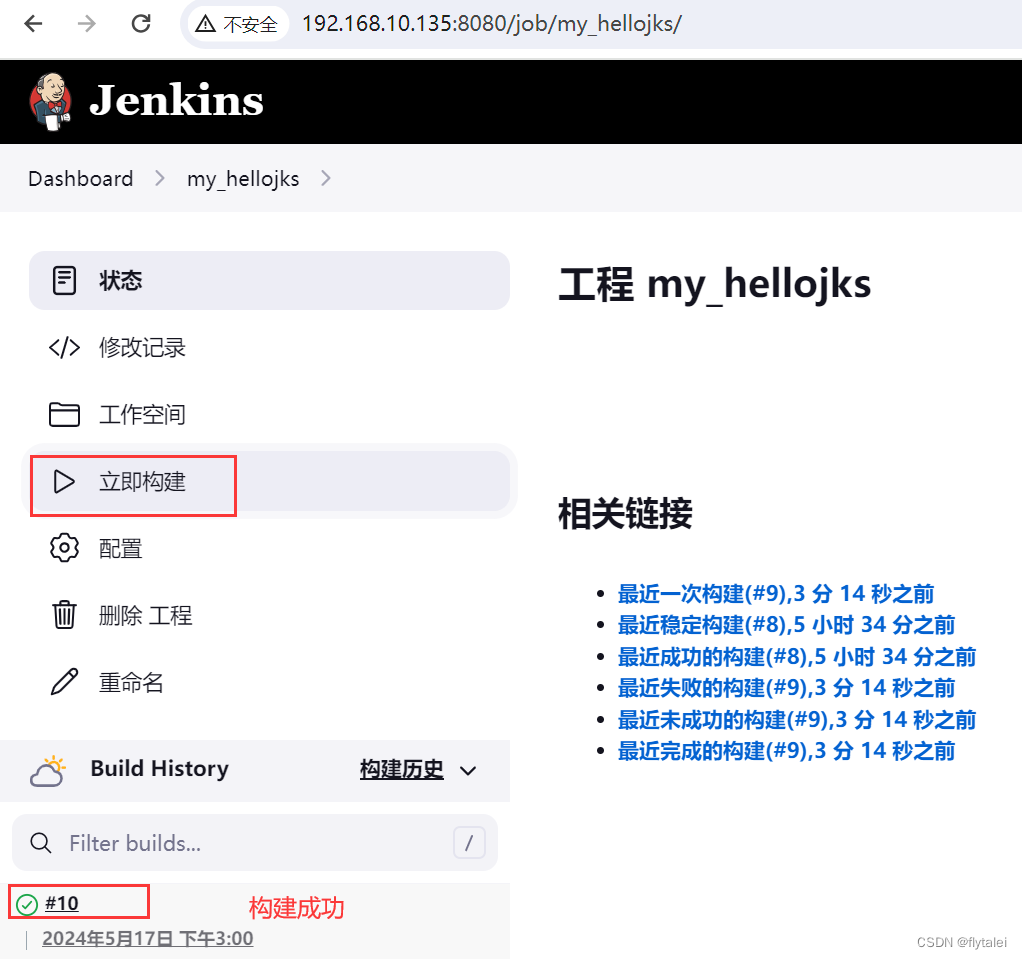
第一次构建失败了,控制台日志如下
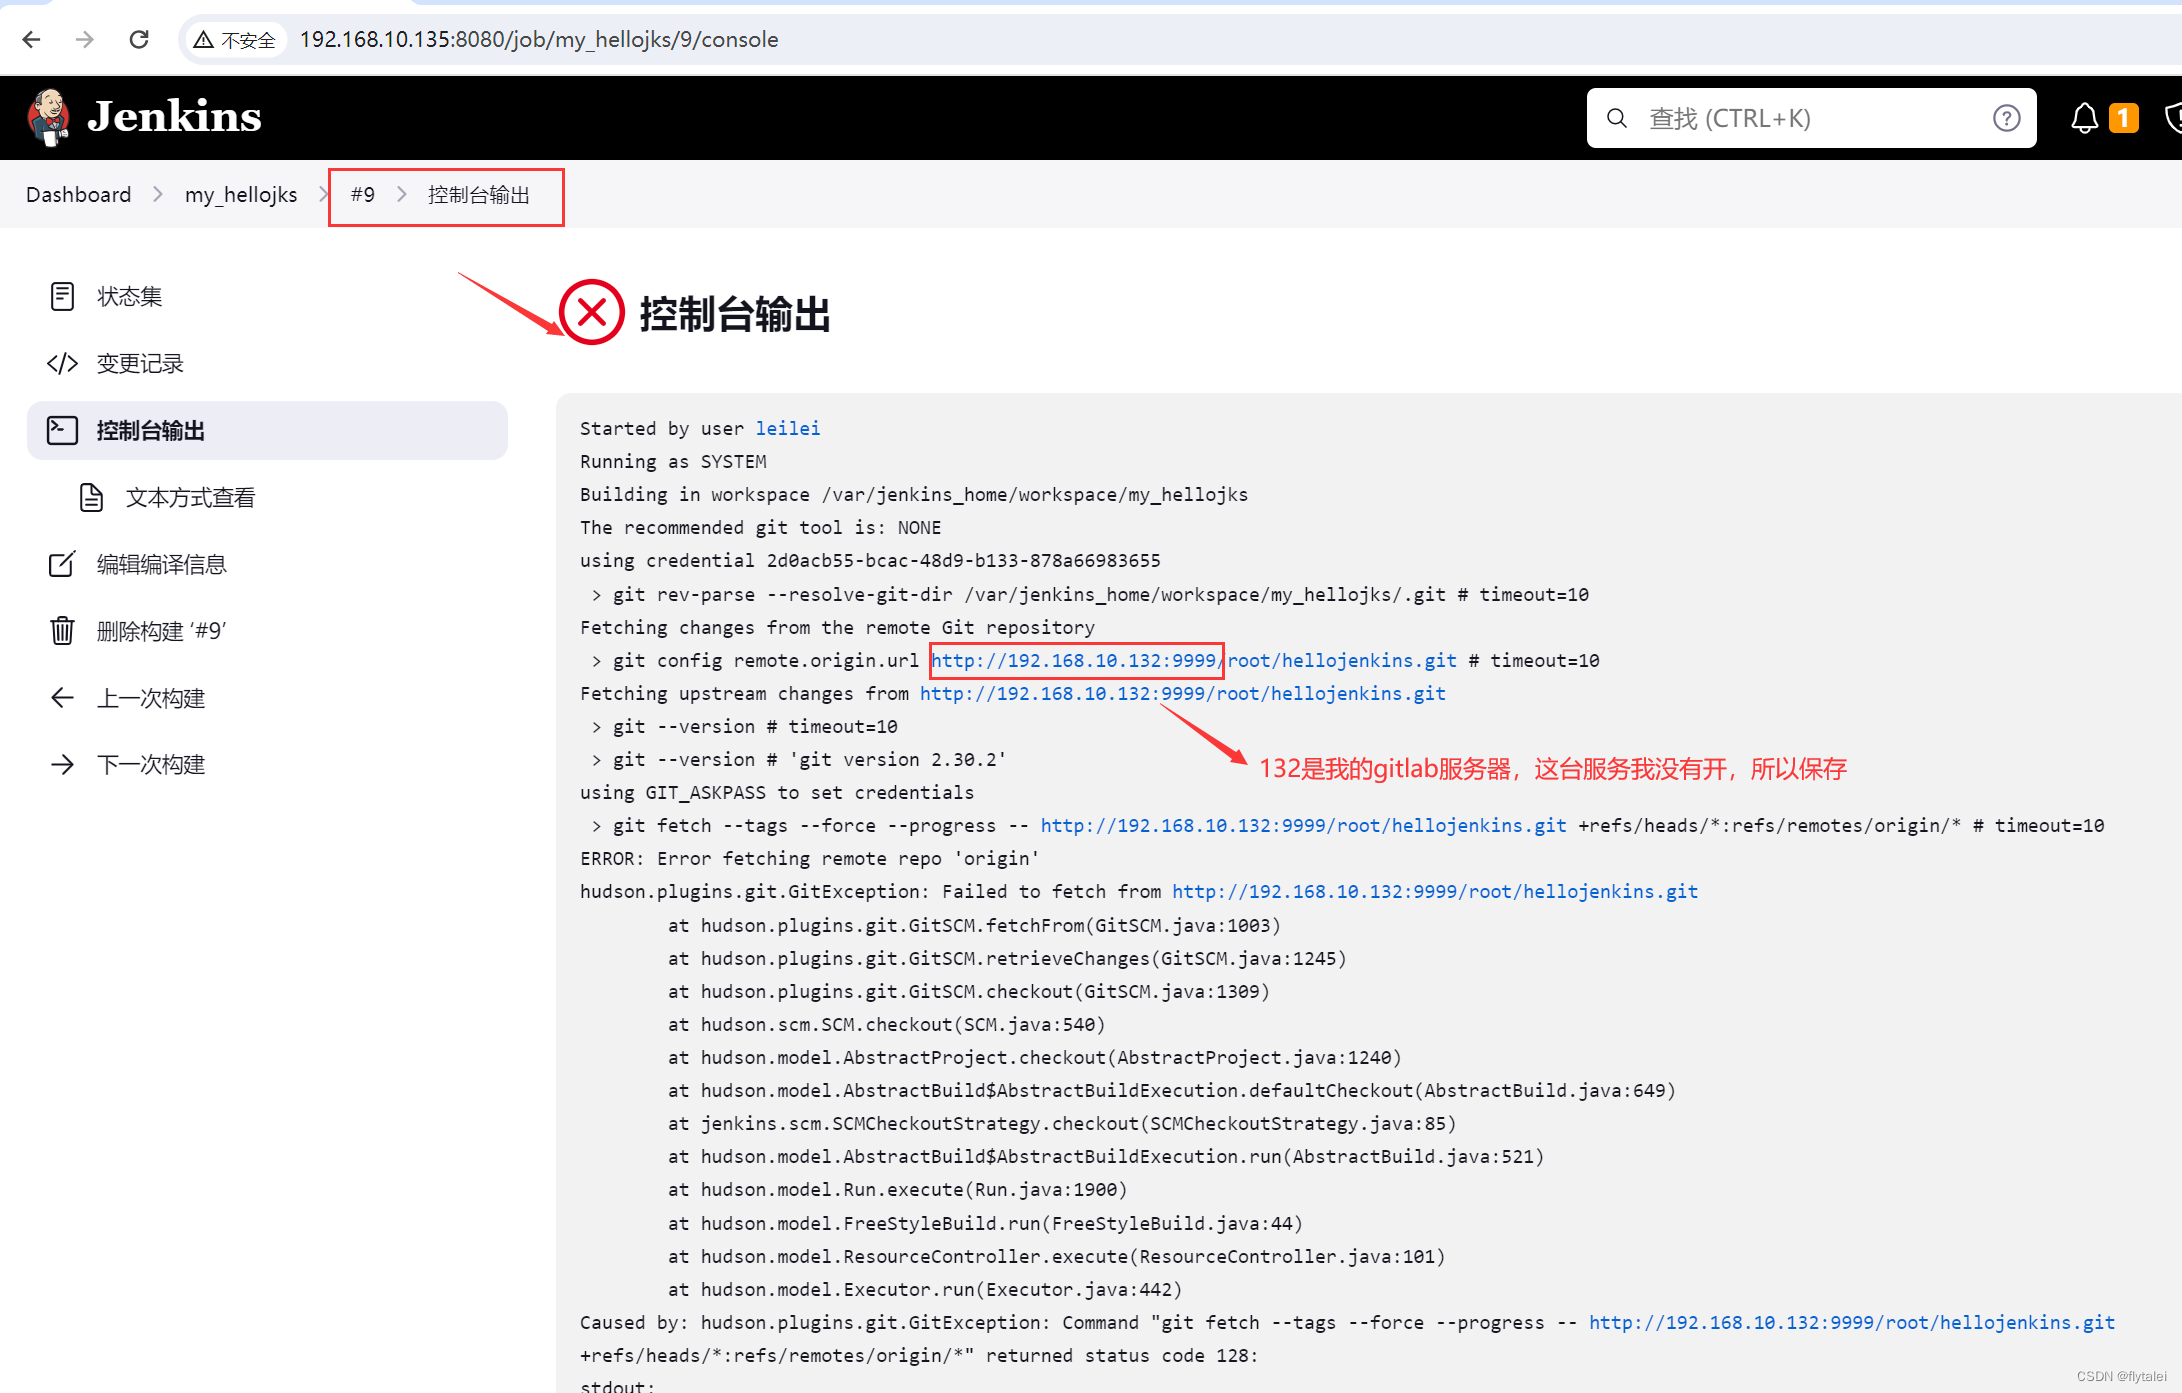
构成成功后目标服务器的“/usr/local/jenkins”目录下已经有target文件了,我们的jar包已经被jenkins服务器推送过来了

构建项目镜像
我们在java项目里已经加上了Dockerfile和compos.yml并且已将将提交到了Gitlab上

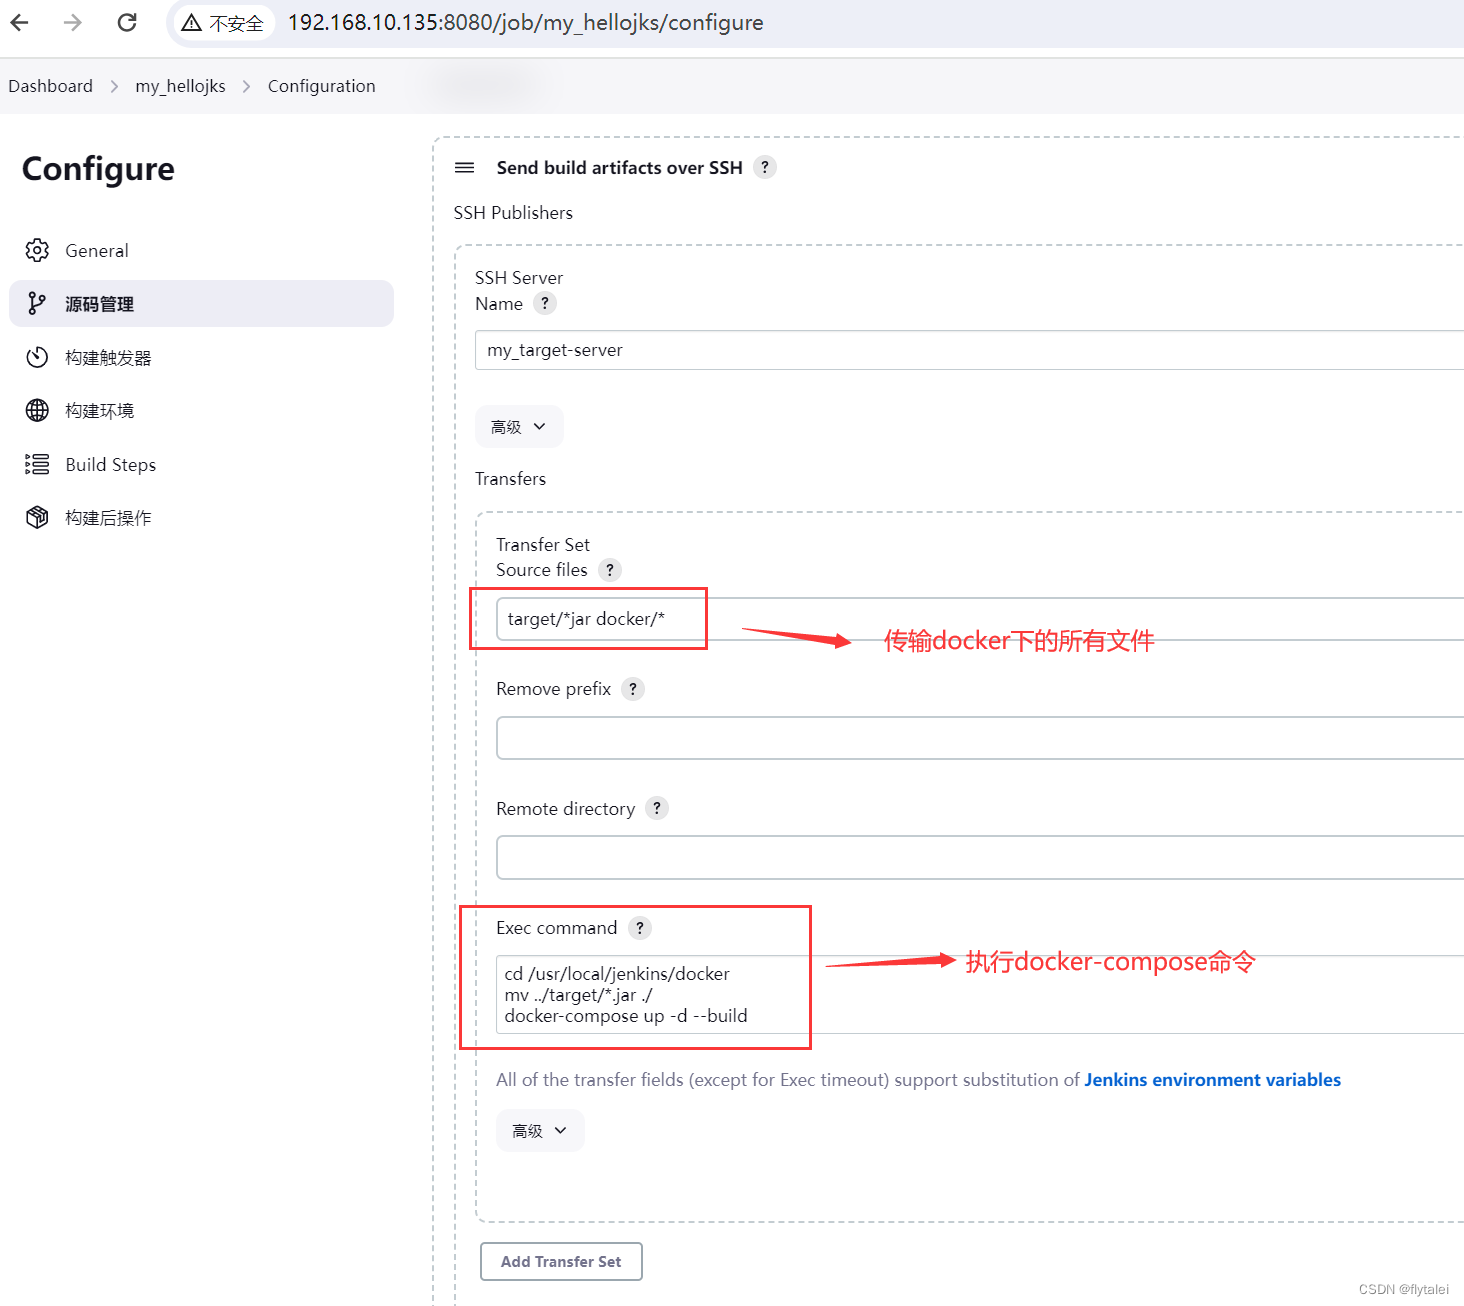
以上配置完后jenkins点击立即构建
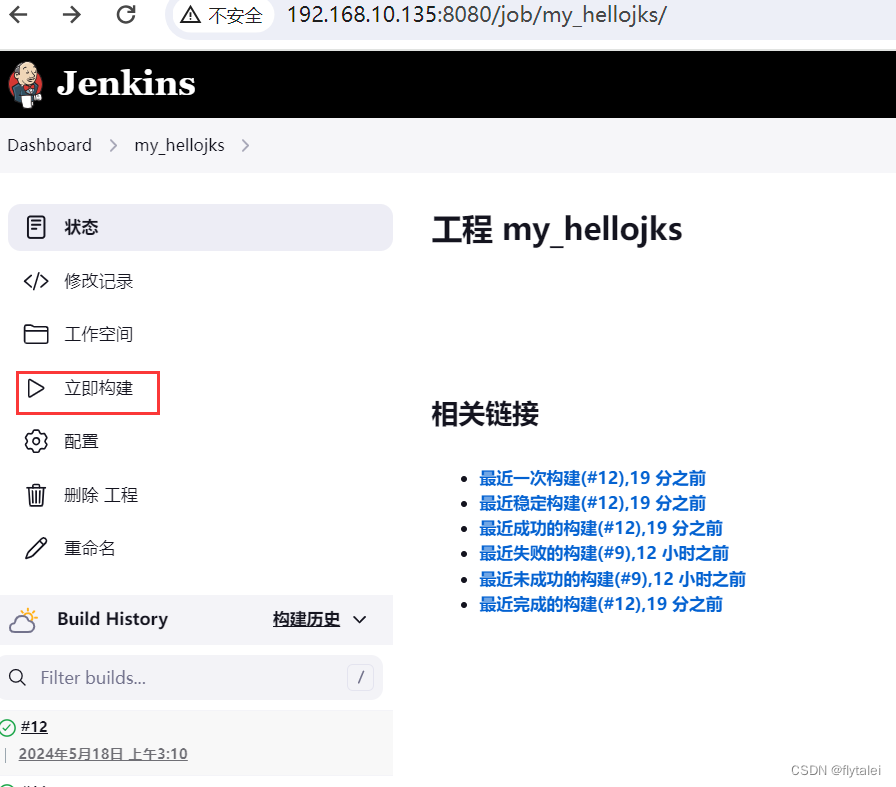
docker 目录已经传送过来了

修改代码重新构建然后访问目录服务器

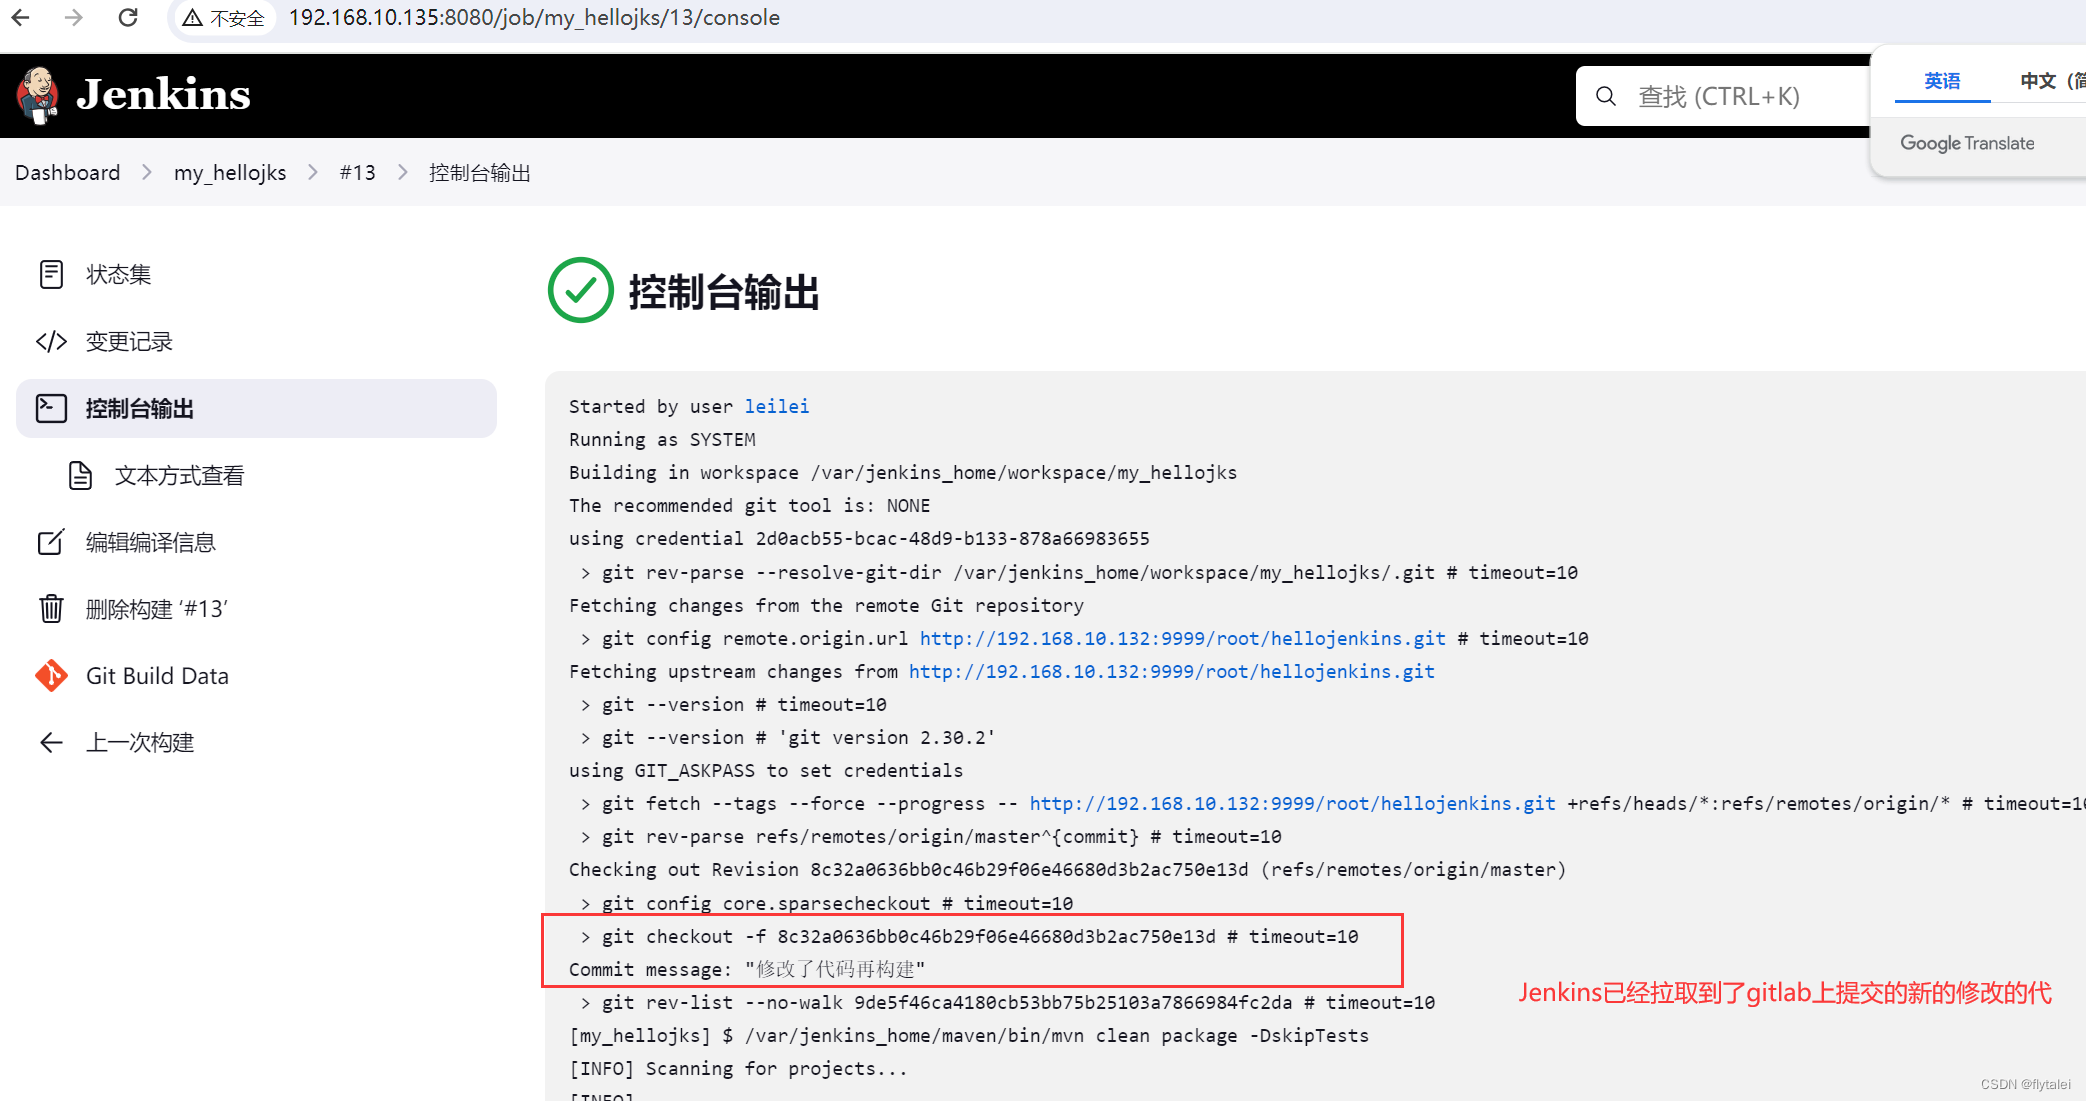
访问目标服务器

成功了!
