1、jupyter-bbox-widget画框,这只能jupyter环境插件使用
pip install jupyter_bbox_widget ##安装
##注册
jupyter nbextension enable --py --sys-prefix jupyter_bbox_widget
使用
from jupyter_bbox_widget import BBoxWidget
widget = BBoxWidget(
    image='fruit.jpg',
    classes=['apple', 'orange', 'pear'],
)
widget

注意上面如果图像显示问题,用base64方式
from jupyter_bbox_widget import BBoxWidget
import base64

def encode_image(filepath):
    with open(filepath, 'rb') as f:
        image_bytes = f.read()
    encoded = str(base64.b64encode(image_bytes), 'utf-8')
    return "data:image/jpg;base64,"+encoded

widget = BBoxWidget(
    image = encode_image(r"C:\Use***6722996428308480-0 (2).jpg",),
    classes = ['apple', 'orange', 'pear'],
)

vscode的jupyter环境也可以

反向通过坐标指定显示出来

2、cv2自定义画框,比如矩形框四个点的坐标获取
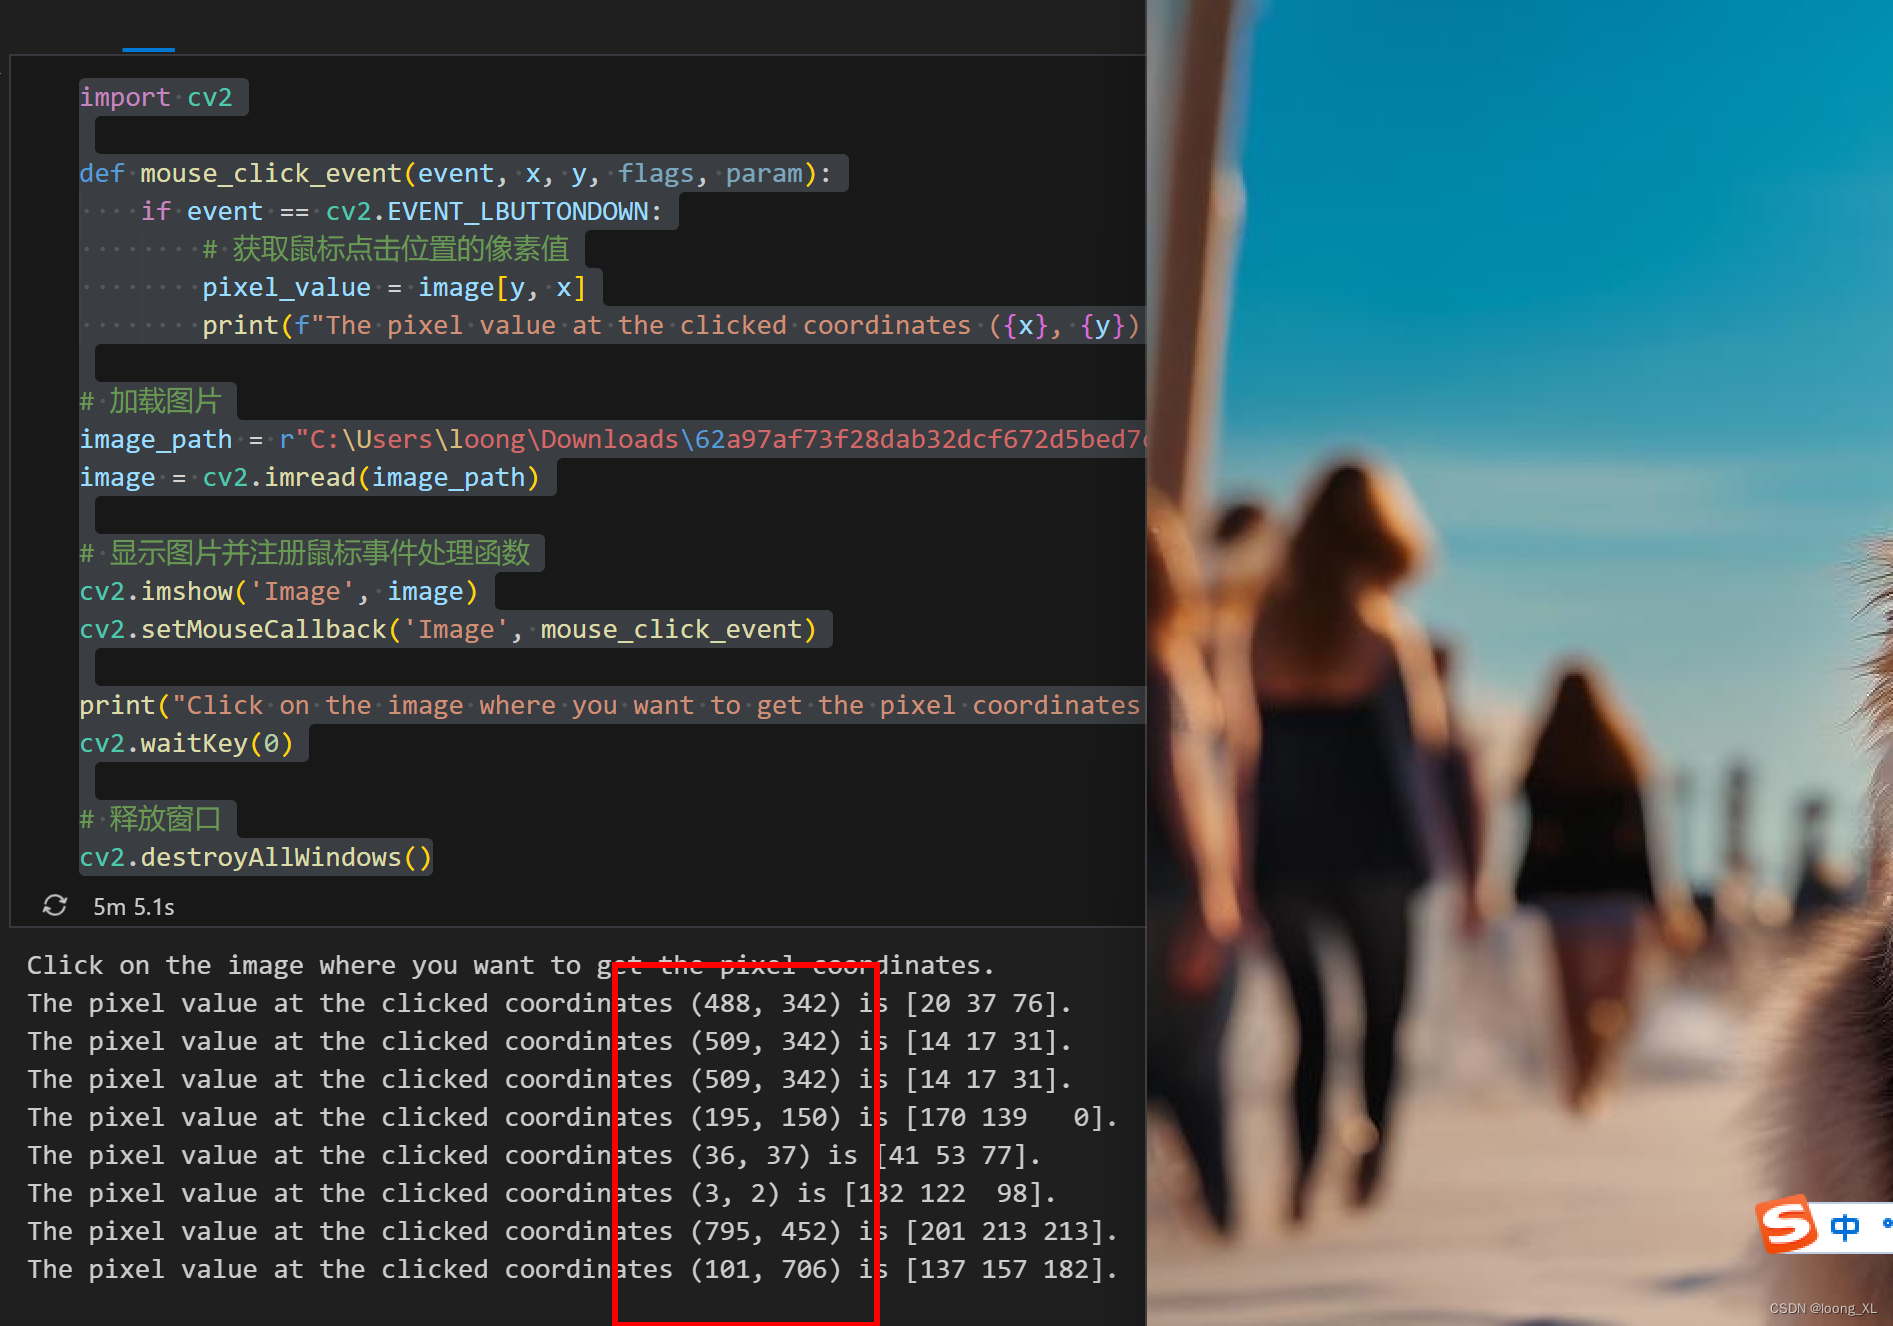
通过cv2点击图片获取像素点坐标
import cv2

def mouse_click_event(event, x, y, flags, param):
    if event == cv2.EVENT_LBUTTONDOWN:
        # 获取鼠标点击位置的像素值
        pixel_value = image[y, x]
        print(f"The pixel value at the clicked coordinates ({x}, {y}) is {pixel_value}.")

# 加载图片
image_path = r"C:\Users\loong\Downloads\62a97af73f28dab32dcf672d5bed7cf6996571b26e5e1fc054aeb36c.jpg"
image = cv2.imread(image_path)

# 显示图片并注册鼠标事件处理函数
cv2.imshow('Image', image)
cv2.setMouseCallback('Image', mouse_click_event)

print("Click on the image where you want to get the pixel coordinates.")
cv2.waitKey(0)

# 释放窗口
cv2.destroyAllWindows()

3、shapely 指定画框,根据上面坐标,下面例子是画两个框,多边形和矩形
Polygon画框看着坐标是逆时针可以串起来坐标
(200, 250), (440, 250), (440, 550), (200, 550)
from shapely.geometry import Polygon

counting_regions = [
    {
        "name": "YOLOv8 Polygon Region",
        "polygon": Polygon(
            [(50, 80), (250, 20), (450, 80), (400, 350), (100, 350)]
        ),  # Polygon with five points (Pentagon)
        "counts": 0,
        "dragging": False,
        "region_color": (255, 42, 4),  # BGR Value
        "text_color": (255, 255, 255),  # Region Text Color
    },
    {
        "name": "YOLOv8 Rectangle Region",
        "polygon": Polygon([(200, 250), (440, 250), (440, 550), (200, 550)]),  # Rectangle with four points
        "counts": 0,
        "dragging": False,
        "region_color": (37, 255, 225),  # BGR Value
        "text_color": (0, 0, 0),  # Region Text Color
    },
]


