在nestjs中,Exception Filter(异常过滤器)是用于处理全局异常的一种机制。它可以捕获应用程序中发生的异常,并对其进行统一处理。本章我们来学习自定义Exception Filter。
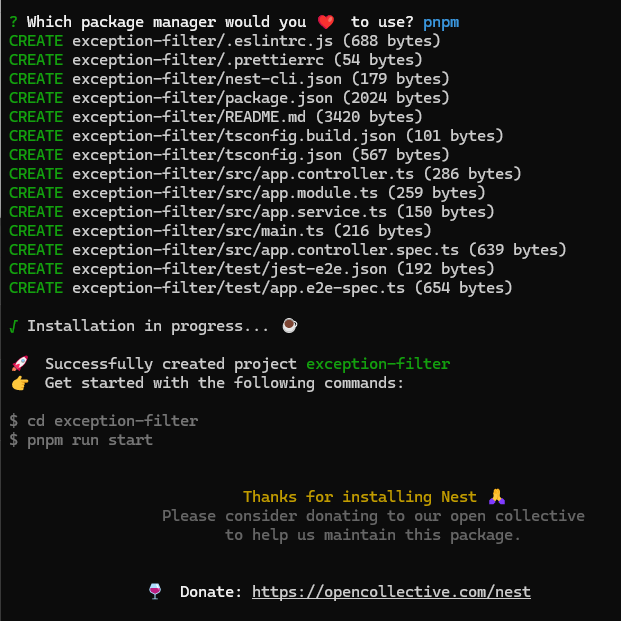
首先 先创建一个新的项目:
nest new exception-filter
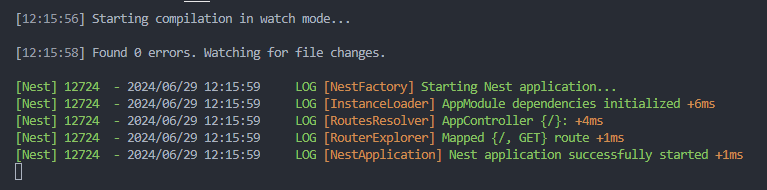
启动项目:
npm run start:dev
在controller 里抛个异常,修改app.controller.ts:
import { Controller, Get, HttpException, HttpStatus } from '@nestjs/common';
import { AppService } from './app.service';

@Controller()
export class AppController {
  constructor(private readonly appService: AppService) { }

  @Get()
  getHello(): string {
    throw new HttpException('xxxxx', HttpStatus.BAD_REQUEST)
    return this.appService.getHello();
  }
}
HttpStatus 其实就是内置的一些状态码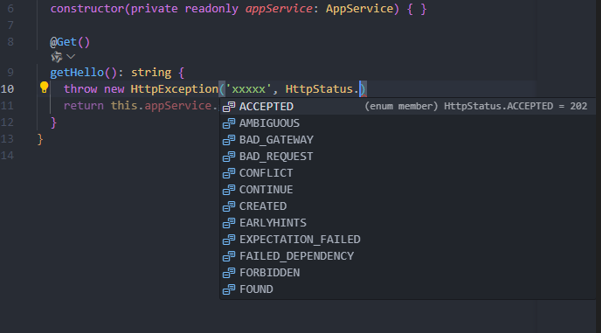
此时 游览器访问 http://localhost:3000/ 可以看到返回的响应是400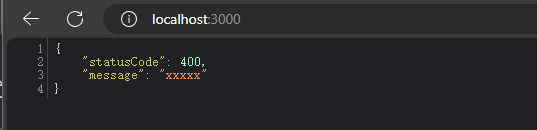
以上返回的响应格式是内置 Exception Filter 生成
同时 也可以直接抛出具体的异常
import { BadRequestException, Controller, Get, HttpException, HttpStatus } from '@nestjs/common';
import { AppService } from './app.service';

@Controller()
export class AppController {
  constructor(private readonly appService: AppService) { }

  @Get()
  getHello(): string {
    // throw new HttpException('xxxxx', HttpStatus.BAD_REQUEST)
    throw new BadRequestException('异常');
    return this.appService.getHello();
  }
}
继续游览器访问 http://localhost:3000/ 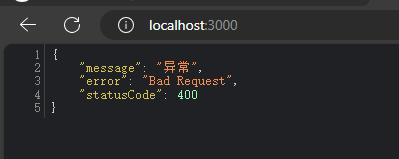
接着我们定义一个 exception filter:
nest g filter test --flat --no-spec

修改 test.filter.ts:
import { ArgumentsHost, BadRequestException, Catch, ExceptionFilter } from '@nestjs/common';

@Catch(BadRequestException)
export class TestFilter implements ExceptionFilter {
  catch(exception: BadRequestException, host: ArgumentsHost) {
    const http = host.switchToHttp()

    const response = http.getResponse()

    const statusCode = exception.getStatus()

    response.status(statusCode).json({
      code: statusCode,
      message: exception.message,
      error: 'Bad Request',
      xxx: 111
    })
  }
}
在AppModule 里全局引入:
import { NestFactory } from '@nestjs/core';
import { AppModule } from './app.module';
import { TestFilter } from './test.filter';

async function bootstrap() {
  const app = await NestFactory.create(AppModule);

  app.useGlobalFilters(new TestFilter())

  await app.listen(3000);
}
bootstrap();
访问 http://localhost:3000/ 可以看到响应是自定义的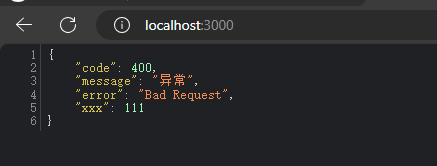
但是目前只是@Catch 了 BadRequestException的异常 如果抛出的是其他异常 那么依然是原来的格式
例如使用BadGatewayException 格式
import { BadGatewayException, BadRequestException, Controller, Get, HttpException, HttpStatus } from '@nestjs/common';
import { AppService } from './app.service';

@Controller()
export class AppController {
  constructor(private readonly appService: AppService) { }

  @Get()
  getHello(): string {
    // throw new HttpException('xxxxx', HttpStatus.BAD_REQUEST)
    throw new BadGatewayException('异常');
    return this.appService.getHello();
  }
}
再访问 http://localhost:3000/ 可以看到依然是默认格式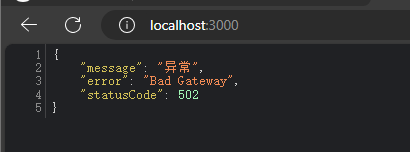
接下来我们看一下BadRequestException 和 BadGatewayException 都是哪里来的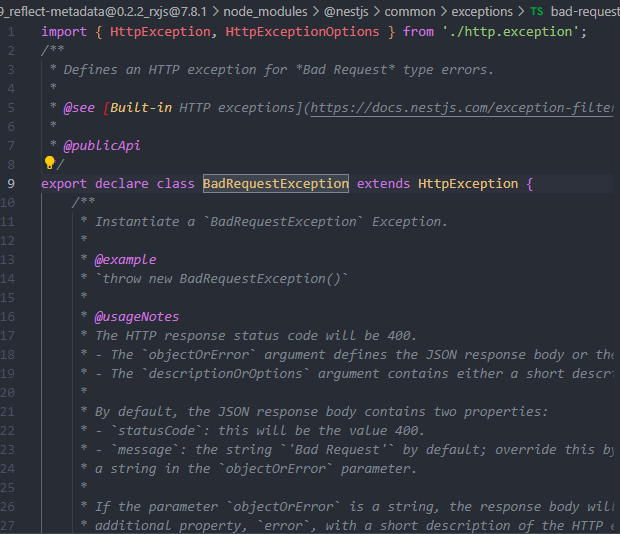
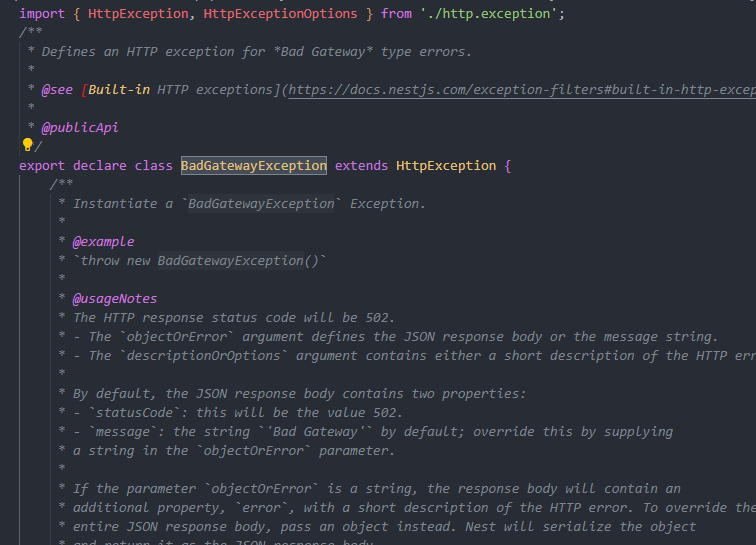
可以看到 BadRequestException 和 BadGatewayException 都是 HttpException 的子类
那么我们在异常过滤那里将 @Catch 指定 HttpException 即可包含所有
@Catch(HttpException)
export class TestFilter implements ExceptionFilter {
  catch(exception: HttpException, host: ArgumentsHost) {
    const http = host.switchToHttp()

    const response = http.getResponse()

    const statusCode = exception.getStatus()

    response.status(statusCode).json({
      code: statusCode,
      message: exception.message,
      error: 'Bad Request',
      xxx: 111
    })
  }
}
再次访问 http://localhost:3000/ 可以看到现在的格式是自定义的格式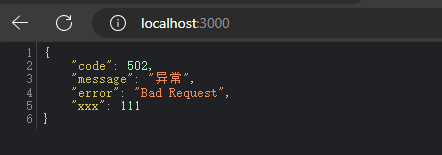
自此HttpException 都会被处理,但是当我们用 ValidationPipe 也有问题例如:
创建 www.dto.ts
export class WwwDto {
    aaa: string;
    bbb: number;
}
创建接口
  @Post('www')
  www(@Body() www: WwwDto) {
    return www
  }
安装需要用到的包:
npm install --save class-validator class-transformer
接着修改WwwDto 添加校验规则:
import { IsEmail, IsNotEmpty, IsNumber } from "class-validator";

export class WwwDto {
    @IsNotEmpty({ message: 'aaa 不能为空' })
    @IsEmail({}, { message: 'aaa 不是邮箱格式' })
    aaa: string;

    @IsNumber({}, { message: 'bbb 不是数字' })
    @IsNotEmpty({ message: 'bbb 不能为空' })
    bbb: number;
}
接着全局使用ValidationPipe:
import { NestFactory } from '@nestjs/core';
import { AppModule } from './app.module';
import { TestFilter } from './test.filter';
import { ValidationPipe } from '@nestjs/common';

async function bootstrap() {
  const app = await NestFactory.create(AppModule);

  app.useGlobalFilters(new ValidationPipe() as any)

  app.useGlobalFilters(new TestFilter())

  await app.listen(3000);
}
bootstrap();
最后在postman 里测试一下: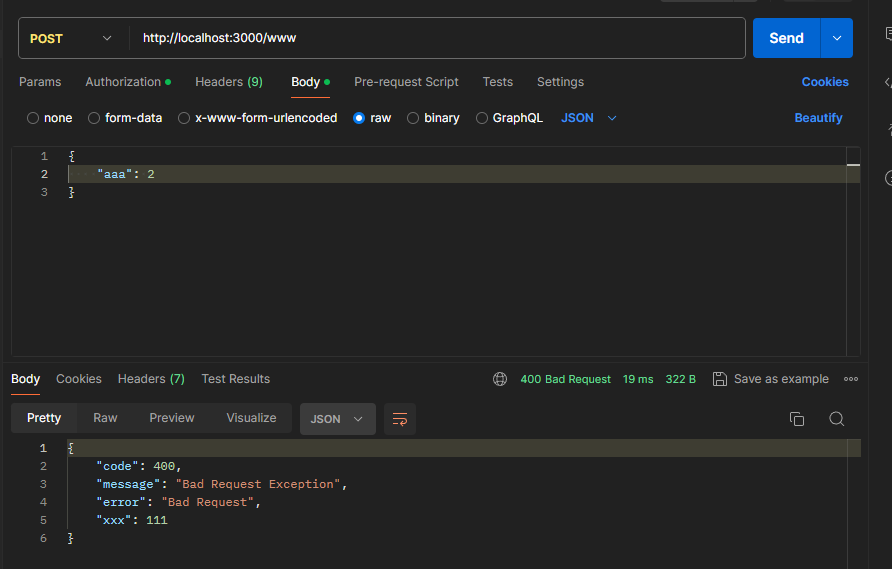
可以看到提示的错误不对, exception filter 会拦截所有 HttpException,但是没有对这种情况做支持。
我们再次把 app.useGlobalFilters(new TestFilter()) 注释掉
访问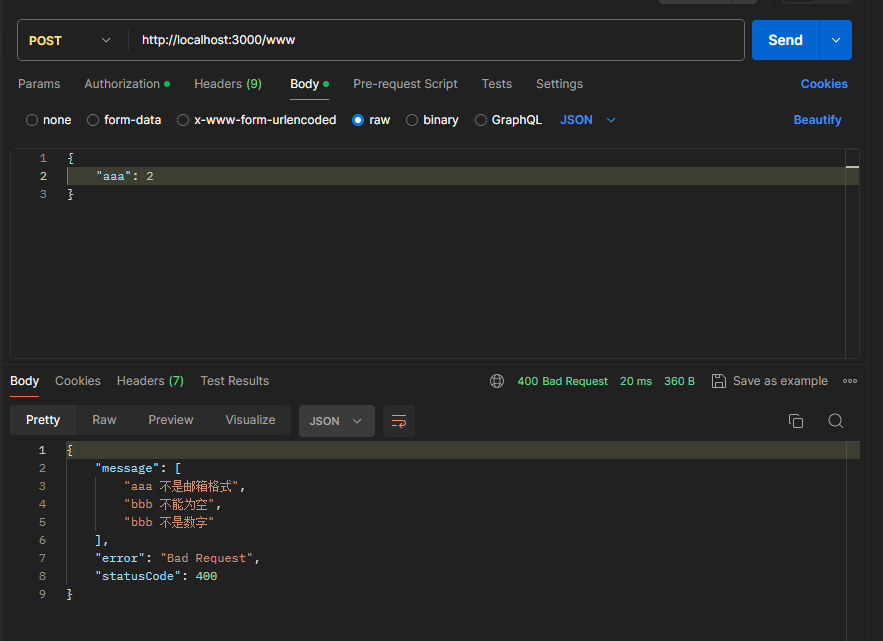
接着我们修改 test.filter.ts 实现对ValidationPipe的支持
import { ArgumentsHost, BadRequestException, Catch, ExceptionFilter, HttpException } from '@nestjs/common';

@Catch(HttpException)
export class TestFilter implements ExceptionFilter {
  catch(exception: HttpException, host: ArgumentsHost) {
    const http = host.switchToHttp()

    const response = http.getResponse()

    const statusCode = exception.getStatus()

    const res = exception.getResponse() as { message: string[] };

    response.status(statusCode).json({
      code: statusCode,
      message: res?.message?.join ? res?.message?.join(',') : exception.message,
      error: 'Bad Request',
      xxx: 111
    })
  }
}
import { NestFactory } from '@nestjs/core';
import { AppModule } from './app.module';
import { TestFilter } from './test.filter';
import { ValidationPipe } from '@nestjs/common';

async function bootstrap() {
  const app = await NestFactory.create(AppModule);

  app.useGlobalPipes(new ValidationPipe())

  app.useGlobalFilters(new TestFilter())

  await app.listen(3000);
}
bootstrap();
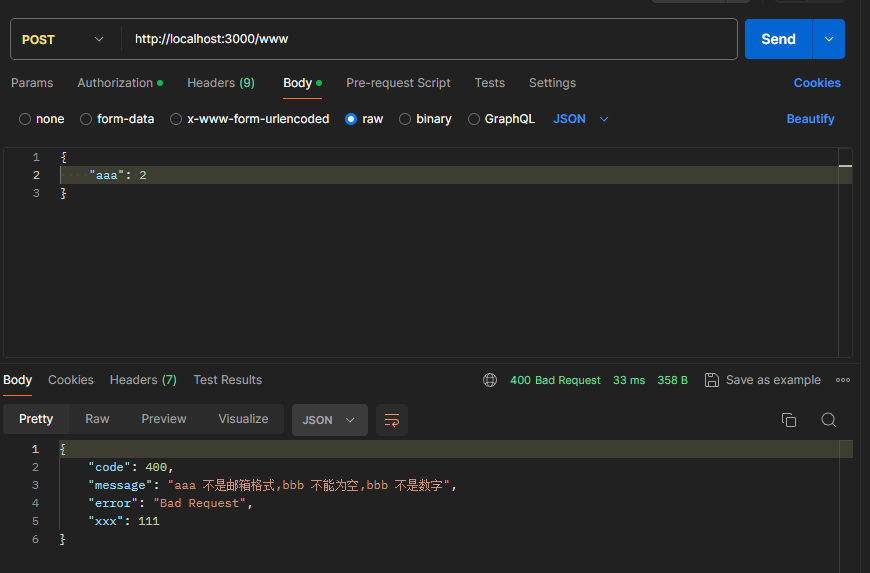
自此ValidationPipe 的错误和其他的错误就都返回了正确的格式
如果想在 Filter 里注入 AppService 则需要修改注册方式:
import { NestFactory } from '@nestjs/core';
import { AppModule } from './app.module';
import { TestFilter } from './test.filter';
import { ValidationPipe } from '@nestjs/common';

async function bootstrap() {
  const app = await NestFactory.create(AppModule);

  app.useGlobalPipes(new ValidationPipe())

 // app.useGlobalFilters(new TestFilter())

  await app.listen(3000);
}
bootstrap();
接着在 AppModule 里注册一个 token 为 APP_FILTER 的 provider:
import { Module } from '@nestjs/common';
import { AppController } from './app.controller';
import { AppService } from './app.service';
import { APP_FILTER } from '@nestjs/core';
import { TestFilter } from './test.filter';

@Module({
  imports: [],
  controllers: [AppController],
  providers: [
    AppService,
    {
      provide: APP_FILTER,
      useClass: TestFilter
    }
  ],
})
export class AppModule { }
Nest 会把所有 token 为 APP_FILTER 的 provider 注册为全局 Exception Filter
接着就可以在TestFilter 注入 AppService
import { ArgumentsHost, BadRequestException, Catch, ExceptionFilter, HttpException, Inject } from '@nestjs/common';
import { AppService } from './app.service';

@Catch(HttpException)
export class TestFilter implements ExceptionFilter {

  @Inject(AppService)
  private service: AppService
  catch(exception: HttpException, host: ArgumentsHost) {
    const http = host.switchToHttp()

    const response = http.getResponse()

    const statusCode = exception.getStatus()

    const res = exception.getResponse() as { message: string[] };

    response.status(statusCode).json({
      code: statusCode,
      message: res?.message?.join ? res?.message?.join(',') : exception.message,
      error: 'Bad Request',
      xxx: 111,
      www: this.service.getHello()
    })
  }
}
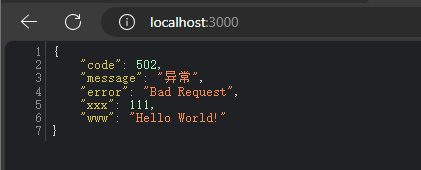
访问 http://localhost:3000/