方法一:使用vite生成项目(确保你的 node 版本是16.0.0或更高版本)
Vite 是一个新型的前端构建工具,专为现代前端开发优化。
第一步:创建项目,命令如下:
// 创建项目的命令
npm create vite@latest my-vue3-project -- --template vue
第二步:创建成功后进入到项目安装依赖:
cd my-vue3-project
npm install
第三步:依赖安装完成后运行项目:
npm run dev运行成功后即可看到访问地址为:http://localhost:3000 ,通过地址可以看到 Vue 项目页面。
项目结构
无论你选择 Vue CLI 还是 Vite,项目结构大致相同:
src/: 源代码目录。main.js: 项目的入口文件。App.vue: 根组件。components/: 存放组件的目录。
public/: 公共资源目录。package.json: 项目的配置文件,包含依赖信息和脚本命令。
第四步:安装 vue-router 配置vue路由,安装命令如下 :
npm install vue-router1、修改 App.vue 文件,将默认的内容删除,加上我们需要的内容
<template>
    <router-view/>
</template>
<script setup>

</script>

<style scoped>

</style>
2、在 src 目录下创建 views 文件夹,并创建 home.vue 文件,用来存放我们的vue页面,当然真正开发过程中还是需要根据需求划分好页面目录哦~
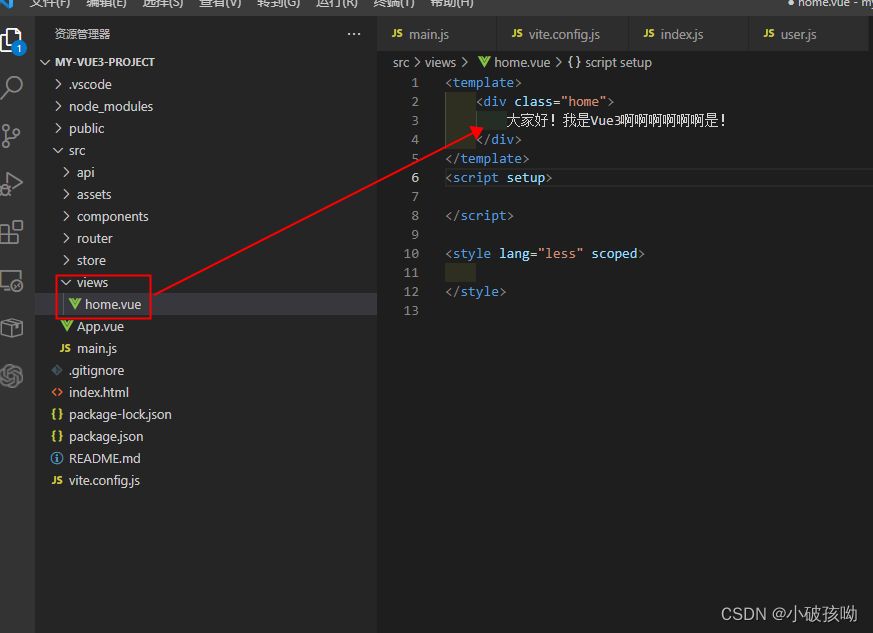
<template>
    <div class="home">
        大家好!我是Vue3啊啊啊啊啊啊是!
    </div>
</template>
<script setup>

</script>

<style lang="less" scoped>

</style>
3、在 src 目录下创建 router 文件夹,并创建 index.js 文件,真正开发过程中随着路由的增多,可以划分不同模块的路由js文件,在 index.js 文件中引入哦
import { createRouter, createWebHashHistory } from 'vue-router'

const router = createRouter({
    history: createWebHashHistory(),
    routes: [
        {
            path: '/home',
            name: '/home',
            component: () => import('../views/home.vue'),
            meta: {
                title: '首页'
            }
        }
    ]
})

export default router
4、在 main.js 中引入路由
import { createApp } from 'vue'
import App from './App.vue'
import router from './router'


createApp(App)
.use(router)
.mount('#app')
通过以上配置路由的配置就大功告成,启动项目,可以看见页面已经有了我们写的内容。
第五步:安装pinia,并配置 pinia,代替我们 vue2 中使用的 vuex
npm install pinia1、在 src 目录下创建 store 文件夹,自定义js文件,例如图片的 user.js 可以用来缓存用户相关的数据(后续可以根据需求自定义不同模块的js文件)
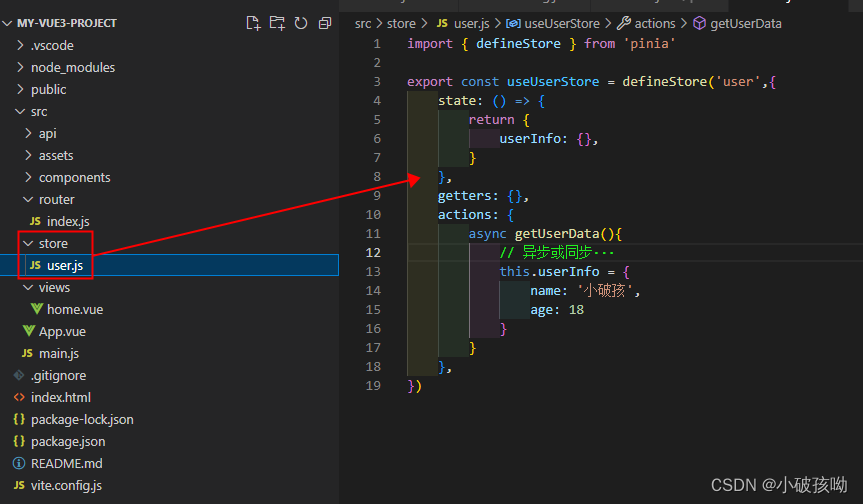
import { defineStore } from 'pinia'

export const useUserStore = defineStore('user',{
    state: () => {
        return {
            userInfo: {},
        }
    },
    getters: {},
    actions: {
        async getUserData(){
            // 异步或同步···
            this.userInfo = {
                name: '小破孩',
                age: 18
            }
        }
    },
})
2、在 main.js 中注册 pinia
import { createApp } from 'vue'
import App from './App.vue'
import router from './router'
import { createPinia } from 'pinia' // 引入状态管理
const pinia = createPinia()


createApp(App)
.use(router)
.use(pinia)
.mount('#app')
3、使用pinia,在vue文件中引入我们定义的pinia数据
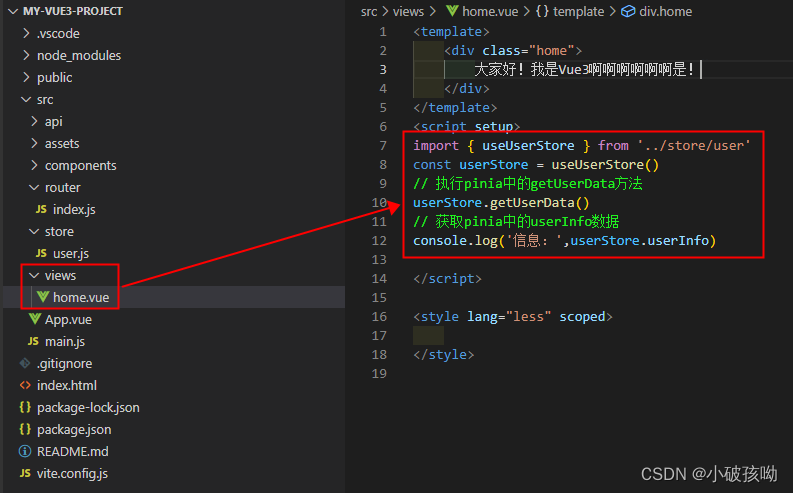
<template>
    <div class="home">
        大家好!我是Vue3啊啊啊啊啊啊是!
    </div>
</template>
<script setup>
import { useUserStore } from '../store/user'
const userStore = useUserStore()
// 执行pinia中的getUserData方法
userStore.getUserData()
// 获取pinia中的userInfo数据
console.log('信息:',userStore.userInfo)

</script>

<style lang="less" scoped>

</style>
第六步:配置 less,让我们写样式时更方便,这里注意只需要安装less,不需要像 Webpack 那样还有安装 less-loader,vite已内置
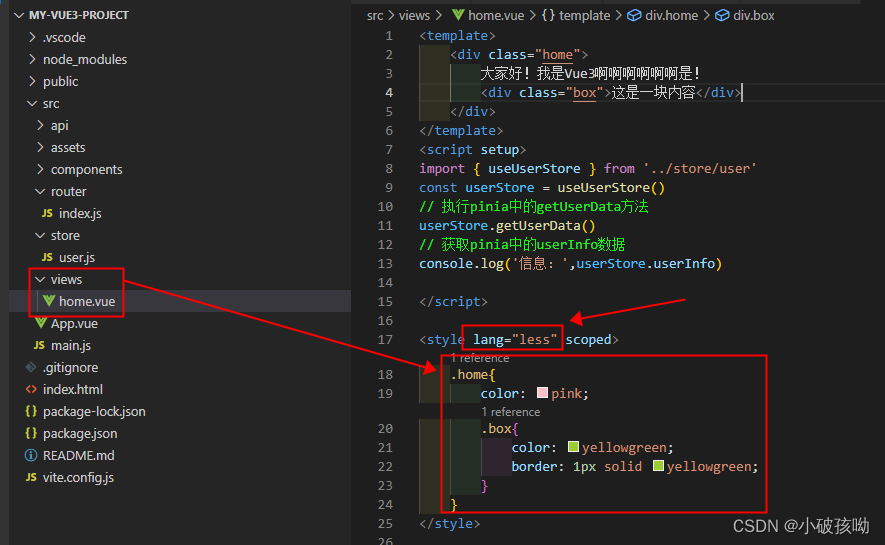
npm install less1、在 home.vue 文件中写 less 样式,测试下是否安装成功
<template>
    <div class="home">
        大家好!我是Vue3啊啊啊啊啊啊是!
        <div class="box">这是一块内容</div>
    </div>
</template>
<script setup>
import { useUserStore } from '../store/user'
const userStore = useUserStore()
// 执行pinia中的getUserData方法
userStore.getUserData()
// 获取pinia中的userInfo数据
console.log('信息:',userStore.userInfo)

</script>

<style lang="less" scoped>
    .home{
        color: pink;
        .box{
            color: yellowgreen;
            border: 1px solid yellowgreen;
        }
    }
</style>
如图下所示,已经安装成功!

第七步:使用 element-ui 组件库的 vue3 版本 element-plus
npm install element-plus1、在 main.js 中注册 element-plus
import { createApp } from 'vue'
import App from './App.vue'
import router from './router'
import { createPinia } from 'pinia' // 引入状态管理
const pinia = createPinia()

// 引入并注册 element-plus
import ElementPlus from 'element-plus'
import 'element-plus/dist/index.css'
import * as ElementPlusIconsVue from '@element-plus/icons-vue'
import zhCn from 'element-plus/es/locale/lang/zh-cn'

const app = createApp(App)
for (const [key, component] of Object.entries(ElementPlusIconsVue)) {
    app.component(key, component)
}


createApp(App)
.use(router)
.use(pinia)
.use(ElementPlus,{locale: zhCn})
.mount('#app')
2、在vue文件中使用组件,测试是否安装成功
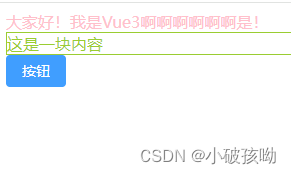
<template>
    <div class="home">
        大家好!我是Vue3啊啊啊啊啊啊是!
        <div class="box">这是一块内容</div>
        <el-button type="primary">按钮</el-button>
    </div>
</template>
<script setup>
import { useUserStore } from '../store/user'
const userStore = useUserStore()
// 执行pinia中的getUserData方法
userStore.getUserData()
// 获取pinia中的userInfo数据
console.log('信息:',userStore.userInfo)

</script>

<style lang="less" scoped>
    .home{
        color: pink;
        .box{
            color: yellowgreen;
            border: 1px solid yellowgreen;
        }
    }
</style>
第八步:配置 axios,让接口请求更为方便
npm install axios1、在 src 目录下,创建 api 文件夹,并在api文件夹里创建 index.js 文件,index.js 文件代码如下:
import axios from 'axios'

axios.interceptors.request.use((config) => {
    // 拦截请求,做需要的处理
    return config
},(error) => {
    // 拦截http code异常等,可以做提示处理
})
axios.interceptors.response.use(
    (res => {
        // 拦截响应,做需要的处理,比如根据后端返回的code做全局提示处理,封装返回值等等
        return res
    },
    (errror) => {
        // 拦截http code异常等,可以做提示处理
    })
)

export default axios
2、在 main.js 中引入我们封装好 axios 的 api 文件
import { createApp } from 'vue'
import App from './App.vue'
import router from './router'
import './api/index' // 引入api文件
import { createPinia } from 'pinia' // 引入状态管理
const pinia = createPinia()

import ElementPlus from 'element-plus'
import 'element-plus/dist/index.css'
import * as ElementPlusIconsVue from '@element-plus/icons-vue'
import zhCn from 'element-plus/es/locale/lang/zh-cn'

const app = createApp(App)
for (const [key, component] of Object.entries(ElementPlusIconsVue)) {
    app.component(key, component)
}


createApp(App)
.use(router)
.use(pinia)
.use(ElementPlus,{locale: zhCn})
.mount('#app')
3、在 vite.config.js 中配置开发时代理,解决跨域问题
import { defineConfig } from 'vite'
import vue from '@vitejs/plugin-vue'

// https://vitejs.dev/config/
// const url = 'http://10.65.58.18/'
// const path = require('path')
export default defineConfig({
  plugins: [vue()],
  server: {
    host: '0.0.0.0',  // 允许通过 IP 地址访问(此配置是项目运行后可以通过IP访问项目)
    port: 3000,       // 你可以指定其他端口
  //   proxy: {
  //     '/': {
  //       target:  url, // 需要代理的后端地址
  //       changeOrigin: true, // 发送请求头中host会设置target
  //     }
  //   }
  }
})
项目完整目录结构:

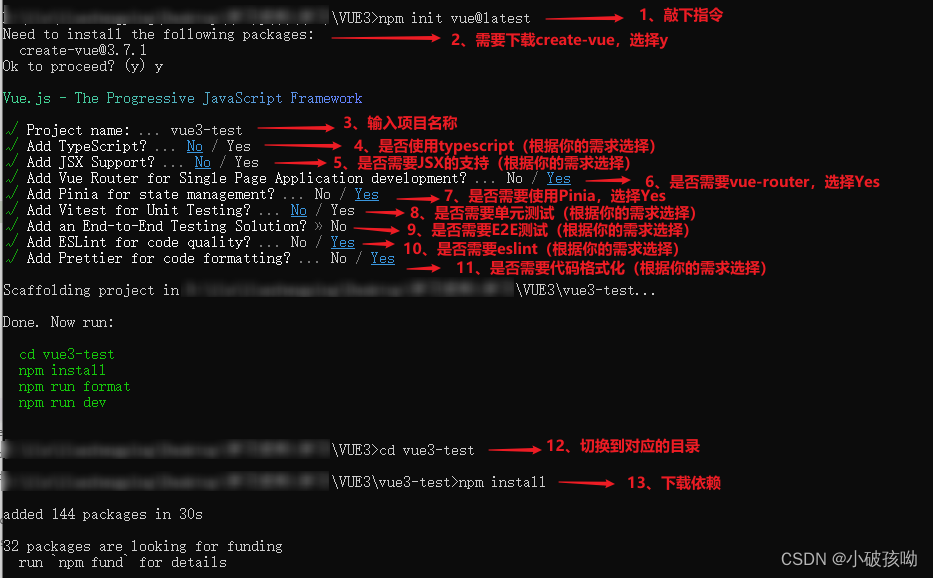
方法二:使用vue的脚手架生成项目,步骤如下图:
至此完成!!!
测试有效!!!感谢支持!!!