系统:redhat9.0
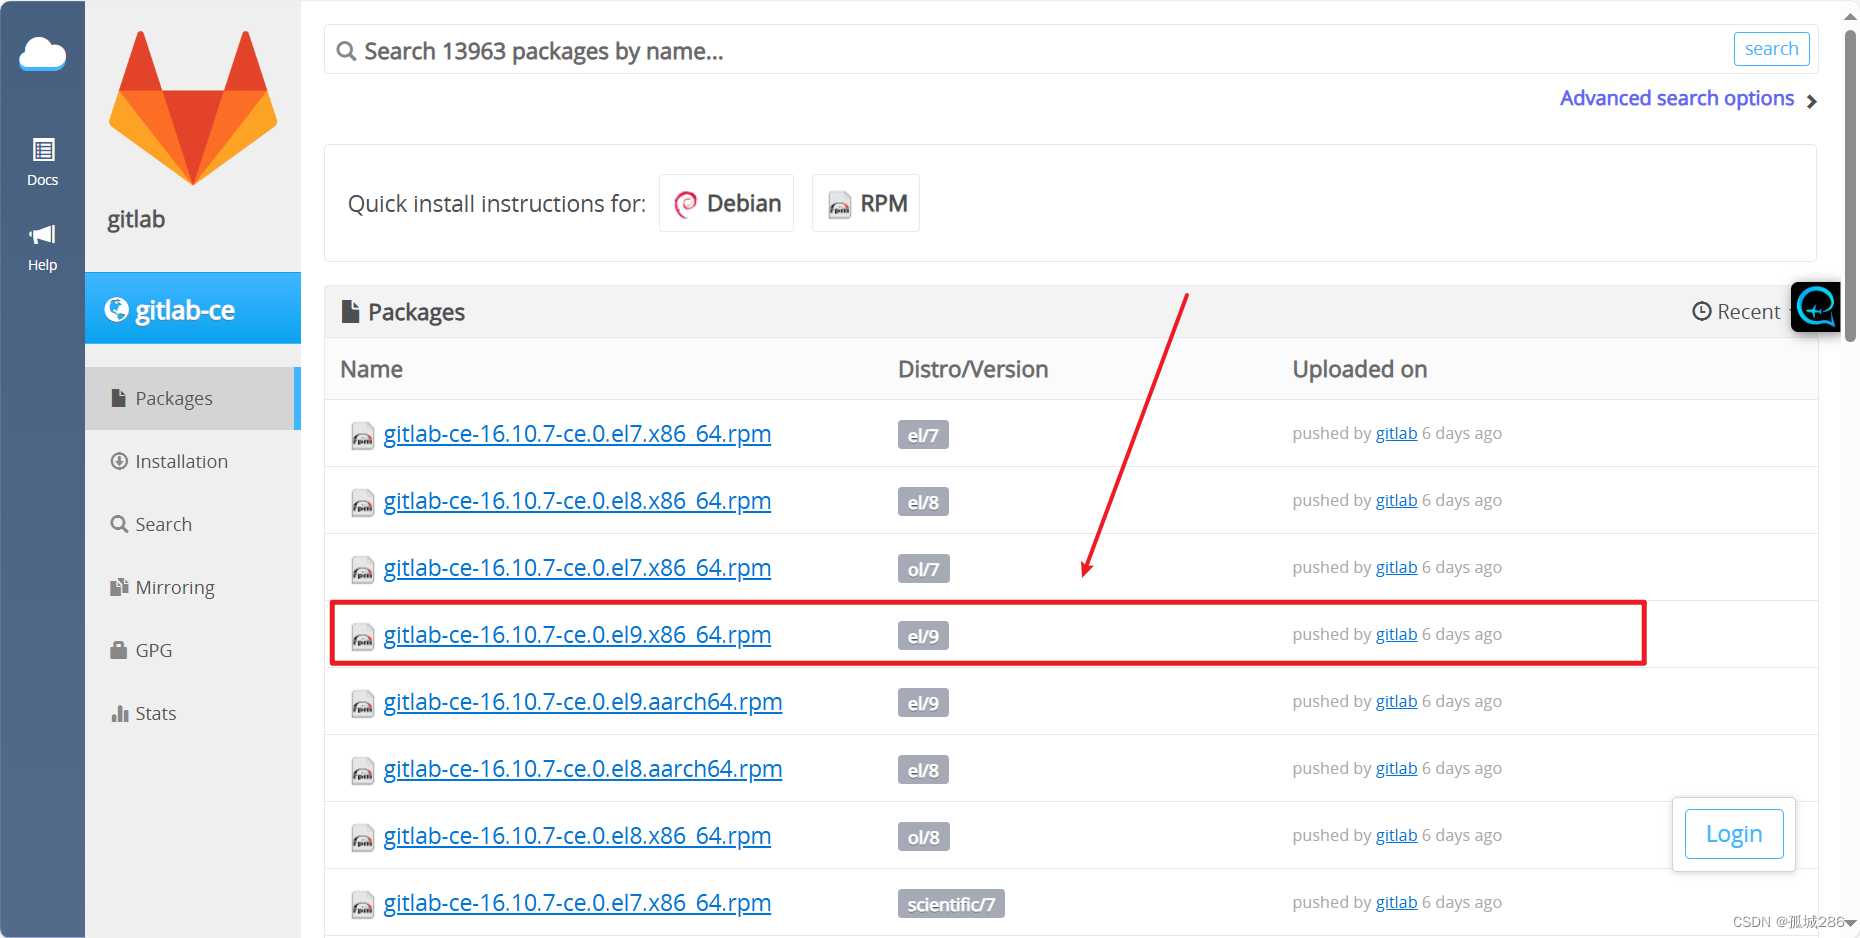
gitlab版本:gitlab-ce-16.10.7-ce.0.el9.x86_64.rpm
安装组件&包依赖:https://packages.gitlab.com/gitlab/gitlab-ce/packages/ol/9/gitlab-ce-16.10.7-ce.0.el9.x86_64.rpm
参考:
前提:
- 下载gitlab rpm包:wget --content-disposition https://packages.gitlab.com/gitlab/gitlab-ce/packages/ol/9/gitlab-ce-16.10.7-ce.0.el9.x86_64.rpm/download.rpm
- 配置好对应的yum源,并生成对应的缓存(dnf clean all && dnf makecache)
1、基础服务的启用与放行

# 启用并启动 SSH 服务

  systemctl enable sshd
  systemctl start sshd

# 配置防火墙以允许 HTTP 和 HTTPS 服务

  firewall-cmd --permanent --add-service=http
  firewall-cmd --permanent --add-service=https
  systemctl reload firewalld
2、安装

# 添加 GitLab 仓库并安装必要的依赖(没有curl命令的话还要提前yum安装以下 yum install -y curl)
  curl -s https://packages.gitlab.com/install/repositories/gitlab/gitlab-ce/script.rpm.sh | sudo bash

# 安装必要的依赖包(官网有说明)
  yum install -y openssh-server perl policycoreutils-python-utils

# 安装 libsemanage(selinux,如果不安装的话gitlab-ctl reconfigure初始化会报错))
 yum install -y libsemanage

# 安装并配置 Postfix 邮件服务
  yum install -y postfix
  systemctl enable postfix
  systemctl start postfix

# 安装 GitLab
  yum install gitlab-ce-16.10.7-ce.0.el9.x86_64
3、配置gitlab相关信息
#配置gitlab对外的提供的url
[root@labhub opt]# cat /etc/gitlab/gitlab.rb | grep ^external_url
external_url 'http://gitlab.server.com'
[root@labhub opt]# vim /opt/gitlab/embedded/service/gitlab-rails/config/gitlab.yml.example
gitlab:
host: gitlab.server.com
port: 80
https: false
[root@labhub opt]# mv /opt/gitlab/embedded/service/gitlab-rails/config/gitlab.yml.example /opt/gitlab/embedded/service/gitlab-rails/config/gitlab.yml#初始化,并开启服务
gitlab-ctl reconfigure
gitlab-ctl start获取root用户名默认密码,然后web页面修改密码
cat /etc/gitlab/initial_root_password (该文件24小时有效,过期删除)
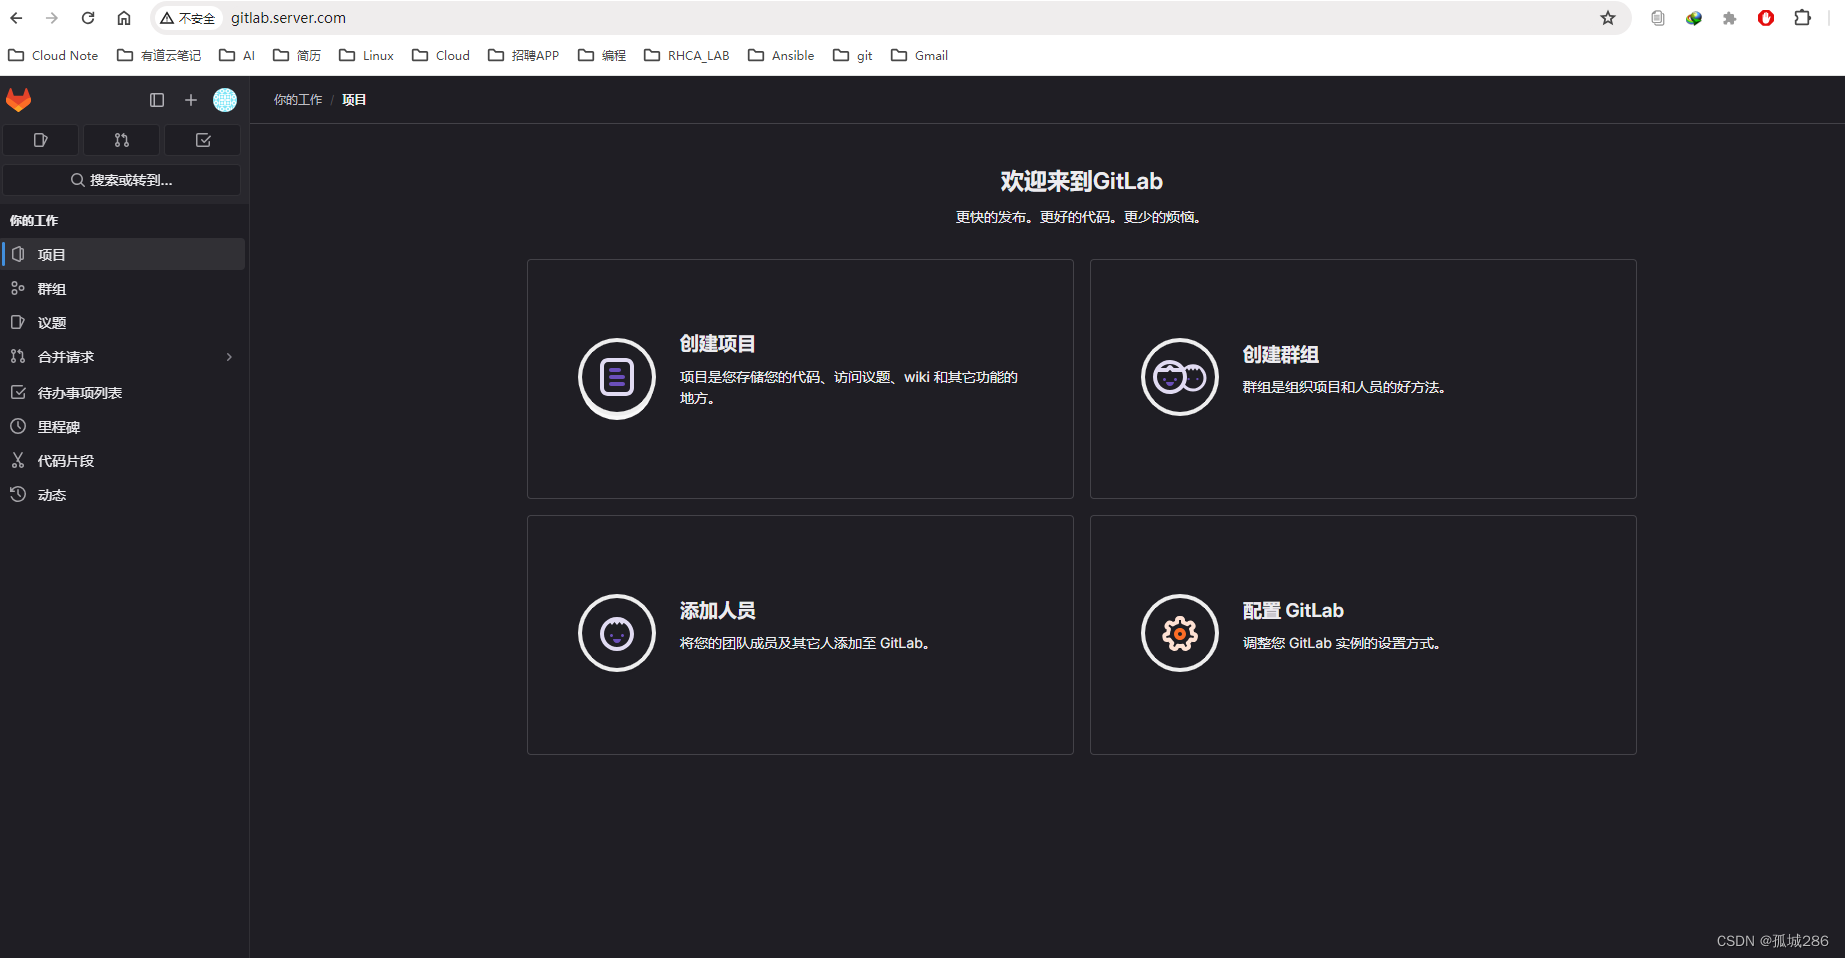
Password: DW4FGpgEQ1pYzLFFf6vJmdNn+0Blk+7xgbwnxXw9LPU=浏览器:http://gitlab.server.com登录
