概述
VM映像做为创建VM的必要条件,各类云环境映像市场均有提供最基础的映像。创建VM后,通常还需要根据组织或用户的需求,安装一些软件、修改配置后才能满足使用需求。这类需求通常可以手动部署或者借助一些配置管理工具,如ansible、puppet、saltstack等来实现,也可以考虑构建自定义的映像,集成软件部署和配置。
映像构建的过程
通常自定义映像比较繁琐,需要经历如下几个步骤,以Azure云为例:
1)创建构建映像使用的VM
2)部署软件/修改配置
3)通用化
4)关机
5)捕获映像
6)删除构建映像使用的VM
使用packer可以自动完成上述这些步骤
Packer构建映像
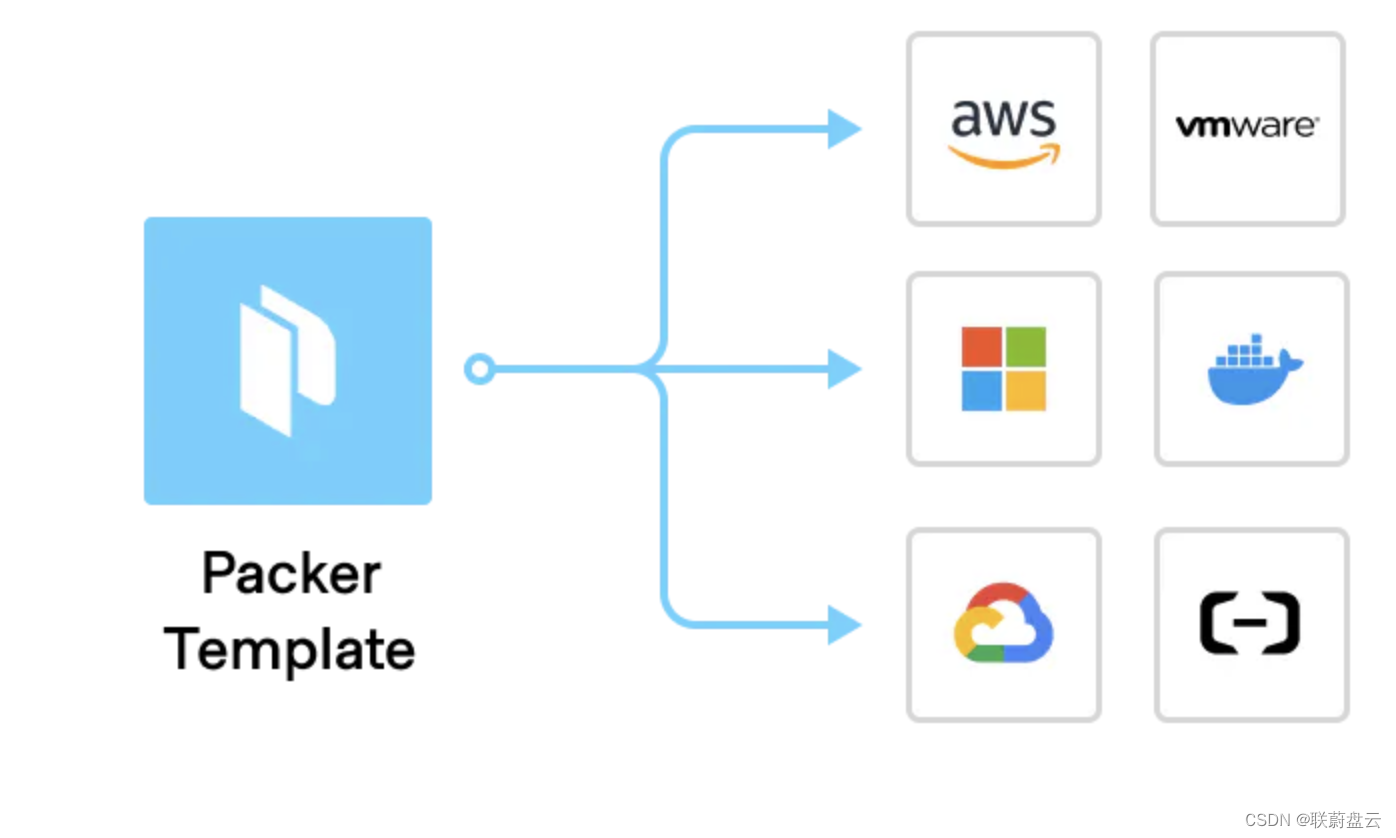
Packer是HashiCorp推出的一款自动构建VM/Docker映像的工具,支持各大主流云平台,可以结合puppet、ansible等配置管理工具高效定制映像。
packer官方文档:https://developer.hashicorp.com/packer/docs
Packer构建AVD映像
本文分享使用packer构建AVD映像的案例,AVD(Azure Virtual Desktop)是Azure推出的虚拟桌面服务,通过集成一些常用的客户端工具,为用户提供方便快捷的资源访问入口。基于Azure VMSS(Virtual Machine Scale Sets)提供会话主机,VMSS使用的映像需要集成各类客户端工具。本场景中我们使用packer+ansible来实现AVD映像的自动构建。有关AVD的介绍,请参考:https://docs.azure.cn/zh-cn/virtual-desktop/overview
环境准备
准备一台用来执行映像构建的VM,本案例使用的VM信息如下
操作系统:CentOS 7
VMSIZE:Standard_D2s_v3
安装packer、ansible
[localhost]# yum install epel-release -y
[localhost]# yum install ansible -y
[localhost]# wget -c 'https://releases.hashicorp.com/packer/1.8.1/packer_1.8.1_linux_amd64.zip'
[localhost]# unzip packer_1.8.1_linux_amd64.zip -d /usr/bin/
[localhost]# pip install pywinrm
生成VM托管标识和授权
VM托管标识(Managed Identity)是用来在Azure上做身份认证和授权的,认证可选的方式还有Service Principal(SP)方式,需要在packer的模版文件中声明client_id、client_secret。此处更推荐使用托管标识的方式,无需在packer模版文件配置相关敏感信息,且托管标识方式跟Azure资源绑定后才能使用,更加安全。有关托管标识的说明,请参考:https://learn.microsoft.com/zh-cn/entra/identity/managed-identities-azure-resources/overview
安装azcli
导入azcli仓库key
[localhost]# rpm --import https://packages.microsoft.com/keys/microsoft.asc添加azcli仓库
[localhost]# echo -e "[azure-cli]
name=Azure CLI
baseurl=https://packages.microsoft.com/yumrepos/azure-cli
enabled=1
gpgcheck=1
gpgkey=https://packages.microsoft.com/keys/microsoft.asc" | sudo tee /etc/yum.repos.d/azure-cli.repo
安装azcli并登录
[localhost]# yum install -y azure-cli
[localhost]# az cloud set -n AzureChinaCloud
[localhost]# az login
创建VM托管标识
开启VM托管标识和授予订阅参与者权限
[localhost]$ az vm identity assign --identities [system] --role Contributor --scope /subscriptions/xxxxxxxx-xxxx-xxxx-xxxx-xxxxxxxxxxxxx --ids /subscriptions/xxxxxxxx-xxxx-xxxx-xxxx-xxxxxxxxxxxxx/resourceGroups/RG/providers/Microsoft.Compute/virtualMachines/VMpacker模版文件编辑
packer模版语法支持HCL和JSON格式,并且可以从HCL转换到JSON格式,此处为了方便添加注释,使用HCL来描述模版。
[localhost]# cat avd-images.pkr.hcl
source "azure-arm" "avd-images" { #avd-images为模版名称
# use Azure Managed Identity
 client_id = "xxxxxxxx-xxxx-xxxx-xxxx-xxxxxxxxxxxxx" #VM托管标识的objectID
 cloud_environment_name = "AzureChinaCloud"
 managed_image_resource_group_name = "resourcegroup" #映像所在的资源组
 managed_image_name = "avd-images-test" #映像名称
 os_type = "Windows" #映像操作系统类型和版本
 image_publisher = "MicrosoftWindowsServer"
 image_offer = "WindowsServer"
 image_sku = "2019-Datacenter"
 build_resource_group_name = "resourcegroup" #构建映像时使用的资源组,默认会创建“pkr-Resource-Group-”命名格式的资源组
 virtual_network_name = "virtualnetwork" #构建映像时使用虚拟网络,默认会创建”pkrvn“命名格式的虚拟网络
 virtual_network_subnet_name = "subnetwork" #构建映像时使用的子网
 virtual_network_resource_group_name = "networkresourcegroup" #虚拟网络所在的资源组
 private_virtual_network_with_public_ip = false #构建映像时是否创建公网IP,默认为true
 vm_size = "Standard_DS2_v2" #构建映像时使用的vm型号
# config winrm
 communicator = "winrm" #winrm连接的相关配置,ansible通过winrm方式来管理windows机器
 winrm_use_ssl = true
 winrm_insecure = true
 winrm_timeout = "5m"
 winrm_username = "packer"
# define tags #配置一些tag信息
 azure_tags = {
   key1 = "value1"
   key2 = "value2"
 }
}
build {
 sources = ["sources.azure-arm.avd-images"]
# config winrm for ansible
 provisioner "powershell" { #下载和执行powershell脚本,配置winrm
   inline = [
      "$wirmsrc = 'https://xxxxxxxxxxx/ConfigureRemotingForAnsible.ps1'",
      "$wirmdes = 'C:\\ConfigureRemotingForAnsible.ps1'",
      "Invoke-WebRequest -uri $wirmsrc -OutFile $wirmdes",
      "Unblock-File $wirmdes",
      "powershell.exe -ExecutionPolicy Unrestricted -File 'C:\\ConfigureRemotingForAnsible.ps1'",
      "rm 'C:\\ConfigureRemotingForAnsible.ps1'"
   ]
 }
# exec ansile playbook
 provisioner "ansible" { #调用ansible playbook,执行软件安装配置
   playbook_file = "./playbook.yml"
   user = "packer"
   use_proxy = false
   extra_arguments = [
      "-e",
      "ansible_winrm_server_cert_validation=ignore",
      "-vvv"
   ]
 }
# generalized image
 provisioner "powershell" { #执行通用化
   inline = [
      "while ((Get-Service RdAgent).Status -ne 'Running') { Start-Sleep -s 5 }",
      "while ((Get-Service WindowsAzureGuestAgent).Status -ne 'Running') { Start-Sleep -s 5 }",
      "& $env:SystemRoot\\System32\\Sysprep\\Sysprep.exe /oobe /generalize /quiet /quit",
      "while($true) { $imageState = Get-ItemProperty HKLM:\\SOFTWARE\\Microsoft\\Windows\\CurrentVersion\\Setup\\State | Select ImageState; if($imageState.ImageState -ne 'IMAGE_STATE_GENERALIZE_RESEAL_TO_OOBE') { Write-Output $imageState.ImageState; Start-Sleep -s 10 } else { break } }"
   ]
 }
}
ansible playbook预览
[localhost]# cat playbook.yml
---
- hosts: default
 gather_facts: false
 roles:
    - init
    - winrar
    - winscp
    - storageexplorer
    - vscode
    - chrome
    - putty
……
ansible-role预览
[localhost]# tree -L 1 roles/
roles/
├── chrome
├── config_env_variables
├── config_proxy
├── edge
├── fslogix
……
ansible task预览
[localhost]# cat roles/winrar/tasks/main.yml
---
# tasks file for winrar
- name: Download winrar
 win_get_url:
   url: 'https://xxxx/winrar-x64-602.exe'
   dest: C:\TempAvd\
- name: Install winrar
 win_command: 'C:\TempAvd\winrar-x64-602.exe -S'
 args:
   creates: 'C:\Program Files\WinRAR\WinRAR.exe'
Note
使用ansible或脚本方式在windows上部署软件时,需要使用静默安装的方式,不同安装包支持的参数可能存在差异,可以在命令行使用"/?"来查看帮助,如xxx.exe /?,xxx.msi /?
构建映像
[localhost]# packer build avd-images.pkr.hcl看到如下输出表示构建完成
OSType: Windows
ManagedImageResourceGroupName: resourcegroup
ManagedImageName: avd-images-test
ManagedImageId: /subscriptions/xxxxxxxx-xxxx-xxxx-xxxx-xxxxxxxxxxxxx/resourceGroups/resourcegroup/providers/Microsoft.Compute/images/avd-images-test
ManagedImageLocation: chinaeast2
packer构建映像会执行如下几个步骤:
1)检查或创建资源组、创建VM、创建keyvault
2)配置winrm、调用ansible playbook部署软件
3)执行通用化
4)捕获映像
5)删除构建映像时由packer创建的临时资源
使用构建后的映像部署到AVD的VMSS,可以看到playbook中定义的软件都已安装

随后AVD发布应用效果如下

小结
1)packer使用模版描述构建映像时所需的步骤,自动完成映像构建和临时资源清理工作
2)packer支持集成系统shell和调用配置管理工具实现软件部署、配置管理