文章目录
Docker搭建可道云(存储) 介绍 资源列表 基础环境 一、安装Docker 二、配置Docker加速器 三、搭建可道云私有云盘 3.1、编写Dockerfile 3.2、上传资源到指定目录 3.3、查看目录下所有资源 四、构建镜像 五、启动容器 六、访问php解析页面 七、访问可道云程序
可道云的英文名称KodExplorer,在很久之前叫芒果云,是国人开发的基于Web技术的私有云和在线文档管理的开源解决方案 可道云采用windows操作界面,具有专业的在线编辑器,支持Office的在线预览和编辑,可多人协同编辑作业,文档历史版本回溯;更有Photoshop、AI、AutoCAD等专业文档的在线预览,很适合办公用户。作为网盘使用,具有一键分享文件,支持生成外链;扫描二维码,受经济即可快速查看;可设定到期时间、提取密码、下载权限,满足更过场景需求,轻松将文件分享给客户、同事查看。还有很多插件可选择 当然可倒运很大的优点是无需数据库,在服务器、VPS、虚拟空间、各种NAS、甚至部分路由器上都可以直接安装使用 操作系统 配置 主机名 IP 所需软件 CentOS 7.9 2C4G lnmp-docker 192.168.93.165 Docker、kodexplorer4.40.zip、LNMP
systemctl stop firewalld
systemctl disable firewalld
setenforce 0
sed -i "s/^SELINUX=.*/SELINUX=disabled/g" /etc/selinux/config
hostnamectl set-hostname lnmp-docker
yum install -y yum-utils device-mapper-persistent-data lvm2
yum-config-manager --add-repo https://download.docker.com/linux/centos/docker-ce.repo
yum clean all && yum makecache
yum -y install docker-ce docker-ce-cli containerd.io
systemctl start docker
systemctl enable docker
cd /etc/docker/
cat >> daemon.json << EOF
{
"registry-mirrors": ["https://8xpk5wnt.mirror.aliyuncs.com"]
}
EOF
systemctl restart docker
docker version
[ root@lnmp-docker ~]
[ root@lnmp-docker ~]
[ root@lnmp-docker lnmp]
FROM centos:7
RUN curl -o /etc/yum.repos.d/epel.repo http://mirrors.aliyun.com/repo/epel-7.repo
RUN curl -o /etc/yum.repos.d/CentOS-Base.repo http://mirrors.aliyun.com/repo/Centos-7.repo
RUN yum install nginx php-mbstring php-fpm php-gd php-mysql -y
ADD www.conf /etc/php-fpm.d/www.conf
ADD nginx.conf /etc/nginx/nginx.conf
RUN mkdir /html
WORKDIR /html
COPY kodexplorer4.40.zip .
RUN yum install unzip -y
RUN unzip kodexplorer4.40.zip
RUN chown -R nginx:nginx .
COPY test.php /html
RUN yum install mariadb-server -y
ADD init.sh /init.sh
EXPOSE 80
EXPOSE 3306
EXPOSE 443
EXPOSE 9000
CMD [ "/bin/bash" ,"/init.sh" ]
[ root@lnmp-docker lnmp]
/usr/libexec/mariadb-prepare-db-dir &> /dev/null &
/usr/bin/mysqld_safe --basedir = /usr &> /dev/null &
sleep 5
mysql -e "create database kod;"
mysql -e "grant all on kod.* to discuz@localhost identified by '123456'" ;
/usr/sbin/php-fpm --daemonize
nginx -g 'daemon off;'
[ root@lnmp-docker lnmp]
user nginx;
worker_processes auto;
error_log /var/log/nginx/error.log;
pid /run/nginx.pid;
include /usr/share/nginx/modules/*.conf;
events {
worker_connections 1024 ;
}
http {
log_format main '$remote_addr - $remote_user [$time_local] "$request" '
'$status $body_bytes_sent "$http_referer" '
'"$http_user_agent" "$http_x_forwarded_for"' ;
access_log /var/log/nginx/access.log main;
sendfile on;
tcp_nopush on;
tcp_nodelay on;
keepalive_timeout 65 ;
types_hash_max_size 2048 ;
include /etc/nginx/mime.types;
default_type application/octet-stream;
server {
listen 80 ;
server_name localhost;
root /html;
index index.php index.html;
location ~ \ .php$ {
root /html;
fastcgi_pass 127.0 .0.1:9000;
fastcgi_index index.php;
fastcgi_param SCRIPT_FILENAME $document_root $fastcgi_script_name ;
include fastcgi_params;
}
}
}
[ root@lnmp-docker lnmp]
[ www]
user = nginx
group = nginx
listen = 127.0 .0.1:9000
listen.allowed_clients = 127.0 .0.1
pm = dynamic
pm.max_children = 50
pm.start_servers = 5
pm.min_spare_servers = 5
pm.max_spare_servers = 35
slowlog = /var/log/php-fpm/www-slow.log
php_admin_value[ error_log] = /var/log/php-fpm/www-error.log
php_admin_flag[ log_errors] = on
php_value[ session.save_handler] = files
php_value[ session.save_path] = /var/lib/php/session
php_value[ soap.wsdl_cache_dir] = /var/lib/php/wsdlcache
[ root@lnmp-docker lnmp]
< ?php
$link = mysql_connect( "localhost" ,"discuz" ,"123456" ) ;
if( link)
echo "The connection is successfully!" ;
mysql_close( ) ;
?>
[ root@lnmp-docker lnmp]
Dockerfile init.sh kodexplorer4.40.zip nginx.conf test.php www.conf
[ root@lnmp-docker lnmp]
[ root@lnmp-docker lnmp]
[ root@lnmp-docker lnmp]
The connection is successfully!
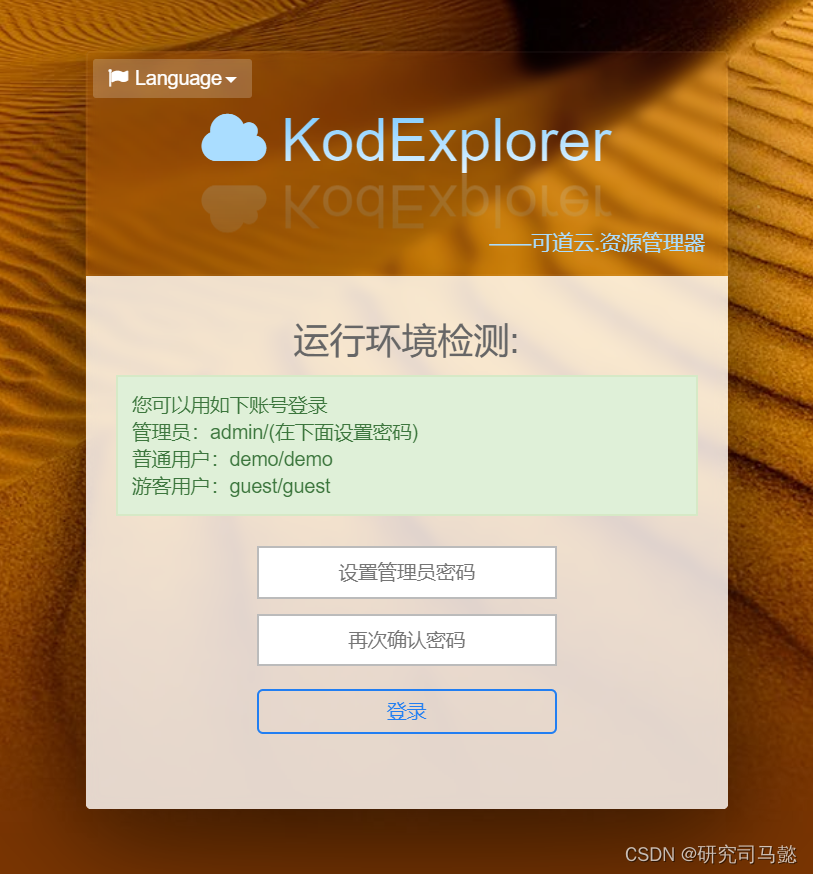
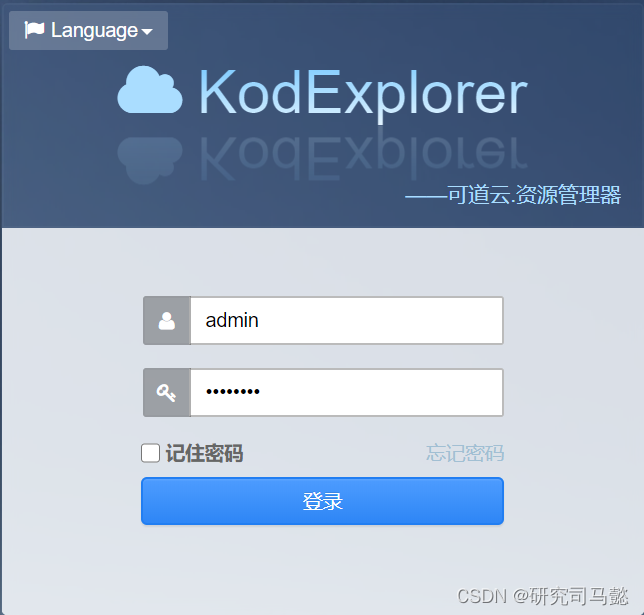
访问地址:http://192.168.93.165,就可以看到可道云页面了!!! 设置管理用户(admin)密码,使用此密码登录就可以访问啦
