文章目录
- 1 Handles 类
- 1.1 Scene 响应函数
- 1.2 自定义窗口中监听 Scene
- 1.3 Handles 常用 API
- 2.2.1 颜色控制
- 2.2.2 文本
- 2.2.3 线段
- 2.2.4 虚线
- 2.2.5 圆弧
- 2.2.6 圆
- 2.2.7 立方体
- 2.2.8 几何体
- 2.2.9 移动、旋转、缩放
- 2.2.10 自由移动 / 旋转
- 2 Scene 窗口中显示 GUI
- 3 HandleUtility
- 4 Gizmos
- 4.1 Gizmos 响应函数
- 4.2 常用 API
- 4.2.1 颜色控制
- 4.2.2 立方体
- 4.2.3 视锥
- 4.2.4 贴图
- 4.2.5 图标
- 4.2.6 线段
- 4.2.7 网格
- 4.2.8 射线
- 4.2.9 球体
- 4.2.10 网格线
1 Handles 类
Handles 类提供在 Scene 窗口中绘制的自定义内容,和 GUI、EditorGUI 类似,但专门提供给 Scene 窗口使用。
要在 Scene 窗口中显示自定义内容,可大致分为 3 步。其中,前两个步骤和自定义 Inspector 窗口显示内容一致。
1.1 Scene 响应函数
-
单独为某一个脚本实现一个自定义脚本,并且脚本需要继承 Editor。
一般该脚本命名为:“自定义脚本名 + Editor”。 -
在该脚本前加上特性。
- 命名空间:UnityEditor
- 特性名:CustomEditor(想要自定义脚本类名的 Type)
-
在该脚本中实现
void OnSceneGUI()方法。
该方法会在我们选中挂载自定义脚本的对象时自动更新。
**注意:**只有选中时才会执行,没有选中不执行。
using UnityEditor;
using UnityEngine;

[CustomEditor(typeof(Lesson26))]
public class Lesson26Editor : Editor
{
    private Lesson26 _obj;

    private void OnEnable() {
        _obj = target as Lesson26;
    }

    private void OnSceneGUI() {
        Debug.Log("OnSceneGUI");
    }
}
target:获取到拓展的组件对象(Editor 基类中的成员)。
在场景中创建空物体 Lesson26,并将 “Lesson26.cs” 脚本挂在该物体上。选中该物体后,将鼠标拖动至 Scene 窗口内,便会打印信息 “OnSceneGUI”。

1.2 自定义窗口中监听 Scene
通过添加监听事件,使自定义窗口能够监听 Scene 窗口的变化。
using UnityEditor;
using UnityEngine;

public class Lesson26Window : EditorWindow
{
    [MenuItem("Unity 编辑器拓展/Lesson26/打开 Scene 拓展窗口")]
    public static void OpenLesson26() {
        Lesson26Window win = GetWindow<Lesson26Window>();
        win.Show();
    }

    private void OnEnable() {
        SceneView.duringSceneGui += SceneUpdate;
    }

    private void OnDisable() {
        SceneView.duringSceneGui -= SceneUpdate;
    }

    private void SceneUpdate(SceneView view) {
        Debug.Log("SceneUpdate");
    }
}
1.3 Handles 常用 API
2.2.1 颜色控制
在调用 Handles 中的绘制 API 之前设置颜色即可。
Handles.color = Color.red;
2.2.2 文本
文本控件的颜色不受 Handles.color 影响,而是通过 GUIStyle 控制。
public static void Label(Vector3 position, string text);
public static void Label(Vector3 position, Texture image);
public static void Label(Vector3 position, GUIContent content);
public static void Label(Vector3 position, string text, GUIStyle style);
public static void Label(Vector3 position, GUIContent content, GUIStyle style);
示例:
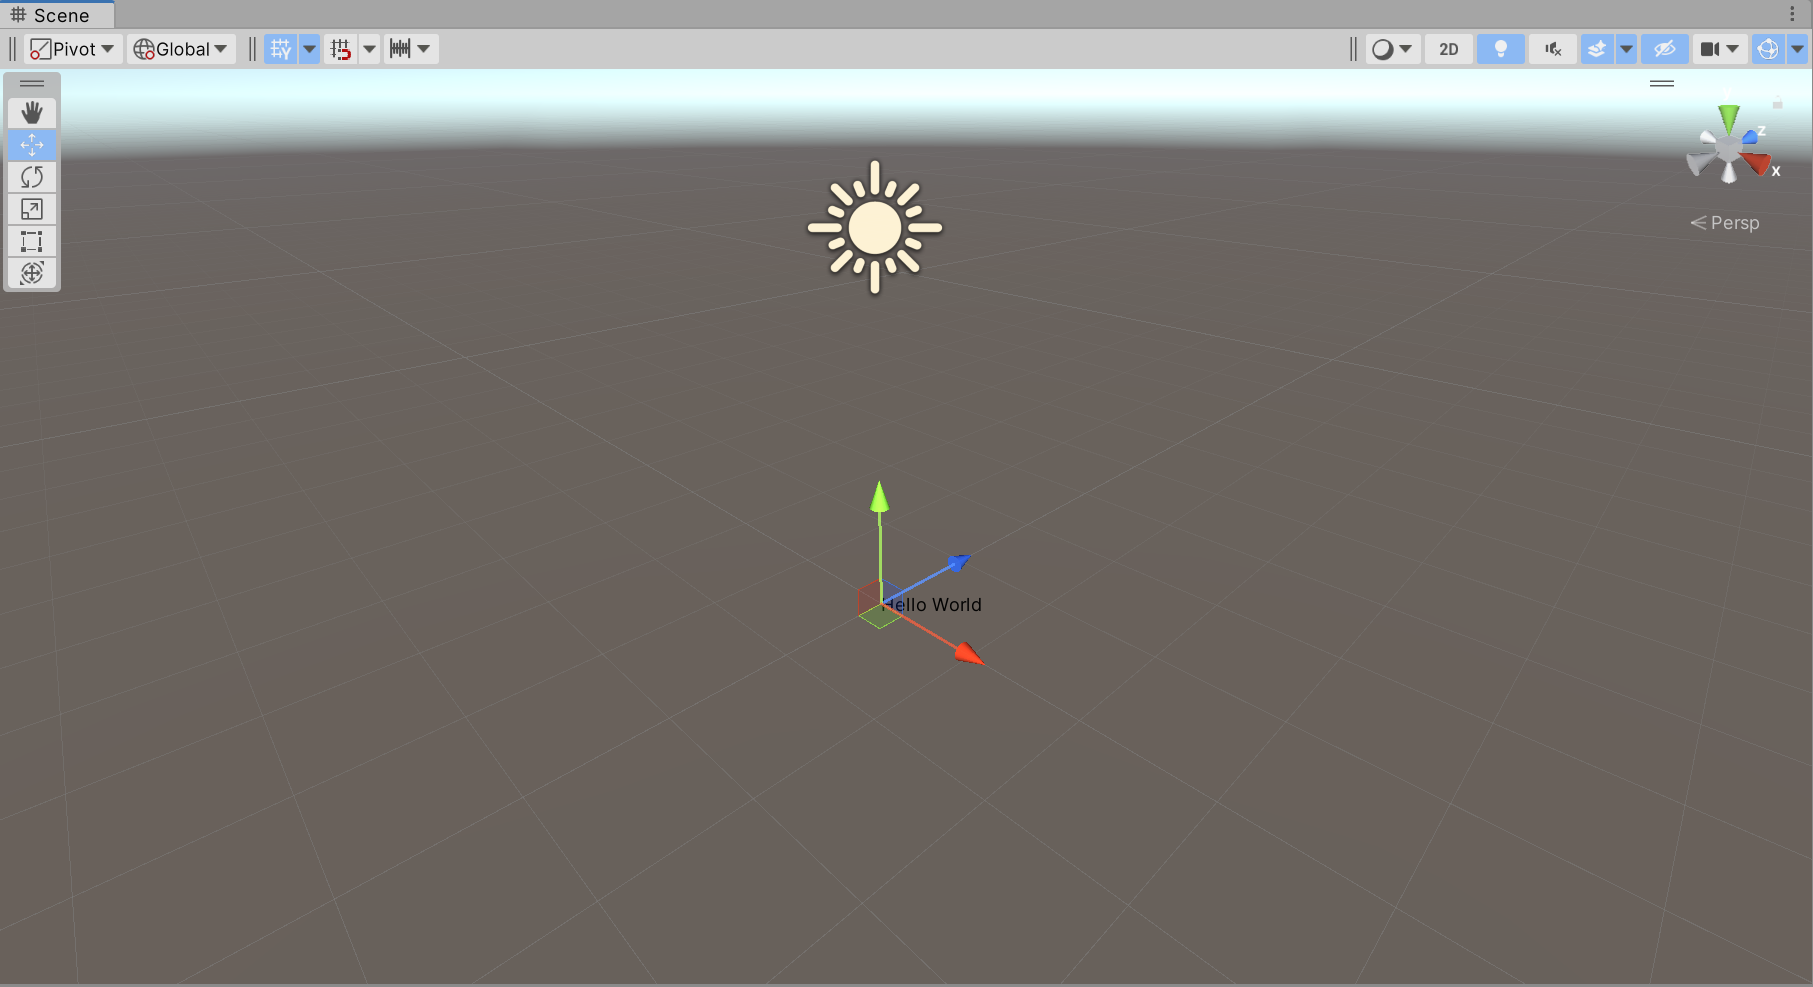
private void OnSceneGUI() {
    var trans = _obj.transform;
    Handles.Label(trans.position, "Hello World");
}
2.2.3 线段
注意,DrawLines 提供的 Vector3[] 元素个数必须为偶数,因为是成对划线。
public static void DrawLine(Vector3 p1, Vector3 p2);
public static void DrawLine(Vector3 p1, Vector3 p2, [DefaultValue("0.0f")] float thickness);

public static void DrawLines(Vector3[] lineSegments);
public static void DrawLines(Vector3[] points, int[] segmentIndices);
示例:

private void OnSceneGUI() {
    var trans = _obj.transform;

    Handles.color = Color.red;
    Handles.DrawLine(trans.position, trans.position + trans.forward * 5f, 1f);
    Handles.color = Color.blue;
    Handles.DrawLines(new[] {
        trans.position,
        trans.position + trans.right,
        trans.position + trans.right + trans.forward,
        trans.position + trans.forward
    });
}
2.2.4 虚线
public static void DrawDottedLine(Vector3 p1, Vector3 p2, float screenSpaceSize);

public static void DrawDottedLines(Vector3[] lineSegments, float screenSpaceSize);
public static void DrawDottedLines(Vector3[] points, int[] segmentIndices, float screenSpaceSize)
示例:

private void OnSceneGUI() {
    var trans = _obj.transform;

    Handles.color = Color.red;
    Handles.DrawDottedLine(trans.position, trans.position + trans.forward * 5f, 1f);
    Handles.color = Color.blue;
    Handles.DrawDottedLines(new[] {
        trans.position,
        trans.position + trans.right,
        trans.position + trans.right + trans.forward,
        trans.position + trans.forward
    }, 1f);
}
2.2.5 圆弧
// 弧线
public static void DrawWireArc(
      Vector3 center,
      Vector3 normal,
      Vector3 from,
      float angle,
      float radius);
public static void DrawWireArc(
      Vector3 center,
      Vector3 normal,
      Vector3 from,
      float angle,
      float radius,
      [DefaultValue("0.0f")] float thickness);

// 实心圆弧
public static void DrawSolidDisc(Vector3 center, Vector3 normal, float radius);
public static void DrawSolidArc(
      Vector3 center,
      Vector3 normal,
      Vector3 from,
      float angle,
      float radius);
示例:

private void OnSceneGUI() {
    var trans = _obj.transform;

    Handles.color = Color.red;
    Handles.DrawWireArc(trans.position, trans.up, trans.forward, 30, 3f);
    Handles.color = Color.blue;
    Handles.DrawSolidArc(trans.position, trans.up, trans.forward, 30, 2f);
}
2.2.6 圆
// 圆(无填充)
public static void DrawWireDisc(Vector3 center, Vector3 normal, float radius);
public static void DrawWireDisc(Vector3 center, Vector3 normal, float radius, [DefaultValue("0.0f")] float thickness);

// 圆(填充)
public static void DrawSolidDisc(Vector3 center, Vector3 normal, float radius);
示例:

private void OnSceneGUI() {
    var trans = _obj.transform;

    Handles.color = Color.red;
    Handles.DrawWireDisc(trans.position, trans.up, 3f);
    Handles.color = Color.blue;
    Handles.DrawSolidDisc(trans.position, trans.up, 2f);
}
2.2.7 立方体
public static void DrawWireCube(Vector3 center, Vector3 size);
示例:

private void OnSceneGUI() {
    var trans = _obj.transform;

    Handles.color = Color.red;
    Handles.DrawWireCube(trans.position, Vector3.one * 2f);
}
2.2.8 几何体
// 方法名中的 AA 表示抗锯齿
public static void DrawAAConvexPolygon(params Vector3[] points);
示例:

private void OnSceneGUI() {
    var trans = _obj.transform;

    Handles.color = Color.red;
    Handles.DrawAAConvexPolygon(trans.position,
                                trans.position + Vector3.forward,
                                trans.position + Vector3.up,
                                trans.position + Vector3.right);
}
2.2.9 移动、旋转、缩放
作用是在 Scene 窗口中一直显示控制柄,而不需要点击对应的按钮才能显示。
// 绘制移动控制柄
// position:控制柄的位置
// rotation:控制柄的旋转
public static Vector3 DoPositionHandle(Vector3 position, Quaternion rotation); // 老版本 API
public static Vector3 PositionHandle(Vector3 position, Quaternion rotation);   // 新版本 API
public static Vector3 PositionHandle(
      Handles.PositionHandleIds ids,
      Vector3 position,
      Quaternion rotation);

// 绘制旋转控制柄
public static Quaternion DoRotationHandle(Quaternion rotation, Vector3 position);
public static Quaternion RotationHandle(Quaternion rotation, Vector3 position);
public static Quaternion RotationHandle(
      Handles.RotationHandleIds ids,
      Quaternion rotation,
      Vector3 position);

// 绘制缩放控制柄
public static Vector3 DoScaleHandle(
      Vector3 scale,
      Vector3 position,
      Quaternion rotation,
      float size);
public static Vector3 ScaleHandle(Vector3 scale, Vector3 position, Quaternion rotation);
public static Vector3 ScaleHandle(
      Vector3 scale,
      Vector3 position,
      Quaternion rotation,
      float size);
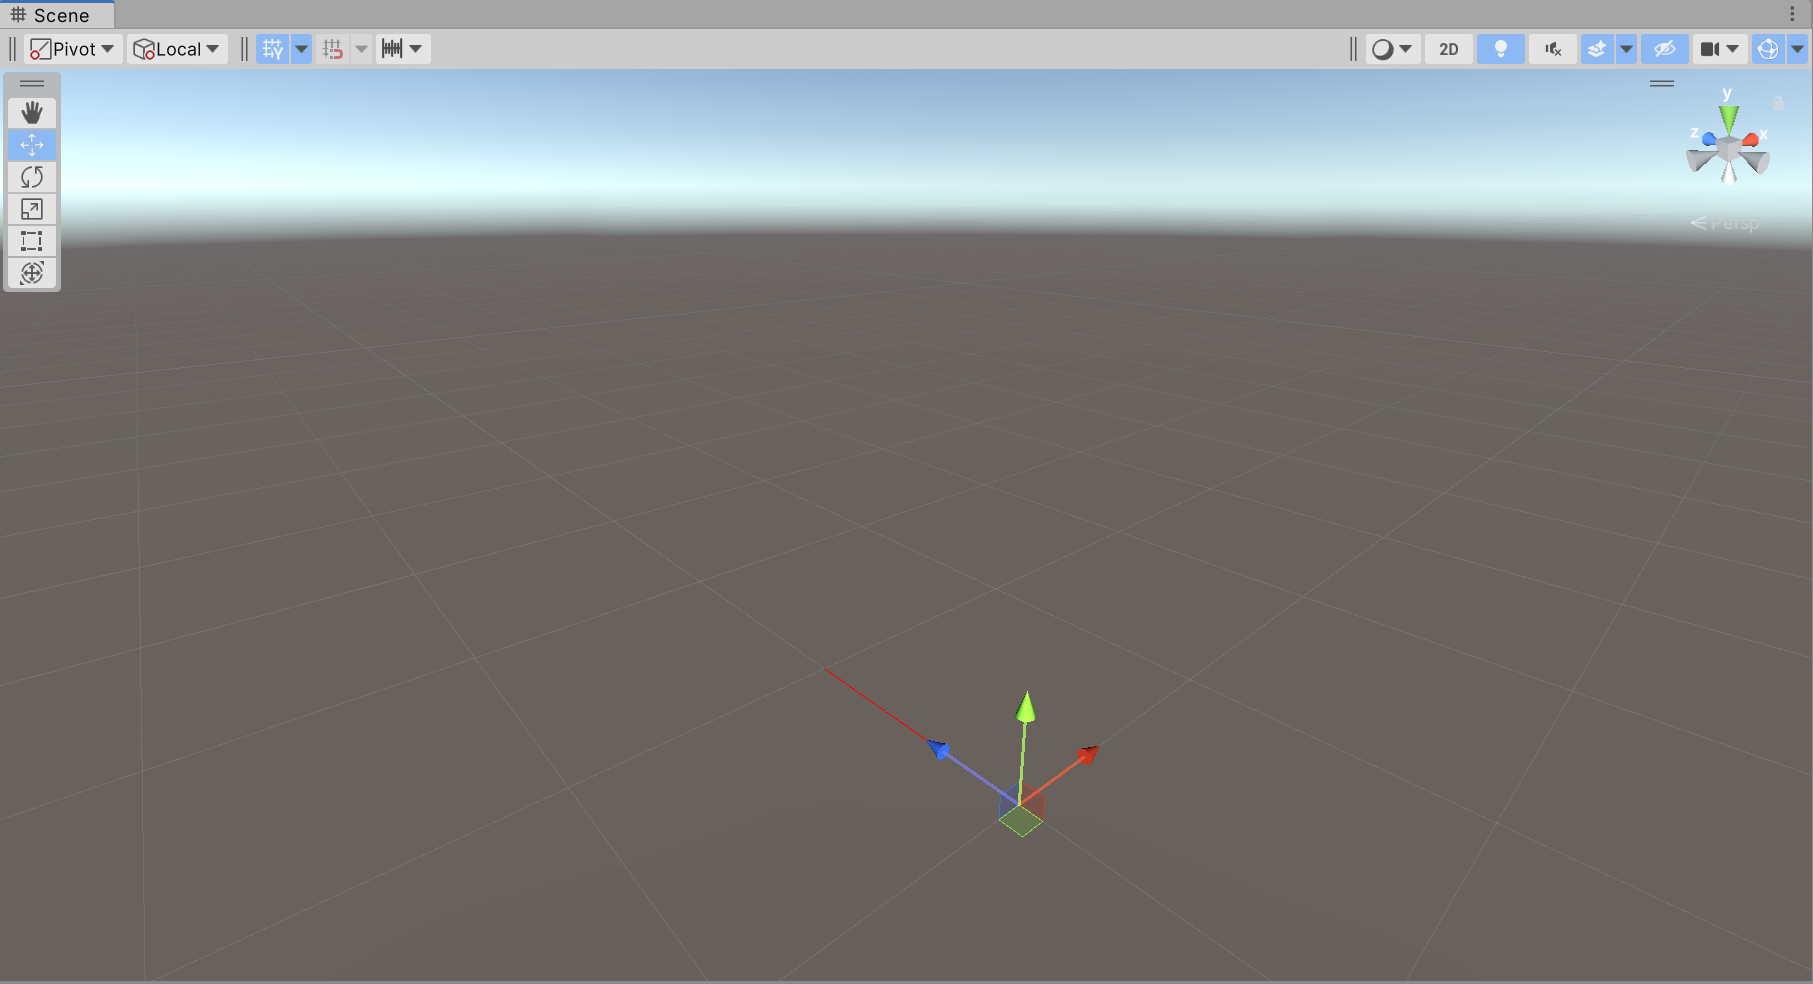
示例:可以看到,左侧选中的是手部按钮(上方第一个),但三个控制柄都一直在 Scene 窗口中显示。

private void OnSceneGUI() {
    var trans = _obj.transform;

    trans.position   = Handles.PositionHandle(trans.position, trans.rotation);
    trans.rotation   = Handles.RotationHandle(trans.rotation, trans.position);
    trans.localScale = Handles.ScaleHandle(trans.localScale, trans.position, trans.rotation);
}
2.2.10 自由移动 / 旋转
// 自由移动
// snap:移动步进值(按住 ctrl 键时会按该单位移动)
// capFunction:渲染控制手柄的回调函数
public static Vector3 FreeMoveHandle(
      Vector3 position,
      float size,
      Vector3 snap,
      Handles.CapFunction capFunction);
public static Vector3 FreeMoveHandle(
      int controlID,
      Vector3 position,
      float size,
      Vector3 snap,
      Handles.CapFunction capFunction);

// 自由旋转
public static Quaternion FreeRotateHandle(Quaternion rotation, Vector3 position, float size);
public static Quaternion FreeRotateHandle(
      int id,
      Quaternion rotation,
      Vector3 position,
      float size);
渲染控制手柄的常用回调函数:
Handles.RectangleHandleCap:一个矩形形状的控制手柄,通常用于表示一个平面的控制面。Handles.CircleHandleCap:一个圆形的控制手柄,通常用于表示一个球体的控制面。Handles.ArrowHandleCap:一个箭头形状的控制手柄,通常用于表示方向。
示例:

private void OnSceneGUI() {
    var trans = _obj.transform;

    trans.position = Handles.FreeMoveHandle(trans.position,
                                            HandleUtility.GetHandleSize(trans.position),
                                            Vector3.one,
                                            Handles.RectangleHandleCap);
    trans.rotation = Handles.FreeRotateHandle(trans.rotation,
                                              Vector3.zero,
                                              HandleUtility.GetHandleSize(trans.position));
}
更多内容:https://docs.unity3d.com/ScriptReference/Handles.html
2 Scene 窗口中显示 GUI
在 OnSceneGUI() 函数中直接写 GUI 控件即可,就像直接在 OnGUI() 函数中一样。
唯一的区别是需要使用两行代码进行包裹:
private void OnSceneGUI() {
    Handles.BeginGUI();
    ... // GUI 控件
    Handles.EndGUI();
}
-
SceneView.currentDrawingSceneView:获取当前 Scene 窗口信息。继承自 EditorWindow,因此通过 position 即可得到窗口的大小。
示例:
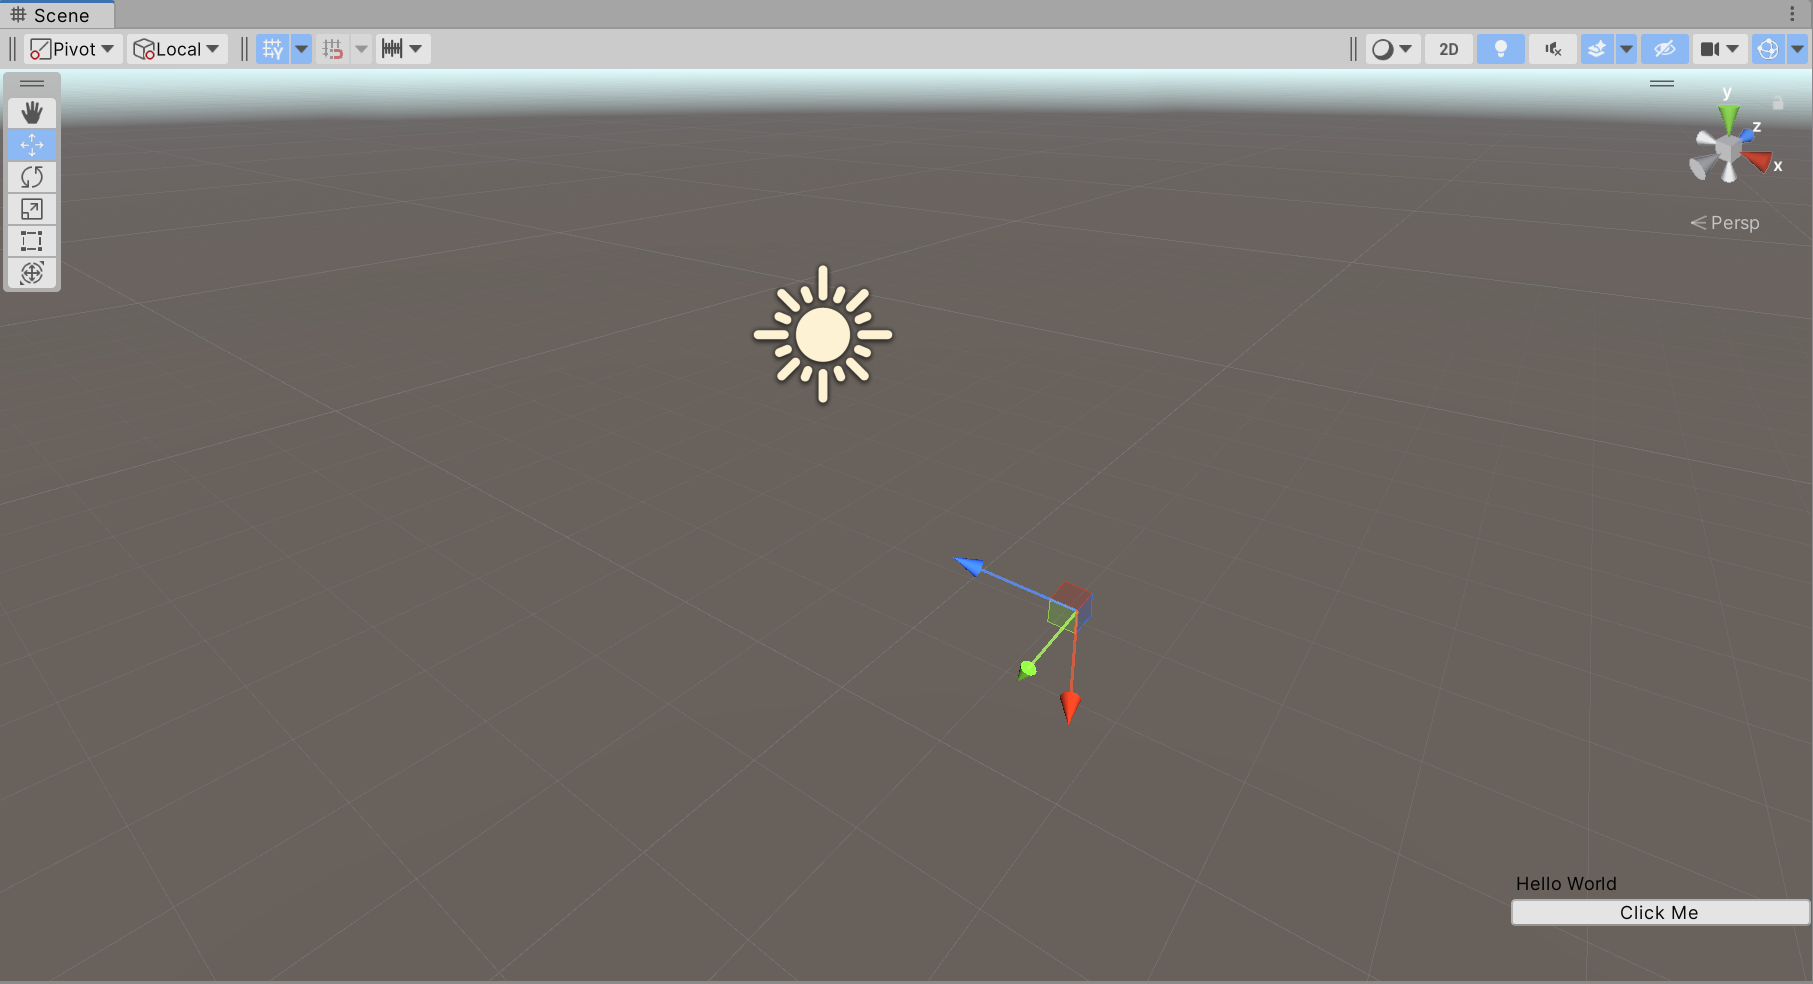
private void OnSceneGUI() {
    Handles.BeginGUI();

    var pos = SceneView.currentDrawingSceneView.position;

    GUILayout.BeginArea(new Rect(pos.width - 200, pos.height - 100, 200, 100));

    GUILayout.Label("Hello World");
    if (GUILayout.Button("Click Me")) {
        Debug.Log("Clicked");
    }

    GUILayout.EndArea();

    Handles.EndGUI();
}
3 HandleUtility
HandleUtility 是 Unity 中的一个工具类,用于处理场景中的编辑器句柄(Handles)以及其他一些与编辑器交互相关的功能。
HandleUtility 提供一系列静态方法,用于处理编辑器中的鼠标交互、坐标转换以及其他与 Handles 相关的功能。
- GetHandleSize()
public static float GetHandleSize(Vector3 position);
获取在场景中给定位置的句柄的合适尺寸。
通常用于根据场景中对象的距离来调整句柄的大小,以便在不同的缩放级别下保持合适的显示大小。
- WorldToGUIPoint()
public static Vector2 WorldToGUIPoint(Vector3 world);
将世界坐标转换为 GUI 坐标。
通常用于将场景中的某个点的位置转换为屏幕上的像素坐标,以便在 GUI 中绘制相关的信息。
- GUIPointToWorldRay()
public static Ray GUIPointToWorldRay(Vector2 position);
将屏幕上的像素坐标转换为射线。
通常用于从屏幕坐标中获取一条射线,用于检测场景中的物体或进行射线投射。
- DistanceToLine()
public static float DistanceToLine(Vector3 p1, Vector3 p2);
计算场景中一条线段与鼠标光标的最短距离。
可以用来制作悬停变色等功能。
- PickGameObject()
public static GameObject PickGameObject(Vector2 position, bool selectPrefabRoot);
public static GameObject PickGameObject(Vector2 position, out int materialIndex);
...
在编辑器中进行对象的拾取。
通常用于根据鼠标光标位置获取场景中的对象,以实现对象的选择或交互操作。
更多内容:https://docs.unity3d.com/ScriptReference/HandleUtility.html
4 Gizmos
Gizmos 和 Handles 一样,作用都是拓展 Scene 窗口。
Gizmos 专注于绘制辅助线、图标、形状等。
Handles 主要用来绘制编辑器控制手柄等。
4.1 Gizmos 响应函数
在继承 MonoBehaviour 的脚本中实现以下函数,便可在其中使用 Gizmos 来进行图形图像的绘制。其执行类似生命周期函数,Unity 会自动执行。
-
OnDrawGizmos()每帧调用,绘制的内容随时可以在 Scene 窗口中看见。
-
OnDrawGizmosSelected()仅当脚本依附的 GameObject 被选中时才会每帧调用绘制相关内容。
在场景中创建空物体 Lesson34,并将脚本 “Lesson34.cs” 挂在该物体上。
using UnityEngine;

public class Lesson34 : MonoBehaviour
{
    private void OnDrawGizmos() { }

    private void OnDrawGizmosSelected() { }
}
4.2 常用 API
4.2.1 颜色控制
在调用 Gizmos 中的绘制 API 之前设置颜色即可。
Gizmos.color = Color.red;
4.2.2 立方体
// 实心立方体
public static void DrawCube(Vector3 center, Vector3 size);

// 空心立方体
public static void DrawWireCube(Vector3 center, Vector3 size);
示例:
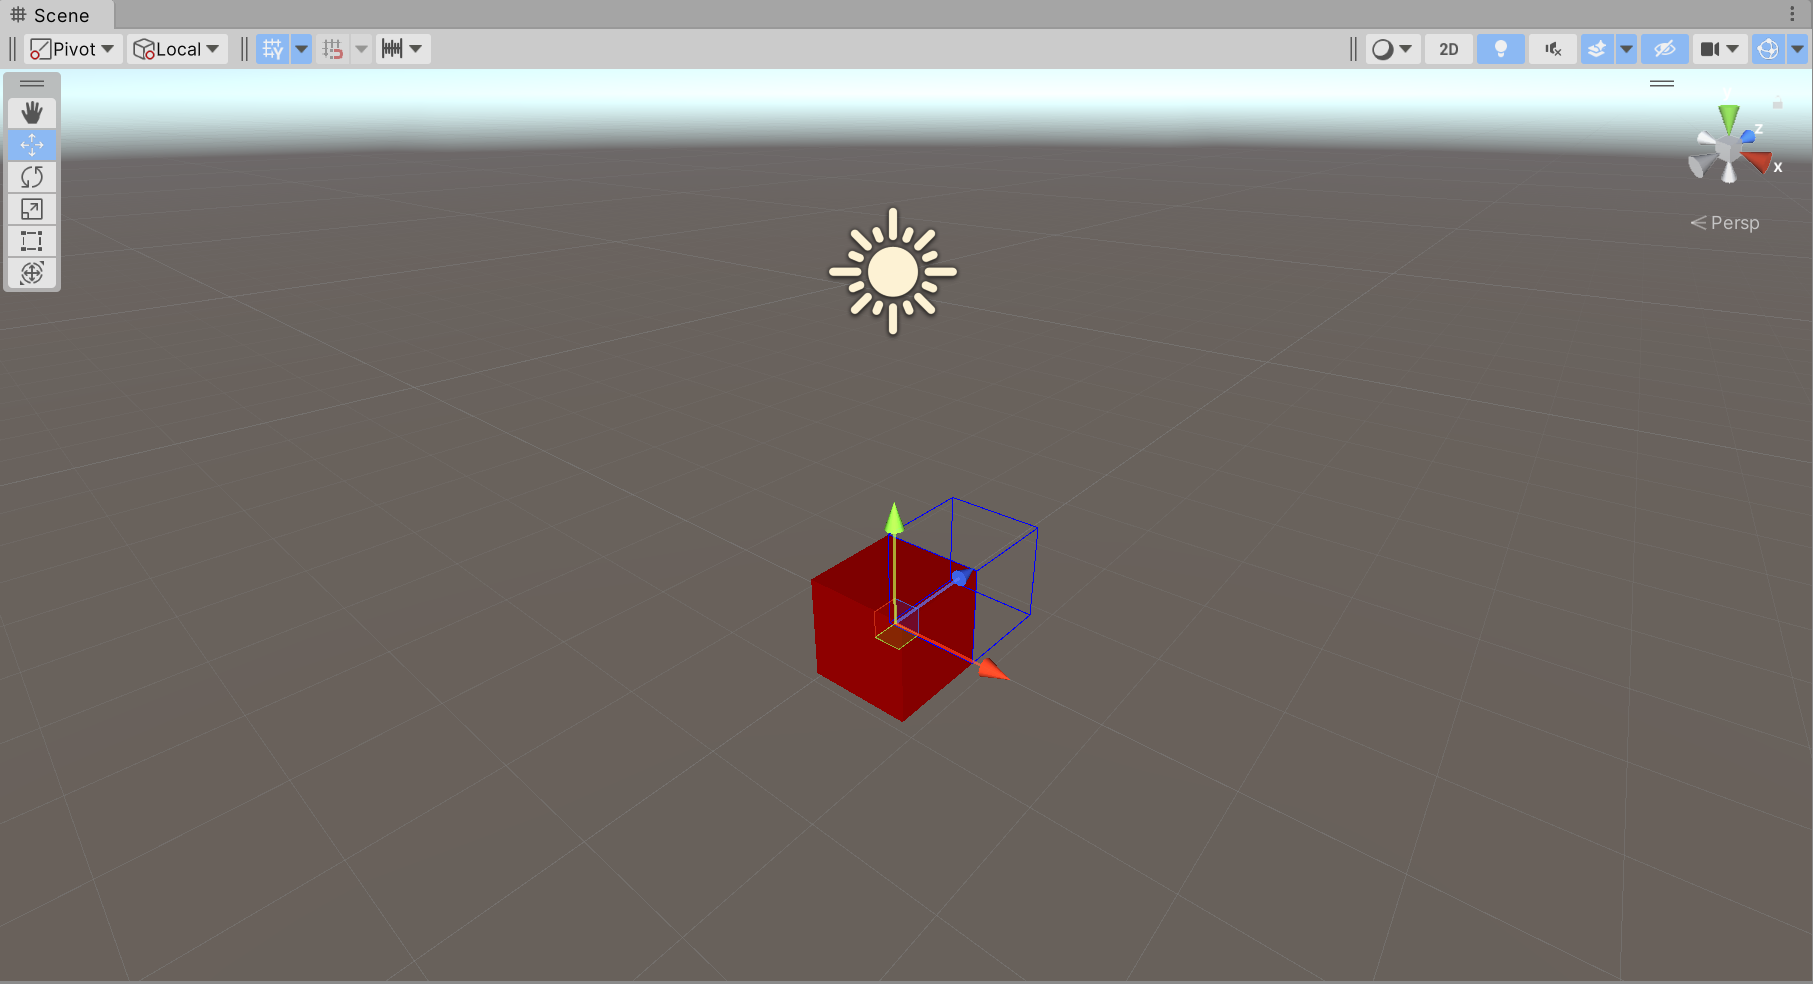
private void OnDrawGizmosSelected() {
    Gizmos.color = Color.red;
    Gizmos.DrawCube(transform.position, Vector3.one);

    Gizmos.color = Color.blue;
    Gizmos.DrawWireCube(transform.position + transform.forward, Vector3.one);
}
4.2.3 视锥
public static void DrawFrustum(
      Vector3 center, // 绘制中心
      float fov,      // FOV(Field of View,视野)角度
      float maxRange, // 远裁切平面
      float minRange, // 近裁切平面
      float aspect);  // 屏幕长宽比
示例:

private void OnDrawGizmosSelected() {
    Gizmos.matrix = transform.localToWorldMatrix; // 改变绘制矩阵
    Gizmos.color = Color.red;
    Gizmos.DrawFrustum(transform.position, 30, 50, 0.5f, 1.7f);
    Gizmos.matrix = Matrix4x4.identity; // 还原绘制矩阵
}
4.2.4 贴图
public static void DrawGUITexture(Rect screenRect, Texture texture);
public static void DrawGUITexture(Rect screenRect, Texture texture, [DefaultValue("null")] Material mat);
...
由于只能在 xy 平面内绘制,因此有很大的局限性,使用较少。
4.2.5 图标
图标需要放置在固定文件夹 “Assets/Gizmos/” 下。
public static void DrawIcon(Vector3 center, string name);
示例:准备一张图片,放在文件夹 “Assets/Gizmos/” 下,并开启 Scene 窗口中的 Gizmos 显示按钮。
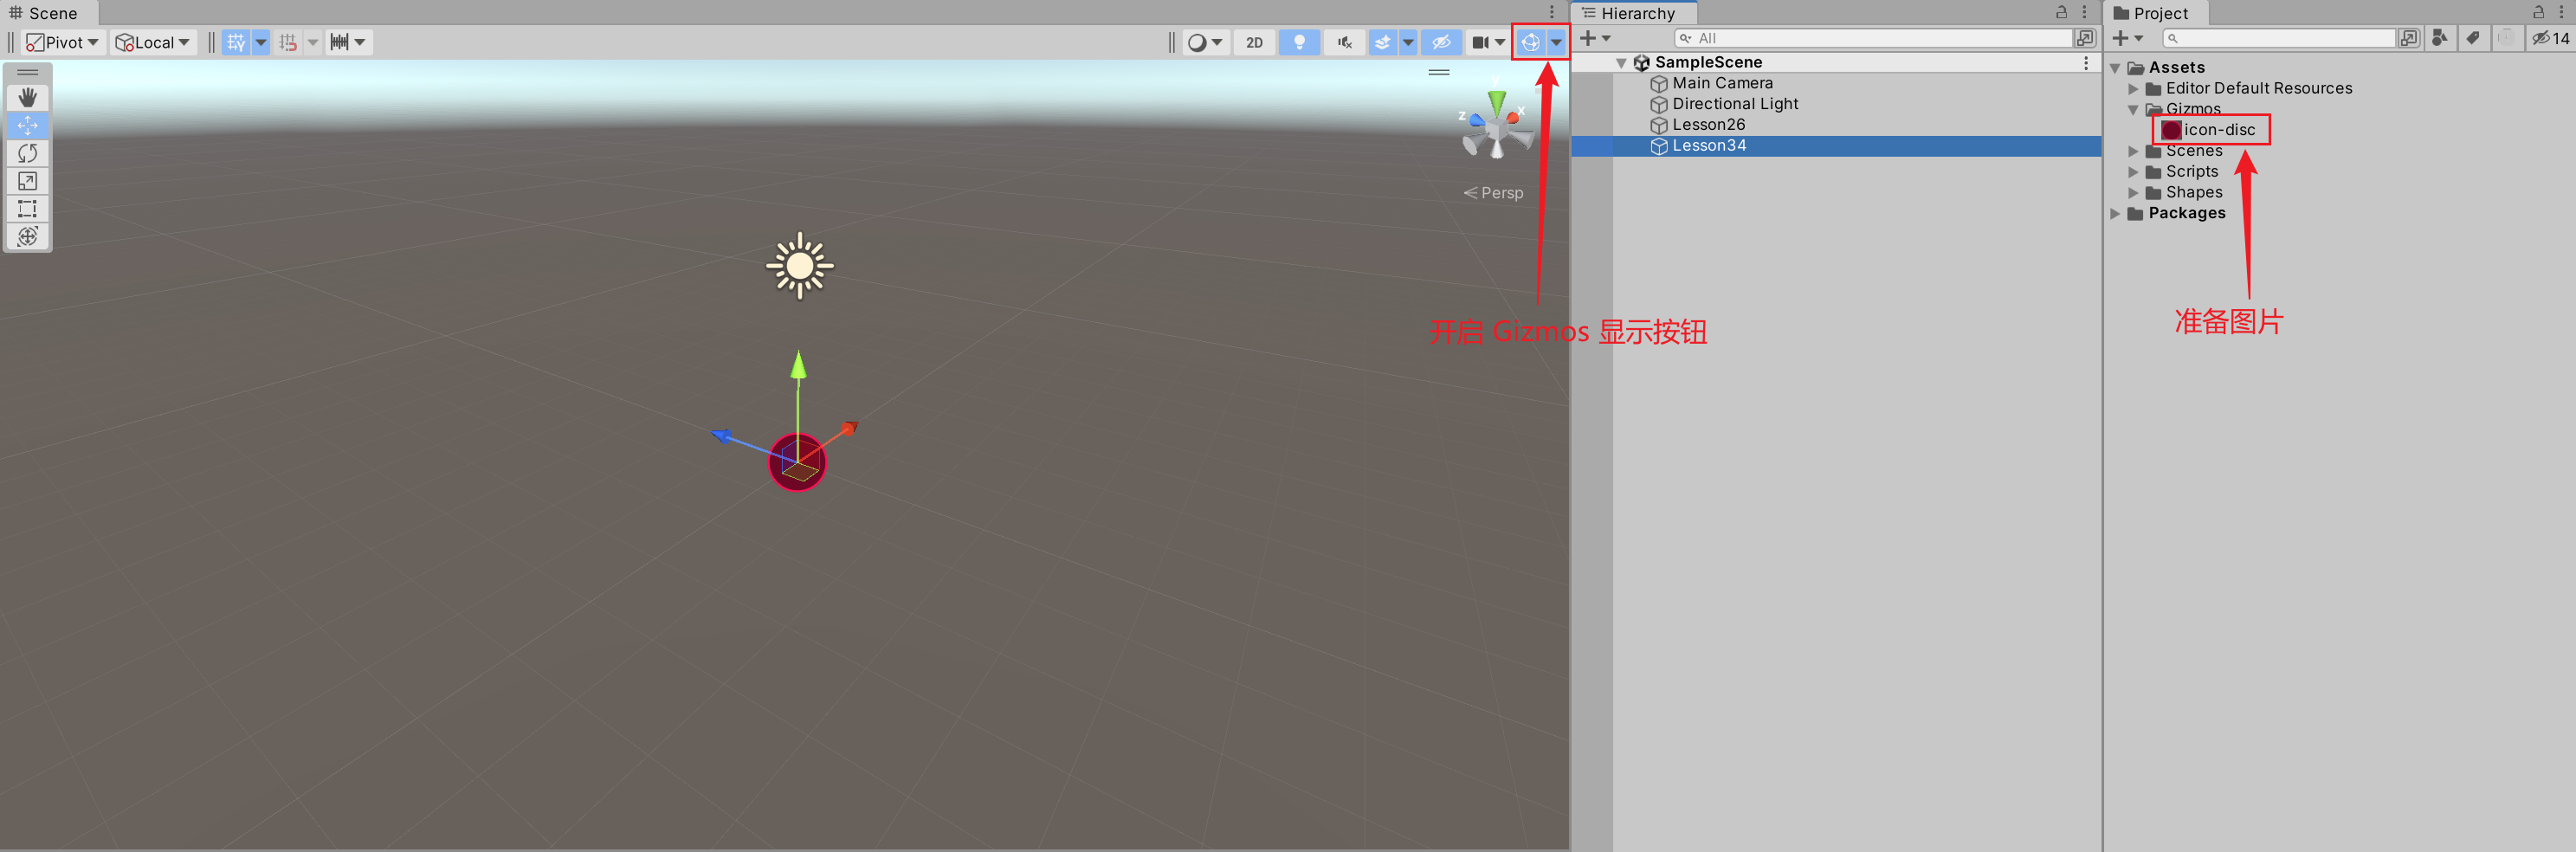
private void OnDrawGizmosSelected() {
    Gizmos.DrawIcon(transform.position, "icon-disc");
}
4.2.6 线段
// 绘制一条线段
public static void DrawLine(Vector3 from, Vector3 to);

// 绘制多条线段,0-1,2-3,4-5,...,绘制点的个数需为偶数
public static unsafe void DrawLineList(ReadOnlySpan<Vector3> points);

// 绘制多条线段,01-,1-2,2-3,...
public static unsafe void DrawLineStrip(ReadOnlySpan<Vector3> points, bool looped);
示例:
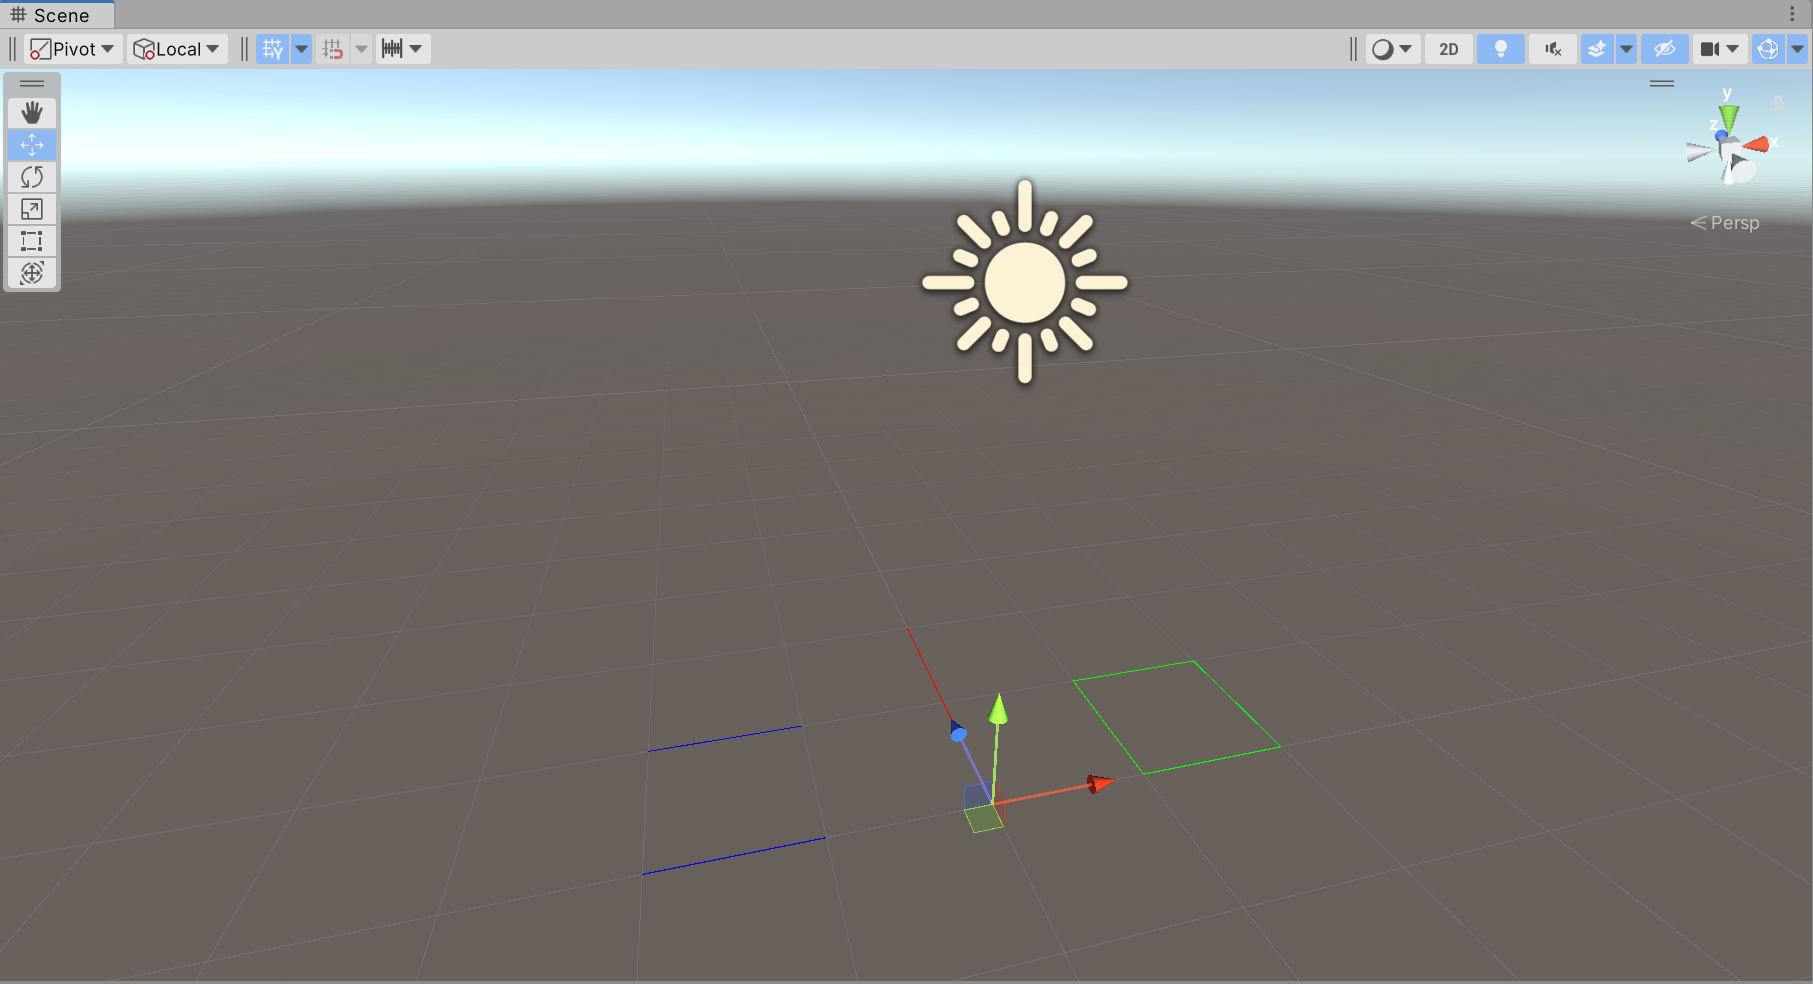
private void OnDrawGizmosSelected() {
    Gizmos.color = Color.red;
    Gizmos.DrawLine(transform.position, transform.position + transform.forward * 2f);

    var forward = Vector3.forward;
    var right = Vector3.right;

    var startPos = transform.position + Vector3.left;
    Gizmos.color = Color.blue;
    Gizmos.DrawLineList(new[] {
        startPos,
        startPos - right,
        startPos - right + forward,
        startPos + forward
    });

    startPos = transform.position + Vector3.right;
    Gizmos.color = Color.green;
    Gizmos.DrawLineStrip(new[] {
        startPos,
        startPos + right,
        startPos + right + forward,
        startPos + forward
    }, true);
}
4.2.7 网格
public static void DrawMesh(Mesh mesh);
public static void DrawMesh(Mesh mesh, Vector3 position);
public static void DrawMesh(Mesh mesh, Vector3 position, Quaternion rotation);
public static void DrawMesh(Mesh mesh, [DefaultValue("Vector3.zero")] Vector3 position, [DefaultValue("Quaternion.identity")] Quaternion rotation, [DefaultValue("Vector3.one")] Vector3 scale);
...
4.2.8 射线
public static void DrawRay(Ray r);
public static void DrawRay(Vector3 from, Vector3 direction);
示例:
private void OnDrawGizmosSelected() {
    Gizmos.color = Color.red;
    Gizmos.DrawRay(transform.position, transform.forward);
}
4.2.9 球体
// 实心球体
public static void DrawSphere(Vector3 center, float radius);

// 空心球体(网格)
public static void DrawWireSphere(Vector3 center, float radius);
效果不是很好。
示例:
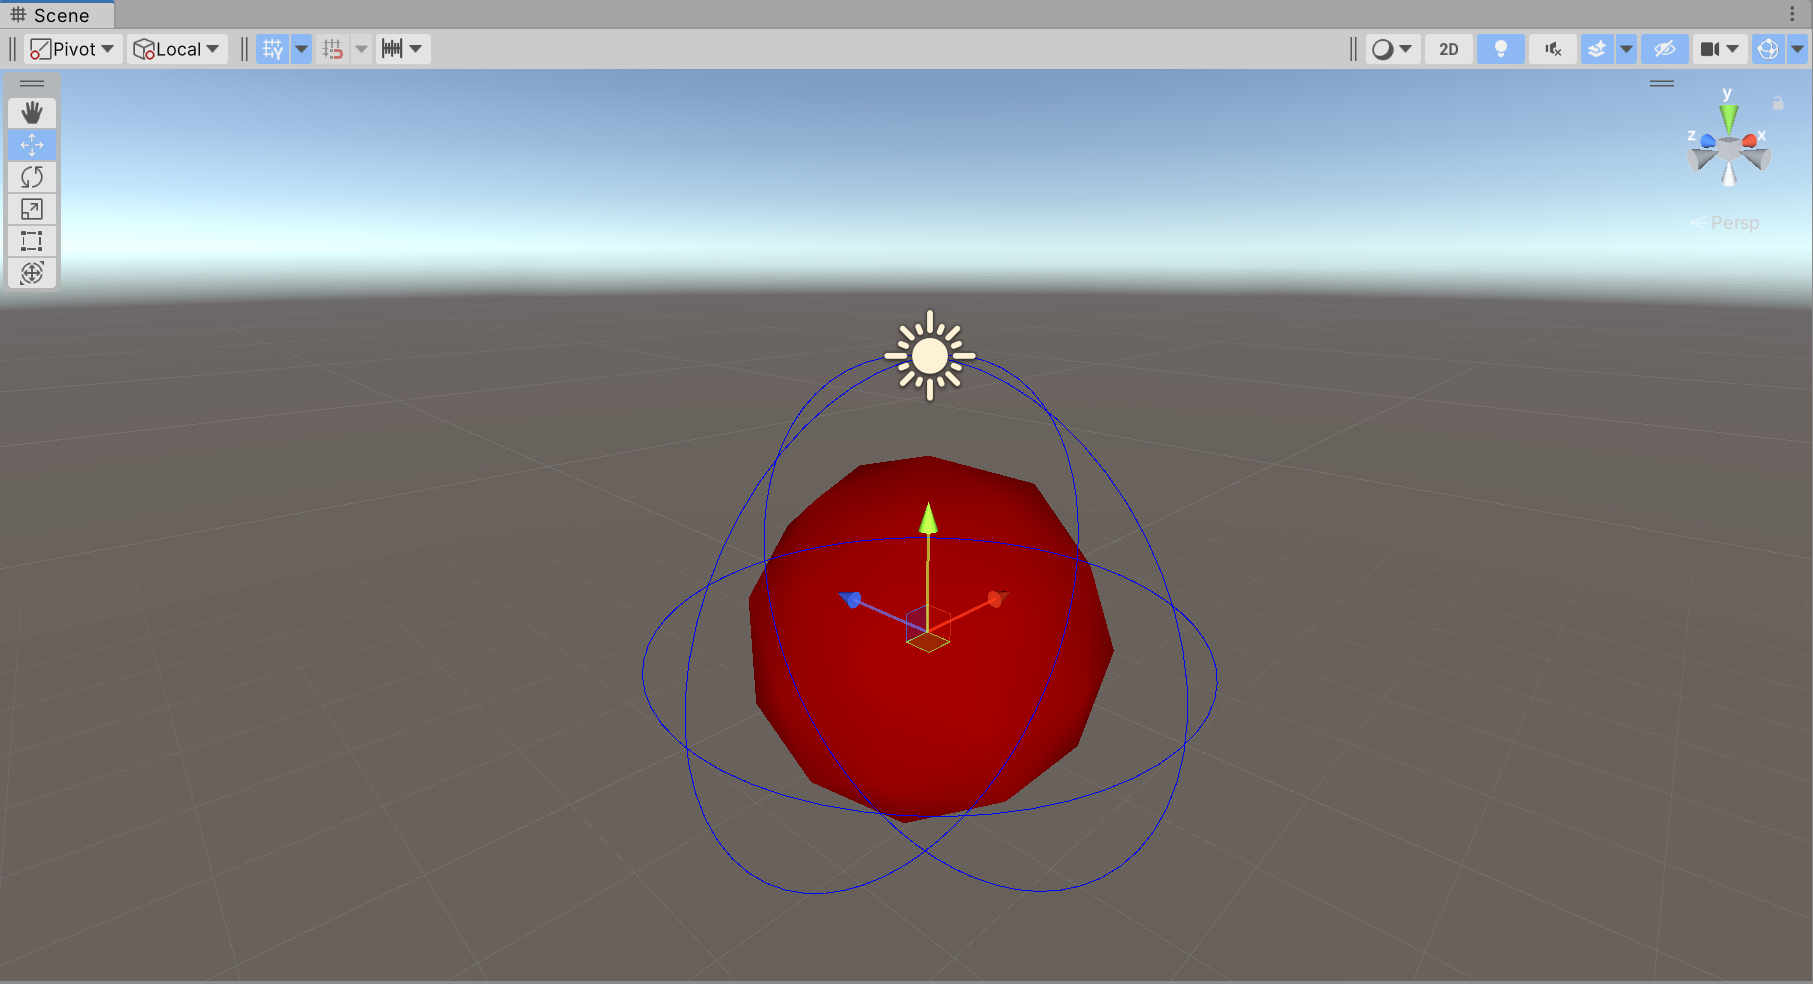
private void OnDrawGizmosSelected() {
    Gizmos.color = Color.red;
    Gizmos.DrawSphere(transform.position, 2f);

    Gizmos.color = Color.blue;
    Gizmos.DrawWireSphere(transform.position, 3f);
}
4.2.10 网格线
public static void DrawWireMesh(Mesh mesh);
public static void DrawWireMesh(Mesh mesh, Vector3 position);
public static void DrawWireMesh(Mesh mesh, Vector3 position, Quaternion rotation);
...
更多内容:https://docs.unity3d.com/ScriptReference/Gizmos.html


![[word] word大括号怎么打两行 #其他#其他#微信](https://img-blog.csdnimg.cn/img_convert/a9bdb9e37db59bffc57edb7b135df0c4.png)