步骤
- 打开Excel,并按下
Alt + F11打开VBA编辑器。 - 在VBA编辑器中,插入一个新的模块(右键点击项目资源管理器中的模块 -> 插入 -> 模块)。
- 在新模块的代码窗口中,复制并粘贴以下示例代码。
- 根据需要修改代码中的变量和参数。
- 回到Excel,你可以通过按
Alt + F8来运行这个宏,或者将宏与一个按钮或快捷键关联起来。
Sub ImportPicturesFromURLs()
    Dim ws As Worksheet
    Dim lastRow As Long
    Dim urlCell As Range
    Dim imgPath As String
    Dim img As Picture
    Dim targetCell As Range
    Dim xmlhttp As Object
    Dim adodbStream As Object

    ' 初始化工作表、URL路径和图片目标位置
    Set ws = ThisWorkbook.Sheets("Sheet1") ' 修改为你的工作表名称


    ' 初始化XMLHTTP和ADODB.Stream对象
    Set xmlhttp = CreateObject("MSXML2.XMLHTTP")
    Set adodbStream = CreateObject("ADODB.Stream")

    ' 获取最后一行
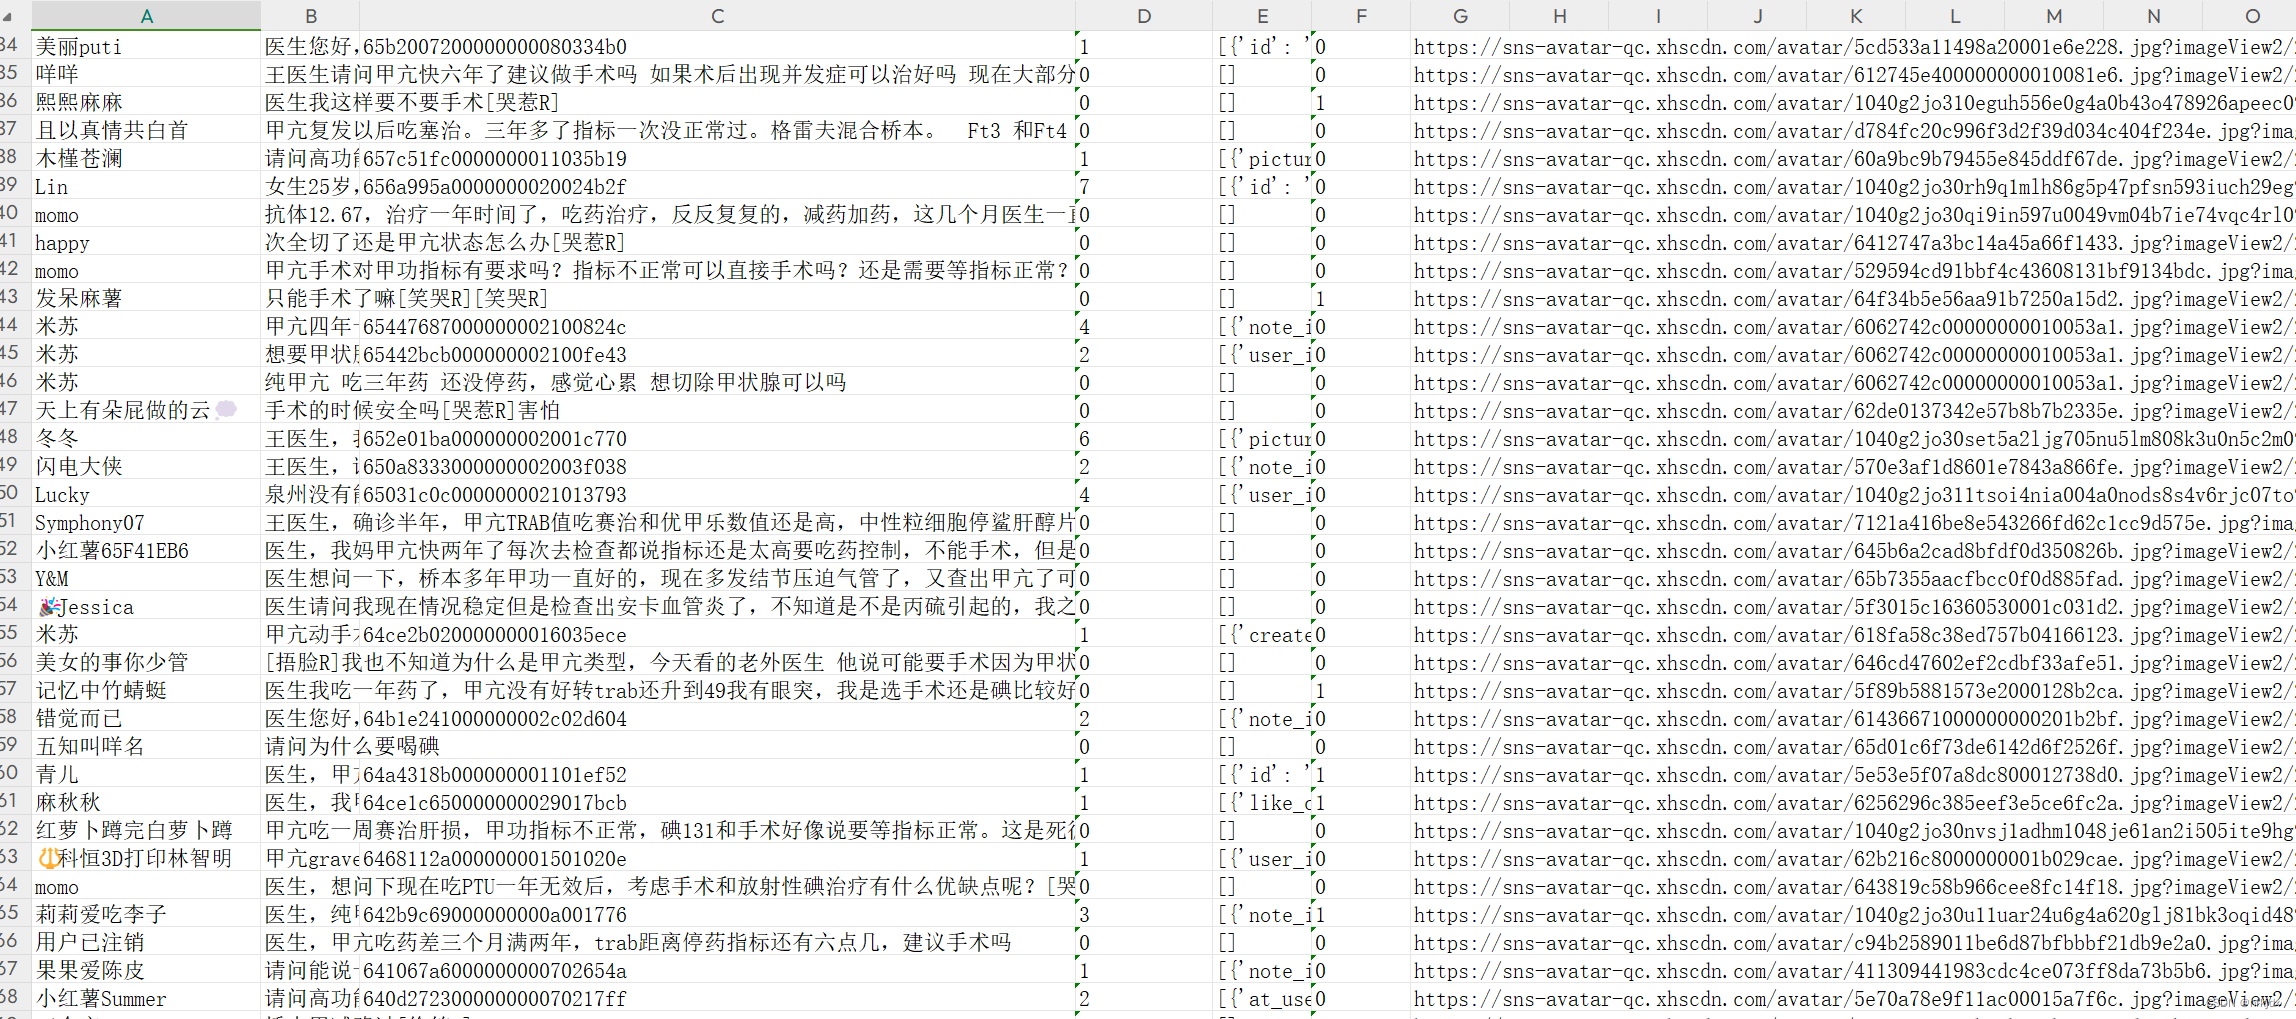
    lastRow = ws.Cells(ws.Rows.Count, "G").End(xlUp).Row
    ' 初始化随机数生成器(只需在程序开始时调用一次)
    Randomize Now() ' 使用当前时间作为种子
    Dim randomNumber As Integer

    ' 遍历列A中的每个URL
    For Each urlCell In ws.Range("G2:G" & lastRow) ' 假设数据从第2行开始
        If Not IsEmpty(urlCell.Value) Then ' 检查单元格是否为空
        randomNumber = Int((100000 * Rnd) + 1)
         imgPath = "d:\zzf\upload\" & randomNumber & ".jpg"   ' 修改为你的临时图片保存路径
            ' 下载图片
            xmlhttp.Open "GET", urlCell.Value, False
            xmlhttp.send

            ' 将图片保存到临时位置
            With adodbStream
                .Open
                .Type = 1 ' 二进制数据
                .write (xmlhttp.responseBody)
                .SaveToFile imgPath, 2 ' 覆盖已存在的文件
                .Close
            End With

            ' 在旁边的单元格(例如B列)插入图片
            Set targetCell = urlCell.Offset(0, 11) ' 假设图片插入到B列


            ' 插入新图片
            Set img = ws.Pictures.Insert(imgPath)
            With img
                .ShapeRange.LockAspectRatio = msoFalse
                .Top = targetCell.Top
                .Left = targetCell.Left
                ' 根据需要设置图片大小和其他属性
                  .ShapeRange.Width = 20
                 .ShapeRange.Height = 20
            End With
        End If
    Next urlCell

    ' 清理对象
    Set xmlhttp = Nothing
    Set adodbStream = Nothing
    Set img = Nothing
End Sub
运行情况:

小伙伴有运行问题可留言或私信。
