目录
1 过滤器-格式化价格
2 组件-搜索框
3 组件-数量框
4 组件-商品概况
4.1 格式化价格
4.2 选择性使用勾选框和数量框
4.3 源码
1 过滤器-格式化价格
这个项目中仅用到格式化价格这一种过滤器。过滤器文件位置为store/filter.wxs

文件内容是这样的,功能是保留两位小数。后续我们会进行引用

2 组件-搜索框
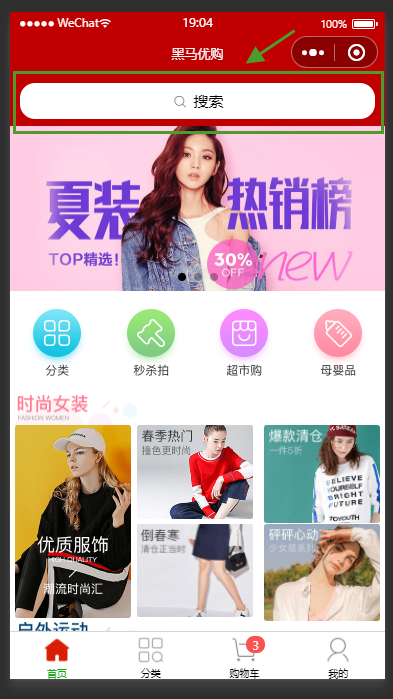
在首页中有使用
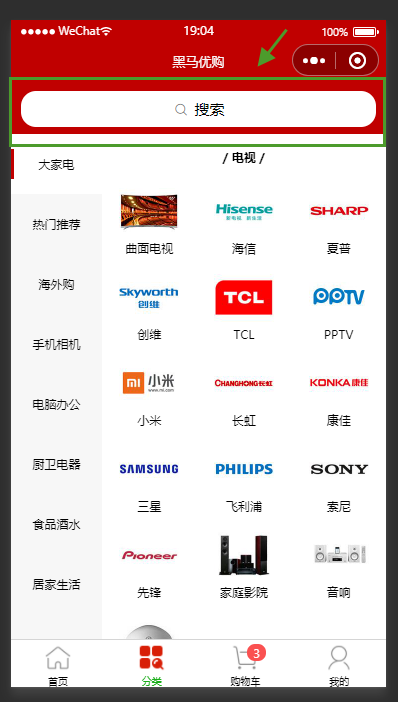
在分类中有使用
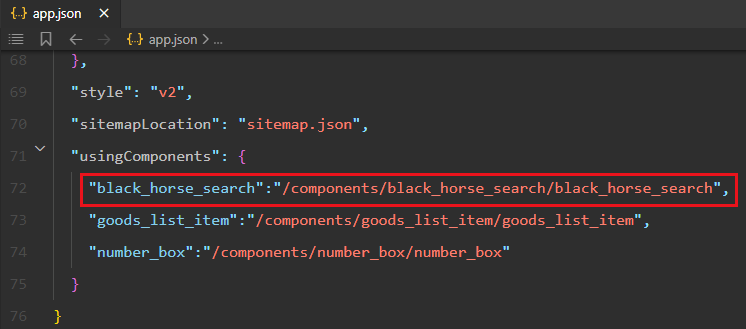
在app.json中注册black_horse_search组件
html
<!--components/black_horse_search.wxml-->
<view class="my-search-container" bindtap="go_search_page">
  <view class="my-search-box">
    <icon class="icon-small" type="search" size="17"></icon>
    <text class="placeholder">搜索</text>
  </view>
</view>
css
/* components/black_horse_search.wxss */
.my-search-container {
  background-color: #c00000;
  height:50px;
  padding:0 10px;
  display:flex;
  align-items: center;
}

.my-search-box {
  height:36px;
  background-color: #fff;
  border-radius: 15px;
  width:100%;
  display:flex;
  align-items:center;
  justify-content:center;
}

.my-search-box .placeholder {
  font-size:15px;
  margin-left:5px;
}
js
// components/black_horse_search.js
Component({
  /**
   * 组件的属性列表
   */
  properties: {

  },

  /**
   * 组件的初始数据
   */
  data: {

  },

  /**
   * 组件的方法列表
   */
  methods: {
    go_search_page() {
      wx.navigateTo({url:'/subpackage_search/search'})
    }
  }
})
js中只有点击后跳转到子页面search,跳转之后的事情就不用这个组件来做了
3 组件-数量框
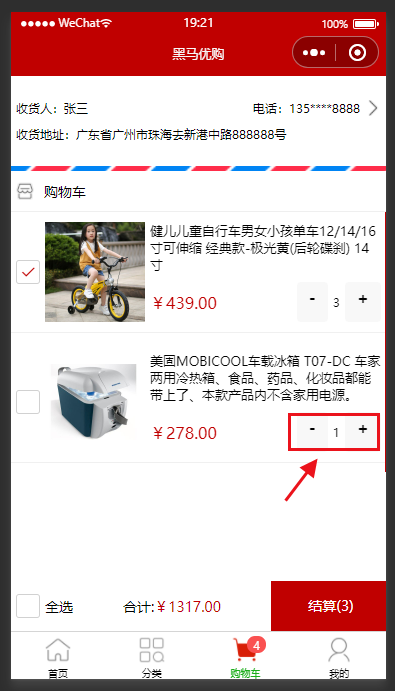
数量框就是这个,该项目中只有购物车中用到了数量框,所以实际这个没必要封装
wxml
<!--components/number_box/number_box.wxml-->
<view class="number-container">
    <!-- 减 1 的按钮 -->
    <button size="mini" bindtap="sub_one" class="number_container_button">-</button>
    <!-- 购买的数量 -->
    <view class="number-box">{{ goods_count }}</view>
    <!-- 加 1 的按钮 -->
    <button size="mini" bindtap="add_one" class="number_container_button">+</button>
</view>
wxss
/* components/number_box/number_box.wxss */
.number-container {
  display: flex;
  text-align: center;
  justify-content: center;
}

.number-box {
  line-height: 80rpx;
  text-align: center;
  margin: 0 5px;
  font-size: 12px;
}
js
// components/number_box/number_box.js
Component({
  /**
   * 组件的属性列表
   */
  properties: {
    goods_count:{
      type:Number,
      value:1
    }
  },

  /**
   * 组件的初始数据
   */
  data: {

  },

  /**
   * 组件的方法列表
   */
  methods: {
    add_one(e) {
      this.setData({goods_count:this.data.goods_count+1})
      this.triggerEvent("add_one",e.target.dataset)
    },
    sub_one(e) {
      if (this.data.goods_count > 1) {
        this.setData({goods_count:this.data.goods_count-1})
      }
      this.triggerEvent("sub_one",e.target.dataset)
    }
  }
})
在js中用到了自定义事件传递数据。从数量框->goods_list_item->购物车页面
e.target.dataset是传递参数,我们在组件中没写参数,也不需要传递参数,所以可以删掉
4 组件-商品概况
在商品列表中使用。每一个绿框就是一个组件

在购物车中使用

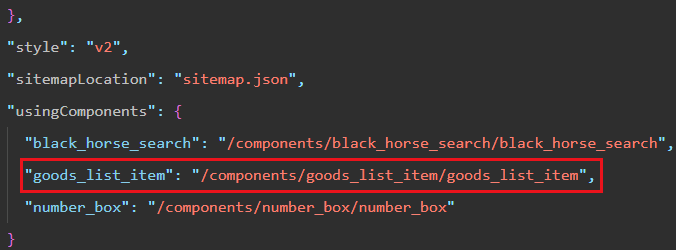
在app.json中注册goods_list_item组件
4.1 格式化价格
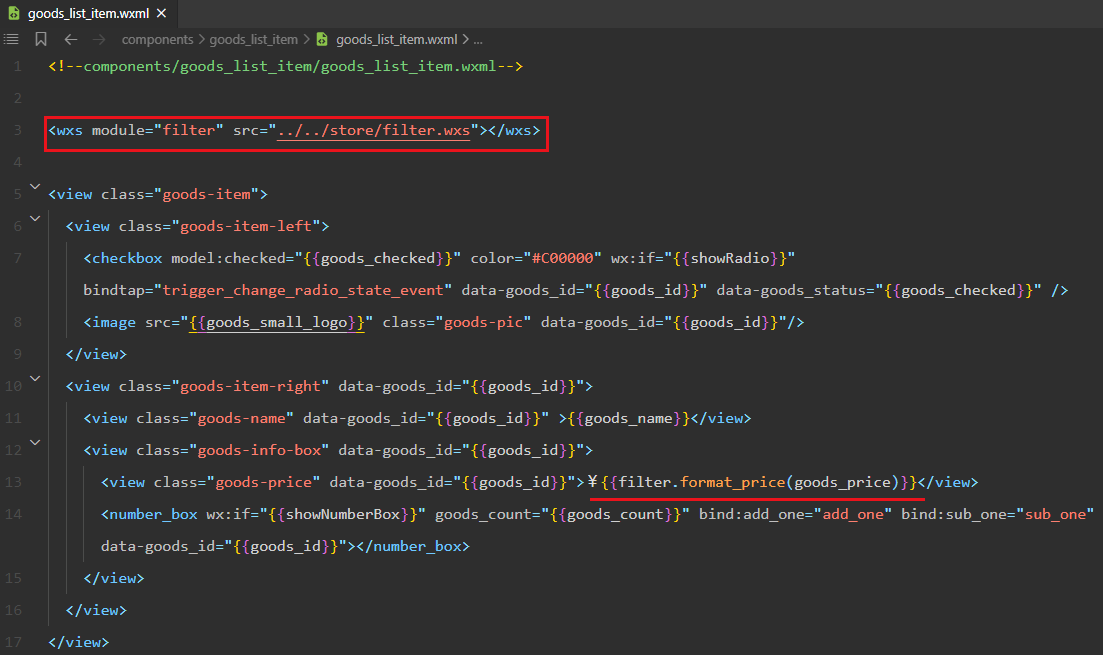
引入wxs,然后在模板中使用
4.2 选择性使用勾选框和数量框
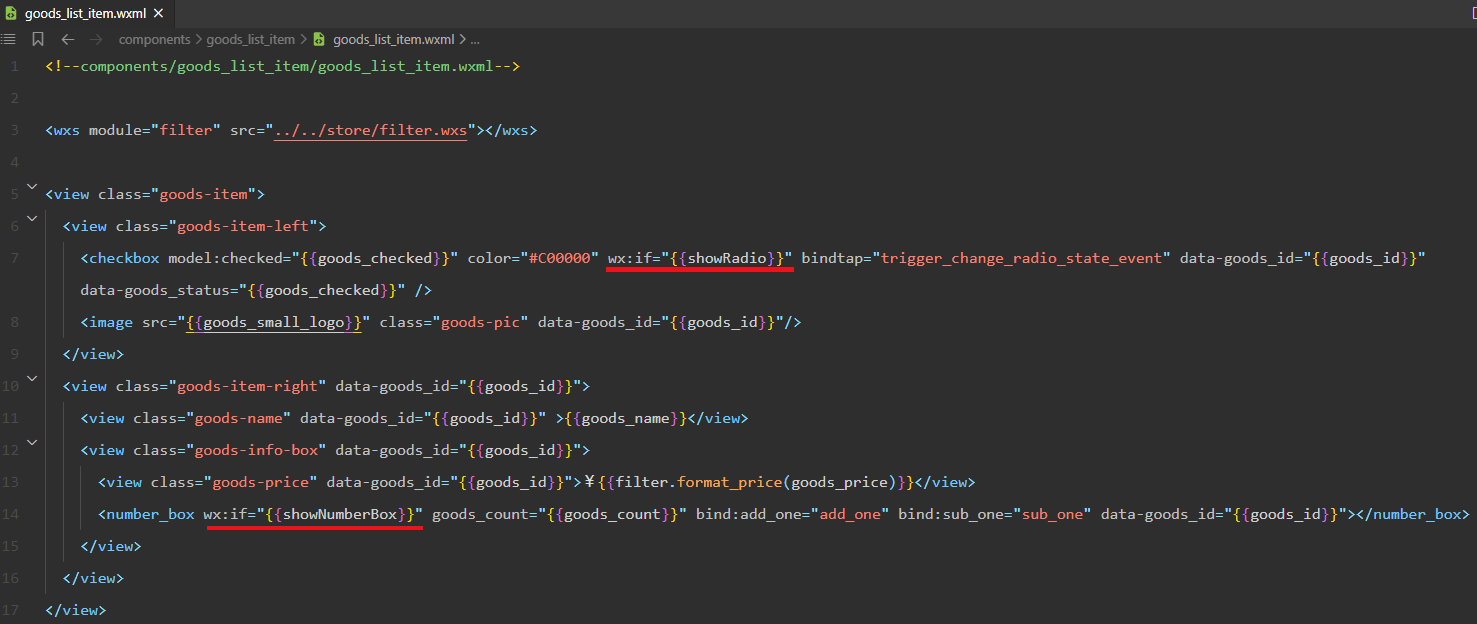
从使用者接受properties觉得是否使用勾选框和数量框

4.3 源码
wxml
<!--components/goods_list_item/goods_list_item.wxml-->

<wxs module="filter" src="../../store/filter.wxs"></wxs>

<view class="goods-item">
  <view class="goods-item-left">
    <checkbox model:checked="{{goods_checked}}" color="#C00000" wx:if="{{showRadio}}" bindtap="trigger_change_radio_state_event" data-goods_id="{{goods_id}}" data-goods_status="{{goods_checked}}" />
    <image src="{{goods_small_logo}}" class="goods-pic" data-goods_id="{{goods_id}}"/>
  </view>
  <view class="goods-item-right" data-goods_id="{{goods_id}}">
    <view class="goods-name" data-goods_id="{{goods_id}}" >{{goods_name}}</view>
    <view class="goods-info-box" data-goods_id="{{goods_id}}">
      <view class="goods-price" data-goods_id="{{goods_id}}">¥{{filter.format_price(goods_price)}}</view>
      <number_box wx:if="{{showNumberBox}}" goods_count="{{goods_count}}" bind:add_one="add_one" bind:sub_one="sub_one" data-goods_id="{{goods_id}}"></number_box>
    </view>
  </view>
</view>
在这里给所有的元素都给上了data-goods_id是怕goods_id传不出去,怀疑是和事件冒泡有关,应该有更简便的写法,如果不想思考就给每个元素都加上
wxss
/* components/goods_list_item/goods_list_item.wxss */

.goods-item {
  display:flex;
  padding:10px 5px;
  border-bottom:1px solid #f0f0f0;
}
/* 左侧 */
.goods-item .goods-item-left {
  margin-right:5px;
  display:flex;
  justify-content: space-between;
  align-items:center;
}

.goods-item .goods-item-left .goods-pic {
  width:100px;
  height:100px;
  display: block;
}
/* 右侧 */
.goods-item .goods-item-right {
  display: flex;
  flex:1;
  flex-direction:column;
  justify-content:space-between;
}

.goods-item .goods-item-right .goods-name {
  font-size:13px;
}

.goods-item .goods-item-right .goods-price {
  font-size:16px;
  color:#c00000;
}

.goods-item .goods-item-right .goods-info-box {
  display:flex;
  align-items:center;
  justify-content: space-between;
}
js
// components/goods_list_item/goods_list_item.js
Component({
  /**
   * 组件的属性列表
   */
  properties: {
    goods_small_logo:{
      type:String,
      value:'https://img3.doubanio.com/f/movie/8dd0c794499fe925ae2ae89ee30cd225750457b4/pics/movie/celebrity-default-medium.png'
    },
    goods_id:{
      type:Number
    },
    goods_count:{
      type:Number
    },
    goods_price:{
      type:Number
    },
    goods_name:{
      type:String
    },
    showRadio:{
      type:Boolean,
      value:false
    },
    showNumberBox:{
      type:Boolean,
      value:false
    },
    goods_checked:{
      type:Boolean,
      value:true
    }
  },

  /**
   * 组件的初始数据
   */
  data: {

  },

  /**
   * 组件的方法列表
   */
  methods: {
    trigger_change_radio_state_event(e) {
      this.triggerEvent("radio_change",e.target.dataset)
    },
    add_one(e) {
      this.setData({goods_count:this.data.goods_count+1})
      this.triggerEvent("add_one",e.target.dataset)
    },
    sub_one(e) {
      if (this.data.goods_count > 1) {
        this.setData({goods_count:this.data.goods_count-1})
      }
      this.triggerEvent("sub_one",e.target.dataset)
    }
  }
})
js中干了两件事,一个是通过properties收数据,另一个是通过方法向上传数据,这里的e.target.dataset不可省略,因为要向上传递goods_id


