Halcon的HSmartWindowControl控件在C#WinForm中的使用介绍(包括绘制ROI)
文章目录
- Halcon的HSmartWindowControl控件在C#WinForm中的使用介绍(包括绘制ROI)
- 一、 引入hSmartWindowControl控件
- 二、 编写打开图像功能
- 三、 编写绘制ROI功能
- 四、源程序下载
Halcon的新版本中增加了HSmartWindowControl控件,该控件可以很方便的实现图像的缩放、拖拽、及自适应显示,虽然使用HSmartWindowControl控件虽然有诸多便利,但是该控件不支持传统HWindowControl的Draw_*函数,要想在该控件上实现ROI图形区域的绘制需要通过其他方式,本文中有详细叙述。实现的功能如下视频:
Halcon的HWindowControl控件在C#WinF
一、 引入hSmartWindowControl控件
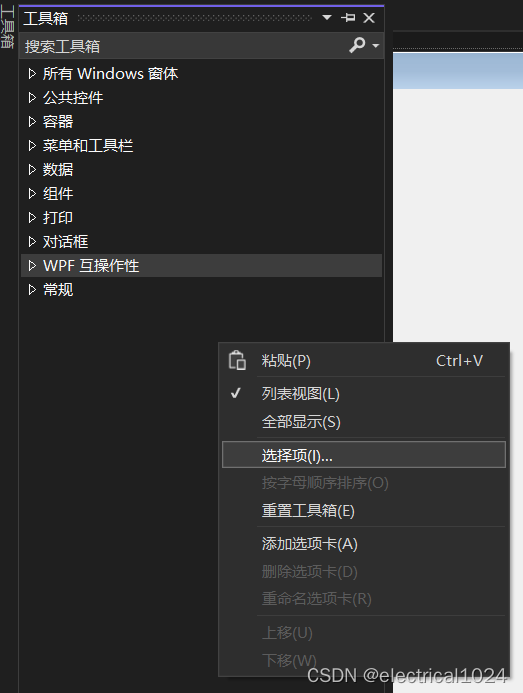
1、打开VS软件,在工具箱中右击,选择”选择项“,如下图所示:
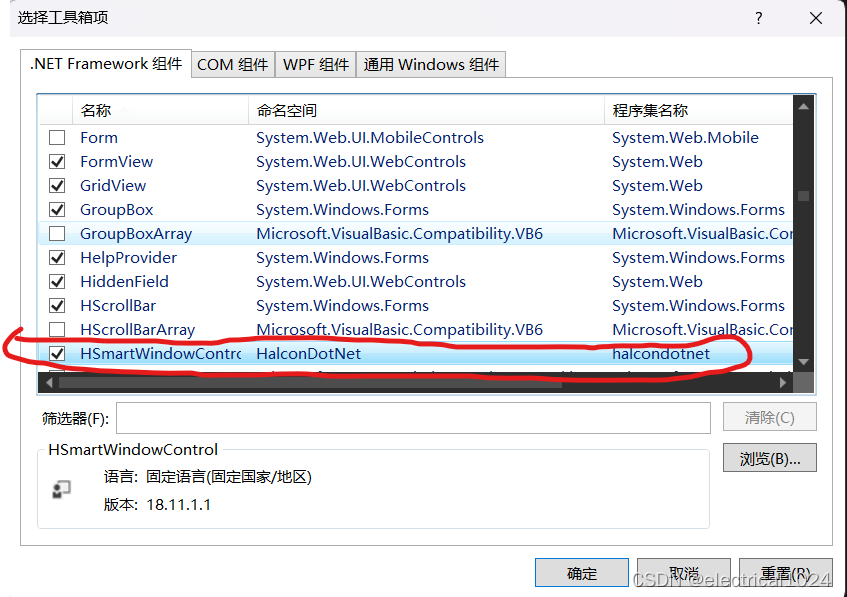
2、打开“.Net FrameWork组件”,点击右下角“浏览”按钮,在halcon的安装目录中找到halcondotnet.dll,添加进来,打开目录如下图所示:
3、关闭此窗口,回到”工具箱“,可以看到"控件hSmartWindowControl"已经添加到工具箱了,可以像其他控件一样拖入到窗体中使用。如下图所示:

二、 编写打开图像功能
 //获取图像及显示窗口长宽
 HOperatorSet.GetImageSize(image, out HTuple imgWidth, out HTuple imgHeight);
 int wndWidth = hSmartWindowControl1.ClientRectangle.Width;
 int wndHeight = hSmartWindowControl1.ClientRectangle.Height;

 //计算比例
 double scale = Math.Max(1.0 * imgWidth.I / wndWidth, 1.0 * imgHeight / wndHeight);
 double w = wndWidth * scale;
 double h = wndHeight * scale;
 //居中时,Part的区域
 hSmartWindowControl1.HalconWindow.SetPart(-(h - imgHeight) / 2, -(w - imgWidth) / 2, imgHeight + (h - imgHeight.D) / 2, imgWidth + (w - imgWidth) / 2);

 //背景色
 hSmartWindowControl1.HalconWindow.SetWindowParam("background_color", "black");
 hSmartWindowControl1.HalconWindow.ClearWindow();

 hSmartWindowControl1.HalconWindow.DispObj(image);
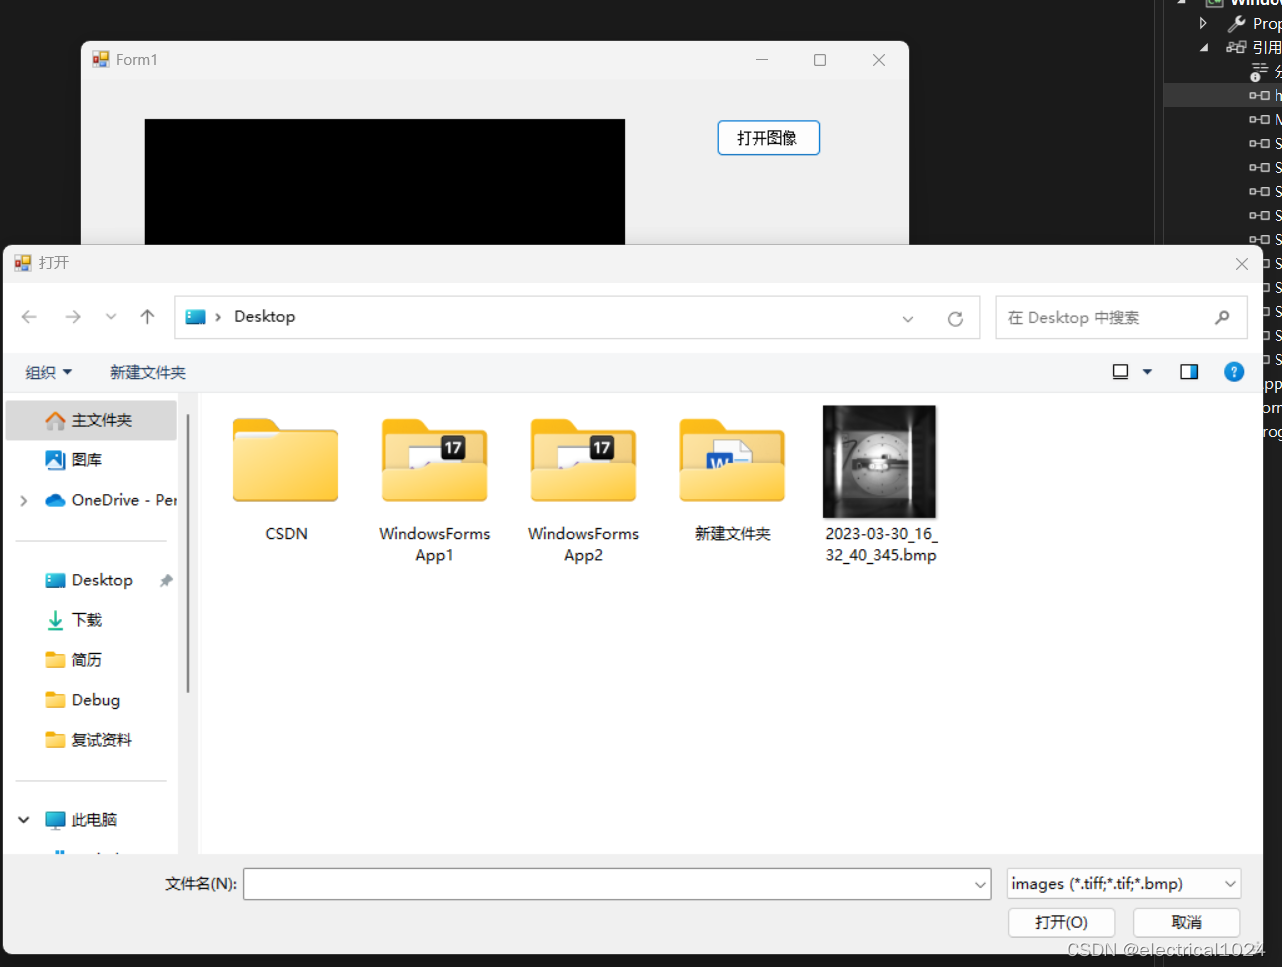
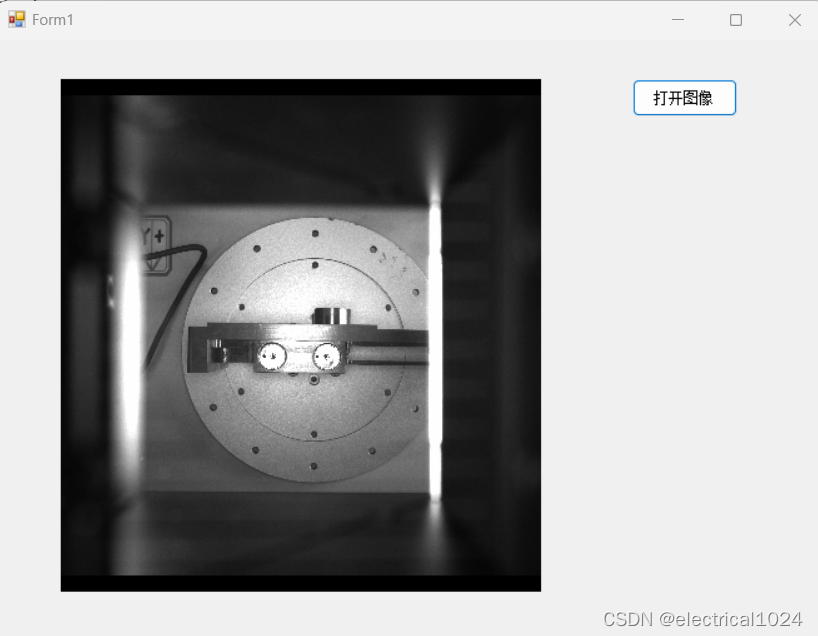
如下图所示:
三、 编写绘制ROI功能
 //创建一个矩形的显示实例
 DoRoi = HDrawingObject.CreateDrawingObject(HDrawingObject.HDrawingObjectType.RECTANGLE1, 500, 500,  1000, 1000);
 DoRoi.SetDrawingObjectParams("color", "green");
 //挂靠实例到HSmartWindowControl控件
 hSmartWindowControl1.HalconWindow.DetachDrawingObjectFromWindow(doRoi);
 //获取矩形参数
string[] str = { "row1", "column1", "row2", "column2" };
HTuple val = DoRoi.GetDrawingObjectParams(str);

//生成ROI
HOperatorSet.GenRectangle1(out HObject roi, val[0], val[1], val[2], val[3]);
HOperatorSet.ReduceDomain(m_SrcImage, roi, out HObject imageROI);
 ShowImage(imageROI);
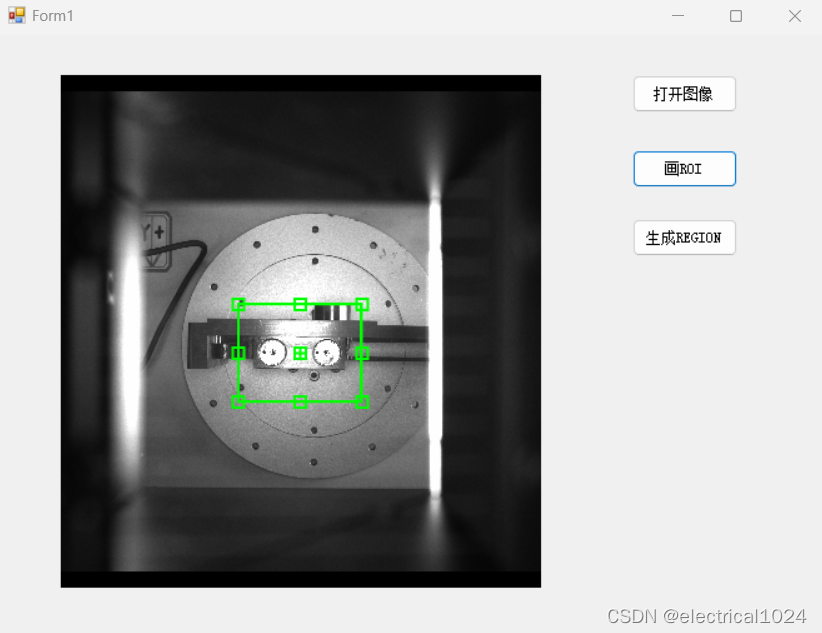
点击画ROI按钮,如图所示:
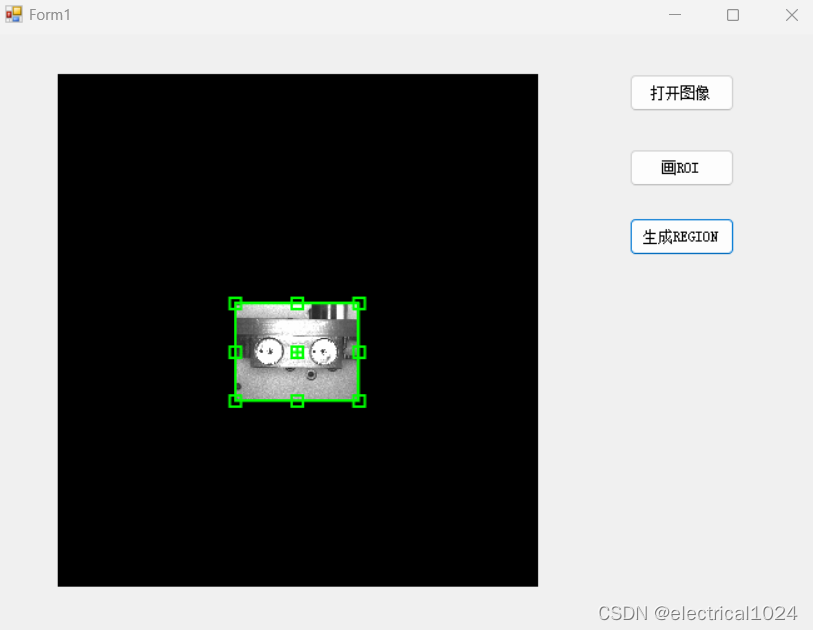
点击生成REGION按钮,如图所示:
四、源程序下载
源程序下载地址: Halcon的HWindowControl控件在C#WinForm中的使用介绍(包括绘制ROI)

