毕业那会使用过这个轻量级的框架,最近再来回看一下,依赖相关的就不多说了,直接从例子开始。下面示例中的 html 模板,千万记得要放到 templates 目录下。
Flask基础示例
hello world
from flask import Flask, jsonify, url_for

app = Flask(__name__)


@app.route('/')
def hello_world():
    return '<h1>Hello World!</h1>'


if __name__ == '__main__':
    app.run()
路由
既然涉及到web框架,就必然涉及到路由。
动态路由
动态路由就是将变量拼接到路由 url 当中,可以把字段编辑为<variable_name>,这个部分将会作为命名参数传递到你的函数。如果在动态路由中指定了变量的类型,比如 <int:user_id>,则需要按照指定类型进行传值,否则的话也会报错。参数也可以根据类似 request.args.get("id") 进行获取。
from flask import Flask, request

app = Flask(__name__)


@app.route('/')
def hello_world():
    return 'Hello World!'


@app.route('/user/<username>')
def show_user_profile(username):
    id = request.args.get("id")
    return 'User %s, id %s' % (username, id)


@app.route('/users/<int:user_id>')
def show_user_id(user_id):
    return 'User id %d' % user_id


if __name__ == '__main__':
    app.run(debug=True)

构造 url
Flask 还可以用 url_for() 函数来给指定的函数构造URL,也称为反向路由。它接收函数名作为第一个参数,也接受对应 URL 规则的变量部分的命名参数。未知变量部分会添加到URL末尾作为查询条件。
from flask import Flask, url_for

app = Flask(__name__)


@app.route('/')
def hello_world():
    return url_for('article', id=1, name="look")  # /article/1?name=look


@app.route('/article/<id>')
def article(id):
    return f'id {id} article detail'


if __name__ == '__main__':
    app.run()
http方法
HTTP 有许多的不同的构造方法访问 URL 方法。默认情况下,路由只回应 GET 请求,当时通过route() 装饰器传递 methods 参数可以改变这个行为,至于每个 method 对应的行为,这块就不多细说了。
from flask import Flask, url_for, request

app = Flask(__name__)


@app.route('/', methods=['GET', 'POST'])
def index():
    if request.method == 'POST':
        return "go post method"
    elif request.method == 'GET':
        return "go get method"


if __name__ == '__main__':
    app.run()
模板
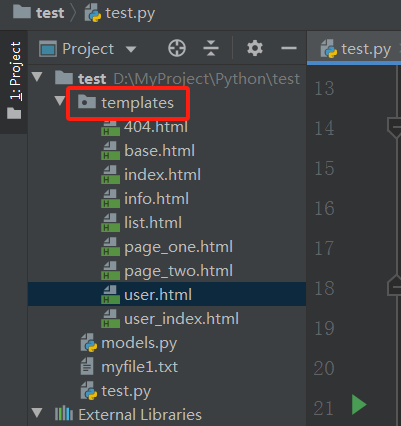
html模板文件一般默认是放在 templates 目录下的,如果没有这个目录的话,可以自己新建一个。
templates/index.html
<!DOCTYPE html>
<html lang="en">
<head>
    <meta charset="UTF-8">
    <title>template</title>
</head>
<body>
<h1>hello world!</h1>
</body>
</html>
from flask import Flask, render_template
app = Flask(__name__)
@app.route('/')
def hello_world():
return render_template('index.html')
if __name__ == '__main__':
app.run()
变量替换
而且还可以将内容传递到模板文件进行展示,下面这种也是展示 hello world!只不过我们将静态文件的内容藏起来了,通过后端返回的内容再显示出来,用的是模板语法,两种方法在前端显示的都一样。
<!DOCTYPE html>
<html lang="en">
<head>
    <meta charset="UTF-8">
    <title>template</title>
</head>
<body>
<h1>{{content}}</h1>
</body>
</html>
from flask import Flask, render_template
app = Flask(__name__)
@app.route('/')
def hello_world():
content = "hello world!"
return render_template('index.html', content=content)
if __name__ == '__main__':
app.run()
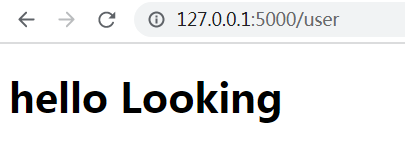
当然,也可以将对象实例传递到模板中去。
user_index.html
<!DOCTYPE html>
<html lang="en">
<head>
    <meta charset="UTF-8">
    <title>user</title>
</head>
<body>
<h1>hello {{user.name}}</h1>
</body>
</html>
models.py
class User:
    def __init__(self, id, name):
        self.id = id
        self.name = name
main.py
from flask import Flask, render_template
from models import User

app = Flask(__name__)


# 引用模板
@app.route('/')
def hello_world():
    content = 'hello world!'
    return render_template('index.html', content=content)


@app.route('/user')
def user_index():
    user = User(1, 'Looking')
    return render_template('user_index.html', user=user)


if __name__ == '__main__':
    app.run()
条件语句
info.html
<!DOCTYPE html>
<html lang="en">
<head>
    <meta charset="UTF-8">
    <title>条件语句</title>
</head>
<body>
    {% if user.id == 1 %}
    <h1> Hello {{user.name}}</h1>
    {% else %}
    <h1>There is no user!</h1>
    {% endif %}
</body>
</html>
from flask import Flask, render_template
from models import User
app = Flask(__name__)
# 路由
@app.route('/info/<user_id>')
def info_judge(user_id):
user = None
if int(user_id) == 1:
user = User(1, 'Looking')
return render_template('info.html', user=user)
if __name__ == '__main__':
app.run()


循环语句
list.html
<!DOCTYPE html>
<html lang="en">
<head>
    <meta charset="UTF-8">
    <title>循环语句</title>
</head>
<body>
    {% for user in users %}
    <h4>user_id: {{user.id}}; user_name: {{user.name}}</h4><br>
    {% endfor %}
</body>
</html>
from flask import Flask, render_template
from models import User
app = Flask(__name__)
# 路由
@app.route('/list')
def info_judge():
users = []
for i in range(5):
users.append(User(i, f"student{i}"))
return render_template('list.html', users=users)
if __name__ == '__main__':
app.run()

模板继承
我们会发现有一些网页的有些部分是不变的,比如说页头页脚等,当跳转相同网页的时候只有中间部分会改变,这就要使用到模板的继承,可以使用 extends 实现对模板文件的继承。
base.html
<!DOCTYPE html>
<html lang="en">
<head>
    <meta charset="UTF-8">
    <title>模板的继承</title>
</head>
<body>
    <div>
        <H2>Header 欢迎光临!</H2>
    </div>
    {% block content %}
    {% endblock %}
    <div>
        <H2>Footer 欢迎下次再来!</H2>
    </div>
</body>
</html>
page_one.html
{% extends 'base.html'%}
{% block content %}
    <h3>{{content}}</h3>
{% endblock %}
page_two.html
{% extends 'base.html'%}
{% block content %}
    <h3>{{content}}</h3>
{% endblock %}
main.py
from flask import Flask, render_template
app = Flask(__name__)


# 第一页路由
@app.route('/page_one')
def one_page():
    content = '这是第一页!'
    return render_template('page_one.html', content=content)


# 第二页路由
@app.route('/page_two')
def secend_page():
    content = '这是第二页!'
    return render_template('page_two.html', content=content)


# 运行
if __name__ == "__main__":
    app.run()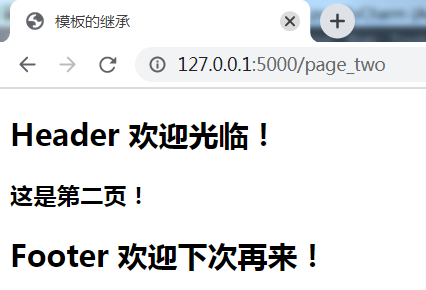
消息提示
使用 flash 可以将后台处理的消息提示刷新到页面
index.html
<!DOCTYPE html>
<html lang="en">
<head>
    <meta charset="UTF-8">
    <title>Flask消息提示与异常捕获</title>
</head>
<body>
<h1>Login</h1>
    <form action="/login" method="post">
        <input type="text" name="username" placeholder="账号"><br />
        <input type="password" name="password" placeholder="密码" style="margin-top:10px"><br />
        <input type="submit" value="Submit" style="margin-left:50px;margin-top:10px">
    </form>
    <!--这里获取的是一个数组-->
    {{get_flashed_messages()[0]}}
</body>
</html>
main.py
from flask import Flask, render_template, flash, request

app = Flask(__name__)
# 对flash的内容加密
app.secret_key = '123'


@app.route('/login')
def index():
    return render_template("index.html")


# 路由
@app.route('/login', methods=['POST'])
def login():
    # 获取表单上传的数据
    form = request.form
    username = form.get('username')
    password = form.get('password')
    # 进行判断
    if not username:
        flash("please enter username")
        return render_template("index.html")
    if not password:
        flash("please enter password")
        return render_template("index.html")
    if username == "looking" and password == "123456":
        flash("login success")
        return render_template("index.html")
    else:
        flash("username and password not match!")
        return render_template("index.html")


# 运行
if __name__ == "__main__":
    app.run()

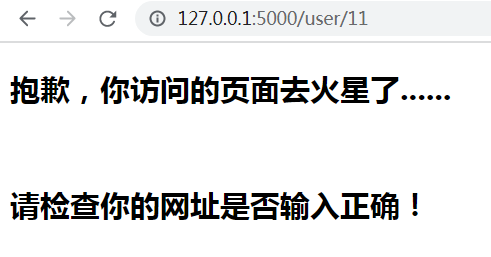
异常捕获
如果用户输入了错误的路径,创建网站的人又没有设置异常捕获及处理,它会出现404;如果处理了的话,那就显示的为处理后的页面。所以,我们的异常处理也就是对返回的 404 页面(或者其他异常)返回我们设置的页面。
404.html
<!DOCTYPE html>
<html lang="en">
<head>
    <meta charset="UTF-8">
    <title>Flask异常捕获与处理</title>
</head>
<body>
    <h2>抱歉,你访问的页面去火星了......</h2><br />
    <h2>请检查你的网址是否输入正确!</h2>
</body>
</html>
user.html
<!DOCTYPE html>
<html lang="en">
<head>
<meta charset="UTF-8">
<title>Title</title>
</head>
<body>
<h1>This is user page</h1>
</body>
</html>main.py
from flask import Flask, render_template, abort

app = Flask(__name__)


# 异常捕获一
@app.errorhandler(404)
def not_found():
    return render_template('404.html'), 404


# 异常捕获二
@app.route('/user/<user_id>')
def user_info(user_id):
    if int(user_id) == 1:
        return render_template("user.html")
    else:
        abort(404)


if __name__ == "__main__":
    app.run()

如果没有添加针对 404 的错误处理,就是下面这种界面。
 403 是 Forbidden