文章目录
- 1. 安装ffmpeg
- 2. 克隆项目
- 3. 配置项目运行环境
- 4. 填写配置文件
- 5. 运行项目(仅使用CPU)
项目地址:Github - qinL-cdy/auto_ai_subtitle
项目原理:使用ffmpeg提取视频的音频,使用whisper将音频转写为字幕,使用translate将源语言字幕翻译成目标语言字幕。
1. 安装ffmpeg
- 下载构建好的ffmpeg。Windows版本下载。
- 用7-zip解压文件,将解压目录下的bin目录对应的路径添加到环境变量
- 在搜索框中搜索
环境变量> 编辑系统环境变量 > 环境变量 > 系统变量 > Path - 将bin目录对应的路径添加到Path中
- 在搜索框中搜索
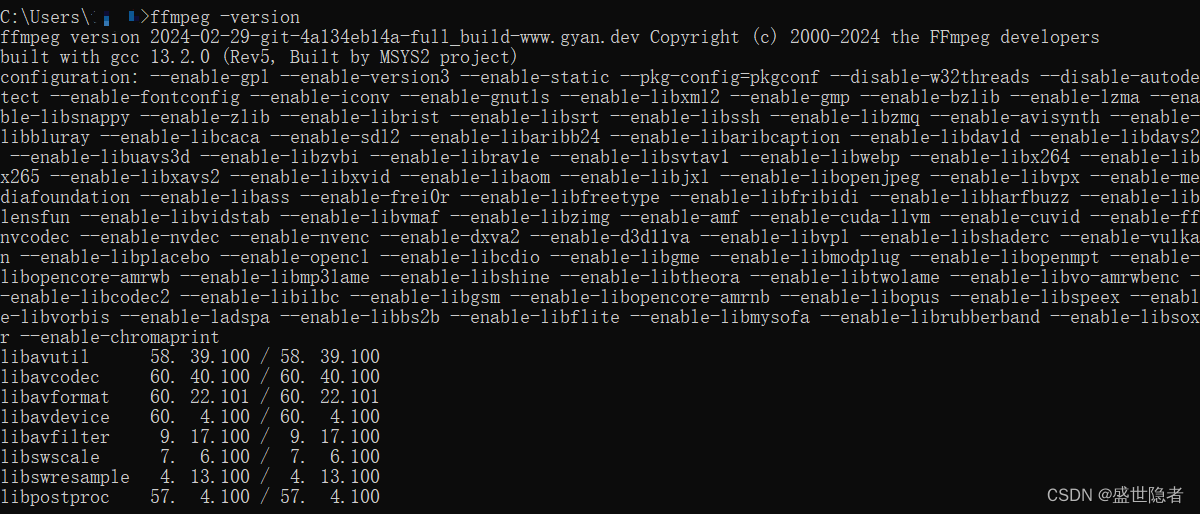
win + R启动运行,输入cmd,在命令提示符中输入以下命令,出现下图所示内容即配置成功。ffmpeg -version
2. 克隆项目
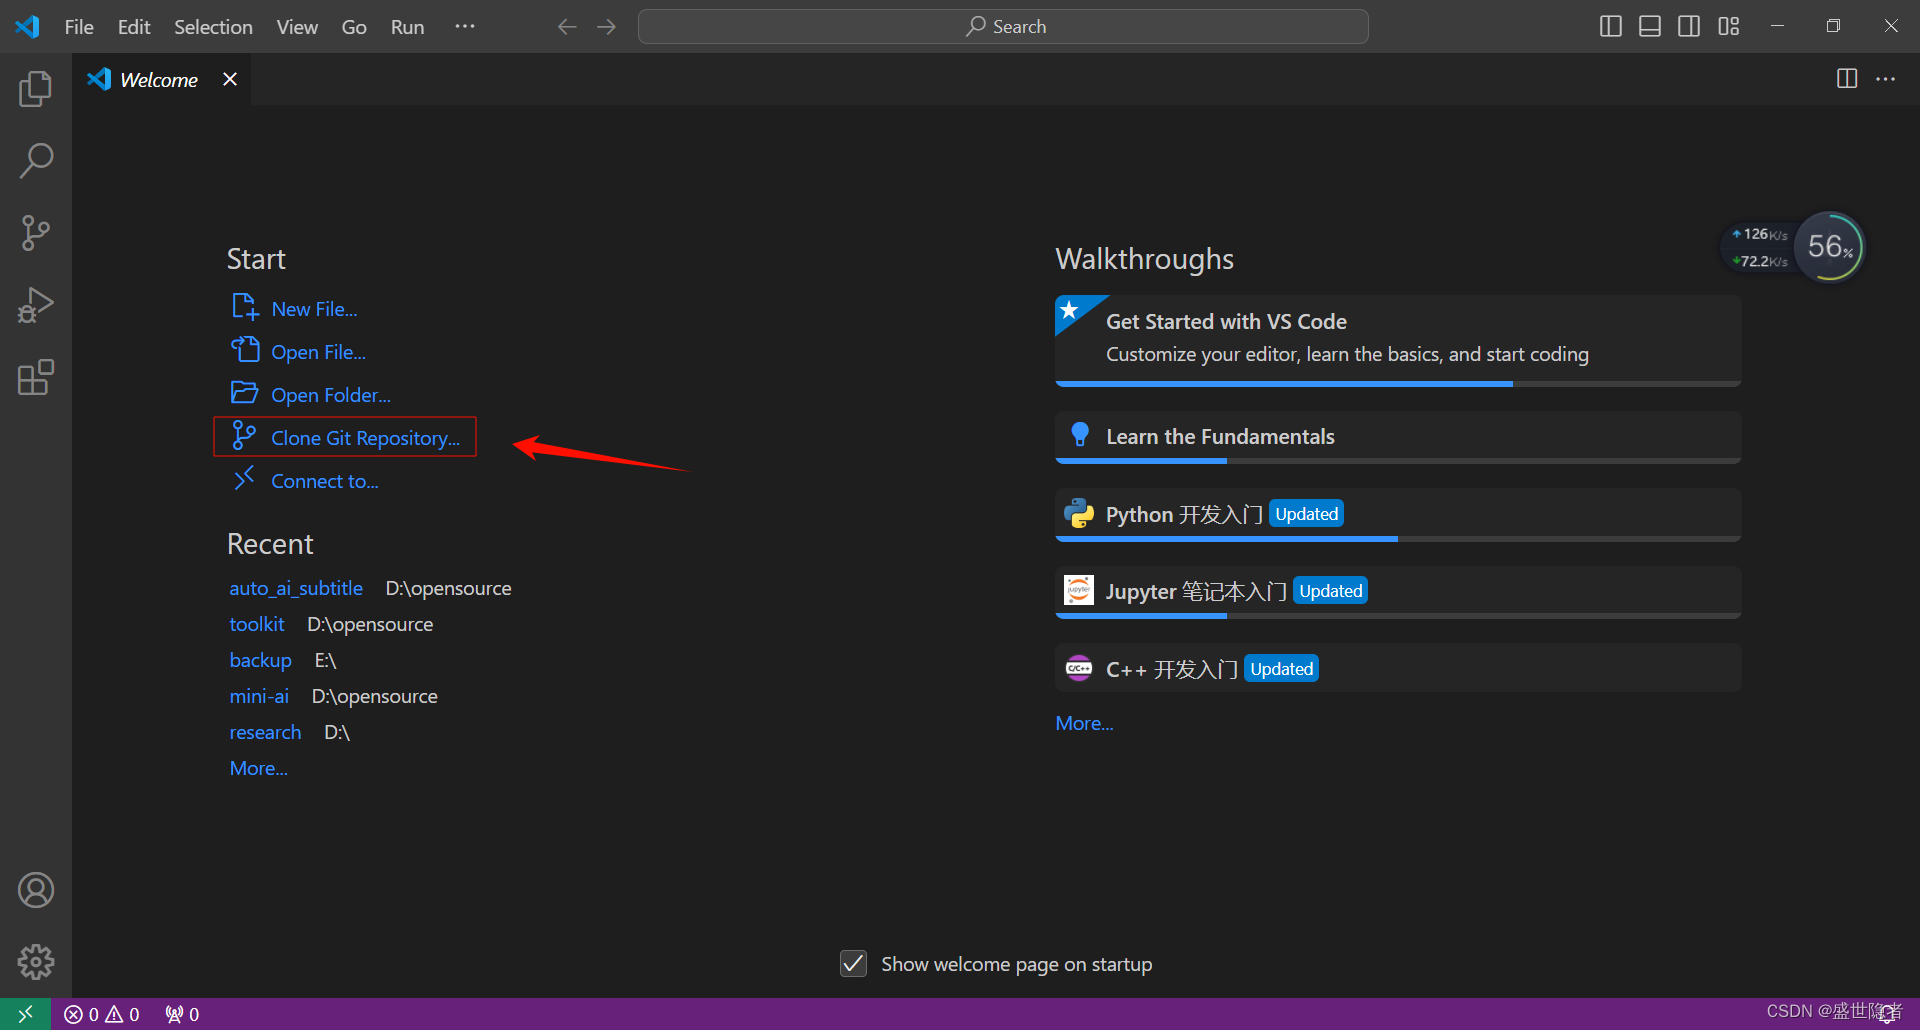
- 打开VSCode,点击
Clone Git Repository ...。选择克隆的目标文件夹,克隆完成后打开文件夹。
3. 配置项目运行环境
- 使用conda创建虚拟环境(安装Anaconda、conda换源、pip换源可以去搜索)
- 启动Anaconda Prompt
- 输入以下命令创建虚拟环境
conda create -n auto_ai_subtitle python=3.9 -y- 激活虚拟环境
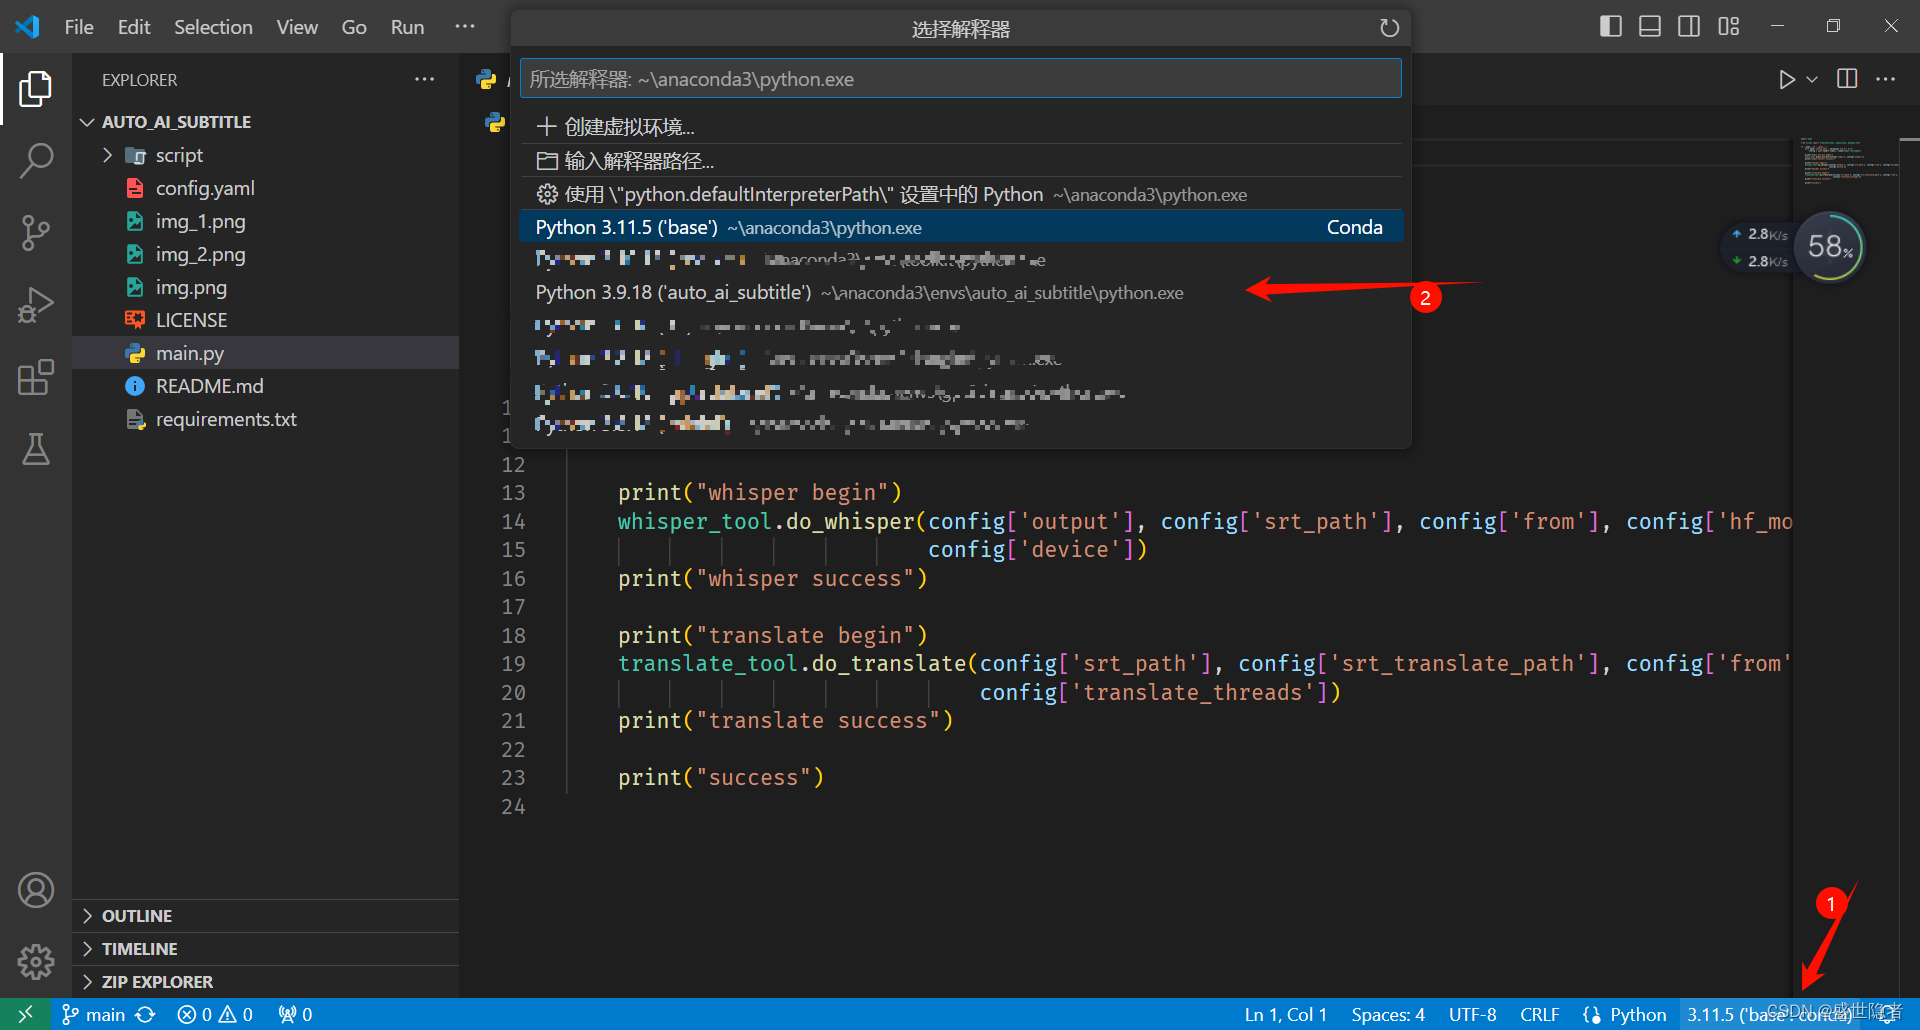
conda activate auto_ai_subtitle - VSCode选择虚拟环境
- 右键main.py,点击
打开集成终端,输入以下命令安装第三方库。
pip install -r requirements.txt
4. 填写配置文件
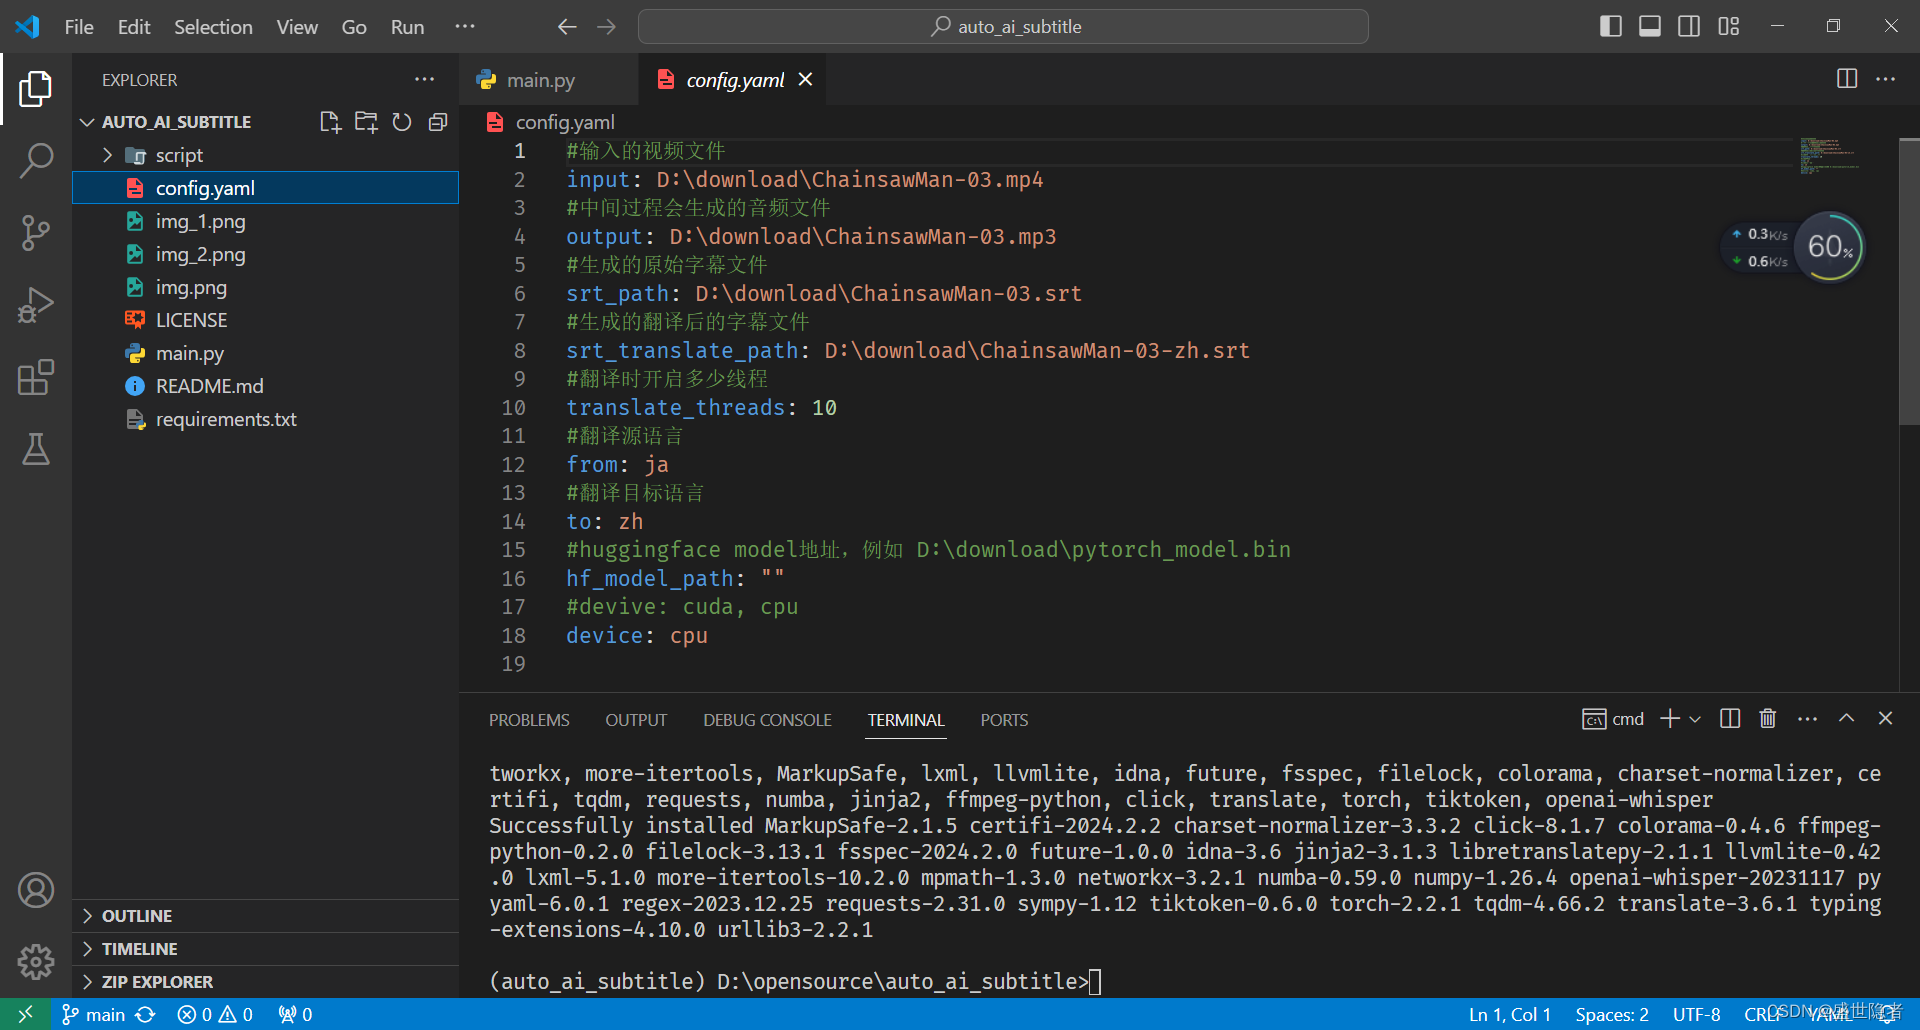
打开config.yaml,可以根据自己的实际情况设置相应的参数。
- 语言简称参照链接后两位字母转小写。
- 路径中不能有中文
5. 运行项目(仅使用CPU)
- 修改
script/audio_tool.py为以下内容:
import ffmpeg
import subprocess

def audio_extract(input, output):
	ffmpeg.input(input, vn=None).output(output).run()

# 解决中文路径ffmpeg无法运行的问题
# def audio_extract(input_path, output_path):
# 	command = [
# 		'ffmpeg',
# 		'-i', 'pipe:0',  # 从stdin读取输入
# 		'-vn',          # 仅提取音频
# 		output_path     # 输出文件路径
# 	]

# 	with open(input_path, 'rb') as f:
# 		subprocess.run(command, input=f.read())
-
修改
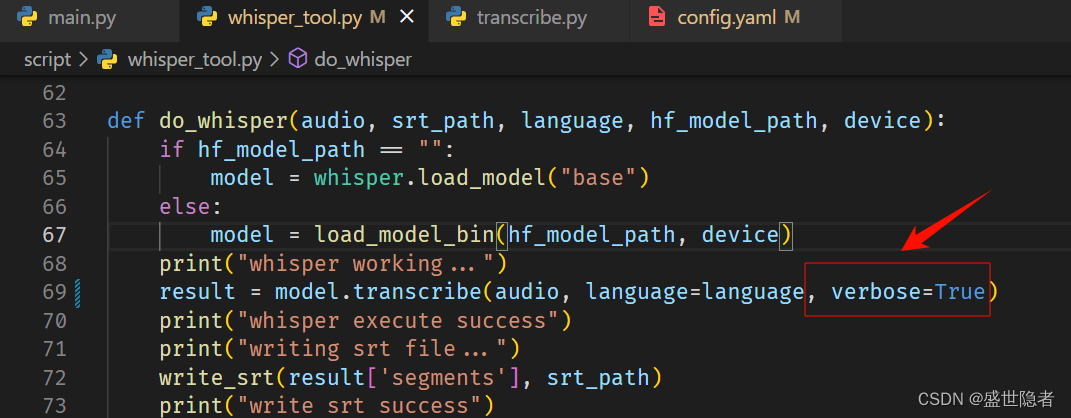
script/whisper_tool.py,添加verbose=True能显示转写过程。
-
在集成终端输入以下命令:
python main.py
- 运行过程中出现以下警告可以忽略,因为默认使用FP16,但是CPU不支持FP16,程序自动会改成FP32。

