常用的Maven命令如下
| 命令 | 说明 |
| mvn clean | 清理Maven 项目。会删除目标路径(一般是target目录)Maven生成的打包文件,编译文件。 |
| mvn package | 打包Maven项目,会生成jar 或者war文件。 |
| mvn test | 执行test目录下的测试用例。 |
| mvn deploy | 发布依赖到远端 |
| mvn site | 生成项目相关的信息 |
| mvn archetype | 创建Maven 项目 |
| mvn tomcat:run | 运行在Tomcat容器 |
| mvn install | 安装依赖 |
jar包
打包到本地:
mvn clean install -Dmaven.test.skip=true
打包到远程仓库:
mvn clean deplay -Dmaven.test.skip=true
说明:
clean: 是清除之前的jar包,
install:是打包到本地,
deploy:是打包到远程仓库
-Dmaven.test.skip=true :是忽略测试代码;
war包
mvn clean package -Dmaven.test.skip=true
maven的spring boot 打包分离依赖及配置文件
<!--省略 其他配置 -->
<!--参数配置-->
<properties>
<package.output.basedir>${project.build.directory}/${project.artifactId}-${project.version}</package.output.basedir>
<output.dependence.file.path>lib/</output.dependence.file.path>
<output.resource.file.path>config/</output.resource.file.path>
<output.shell.file.path>bin/</output.shell.file.path>
</properties>
<!--打包配置配置-->
<build>
<!-- 打包名称 如果需要包含时间戳,需要加入时间戳插件 -->
<finalName>${project.artifactId}-${project.version}</finalName>
<!--打包加GMT+8时间插件(默认是UTC时间少8小时)-->
<plugins>
<plugin>
<groupId>org.codehaus.mojo</groupId>
<artifactId>buildnumber-maven-plugin</artifactId>
<version>1.4</version>
<configuration>
<timestampFormat>yyyyMMddHHmmss</timestampFormat>
</configuration>
<executions>
<execution>
<goals>
<goal>create-timestamp</goal>
</goals>
</execution>
</executions>
<inherited>false</inherited>
</plugin>
<!--移除配置文件将其不打包进jar包中,并可以将打包后的jar包输出到指定路径 -->
<plugin>
<groupId>org.apache.maven.plugins</groupId>
<artifactId>maven-jar-plugin</artifactId>
<configuration>
<!-- 剔除配置文件或目录:注意从编译结果目录开始算目录结构excludes\includes 是根据编译后的classes这个路径计算的-->
<excludes>
<!-- 剔除指定后缀配置文件 -->
<exclude>*.properties</exclude>
<exclude>*.yml</exclude>
<!-- 剔除指定目录 -->
<!-- <exclude>/static/**</exclude>-->
</excludes>
<archive>
<manifest>
<addClasspath>true</addClasspath>
<!-- MANIFEST.MF 中 Class-Path 各个依赖加入前缀 -->
<!--lib文件夹内容,需要 maven-dependency-plugin插件补充 (依赖包剥离位置)-->
<classpathPrefix>${output.dependence.file.path}</classpathPrefix>
<!-- jar包不包含唯一版本标识 -->
<useUniqueVersions>false</useUniqueVersions>
<!--指定入口类 -->
<mainClass>com.zhong.pacakge.springpacakage.PackageSpringPlugsApplication</mainClass>
</manifest>
<manifestEntries>
<!--MANIFEST.MF 中 Class-Path 加入自定义路径,多个路径用空格隔开 -->
<!--此处config文件夹的内容,需要maven-resources-plugin插件补充上 (配置文件剥离位置)-->
<Class-Path>./${output.resource.file.path}</Class-Path>
</manifestEntries>
</archive>
<!--输出目录 不指定则输出到target下-->
<outputDirectory>${package.output.basedir}//${output.dependence.file.path}</outputDirectory>
</configuration>
</plugin>
<!-- 将依赖包导出到指定文件夹 -->
<plugin>
<groupId>org.apache.maven.plugins</groupId>
<artifactId>maven-dependency-plugin</artifactId>
<executions>
<execution>
<id>copy-dependencies</id>
<phase>package</phase>
<goals>
<goal>copy-dependencies</goal>
</goals>
<configuration>
<!--依赖包的输出路径-->
<outputDirectory>${package.output.basedir}/${output.dependence.file.path}</outputDirectory>
</configuration>
</execution>
</executions>
</plugin>
<!-- 将需要复制的文件复制到指定路径(例:将配置文件提取到指定路径) -->
<plugin>
<artifactId>maven-resources-plugin</artifactId>
<executions>
<!-- 复制配置文件 -->
<execution>
<id>resources</id>
<phase>package</phase>
<goals>
<goal>copy-resources</goal>
</goals>
<configuration>
<!-- 复制哪些目录下的哪些文件到指定目录 -->
<resources>
<resource>
<directory>src/main/resources</directory>
<!-- 不配置excludes\includes默认就是复制指定目录的所有文件 -->
<includes>
<include>*.properties</include>
<include>*.yml</include>
<include>*/*.properties</include>
</includes>
</resource>
</resources>
<outputDirectory>${package.output.basedir}/${output.resource.file.path}</outputDirectory>
</configuration>
</execution>
<!-- 启动类文件 位置-->
<execution>
<id>shell</id>
<phase>package</phase>
<goals>
<goal>resources</goal>
</goals>
<configuration>
<!-- 复制哪些目录下的哪些文件到指定目录 -->
<resources>
<resource>
<directory>src/bin</directory>
<!-- 不配置excludes\includes默认就是复制指定目录的所有文件 -->
<includes>
<include>*.sh</include>
<include>*.bat</include>
</includes>
</resource>
</resources>
<outputDirectory>${package.output.basedir}/${output.shell.file.path}</outputDirectory>
</configuration>
</execution>
</executions>
</plugin>
<!-- spring-boot-maven-plugin可以不使用,可当做一般jar包来运行,可统一包内文件结构- -->
<!--<plugin>
<groupId>org.springframework.boot</groupId>
<artifactId>spring-boot-maven-plugin</artifactId>
<configuration>
<!–重写包含依赖,包含不存在的依赖,jar里没有pom里的依赖 –>
<includes>
<include>
<groupId>non-exists</groupId>
<artifactId>non-exists</artifactId>
</include>
</includes>
<outputDirectory>${package.output.basedir}//${output.dependence.file.path}</outputDirectory>
</configuration>
<executions>
<execution>
<goals>
<goal>repackage</goal>
</goals>
<configuration>
<!–配置jar包特殊标识 配置后,保留原文件,生成新文件 *-run.jar –>
<!–配置jar包特殊标识 不配置,原文件命名为 *.jar.original,生成新文件 *.jar –>
<!–<classifier>run</classifier> –>
</configuration>
</execution>
</executions>
</plugin>-->
<!--maven打包时,跳过测试-->
<plugin>
<groupId>org.apache.maven.plugins</groupId>
<artifactId>maven-surefire-plugin</artifactId>
<configuration>
<skip>true</skip>
</configuration>
</plugin>
<!-- 指定多个源代码目录、多个资源文件目录 -->
<plugin>
<groupId>org.codehaus.mojo</groupId>
<artifactId>build-helper-maven-plugin</artifactId>
<version>1.8</version>
<executions>
<execution>
<id>add-source</id>
<phase>generate-sources</phase>
<goals>
<goal>add-source</goal>
</goals>
<configuration>
<sources>
<source>src/main/java</source>
<source>src/main/library</source>
</sources>
</configuration>
</execution>
</executions>
</plugin>
<!-- 编译插件 -->
<plugin>
<groupId>org.apache.maven.plugins</groupId>
<artifactId>maven-compiler-plugin</artifactId>
<configuration>
<source>1.8</source>
<target>1.8</target>
</configuration>
</plugin>
</plugins>
</build>结果如下:

maven-assembly-plugin进行配置分离打包
assembly.xml配置参考官网:
Apache Maven Assembly Plugin – Assembly

assembly.xml配置文件示例:
<?xml version="1.0" encoding="UTF-8"?>
<assembly>
<!-- 可自定义,这里指定的是项目环境 -->
<!-- xxx.tar.gz -->
<id>assembly</id>
<!-- 打包的类型,如果有N个,将会打N个类型的包 -->
<formats>
<format>tar.gz</format>
<format>zip</format>
</formats>
<!--压缩包是否包含 基于项目 基本目录的存档-->
<includeBaseDirectory>true</includeBaseDirectory>
<!--文件设置,参考:https://maven.apache.org/plugins/maven-assembly-plugin/assembly.html -->
<fileSets>
<!-- 配置文件打包-打包至config目录下 fileSet 可以多个-->
<fileSet>
<!--目标目录,会处理目录里面的所有文件-->
<directory>${project.basedir}/src/main/resources/</directory>
<!--打包后的目标文件夹-->
<outputDirectory>config</outputDirectory>
<!--指定打包的文件-->
<includes>
<include>*.xml</include>
<include>*.properties</include>
<include>common/*.properties</include>
</includes>
<!--排除的文件按-->
<!-- <excludes>
<exclude></exclude>
</excludes>-->
<!--目录权限:用户具有读/写/执行权限-->
<directoryMode>0755</directoryMode>
<!--文件权限:用户具有读/写/执行权限-->
<fileMode>0755</fileMode>
<!--脚本文件的编码问题在这里,要改为unix.如果是在windows上面编码,会出现dos编写问题-->
<lineEnding>unix</lineEnding>
</fileSet>
<!--项目自己创建并依赖的jar-->
<!-- <fileSet>
<directory>../package-common/target</directory>
<outputDirectory>jar</outputDirectory>
<includes>
<include>*.jar</include>
</includes>
</fileSet>-->
<!-- 启动文件目录 -->
<fileSet>
<directory>${basedir}/src/bin</directory>
<outputDirectory>bin</outputDirectory>
<fileMode>0755</fileMode>
<includes>
<include>**.sh</include>
<include>**.bat</include>
</includes>
</fileSet>
</fileSets>
<files>
<!--包含打包后的jar文件,可以不加入<dependencySet>指定的 <outputDirectory/>,默认打包的目录-->
<file>
<source>${project.build.directory}/${project.build.finalName}.jar</source>
</file>
<!--这种方式也可以进行文件处理,但是针对单文件-->
<!-- <file>
<source>${project.basedir}/src/main/resources/script/start.sh</source>
<fileMode>0755</fileMode>
<lineEnding>unix</lineEnding>
</file>-->
</files>
<dependencySets>
<dependencySet>
<!--是否把本项目添加到依赖文件夹下:-->
<useProjectArtifact>false</useProjectArtifact>
<!-- 将项目所有依赖包拷贝到发布包的lib目录下 :-->
<outputDirectory>lib</outputDirectory>
<!-- 符合runtime作用范围的依赖会被打包进去: -->
<scope>runtime</scope>
<!-- 这个是为了解决lib下同一个jar包可能有多个SNAPSHOT快照版的问题,比如后面加了不同的时间戳-->
<outputFileNameMapping>${artifact.artifactId}-${artifact.baseVersion}.${artifact.extension}</outputFileNameMapping>
<fileMode>0755</fileMode>
<excludes>
<exclude>${project.groupId}:${project.artifactId}</exclude>
</excludes>
</dependencySet>
<!--<dependencySet>
<!– 这个是为了解决lib下同一个jar包可能有多个SNAPSHOT快照版的问题,比如后面加了不同的时间戳–>
<outputFileNameMapping>${artifact.artifactId}-${artifact.baseVersion}.${artifact.extension}</outputFileNameMapping>
<outputDirectory>boot</outputDirectory>
<fileMode>0755</fileMode>
<includes>
<include>${project.groupId}:${project.artifactId}</include>
</includes>
</dependencySet>-->
</dependencySets>
</assembly>项目的pom.xml的build配置
<build>
        <!-- 打包后的启动jar名称 -->
       <!-- <finalName>${project.groupId}</finalName>-->
        <plugins>
            <!-- 用于排除jar中依赖包 -->
            <plugin>
                <groupId>org.springframework.boot</groupId>
                <artifactId>spring-boot-maven-plugin</artifactId>
                <configuration>
                    <includes>
                        <!-- 项目启动jar包中排除依赖包 -->
                        <include>
                            <groupId>non-exists</groupId>
                            <artifactId>non-exists</artifactId>
                        </include>
                    </includes>
                </configuration>
            </plugin>
            <!-- maven编译 -->
            <plugin>
                <groupId>org.apache.maven.plugins</groupId>
                <artifactId>maven-compiler-plugin</artifactId>
                <configuration>
                    <!-- 不同版本需要制定具体的版本进行编译 -->
                    <source>${java.version}</source>
                    <target>${java.version}</target>
                </configuration>
            </plugin>

            <!-- 打包时跳过测试 -->
            <plugin>
                <groupId>org.apache.maven.plugins</groupId>
                <artifactId>maven-surefire-plugin</artifactId>
                <version>2.22.1</version>
                <configuration>
                    <skipTests>true</skipTests>
                </configuration>
            </plugin>
            <!-- 打包插件 -->
            <plugin>
                <artifactId>maven-assembly-plugin</artifactId>
                <version>3.1.0</version>
                <configuration>
                    <!--文件夹名称, 就是打包后里面的文件夹名称-->
                    <finalName>${project.build.finalName}</finalName>
                    <!--指定压缩包的输出路径-->
                    <outputDirectory>${project.basedir}/target/package</outputDirectory>
                    <descriptors>
                        <!--assembly.xml配置位置-->
                        <descriptor>src/main/resources/assembly/assembly.xml</descriptor>
                    </descriptors>
                </configuration>
                <executions>
                    <execution>
                        <id>make-assembly</id>
                        <!-- 绑定到package生命周期阶段 -->
                        <phase>package</phase>
                        <goals>
                            <!-- 只运行一次 -->
                            <goal>single</goal>
                        </goals>
                    </execution>
                </executions>
            </plugin>
        </plugins>
    </build>
使用idea的install功能或者执行命令 mvn package assembly:single
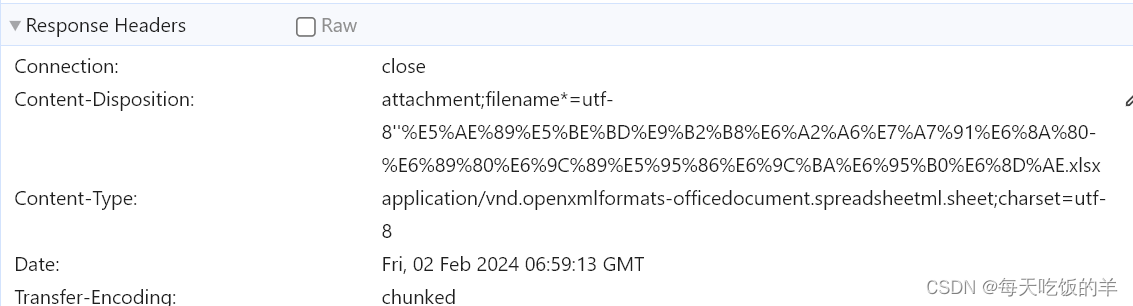
结果如下:

其他assembly.xml示例:将所有jar打到lib中
<?xml version="1.0" encoding="UTF-8"?>
<assembly>
<!-- 可自定义,这里指定的是项目环境 -->
<!-- xxx.tar.gz -->
<id>assembly</id>
<!-- 打包的类型,如果有N个,将会打N个类型的包 -->
<formats>
<format>tar.gz</format>
<format>zip</format>
</formats>
<!--压缩包是否包含 基于项目 基本目录的存档-->
<includeBaseDirectory>true</includeBaseDirectory>
<!--文件设置,参考:https://maven.apache.org/plugins/maven-assembly-plugin/assembly.html -->
<fileSets>
<!-- 配置文件打包-打包至config目录下 fileSet 可以多个-->
<fileSet>
<!--目标目录,会处理目录里面的所有文件-->
<directory>${project.basedir}/src/main/resources/</directory>
<!--打包后的目标文件夹-->
<outputDirectory>config</outputDirectory>
<!--指定打包的文件-->
<includes>
<include>*.xml</include>
<include>*.properties</include>
<include>common/*.properties</include>
</includes>
<!--排除的文件按-->
<!-- <excludes>
<exclude></exclude>
</excludes>-->
<!--目录权限:用户具有读/写/执行权限-->
<directoryMode>0755</directoryMode>
<!--文件权限:用户具有读/写/执行权限-->
<fileMode>0755</fileMode>
<!--脚本文件的编码问题在这里,要改为unix.如果是在windows上面编码,会出现dos编写问题-->
<lineEnding>unix</lineEnding>
</fileSet>
<!--项目自己创建并依赖的jar-->
<!-- <fileSet>
<directory>../package-common/target</directory>
<outputDirectory>jar</outputDirectory>
<includes>
<include>*.jar</include>
</includes>
</fileSet>-->
<!-- 启动文件目录 -->
<fileSet>
<directory>${basedir}/src/bin</directory>
<outputDirectory>bin</outputDirectory>
<fileMode>0777</fileMode>
<includes>
<include>**.sh</include>
<include>**.bat</include>
</includes>
</fileSet>
</fileSets>
<files>
<!--包含打包后的jar文件,可以不加入<dependencySet>指定的 <outputDirectory/>,默认打包的目录-->
<!--<file>
<source>${project.build.directory}/${project.build.finalName}.jar</source>
</file>-->
<!--这种方式也可以进行文件处理,但是针对单文件-->
<!-- <file>
<source>${project.basedir}/src/main/resources/script/start.sh</source>
<fileMode>0755</fileMode>
<lineEnding>unix</lineEnding>
</file>-->
</files>
<dependencySets>
<dependencySet>
<!--是否把本项目添加到依赖文件夹下:-->
<useProjectArtifact>true</useProjectArtifact>
<!-- 将项目所有依赖包拷贝到发布包的lib目录下 :-->
<outputDirectory>lib</outputDirectory>
<!-- 符合runtime作用范围的依赖会被打包进去: -->
<scope>runtime</scope>
<!-- 这个是为了解决lib下同一个jar包可能有多个SNAPSHOT快照版的问题,比如后面加了不同的时间戳-->
<outputFileNameMapping>${artifact.artifactId}-${artifact.baseVersion}.${artifact.extension}</outputFileNameMapping>
<fileMode>0777</fileMode>
<!--排除指定的文件,不放到lib文件夹-->
<!--<excludes>
<exclude>${project.groupId}:${project.artifactId}</exclude>
</excludes>-->
</dependencySet>
<!--<dependencySet>
<!– 这个是为了解决lib下同一个jar包可能有多个SNAPSHOT快照版的问题,比如后面加了不同的时间戳–>
<outputFileNameMapping>${artifact.artifactId}-${artifact.baseVersion}.${artifact.extension}</outputFileNameMapping>
<outputDirectory>boot</outputDirectory>
<fileMode>0755</fileMode>
<includes>
<include>${project.groupId}:${project.artifactId}</include>
</includes>
</dependencySet>-->
</dependencySets>
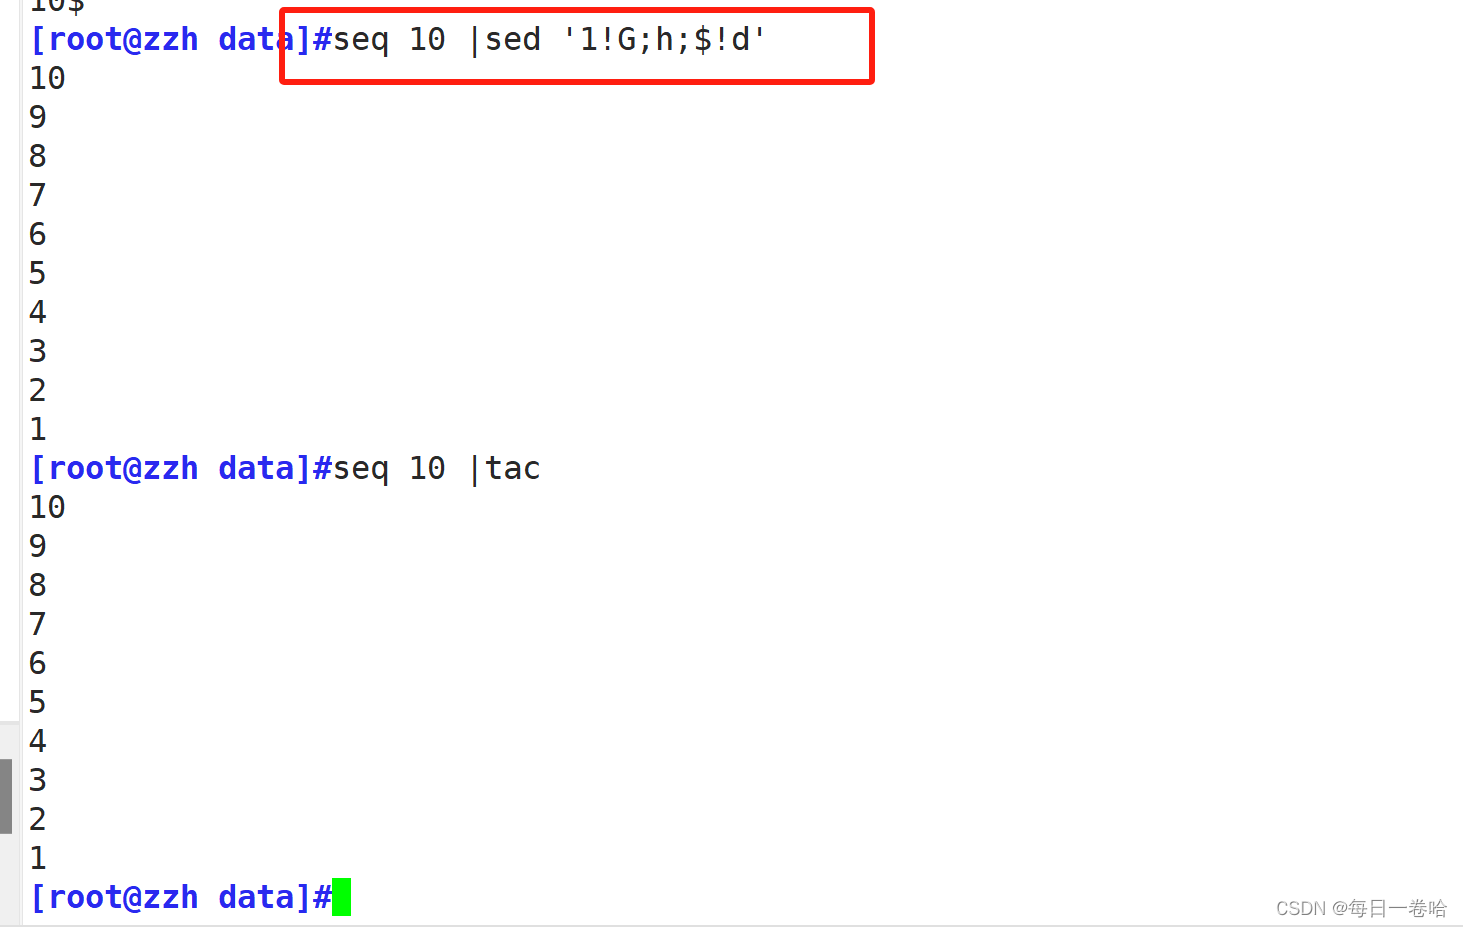
</assembly>结果如图:

附上linux的执行脚本:
#!/bin/bash
# you can run script "sed -i 's/\r$//' start.sh" to format the file

SERVER_NAME=package-assembly-demo

#找到当前文件路径
cd `dirname $0`
#上册目录
cd ..
DEPLOY_DIR=`pwd`
MAIN_CLASS_NANE=PackageAssemblyApplication
MAIN_CLASS_PATH=com.zhong.pacakge.assemblydemo.PackageAssemblyApplication
LOGS_DIR=${DEPLOY_DIR}/logs
STDOUT_LOG_FILE=${LOGS_DIR}/stdout.log

#日志文件路径
if [ ! -d ${LOGS_DIR} ]; then
    mkdir ${LOGS_DIR}
fi
#日志文件权限
chmod -R 777 ${LOGS_DIR}


PIDS=`ps -ef | grep java | grep "$MAIN_CLASS_NANE" | awk '{print $2}'`
if [ -n "$PIDS" ]; then
    echo "ERROR: The $SERVER_NAME already started!"
    echo "PID: $PIDS"
    exit 1
fi

#-agentlib:jdwp=transport=dt_socket,server=y,suspend=n,address=10101
CLASS_PATH=.:${DEPLOY_DIR}/config:${DEPLOY_DIR}/lib/*
JAVA_OPTS=" -server -Xmx1g -Xms1g -Xmn512m -Xss256k -XX:+DisableExplicitGC -XX:+UseConcMarkSweepGC -XX:+CMSParallelRemarkEnabled -XX:LargePageSizeInBytes=128m -XX:+UseFastAccessorMethods -XX:+UseCMSInitiatingOccupancyOnly -XX:CMSInitiatingOccupancyFraction=70 "


echo "Starting the $SERVER_NAME ..."

nohup java ${JAVA_OPTS} -classpath ${CLASS_PATH} ${MAIN_CLASS_PATH} > ${STDOUT_LOG_FILE} 2>&1 &
sleep 5
if [ -n "$PIDS" ]; then
    echo "$SERVER_NAME started PID: $PIDS"
    exit 1
fi