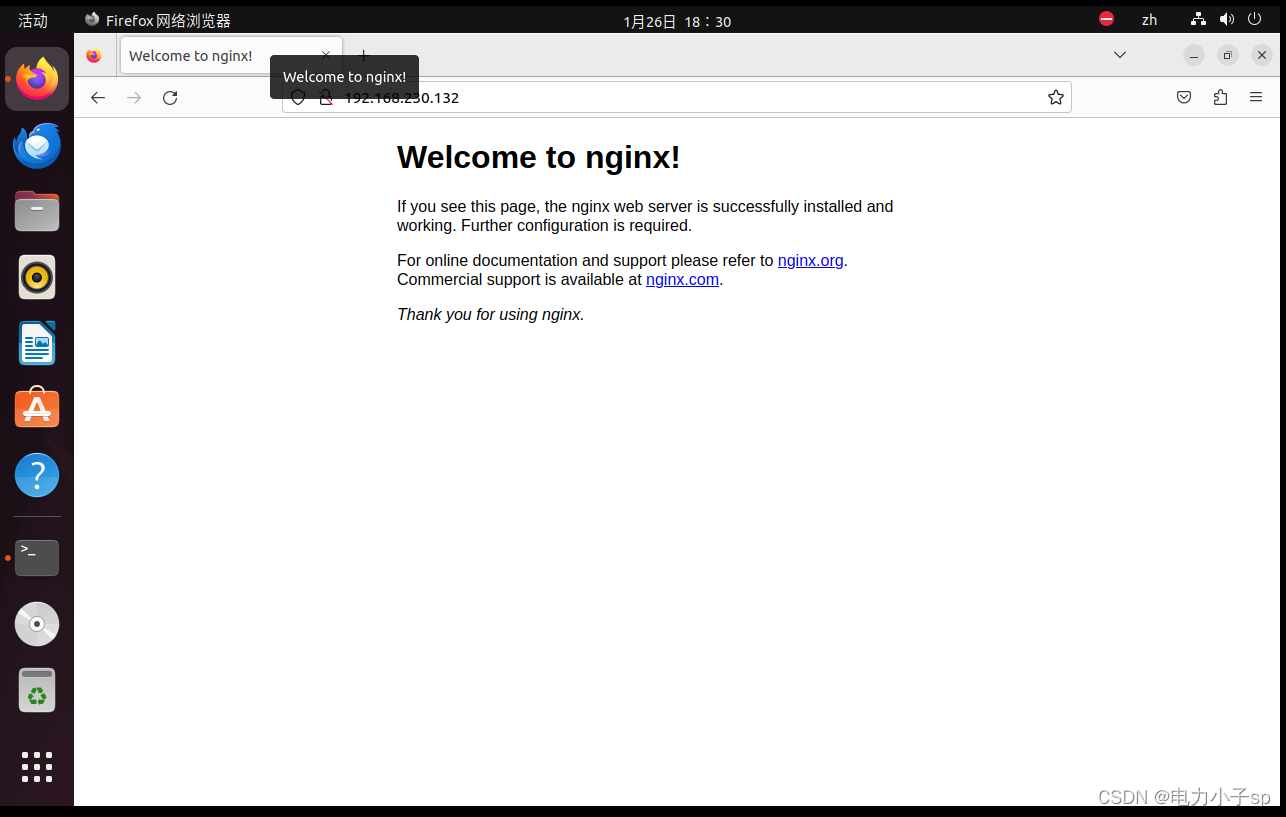
实验使用ubuntu做主机
1.安装nginx
安装依赖
sudo apt install libgd-dev下载nginx
wget http://nginx.org/download/nginx-1.22.1.tar.gz解压nginx
tar -zvxf nginx-1.22.1.tar.gz编译安装
cd nginx-1.22.1编译并指定安装位置,执行安装之后会创建指定文件夹/www/home/nginx
./configure --prefix=/www/home/nginx \
--with-pcre \
--with-http_ssl_module \
--with-http_v2_module \
--with-http_realip_module \
--with-http_addition_module \
--with-http_sub_module \
--with-http_dav_module \
--with-http_flv_module \
--with-http_mp4_module \
--with-http_gunzip_module \
--with-http_gzip_static_module \
--with-http_random_index_module \
--with-http_secure_link_module \
--with-http_stub_status_module \
--with-http_auth_request_module \
--with-http_image_filter_module \
--with-http_slice_module \
--with-mail \
--with-threads \
--with-file-aio \
--with-stream \
--with-mail_ssl_module \
--with-stream_ssl_module
问题1:
./configure: error: the HTTP rewrite module requires the PCRE library. You can either disable the module by using --without-http_rewrite_module option, or install the PCRE library into the system, or build the PCRE library statically from the source with nginx by using --with-pcre= option. PCRE库
PCRE库支持正则表达式。如果我们在配置文件nginx.conf中使用了正则表达式,那么在编译Nginx时就必须把PCRE库编译进Nginx,因为Nginx的HTTP模块需要靠它来解析正则表达式。另外,pcre-devel是使用PCRE做二次开发时所需要的开发库,包括头文件等,这也是编译Nginx所必须使用的。可以这样安装:
sudo apt update sudo apt install libpcre3 libpcre3-dev 问题2:
./configure: error: SSL modules require the OpenSSL library. You can either do not enable the modules, or install the OpenSSL library into the system, or build the OpenSSL library statically from the source with nginx by using --with-openssl= option OpenSSL库
如果服务器不只是要支持HTTP,还需要在更安全的SSL协议上传输HTTP,那么需要拥有OpenSSL。另外,如果我们想使用MD5、SHA1等散列函数,那么也需要安装它。可以这样安装:
sudo apt-get install openssl libssl-dev 执行编译并安装
make && make install2.开启nginx
进入nginx目录并测试nginx进程是否开启
root@bx-virtual-machine:cd /www/home/nginx/sbin#
root@bx-virtual-machine:/www/home/nginx/sbin# ./nginx
root@bx-virtual-machine:/www/home/nginx/sbin# ps -ef | grep nginx
root        2626       1  0 18:22 ?        00:00:00 nginx: master process ./nginx
nobody      2627    2626  0 18:22 ?        00:00:00 nginx: worker process
root        2630    2263  0 18:22 pts/1    00:00:00 grep --color=auto nginx
浏览器进入

进入nginx的html修改为显示自己主机
其他两个主机一样配置,分别是132、136、137

3.做负载均衡
进入192.168.230.136的/www/home/nginx/conf的nginx.conf中修改
upstream nginx_boot{
   # 30s内检查心跳发送两次包,未回复就代表该机器宕机,请求分发权重比为1:2
   server 192.168.230.132 weight=100 max_fails=2 fail_timeout=30s;
   server 192.168.230.137 weight=200 max_fails=2 fail_timeout=30s;
   # 这里的IP请配置成你WEB服务所在的机器IP
}

server {
    location / {
        root   html;
        # 配置一下index的地址,最后加上index.ftl。
        index  index.html index.htm index.jsp index.ftl;
        proxy_set_header Host $host;
        proxy_set_header X-Real-IP $remote_addr;
        proxy_set_header X-Forwarded-For $proxy_add_x_forwarded_for;
        # 请求交给名为nginx_boot的upstream上
        proxy_pass http://nginx_boot;
    }
}
重启nginx
root@bx-virtual-machine:/www/home/nginx/sbin# apt install nginx-core
root@bx-virtual-machine:/www/home/nginx/sbin# nginx -t
nginx: the configuration file /etc/nginx/nginx.conf syntax is ok
nginx: configuration file /etc/nginx/nginx.conf test is successful
4.测试
一直按刷新会再132和137之间来回切换


![[java基础揉碎]break跳出循环的标签使用方式(continue同理)](https://img-blog.csdnimg.cn/direct/904f3cb8484544368fedaf6981c95b47.png)


