1、Pytorch环境的配置与安装。
(1)建议安装:Anaconda
(2)检查显卡:GPU
(3)管理环境(不同版本的pytorch 版本不同):
conda create -n pytorch python=3.6(4)检测自己的电脑是否可以使用:

2、pytorch编辑器的选择
(1)pycharm (下载社区版)

(2)jupyter (可以交互)
启动本地的jupyter :


3、为什么torch.cuda.is_available()返回False
(1)检查自己的电脑是否支持GPU(可以用一些电脑管家,eg: 鲁大师等查看)
4、python学习中的两大法宝函数
(1)dir() 函数:打开、看见
(2)help()函数:说明书
# 例子:
torch.cuda.is_available()


5、Pycharm 及Jupyter的使用对比:
Jupyter:(以块为运行单位)
①shift + 回车
# 例子:
print("Start")
a = 'hello world'
b = 2019
c = a + b
print(c)
(1)Pycharm文件
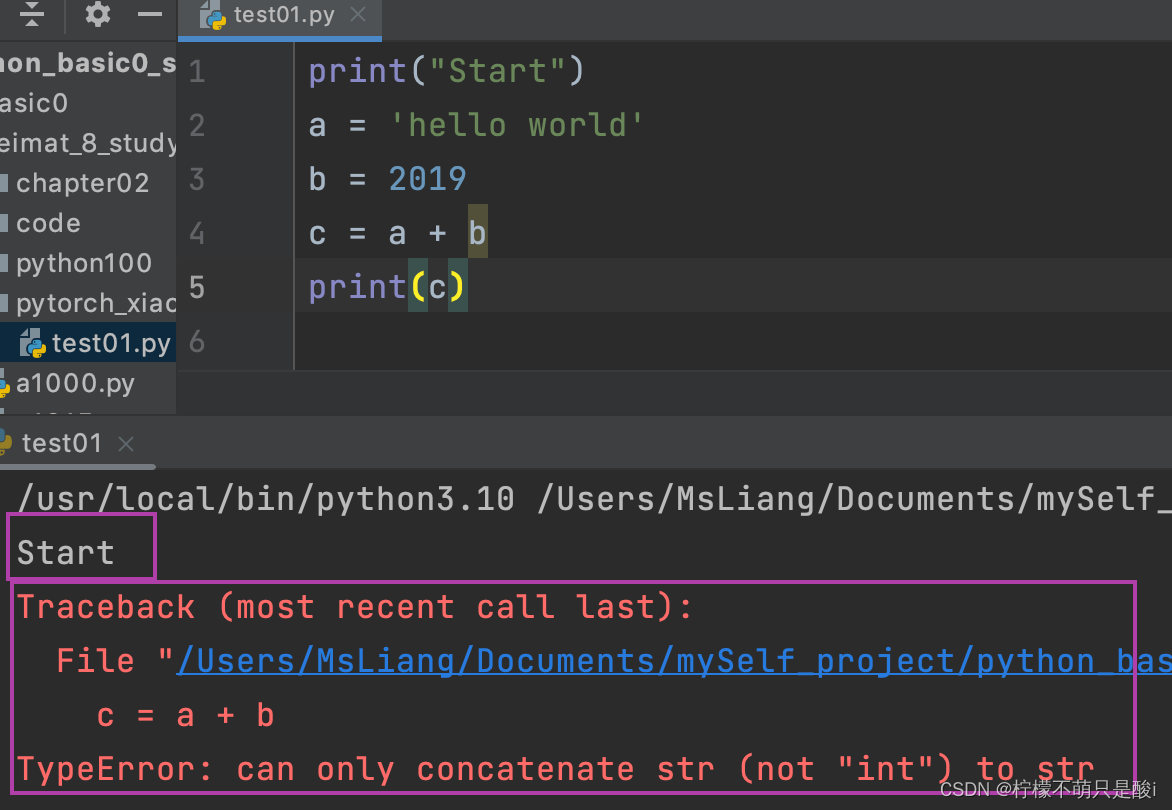
代码是以块为一个整体运行的话;
整改完后,从头开始执行。
python文件的块是所有行的代码。
(2)Pycharm控制台
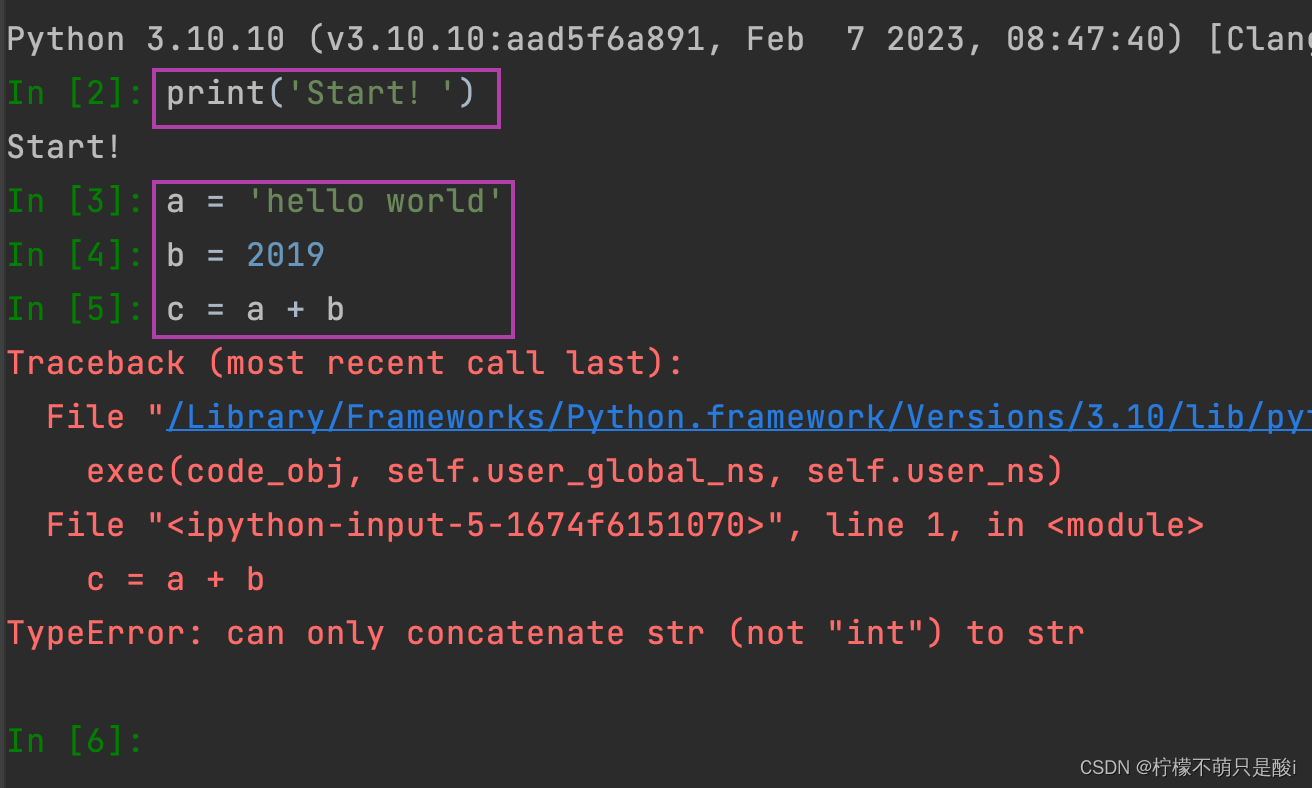
整改完后,会从错误的地方执行。
以每一行为块,运行的。
(3)Jupyter:

整改完后,从错误的地方开始运行。
以任意行为块运行的。
6、Pytorch加载数据初认识+实战
Dataset:提供一种方式去获取数据及其label。
①如何获取每一个数据及其label。
②告诉我们总共有多少个数据。
Dataloader:为后面的网络提供不同的数据形式。
step01:下载数据集。
step02:使用数据集,代码如下:
文件夹目录:

from torch.utils.data import Dataset
from PIL import Image
import os


class MyData(Dataset):
    def __init__(self, root_dir, label_dir):
        # self.root_dir = 'pytorch_xiaotudui/bee_ant/dataset'
        # self.label_dir = 'ants'
        self.root_dir = root_dir
        self.label_dir = label_dir
        self.path = os.path.join(self.root_dir, self.label_dir)  # 路径拼接
        self.img_path = os.listdir(self.path)   # 获取到图片下的所有地址,以列表的形式展示

    def __getitem__(self, idx):
        img_name = self.img_path[idx]
        img_item_path = os.path.join(self.root_dir, self.label_dir, img_name)
        img = Image.open(img_item_path)
        label = self.label_dir
        return img, label

    def __len__(self):
        return len(self.img_path)


# 获取蚂蚁的数据集
root_dir_out = 'pytorch_xiaotudui/bee_ant/dataset'
ants_label_dir = 'ants'
ants_dataset = MyData(root_dir_out, ants_label_dir)

# 获取蜜蜂的数据集
bees_label_dir = 'bees'
bees_dataset = MyData(root_dir_out, bees_label_dir)


# 两个数据集的集合
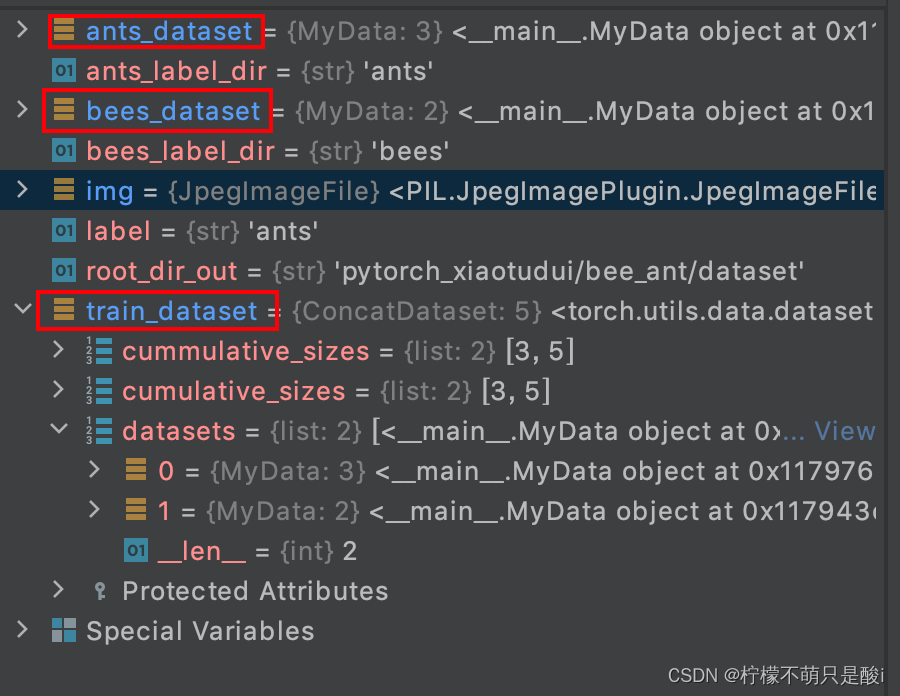
train_dataset = ants_dataset + bees_dataset  # 蚂蚁数据集在前,蜜蜂数据集在后
运行结果:
