目录
LNMP部署--nginx
搭建mysql数据库
安装mysql的过程:
部署PHP:
编辑编辑php的配置文件在哪
wordpress程序安装
LNMP部署--nginx
纯净--联网状态
环境变量中没有nginx
安装形式的选择:
yum安装:自动下载安装包及其依赖,自动化安装,省时省力
都是默认的安装路径,以及版本不容易指定,自定制化太低,无法扩展第三方新功能
rpm包安装形式:需要手动解决依赖关系,弃用
源代码编译安装:可以自由下载软件版本,自定制安装路径,第三方功能扩展
步骤稍微复杂,但是还是比较简单的
安装nginx前的系统依赖环境检查及其安装
首先你得把阿里源镜像拉下来
wget -O /etc/yum.repos.d/CentOS-Base.repo https://mirrors.aliyun.com/repo/Centos-7.repo
wget -O /etc/yum.repos.d/epel.repo https://mirrors.aliyun.com/repo/epel-7.repo安装nginx所需的pcre库,让nginx支持url重写的rewrite功能
yum install pcre pcre-devel -y
安装openssl-devel模块,nginx需要支持https
yum install openssl openssl-devel -y
安装gcc编译器
yum install gcc -y


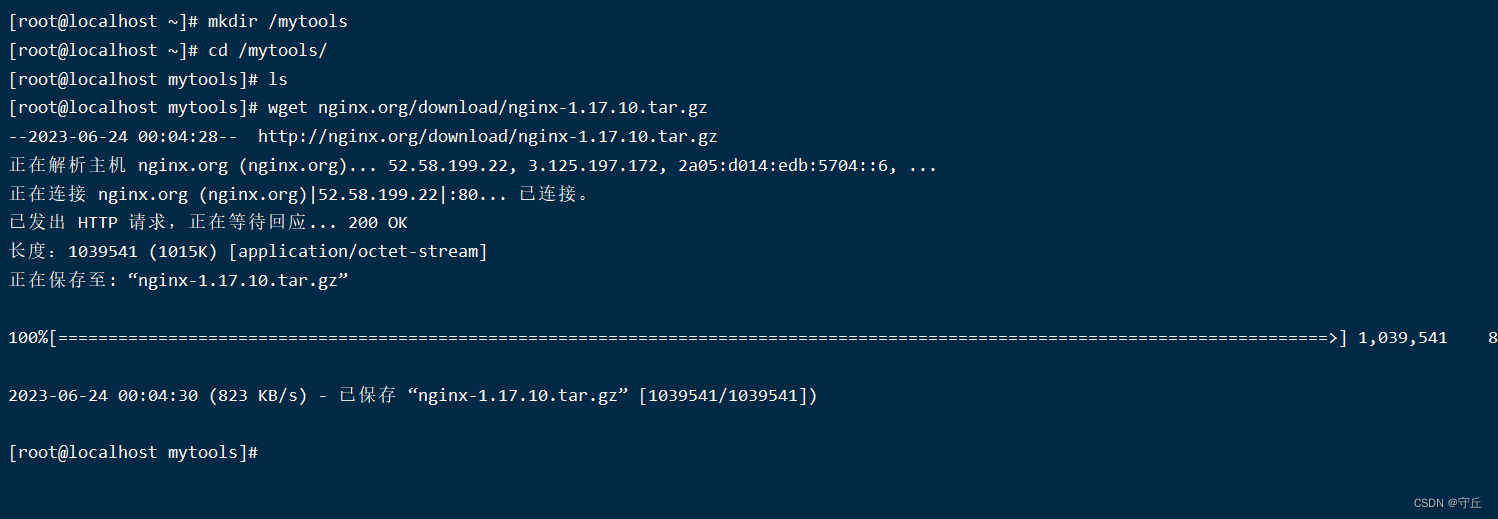
下载nginx源码包
[root@localhost ~]# mkdir /mytools
[root@localhost ~]# cd /mytools/
[root@localhost mytools]# ls
[root@localhost mytools]# wget nginx.org/download/nginx-1.17.10.tar.gz
解压缩
[root@localhost mytools]# ls
nginx-1.17.10.tar.gz
[root@localhost mytools]# tar zxvf nginx-1.17.10.tar.gz


解压缩完之后创建普通的nginx用户,用于运行nginx进程,降低nginx的系统权限
useradd nginx -u 1111 -s /sbin/nologin -M
如果之前有用户,先删掉即可
开始编译安装nginx服务
./configure --user=nginx --group=nginx --prefix=/mytools/nginx-1.17.10/ --with-http_stub_status_module --with-http_ssl_module 然后我们:
然后我们: 此时编译完之后会有一个报错信息
怎么办?
先把编译的文件删掉
重新解压缩

[root@localhost nginx-1.17.10]# ./configure --user=nginx --group=nginx --prefix=/mytools/nginx-117/ --with-http_stub_status_module --with-http_ssl_module && make && make install

此时就没问题了


配置nginx的环境变量
做一个软链接(也就是快捷方式)--生产环境常用操作,便于运维、开发、测试使用,以及nginx以后的升级
[root@localhost mytools]# cd nginx-117/
[root@localhost nginx-117]# ls
conf  html  logs  sbin
[root@localhost nginx-117]# cd ..
[root@localhost mytools]# ln -s /mytools/nginx-117/ /mytools/nginx
[root@localhost mytools]# ll
总用量 1016
lrwxrwxrwx 1 root root      19 6月  24 00:43 nginx -> /mytools/nginx-117/
drwxr-xr-x 6 root root      54 6月  24 00:41 nginx-117
-rw-r--r-- 1 root root 1039541 4月  14 2020 nginx-1.17.10.tar.gz
[root@localhost mytools]#

配置nginx的环境变量
使用绝对路径实现nginx的访问
/mytools/nginx-117/sbin/nginx
看结果:
搭建mysql数据库
MySQL是一款关系型数据库,且把数据保存在不同的二维表,且把数据表再放入数据库中管理,而不是所有的数据统一放在一个大仓库,这样的设计提高MySQL的读写速度。
安装mysql的过程:
安装方式:yum安装,rpm包安装--简单快速,无法定制化--新手推荐
还有一种方法就是二进制安装解压缩后直接简单配置即可使用,速度较快,专业DBA常用
源码编译安装,特点是可以定制化安装需求,缺点过程较为复杂
创建mysql用户,降低程序运行的权限
useradd -s /sbin/nologin mysql
查看mysql用户信息
id mysql

下载mysql二进制软件包,提前配置好yum源,下载wget命令
yum install wget -y---这个地方跳过即可,我准备好了包
我提前准备了一个压缩包--我们怎么办?直接拖就行了
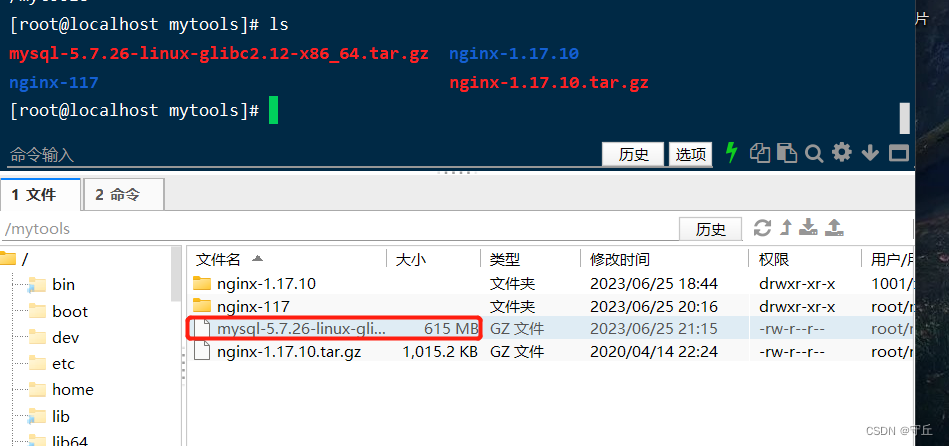
然后解压缩mysql二进制代码
tar zxvf mysql-5.7.26-linux-glibc2.12-x86_64.tar.gz

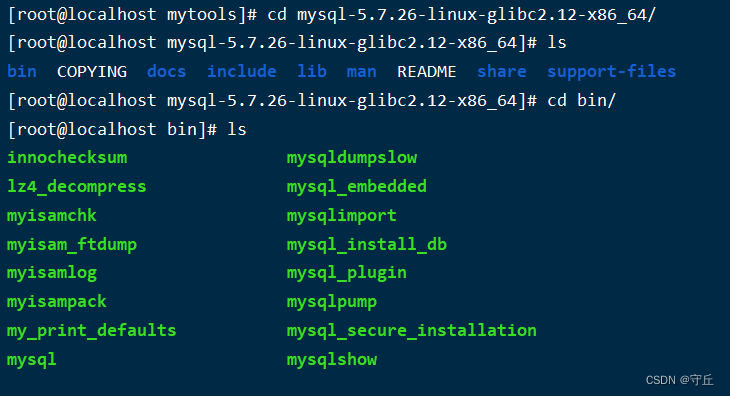 配置软链接--快捷访问mysql
ln -s /mytools/mysql-5.7.26-linux-glibc2.12-x86_64 /mytools/mysql
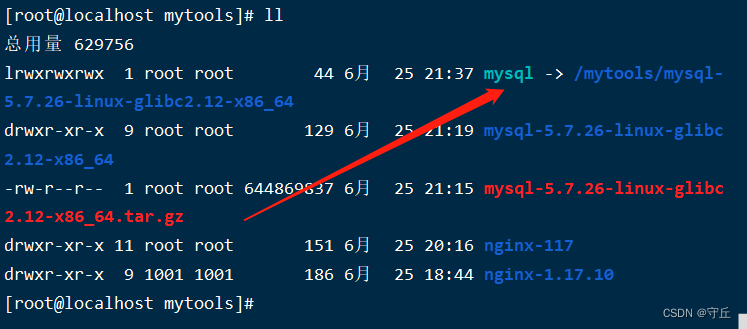
安全性的准备工作:卸载可能centos7存在的mariadb存在的依赖关系
我们现在启动mysql,mariadb可能会冲突
rpm -e --nodeps mariadb-libs

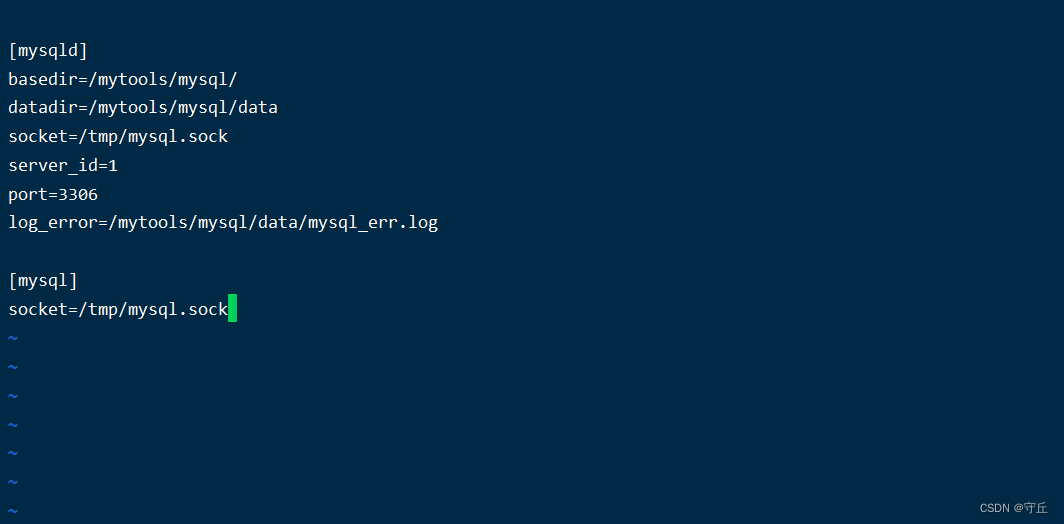
启动mysql的配置文件
[mysqld]是区,段的含义,以下的参数对其生效--这是代表对服务端生效的参数
[mysql] 这是代表对客户端生效的参数
vim /etc/my.cnf
[mysqld]
basedir=/mytools/mysql/
datadir=/mytools/mysql/data
socket=/tmp/mysql.sock
server_id=1
port=3306
log_error=/mytools/mysql/data/mysql_err.log

[mysql]
socket=/tmp/mysql.sock
 初始化mysql服务端
先卸载系统自带的mariadb依赖--这一个我们刚才已经做了,就不展开了
检查mysql的所需的依赖环境是否存在
yum install libaio-devel -y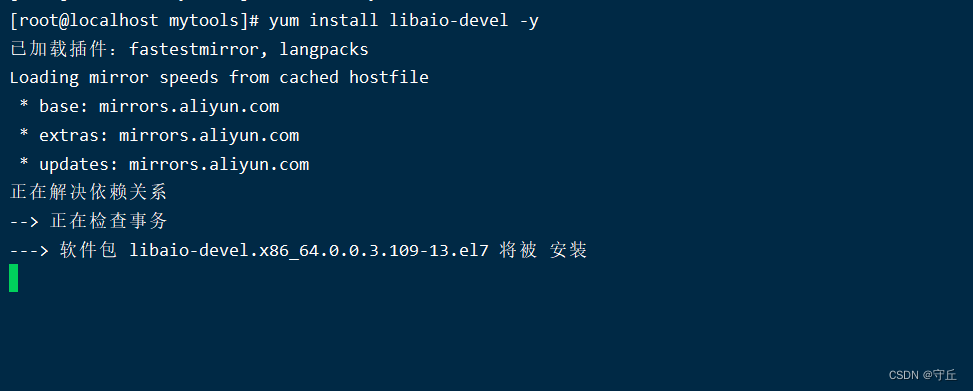
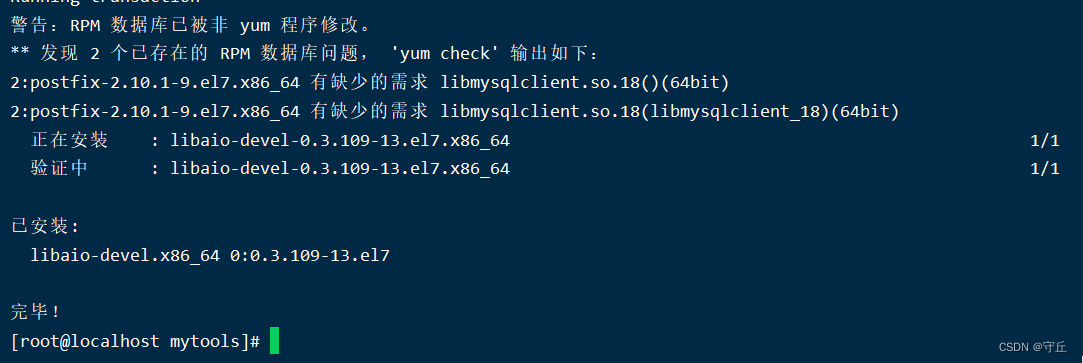 创建mysql数据文件夹--用于初始化数据且进行权限控制
mkdir -p /mytools/mysql/data
chown -R mysql.mysql /mytools/mysql/  修改mysql所有的内容,更改属主属组为mysql用户
 初始化mysql数据库
/mytools/mysql/bin/mysqld --initialize-insecure --user=mysql --basedir=/mytools/mysql/ --datadir=/mytools/mysql/data/
相关参数的解释:
--user=mysql 指定用户
--basedir 指定mysql安装目录
--datadir=/mytools/mysql/data 指定数据文件夹
--initialize-insecure 关闭mysql安全策略
--initialize 开启mysql安全模式

配置mysql客户端
使用systemctl命令管理数据库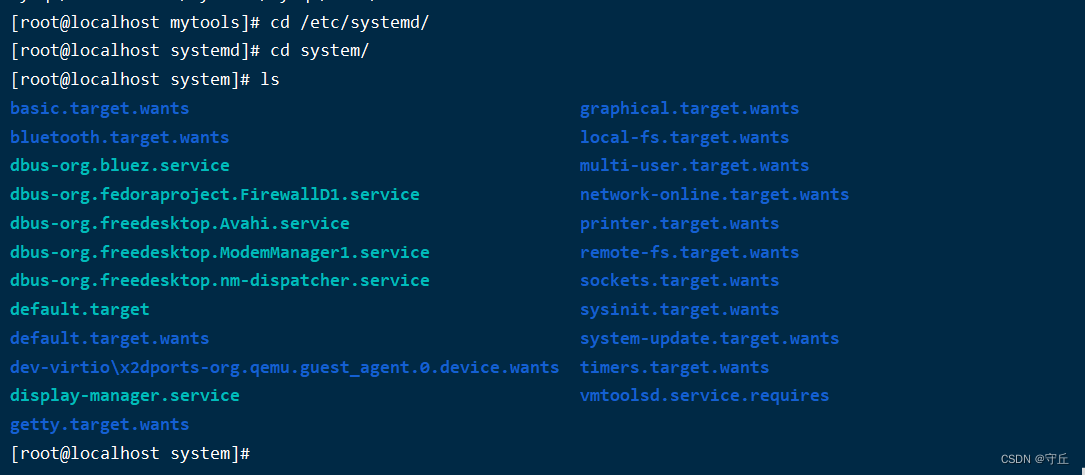
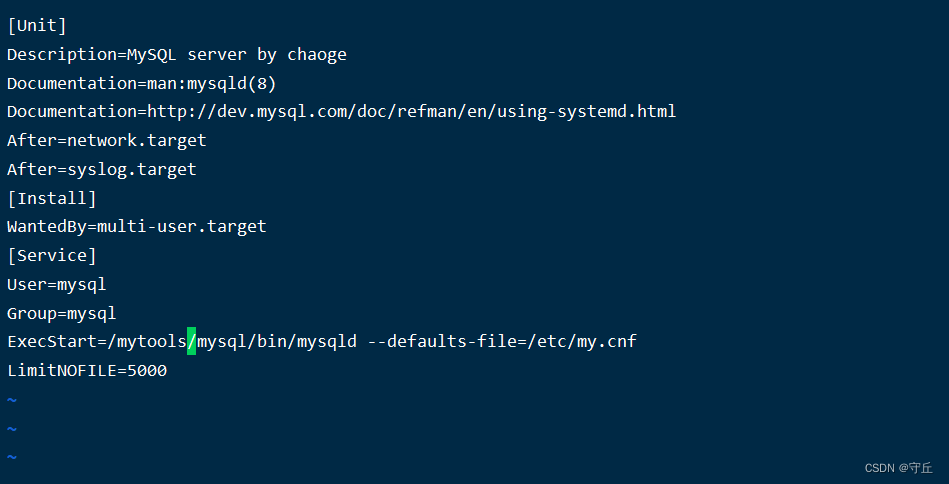
编写mysql启动的脚本,定义一个mysqld.service
 vim /etc/systemd/system/mysqld.service
[Unit]
Description=MySQL server by chaoge
Documentation=man:mysqld(8)
Documentation=http://dev.mysql.com/doc/refman/en/using-systemd.html
After=network.target
After=syslog.target
[Install]
WantedBy=multi-user.target
[Service]
User=mysql
Group=mysql
ExecStart=/mytools/mysql/bin/mysqld --defaults-file=/etc/my.cnf
LimitNOFILE=5000

启动mysqld服务端
由于我们配置了mysql.service脚本,直接用命令启动即可
systemctl start mysqld
systemctl status mysqld

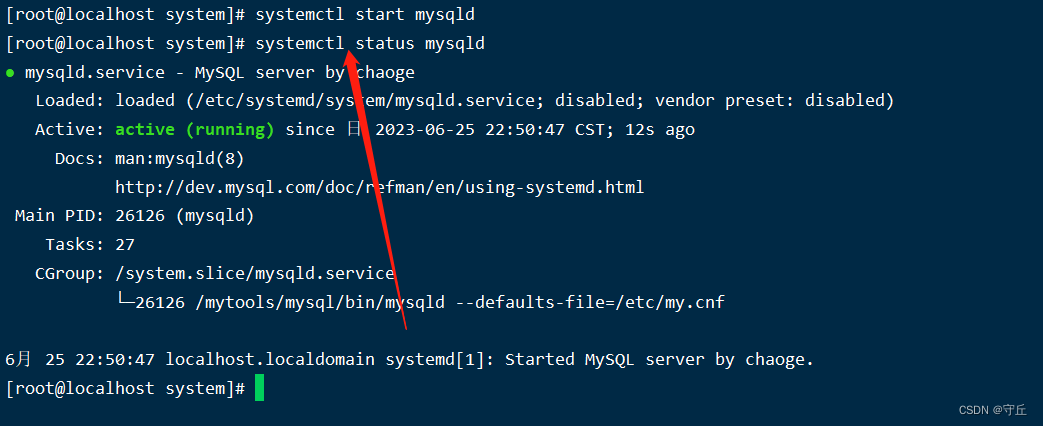 设置开机自启动
systemctl enable mysqld 检查mysql启动状态
netstat -tunlp | grep mysql
ps -ef | grep mysql | grep -v grep
登录mysql数据库
这个mysql是c/s架构,就好比登录qq一样
先启动mysqld服务端,然后再用mysql客户端命令登陆即可
如果你电脑之前装过其他的数据库,可以用yum直接卸载,不会影响到
你的新装的mysql
yum remove mysql -y  即可
配置我们安装的mysql的环境变量
/mytools/mysql/bin/  这是我们安装的二进制的mysql命令目录
当前的path变量
[root@localhost bin]# echo $PATH
/usr/local/sbin:/usr/local/bin:/usr/sbin:/usr/bin:/root/bin
写入如下新的变量
[root@localhost bin]# vim /etc/profile
PATH="$PATH:/mytools/mysql/bin:/mytools/nginx/sbin"
 保存退出之后,重新登录会话
 目录此时都已经进来了

登录mysql数据库,简单的使用一下
[root@localhost ~]# mysql -uroot -p 简单的sql语句:
show databases; 查看数据库
create database lyt; 创建数据库
mysql> use lyt; 进入lyt数据库
mysql> show table; 查看当前库的表
 修改数据库的密码:
mysqladmin -uroot password '123456'这样我们最后可以测试一下,没有问题
部署PHP:
检查Nginx和mysql的安装路径,保证nginx、mysql都启动了
netstat -tunlp | grep -E "nginx|mysql" 安装部署PHP程序所需的系统库,不要求必须安装,而是安装上之后,可以扩展php更多功能
yum install  gcc gcc-c++ make zlib-devel libxml2-devel libjpeg-devel libjpeg-turbo-devel libiconv-devel \
freetype-devel libpng-devel gd-devel libcurl-devel libxslt-devel libxslt-devel -y
发现yum仓库默认缺少一个libiconv-devel软件包,我们手动下载
[root@localhost ~]# cd /root/
[root@localhost ~]# wget http://ftp.gnu.org/pub/gnu/libiconv/libiconv-1.15.tar.gz
 然后解压缩-编译安装三部曲
[root@localhost mytools]# tar zxvf libiconv-1.15.tar.gz
cd libiconv-1.15
./configure --prefix=/mytools/libiconv
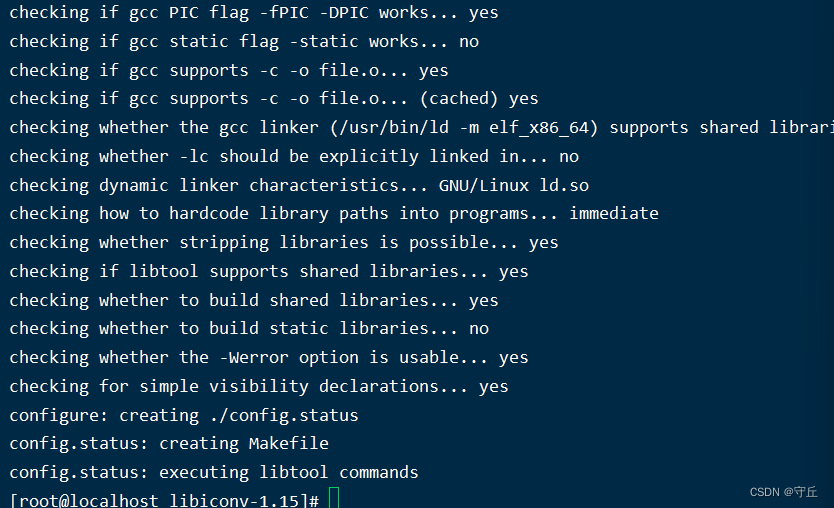
make && make install 编译和编译安装
检查上述编译安装的命令是否结束--在执行上一条语句结束后,打印$?可以查看上一次的命令是否正确--正确为0
echo $? 编译安装php代码
wget http://mirrors.sohu.com/php/php-7.3.5.tar.gz

 我们老规矩--解压缩
[root@localhost mytools]# tar zxvf php-7.3.5.tar.gz 
 准备编译环境,指定安装路径,开启额外功能
./configure --prefix=/mytools/php7.3.5 \
--enable-mysqlnd \
--with-mysqli=mysqlnd \
--with-pdo-mysql=mysqlnd \
--with-iconv-dir=/mytools/libiconv \
--with-freetype-dir \
--with-jpeg-dir \
--with-png-dir \
--with-zlib \
--with-libxml-dir=/usr \
--enable-xml \
--disable-rpath \
--enable-bcmath \
--enable-shmop \
--enable-sysvsem \
--enable-inline-optimization \
--with-curl \
--enable-mbregex \
--enable-fpm \
--enable-mbstring \
--with-gd \
--with-openssl \
--with-mhash \
--enable-pcntl \
--enable-sockets \
--with-xmlrpc \
--enable-soap \
--enable-short-tags \
--enable-static \
--with-xsl \
--with-fpm-user=nginx \
--with-fpm-group=nginx \
--enable-ftp \
--enable-opcache=no
--prefix= 指定php安装路径
--enable-mysqlnd 使用php自带的mysql相关软件包
--with-fpm-user=nginx 指定PHP-FPM程序的用户是nginx,和nginx服务保持统一
--enable-fpm 激活php-fpm方式,以FastCGI形式运行php程序
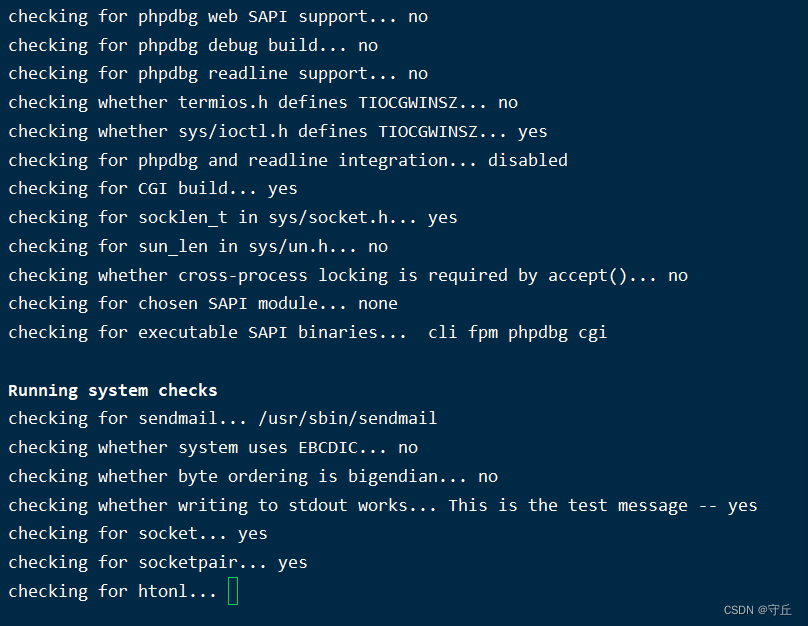 系统检查完成后,我们开始安装就好了
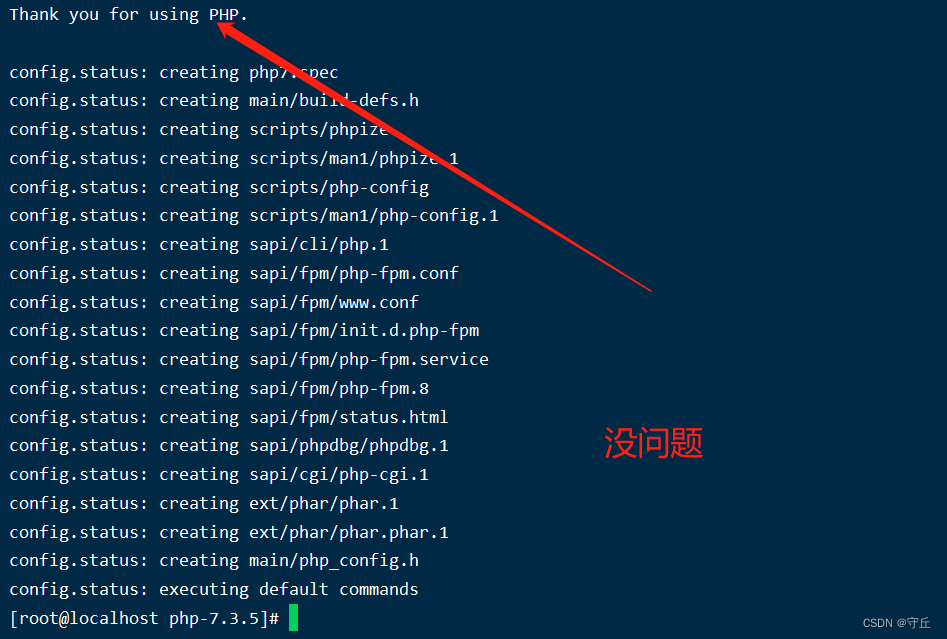 然后我们
然后我们
在执行完编译脚本文件后,开始执行编译安装
make && make install
 这个时间稍微会有一点长,毕竟编译安装的东西很多
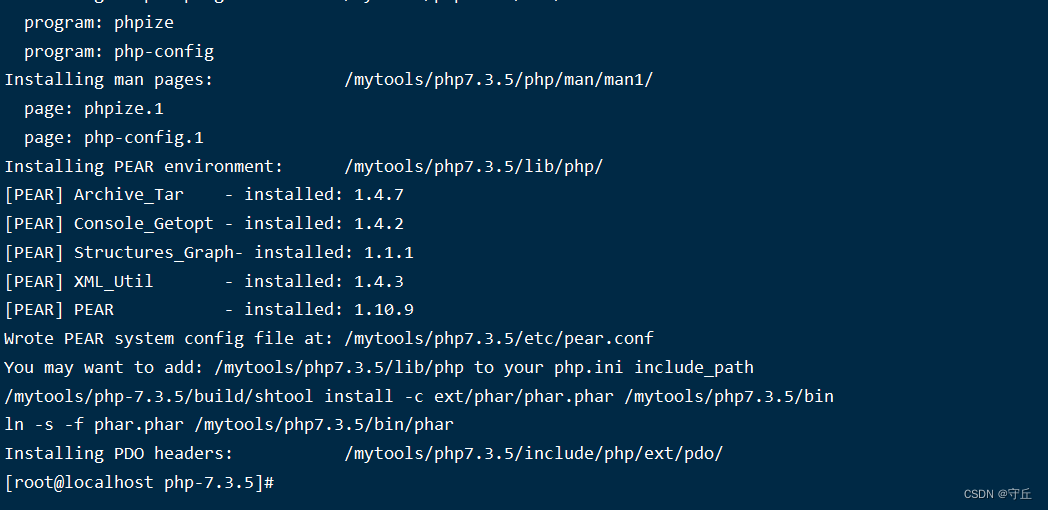 用特殊变量验证
echo $?
 php的配置文件在哪
默认的ph配置文件模板,在解压php源码的目录下
[root@localhost php-7.3.5]# ls php.ini*
php.ini-development  php.ini-production
development 开发模式   production 生产模式
拷贝该配置文件放入到php的编译安装目录下
我想看看这两个文件到底有什么区别
[root@localhost php-7.3.5]# vimdiff php.ini-development php.ini-production
开发环境下开起了更多的日志、调试信息,生产环境该参数都关闭了

颜色区分开来的都是有区别的
我们拷贝一下
[root@localhost php-7.3.5]# cp php.ini-development /mytools/php7.3.5/php.ini

有关fastcgi的配置文件:
检查fastcgi的默认配置文件
[root@localhost php-7.3.5]# cd /mytools/php7.3.5/etc/
[root@localhost etc]# ls
pear.conf  php-fpm.conf.default  php-fpm.d
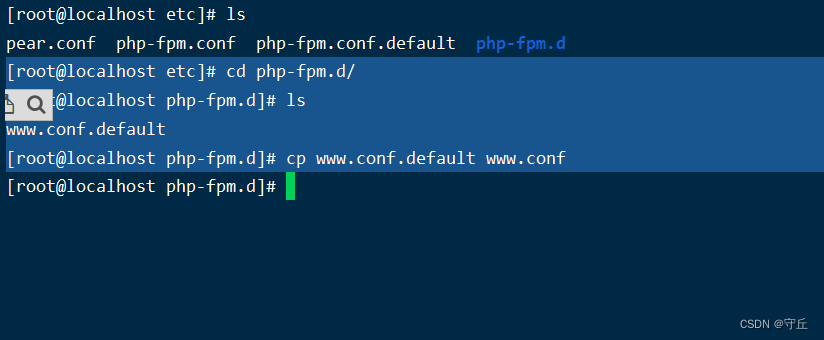
 拷贝模板配置文件生成新的配置文件
[root@localhost etc]# cp php-fpm.conf.default php-fpm.conf
[root@localhost etc]# ls
pear.conf  php-fpm.conf  php-fpm.conf.default  php-fpm.d

[root@localhost etc]# cd php-fpm.d/
[root@localhost php-fpm.d]# ls
www.conf.default
[root@localhost php-fpm.d]# cp www.conf.default www.conf
启动php服务(fastcgi模式)
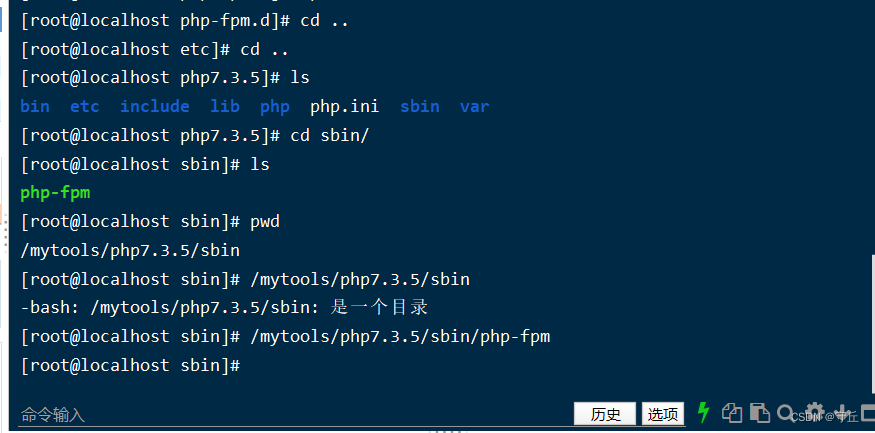
用绝对路径启动php进程
[root@localhost etc]# cd ..
[root@localhost php7.3.5]# ls
bin  etc  include  lib  php  php.ini  sbin  var
[root@localhost php7.3.5]# cd sbin/
[root@localhost sbin]# ls
php-fpm
[root@localhost sbin]# pwd
/mytools/php7.3.5/sbin
[root@localhost sbin]# /mytools/php7.3.5/sbin
-bash: /mytools/php7.3.5/sbin: 是一个目录
[root@localhost sbin]# /mytools/php7.3.5/sbin/php-fpm
netstat -tunlp|grep php
修改nginx支持php代码
删除nginx.conf中其他无用的参数,然后用include语法,对每一个虚拟主机管理
手动创建extra目录以及my_php.conf
我们先修改nginx.conf当中的内容:
vim /mytools/nginx/conf/nginx.conf

#user  nobody;
worker_processes  1;
#error_log  logs/error.log;
#error_log  logs/error.log  notice;
#error_log  logs/error.log  info;

#pid        logs/nginx.pid;
events {
    worker_connections  1024;
}

http {
    include       mime.types;
    default_type  application/octet-stream;
    sendfile        on;

    #keepalive_timeout  0;
    keepalive_timeout  65;

    #gzip  on;
include extra/my_php.conf;

}

 手动创建extra目录,以及my_php.conf
[root@localhost sbin]# cd /mytools/nginx/conf/
[root@localhost conf]# ls
fastcgi.conf          fastcgi_params          koi-utf  mime.types          nginx.conf          scgi_params          uwsgi_params          win-utf
fastcgi.conf.default  fastcgi_params.default  koi-win  mime.types.default  nginx.conf.default  scgi_params.default  uwsgi_params.default
[root@localhost conf]# mkdir extra
[root@localhost conf]# cd extra/
[root@localhost extra]# vim my_php.conf


写入如下内容
server{
listen 80;
server_name _;
location / {
    root html;
    index index.html;
}

#添加有关php程序的解析
#判断当请求url结尾是以php,php5的时候,就进入到如下的location代码
location ~ .*\.(php|php5)?$ {
    root  html/myphp;
    fastcgi_pass 127.0.0.1:9000;
    fastcgi_index index.php;
    include fastcgi.conf;
}
}

 检查nginx语法以及重启nginx
 nginx -t
nginx -s reload
创建php的首页脚本文件
 再重启一下
再重启一下
[root@localhost extra]# mkdir -p /mytools/nginx/html/myphp
[root@localhost extra]# echo "<?php phpinfo();   ?>"  > /mytools/nginx/html/myphp/index.php
 测试lnmp的结合关系:
nginx -s reload
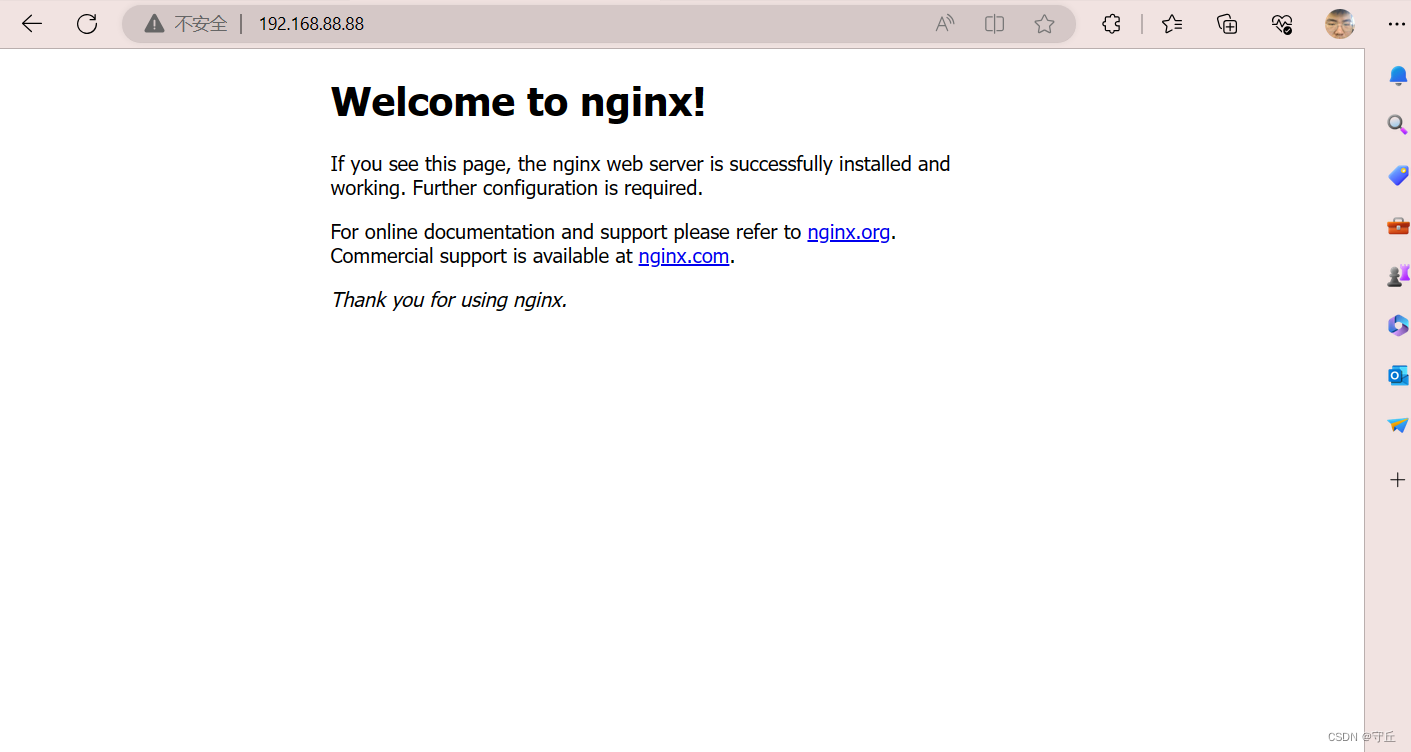
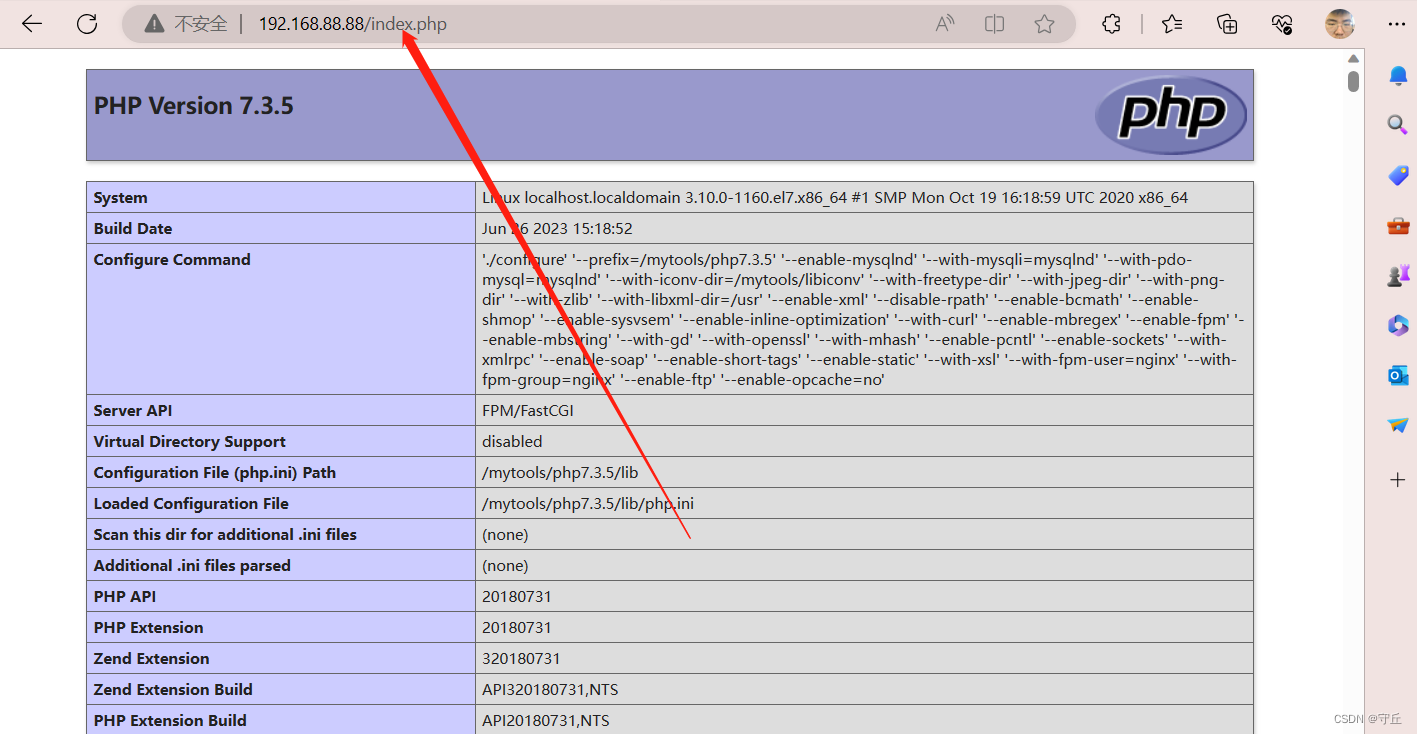
vim /mytools/nginx/html/myphp/index.php 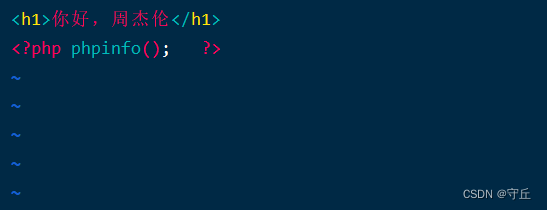
nginx -s reload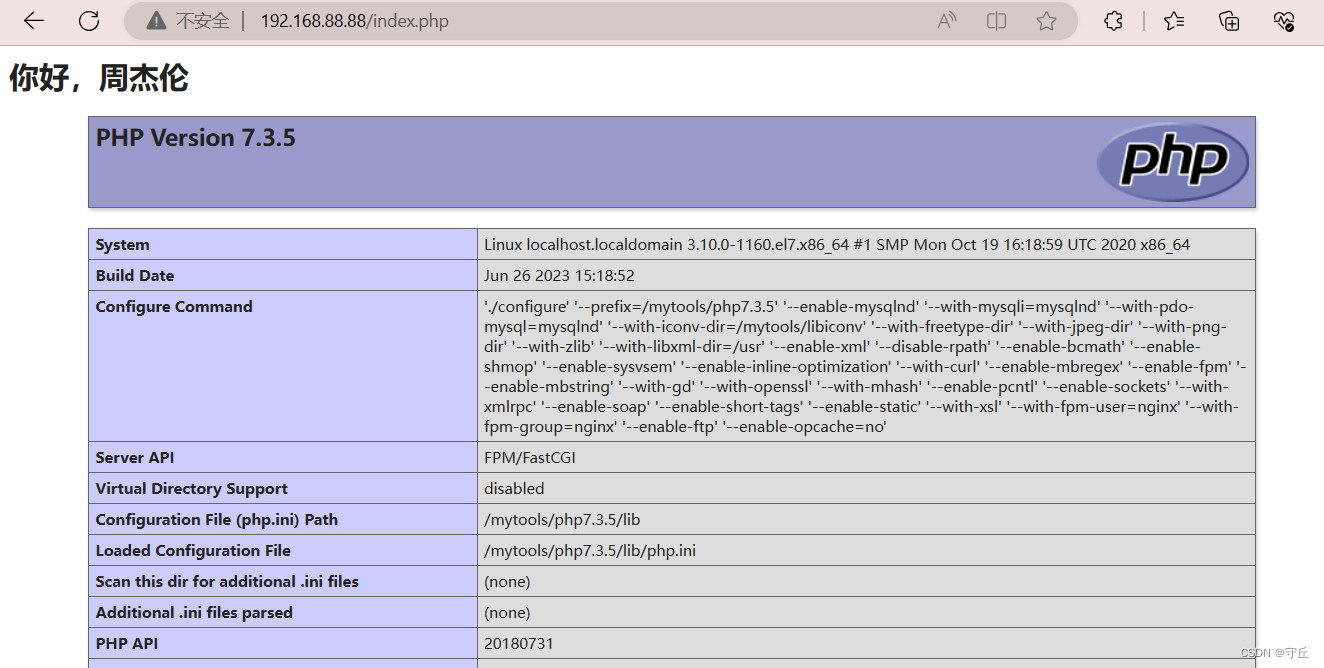
lnmp环境搭建好了,已经可以处理转发请求php了
测试php访问mysql
编写php脚本代码在网页中解析
[root@localhost conf]# cd /mytools/nginx/html/
[root@localhost html]# ls
50x.html  index.html  myphp
[root@localhost html]# cd myphp/
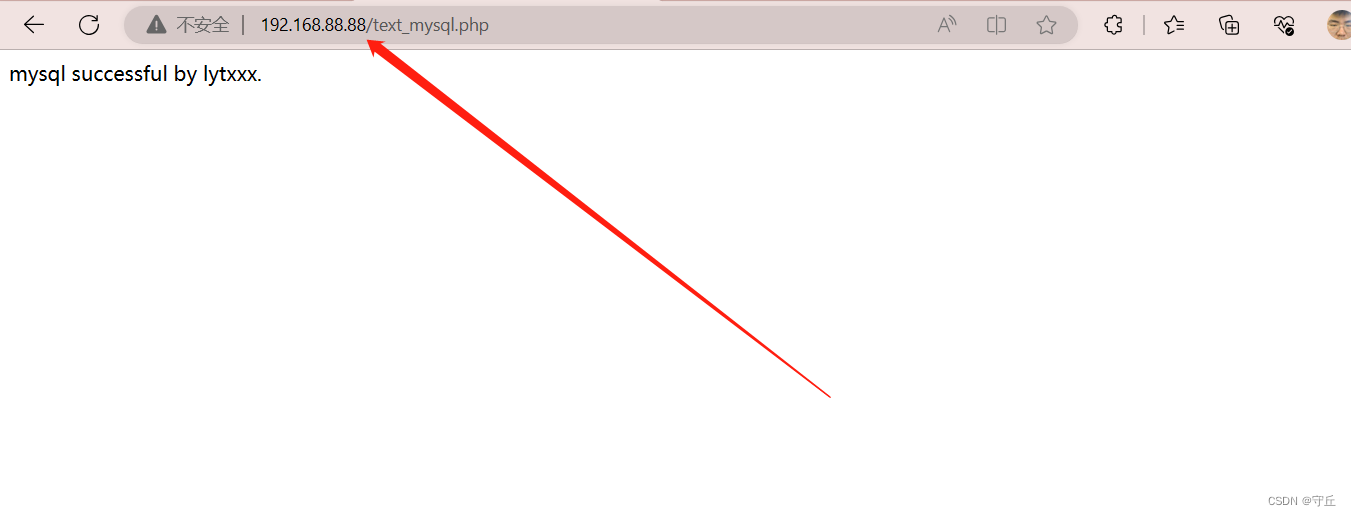
[root@localhost myphp]# vim text_mysql.php

<?php
$link_id=mysqli_connect('localhost','root','123456') or mysql_error();
if($link_id){

    echo "mysql successful by lytxxx.\n";
}else {

    echo mysql_error();
}
?>
如上脚本的中文解释:
1.建立mysql连接,把链接信息,复制给变量 lind_id
2.如果link_id 为真,就打印一串字符串信息,告诉你mysql连接成功
3.否则给你输出mysql的报错信息,然后自己调试
 再次测试连接lnmp环境,让nginx转发请求给php然后测试是否能连接mysql
我们开始搭建网站:搭建wordpress
环境准备:
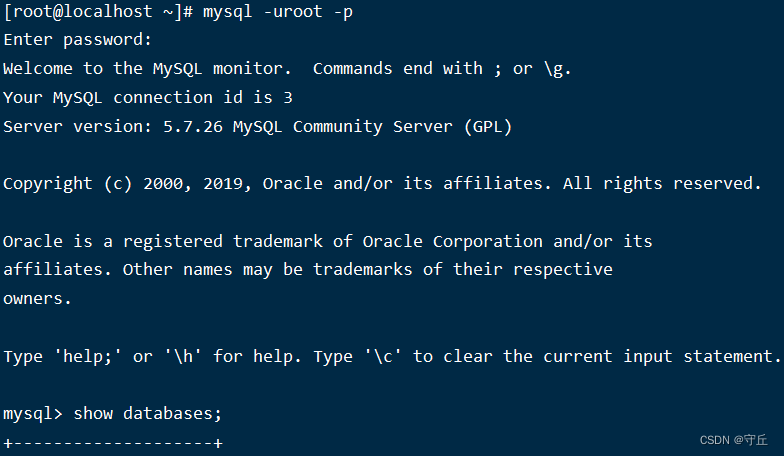
1.启动mysql数据库,创建用于wordpress博客的数据库
mysql -uroot -p
Enter password:
Welcome to the MySQL monitor.  Commands end with ; or \g.
Your MySQL connection id is 3
Server version: 5.7.26 MySQL Community Server (GPL)

Copyright (c) 2000, 2019, Oracle and/or its affiliates. All rights reserved.

Oracle is a registered trademark of Oracle Corporation and/or its
affiliates. Other names may be trademarks of their respective
owners.

Type 'help;' or '\h' for help. Type '\c' to clear the current input statement.

mysql> show databases;
+--------------------+
| Database           |
+--------------------+
| information_schema |
| lyt                |
| mysql              |
| performance_schema |
| sys                |
+--------------------+
5 rows in set (0.01 sec)

mysql>
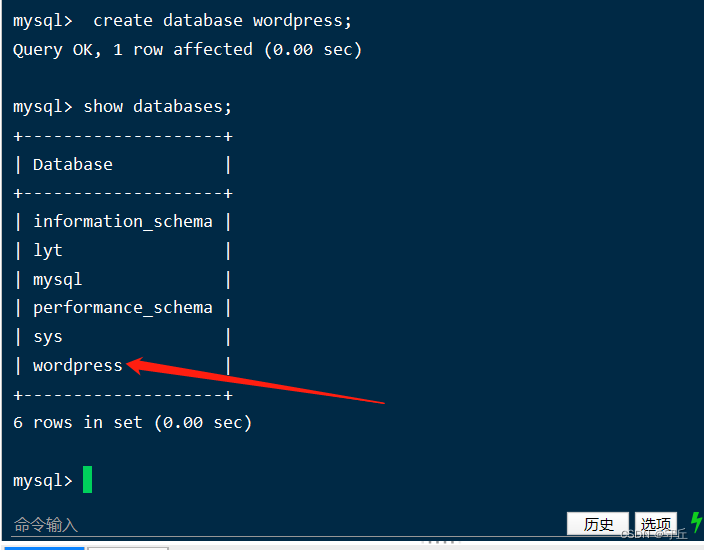
 2.创建wordpress数据库
mysql> create database wordpress;
3.创建用于wordpress的数据库用户
create user wordpress;

4.给该用户授权
给这个wordpress授权允许在localhost本地登录mysql,且有增删改查的权限,且设置密码为123456
mysql> grant all on wordpress.* to wordpress@'localhost' identified by '123456';
 5.刷新授权表,用于生效
mysql> flush privileges;
 6.查询刚才创建的用户信息
mysql> show databases;
mysql> use mysql;  进入mysql数据库
mysql> show tables;
mysql> desc user;   查询表结构
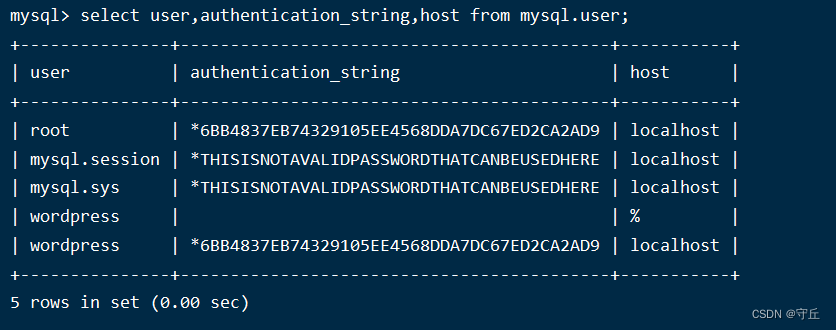
mysql> select user,authentication_string,host from mysql.user;
                        查询mysql数据库中的user表中的几个字段的信息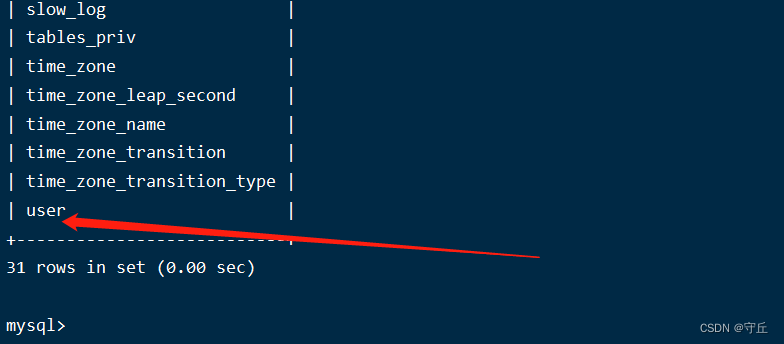

 7.确保nginx支持php程序的解析,就是我们配置过的这个
[root@localhost ~]# cd /mytools/nginx
[root@localhost nginx]# cd conf/
[root@localhost conf]# cd extra/
[root@localhost extra]# ls
my_php.conf
[root@localhost extra]# vim my_php.conf

server{
listen 80;
server_name _;
location / {
    root html/myphp;
    index  index.php index.html;
}

#添加有关php程序的解析
#判断当请求url结尾是以php,php5的时候,就进入到如下的location代码
location ~ .*\.(php|php5)?$ {
    root  html/myphp;
    fastcgi_pass 127.0.0.1:9000;
    fastcgi_index index.php;
    include fastcgi.conf;
}
}

保存退出
nginx -t
nginx -s reload
wordpress程序安装
1.获取网站程序代码
wget https://wordpress.org/latest.zip
wget https://wordpress.org/latest.tar.gz
2.解压缩网站程序代码
yum -y install unzip.
[root@localhost mytools]# unzip latest.zip

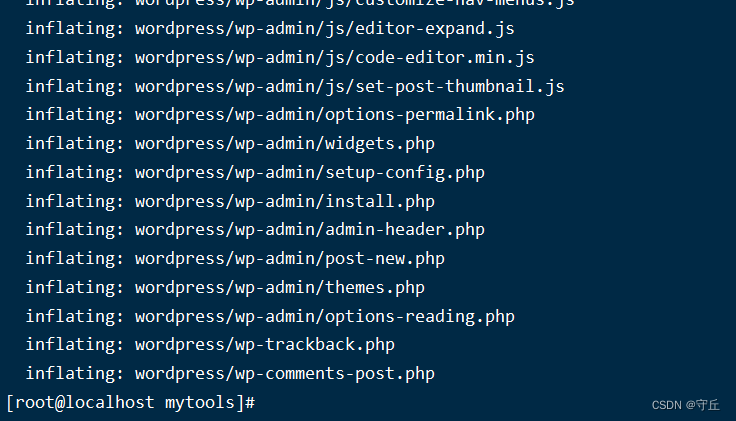 直接把解压出来的网站代码移动到nginx目录下
[root@localhost mytools]# mv wordpress/ /mytools/nginx/html/myphp/
[root@localhost mytools]# cd /mytools/nginx/html/myphp/
 移动网站程序到当前目录来
[root@localhost myphp]# ls wordpress/
index.php        wp-blog-header.php    wp-includes        wp-settings.php
license.txt      wp-comments-post.php  wp-links-opml.php  wp-signup.php
readme.html      wp-config-sample.php  wp-load.php        wp-trackback.php
wp-activate.php  wp-content            wp-login.php       xmlrpc.php
wp-admin         wp-cron.php           wp-mail.php
[root@localhost myphp]# ls
index.php  text_mysql.php  wordpress
[root@localhost myphp]# rm -rf index.php text_mysql.php
[root@localhost myphp]# ls
wordpress
[root@localhost myphp]# mv wordpress/*   ./
 修改网站程序属主属组信息
[root@localhost myphp]# chown -R nginx.nginx ./*

重启
nginx -s reload
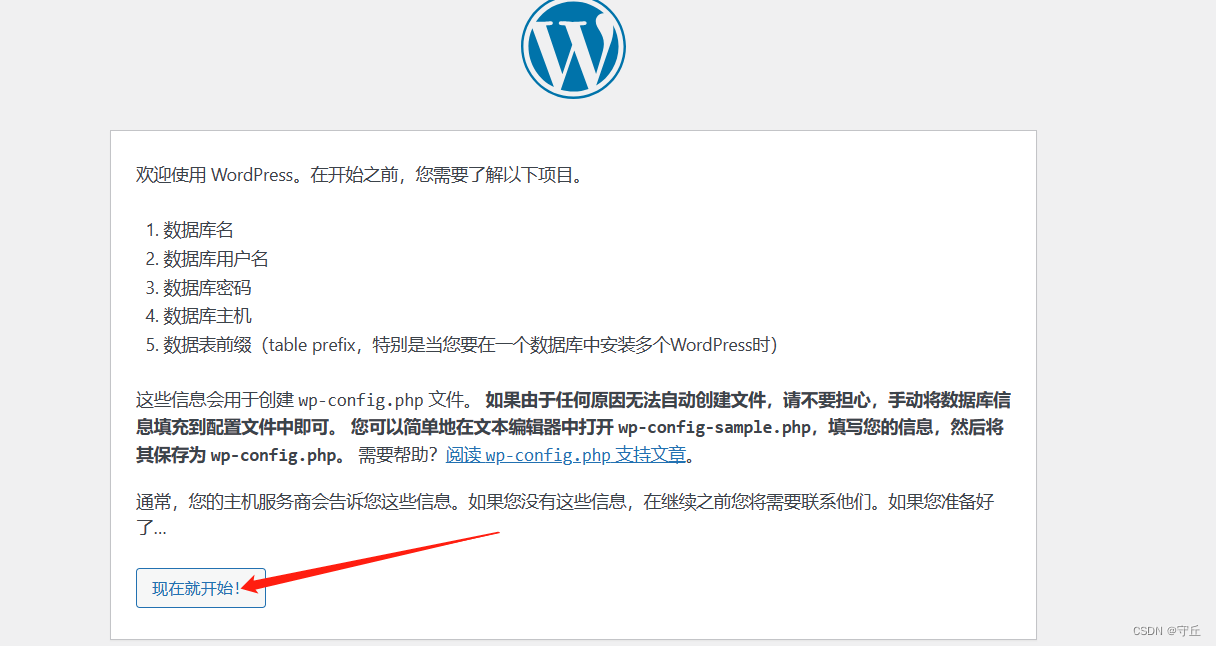


这个地方出现问题是因为:
我们这里面少了一个文件叫wp-config.php
既然少了,我就往里面写点东西
[root@localhost conf]# cd /mytools/nginx/html/myphp/
[root@localhost myphp]# vim wp-config.php
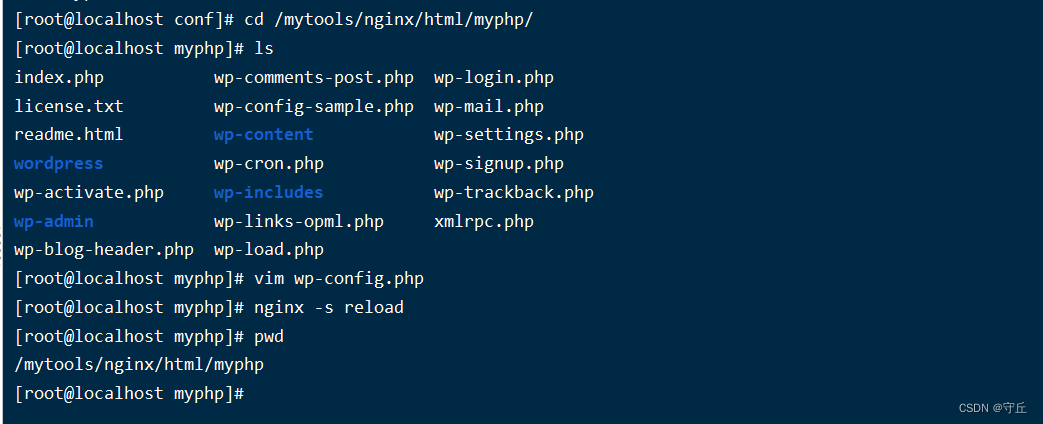 这个文件写啥?
<?php

define('DB_NAME', 'wordpress');
define('DB_USER', 'wordpress');
define('DB_PASSWORD', '123456');
define('DB_HOST', 'localhost');

define('AUTH_KEY',         'put your unique phrase here');
define('SECURE_AUTH_KEY',  'put your unique phrase here');
define('LOGGED_IN_KEY',    'put your unique phrase here');
define('NONCE_KEY',        'put your unique phrase here');
define('AUTH_SALT',        'put your unique phrase here');
define('SECURE_AUTH_SALT', 'put your unique phrase here');
define('LOGGED_IN_SALT',   'put your unique phrase here');
define('NONCE_SALT',       'put your unique phrase here');
$table_prefix  = 'wp_';

define('WP_DEBUG', false);

if ( !defined('ABSPATH') )
    define('ABSPATH', dirname(__FILE__) . '/');

require_once( ABSPATH . 'wp-settings.php' );

?>
nginx -s reload
即可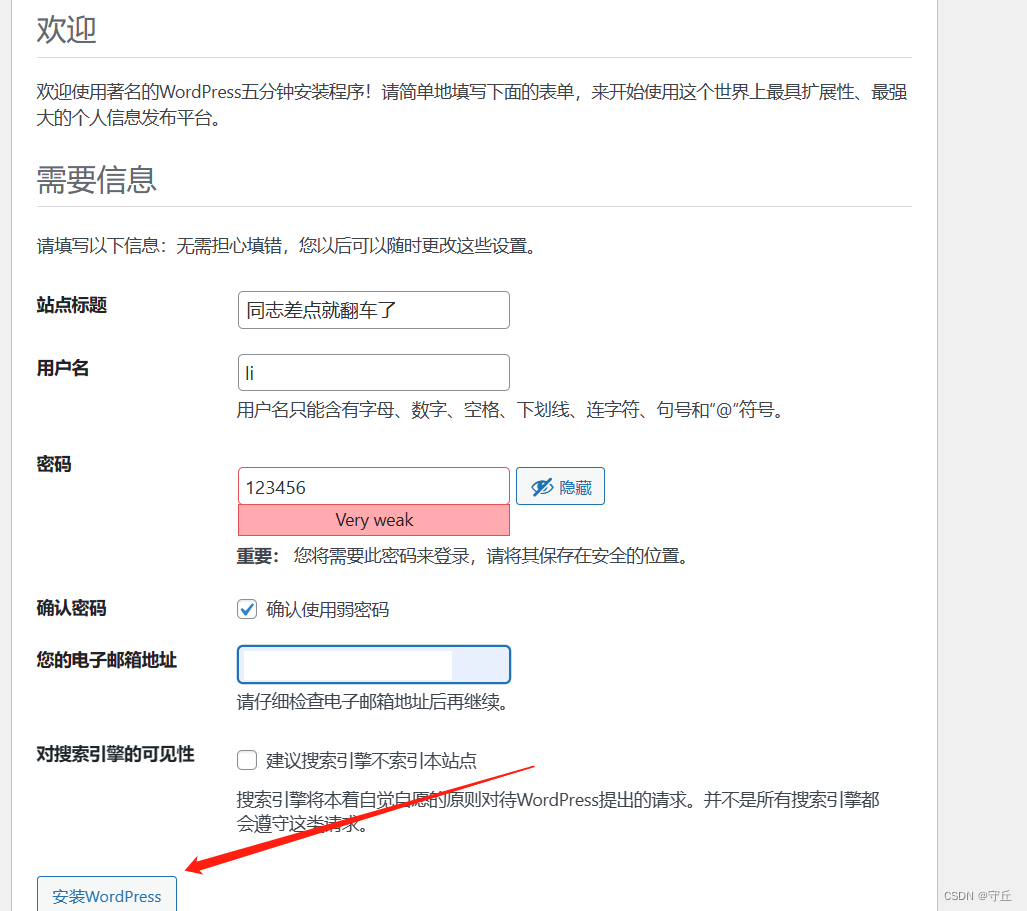




![[zabbix] zabbix监控其他](https://img-blog.csdnimg.cn/direct/5e2ec9e265984b4cb0c8c7bfc67b8cb1.png)

