🍁 作者:知识浅谈,CSDN签约讲师,CSDN博客专家,华为云云享专家,阿里云专家博主
📌 擅长领域:全栈工程师、爬虫、ACM算法
💒 公众号:知识浅谈
🔥网站:vip.zsqt.cc
🤞为什么这个东西我要分多篇写,我想说的是这个真不简单🤞
无论是shiro还是SpringSecurity,想要熟悉的使用,我们都要来回的摸索,各种认证和授权类,完全看的一塌糊涂,我不能说讲的很明白,只能说按教程一步步来能带你实现SpringSecurity集成JWT实现后端认证授权。
正菜来了🛴🛴🛴
🎈肯定先创建项目
直接springboot创建
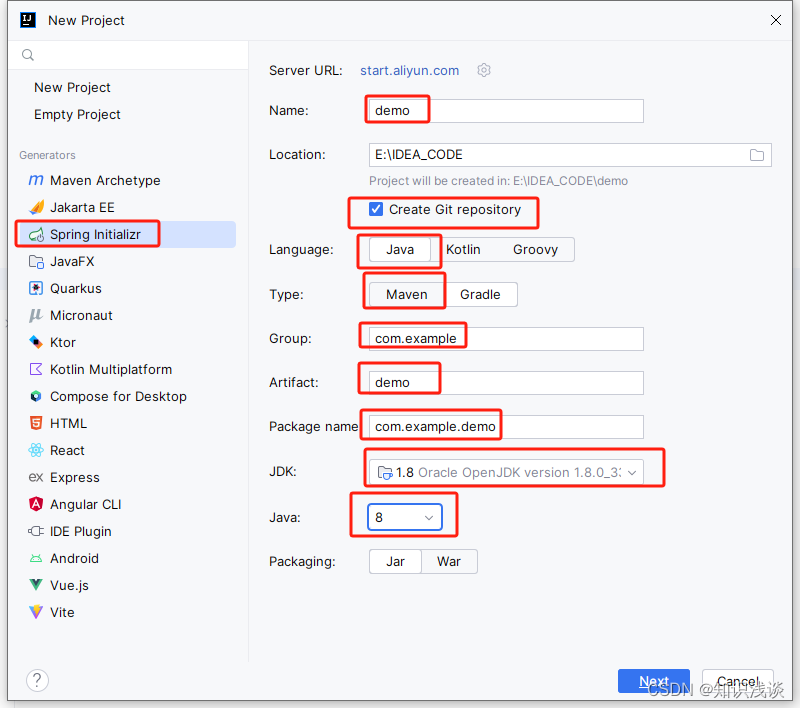
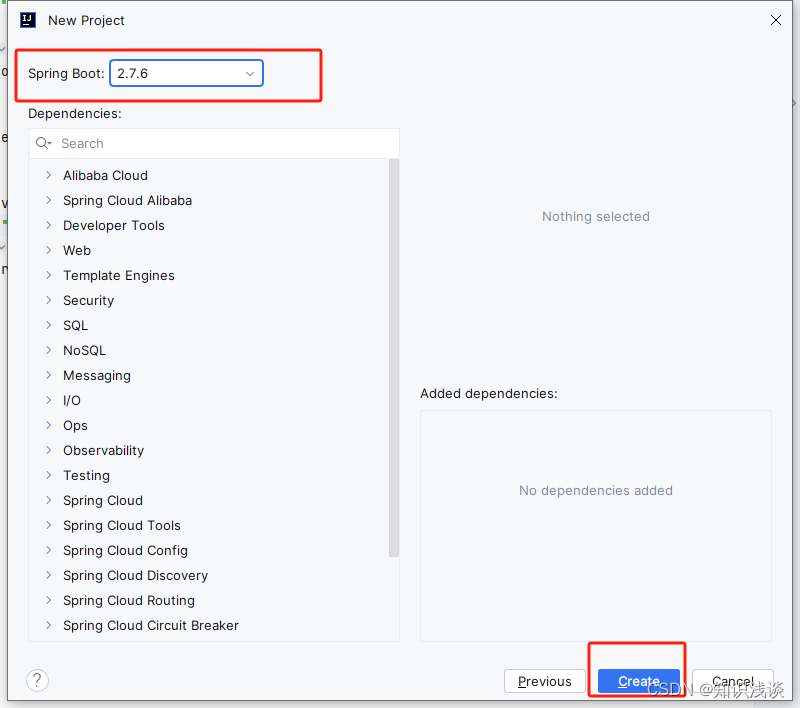
springboot选用2.7.6版本
创建后打开
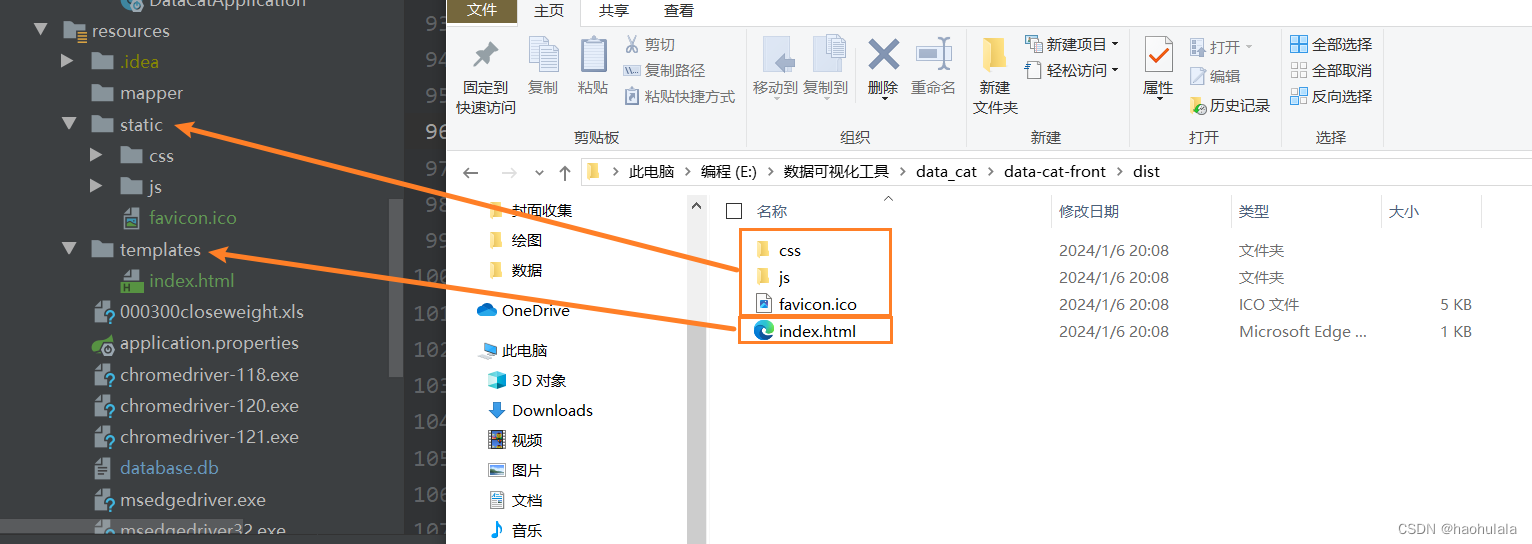
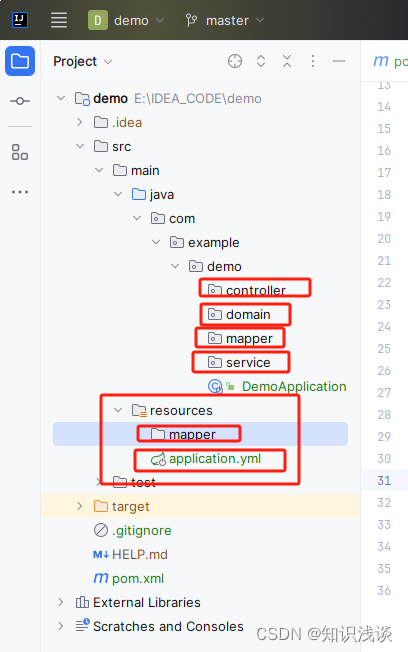
🎈再来创建各种文件夹和文件
之所以创建文件夹,下边要用到
🎈再来引入各种依赖
pom.xml
如果自己项目路径和我的不一样:只需要引入下边的properties 和dependencies
有mysql依赖,redis依赖,security依赖,swagger依赖,相对来说比较全了
<?xml version="1.0" encoding="UTF-8"?>
<project xmlns="http://maven.apache.org/POM/4.0.0" xmlns:xsi="http://www.w3.org/2001/XMLSchema-instance"
         xsi:schemaLocation="http://maven.apache.org/POM/4.0.0 https://maven.apache.org/xsd/maven-4.0.0.xsd">
    <modelVersion>4.0.0</modelVersion>
    <groupId>com.example</groupId>
    <artifactId>demo</artifactId>
    <version>0.0.1-SNAPSHOT</version>
    <name>demo</name>
    <description>demo</description>

    <properties>
        <java.version>1.8</java.version>
        <project.build.sourceEncoding>UTF-8</project.build.sourceEncoding>
        <project.reporting.outputEncoding>UTF-8</project.reporting.outputEncoding>
        <spring-boot.version>2.7.6</spring-boot.version>
        <jwt.verison>4.3.0</jwt.verison>
        <fastjson.version>2.0.27</fastjson.version>
    </properties>

    <dependencies>

        <dependency>
            <groupId>org.springframework.boot</groupId>
            <artifactId>spring-boot-starter</artifactId>
        </dependency>
        <dependency>
            <groupId>org.springframework.boot</groupId>
            <artifactId>spring-boot-starter-security</artifactId>
        </dependency>
        <dependency>
            <groupId>org.springframework.boot</groupId>
            <artifactId>spring-boot-starter-web</artifactId>
        </dependency>

        <dependency>
            <groupId>com.mysql</groupId>
            <artifactId>mysql-connector-j</artifactId>
        </dependency>
        <dependency>
            <groupId>com.alibaba</groupId>
            <artifactId>druid</artifactId>
            <version>1.2.16</version>
        </dependency>
        <!-- https://mvnrepository.com/artifact/com.baomidou/mybatis-plus-boot-starter -->
        <dependency>
            <groupId>com.baomidou</groupId>
            <artifactId>mybatis-plus-boot-starter</artifactId>
            <version>3.5.2</version>
        </dependency>

        <dependency>
            <groupId>org.projectlombok</groupId>
            <artifactId>lombok</artifactId>
        </dependency>

        <dependency>
            <groupId>com.auth0</groupId>
            <artifactId>java-jwt</artifactId>
            <version>${jwt.verison}</version>
        </dependency>

        <dependency>
            <groupId>com.alibaba.fastjson2</groupId>
            <artifactId>fastjson2</artifactId>
            <version>${fastjson.version}</version>
        </dependency>

        <dependency>
            <groupId>org.springframework.boot</groupId>
            <artifactId>spring-boot-starter-data-redis</artifactId>
        </dependency>

        <!-- https://mvnrepository.com/artifact/com.google.code.gson/gson -->
        <dependency>
            <groupId>com.google.code.gson</groupId>
            <artifactId>gson</artifactId>
            <version>2.10.1</version>
        </dependency>


        <!-- https://mvnrepository.com/artifact/com.github.xiaoymin/knife4j-spring-boot-starter -->
        <dependency>
            <groupId>com.github.xiaoymin</groupId>
            <artifactId>knife4j-spring-boot-starter</artifactId>
            <version>3.0.3</version>
        </dependency>


        <dependency>
            <groupId>org.springframework.boot</groupId>
            <artifactId>spring-boot-starter-test</artifactId>
            <scope>test</scope>
        </dependency>
        <dependency>
            <groupId>org.springframework.security</groupId>
            <artifactId>spring-security-test</artifactId>
            <scope>test</scope>
        </dependency>
    </dependencies>

    <dependencyManagement>
        <dependencies>
            <dependency>
                <groupId>org.springframework.boot</groupId>
                <artifactId>spring-boot-dependencies</artifactId>
                <version>${spring-boot.version}</version>
                <type>pom</type>
                <scope>import</scope>
            </dependency>
        </dependencies>
    </dependencyManagement>

    <build>
        <plugins>
            <plugin>
                <groupId>org.apache.maven.plugins</groupId>
                <artifactId>maven-compiler-plugin</artifactId>
                <version>3.8.1</version>
                <configuration>
                    <source>1.8</source>
                    <target>1.8</target>
                    <encoding>UTF-8</encoding>
                </configuration>
            </plugin>
            <plugin>
                <groupId>org.springframework.boot</groupId>
                <artifactId>spring-boot-maven-plugin</artifactId>
                <version>${spring-boot.version}</version>
                <configuration>
                    <mainClass>com.example.demo.DemoApplication</mainClass>
                    <skip>true</skip>
                </configuration>
                <executions>
                    <execution>
                        <id>repackage</id>
                        <goals>
                            <goal>repackage</goal>
                        </goals>
                    </execution>
                </executions>
            </plugin>
        </plugins>
    </build>

</project>
🎈安装mysql和redis
-
安装Mysql(使用默认的3306端口)
在mysql中创建test数据库
设置账号:root 密码:password -
安装Redis 不用设置密码(生产环境需要设置密码,使用默认的6379端口)
🎈填写配置文件
application.yml
# 应用服务 WEB 访问端口
server:
  port: 8080

spring:
  datasource:
    url: jdbc:mysql://localhost:3306/test?useUnicode=true&characterEncoding=utf8&serverTimezone=UTC  # 数据库连接URL
    username: root  # 数据库用户名
    password: password # 数据库密码
    driver-class-name: com.mysql.cj.jdbc.Driver  # MySQL驱动程序类名
    type: com.alibaba.druid.pool.DruidDataSource  # 指定使用Druid连接池
    druid:
      initial-size: 5  # 初始化时建立物理连接的个数
      max-active: 20  # 最大连接池数量
      min-idle: 5  # 最小连接池数量
      max-wait: 60000  # 获取连接时最大等待时间,单位毫秒
      validation-query: SELECT 1 FROM DUAL  # 测试连接是否可用的SQL语句
      test-while-idle: true  # 保持连接池活跃地状态
      time-between-eviction-runs-millis: 60000  # 检查空闲连接的时间间隔,单位毫秒
      min-evictable-idle-time-millis: 300000  # 连接在连接池中最小空闲时间,单位毫秒
      filters: stat,wall,log4j2  # 配置Druid监控和防御SQL注入的过滤器
  data:
    redis:
      host: 127.0.0.1
      port: 6379
      database: 0
  mvc:
    pathmatch:
      matching-strategy: ant_path_matcher

mybatis-plus:
  mapper-locations: classpath:/mapper/*.xml # Mapper.xml文件所在路径
  typeAliasesPackage: com.example.demo.domain # 实体类包名
  configuration:
    log-impl: org.apache.ibatis.logging.stdout.StdOutImpl # 日志输出方式
    map-underscore-to-camel-case: true # 开启驼峰命名规则映射
🎈最后让项目跑起来
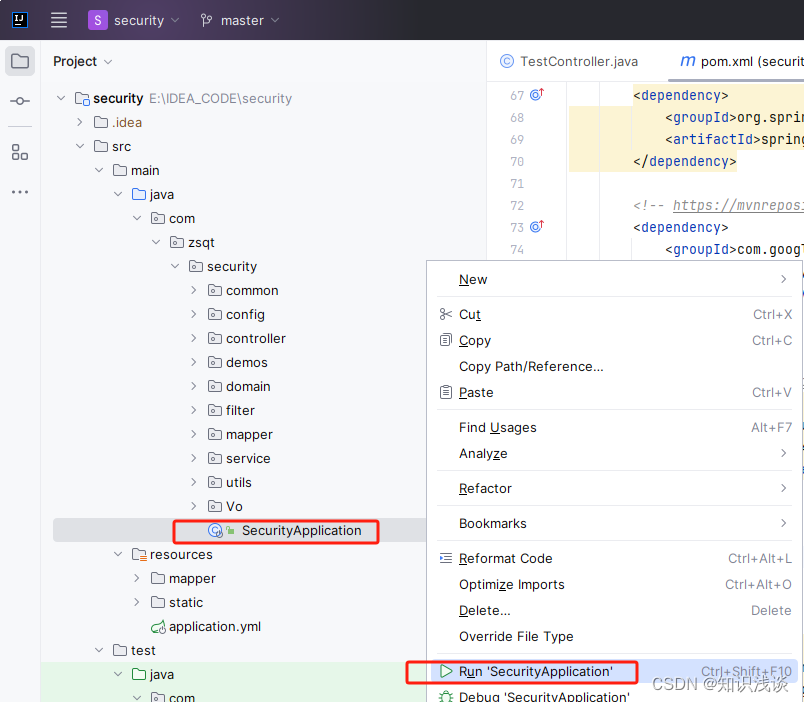

到这里项目就运行起来了
上图里运行程序之后有一个密码
Using generated security password: 248b72f4-198a-48ef-929e-1f3f2cd51c79
这个是springsecurity自带的密码,当我们访问接口的时候要用到的,默认用户名是user
🍚写个接口测试一下
在controller文件夹创建一个controller
package com.example.demo.controller;

import io.swagger.annotations.Api;
import io.swagger.annotations.ApiOperation;
import org.springframework.beans.factory.annotation.Autowired;
import org.springframework.security.access.prepost.PreAuthorize;
import org.springframework.web.bind.annotation.GetMapping;
import org.springframework.web.bind.annotation.RequestMapping;
import org.springframework.web.bind.annotation.RestController;


@Api(tags = "测试类")
@RestController
@RequestMapping("/test")
public class TestController {


    @ApiOperation(value = "测试方法")
    @GetMapping("/test")
    public String test(){
      return "test";
    }

}
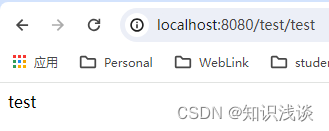
重新运行程序
访问 http://localhost:8080/test/test
但是直接默认跳到了登录页
http://localhost:8080/login
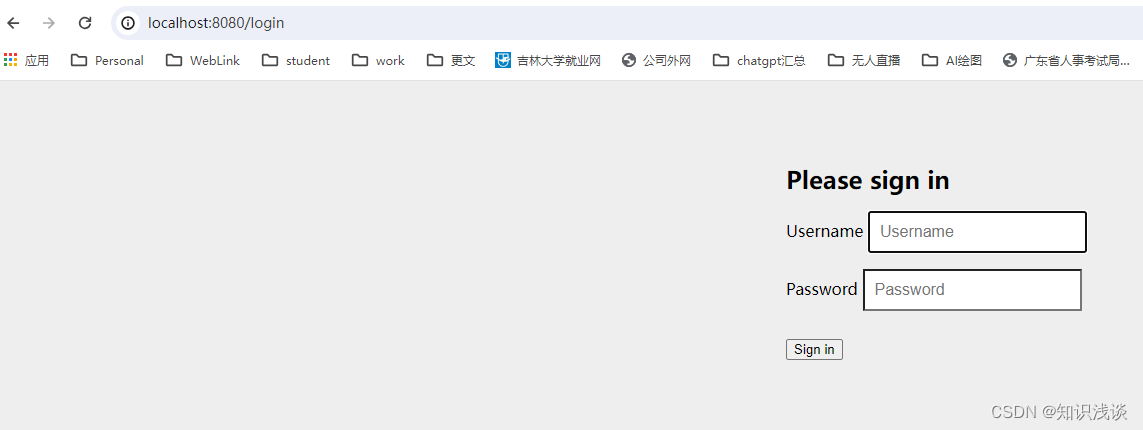
输入用户名 user 和后台生成的密码
到此就创建好后端项目基本框架了。
🍚总结
大功告成,撒花致谢🎆🎇🌟,关注我不迷路,带你起飞带你富。
Writted By 知识浅谈