目录
1 Remix.js介绍
2 远程连接方法
3 安装remix环境
4 设置根路由
5 编译运行
6 自己的helloworld
7 总结
书接上回,我们已经完成了vue的基本开发环境配置,并成功跑了第一个vue程序。下面我们要尝试安装remix.js的开发环境。
1 Remix.js介绍
Remix.js是一个基于react的全栈 Web 开发框架,是对标next.js的。目前关于remix的中文资料很少,只能去官网看英文。他通过后端渲染来实现前后端的统一。
Remix.js的核心要义就是嵌套路由,nested route。常规的加载方式是短doc,后面顺序加载页面要素。而remix是长doc,然后同步加载页面要素。
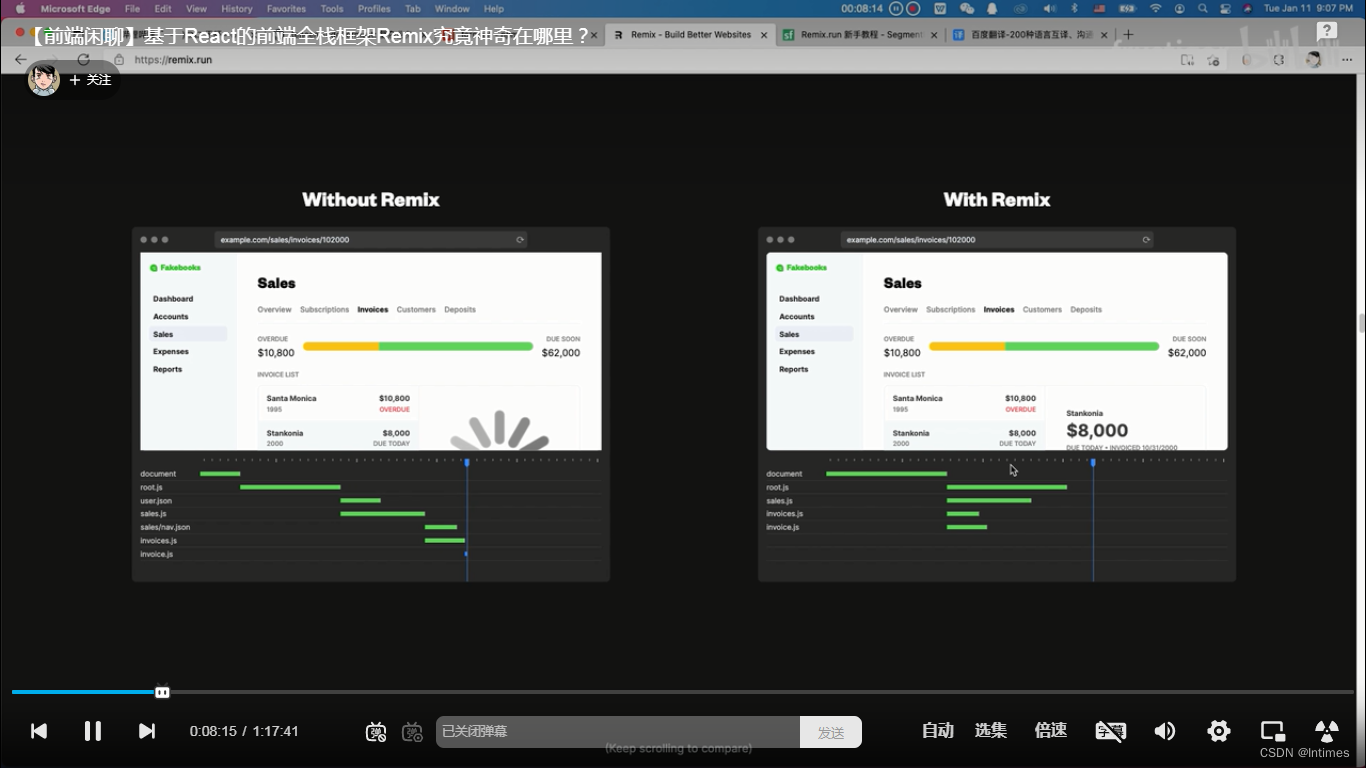
其实这个点儿,我们的开发需求其实并不需要。只是因为有个项目用到了这个框架,所以必须要用而已。
此外,remix还有一些其他的特点,我们就暂时忽略不管了,总之就是要用这个框架。
目前remix还是一个崭新的技术,虽然是2022年推出的,但目前也没多少人用。主要是bug太多,所以不愿意踩坑了。
我们还是以windows10系统为例,用上一篇布设好的vscode来搭建开发环境。
2 远程连接方法
首先,查到目标电脑的ip地址是多少。当然了,两台电脑在同一个局域网中。
ipconfig /all在点击我的电脑-属性-远程设置,把远程的开关打开,否则是连不上的。
其次,查一下目标电脑用户叫什么名字,密码是多少。
然后我们来到当前的电脑,打开远程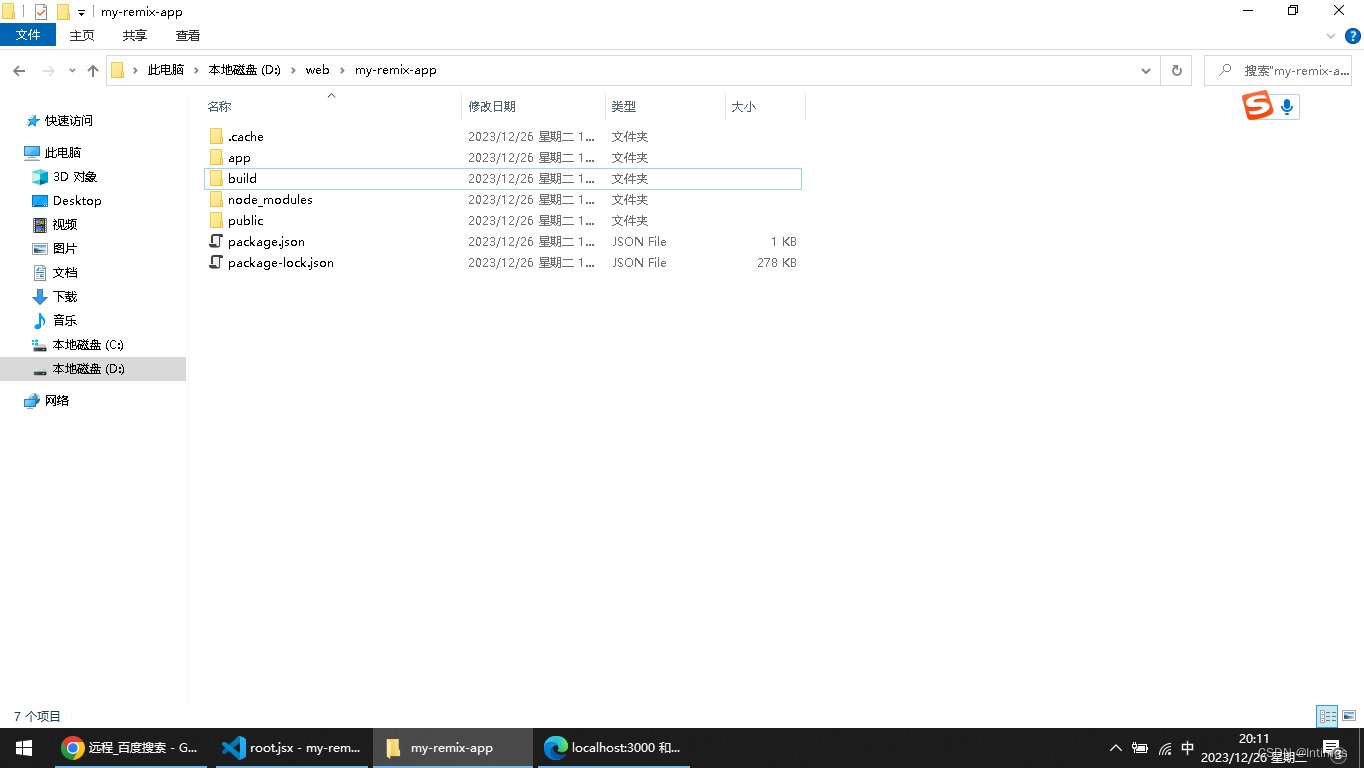 连接,然后输入ip地址,输入用户名,密码,就能连接了。在远程按printscreen也是生效的。
3 安装remix环境
安装remix环境的步骤是学习官网的quick start的,官网说5分钟就能学会,咱们来试试。
首先打开官网
https://remix.run

然后看下这里写的什么。
本指南将让您尽快熟悉运行Remix应用程序所需的基本流程。
This guide will get you familiar with the basic plumbing required to run a Remix app as quickly as possible.虽然有许多不同的运行环境、部署目标和数据库的初学者模板,但我们将从头开始创建一个基本项目。
While there are many starter templates with different runtimes, deploy targets, and databases, we're going to create a bare-bones project from scratch.当你准备认真对待你的Remix项目时,你可以考虑从一个社区模板开始。
When you're ready to get serious about your Remix project, you might consider starting with a community template.它们包括TypeScript设置、数据库、测试工具、身份验证等等。
They include TypeScript setups, databases, testing harnesses, authentication, and more.您可以在Remix指南模板页面上找到社区模板列表。
You can find a list of community templates on the Remix Guide Templates page.
上面都是介绍性的。
如果你喜欢初始化一个包含电池的Remix项目,你可以使用create-remix cli命令行。
If you prefer to initialize a batteries-included Remix project, you can use the create-remix CLI.本指南将为您解释CLI初始化的所有不同部分。
This guide will explain all of the different pieces the CLI initializes for you.
如何安装:
mkdir my-remix-app
cd my-remix-app
npm init -y

# install runtime dependencies
npm i @remix-run/node @remix-run/react @remix-run/serve isbot react react-dom

# install dev dependencies
npm i -D @remix-run/dev
在vscode的bash里依次运行上述命令。
其实意思就是说,新建一个文件夹,然后在文件夹里下载一堆运行依赖,在安装开发的依赖。
首先打开vscode
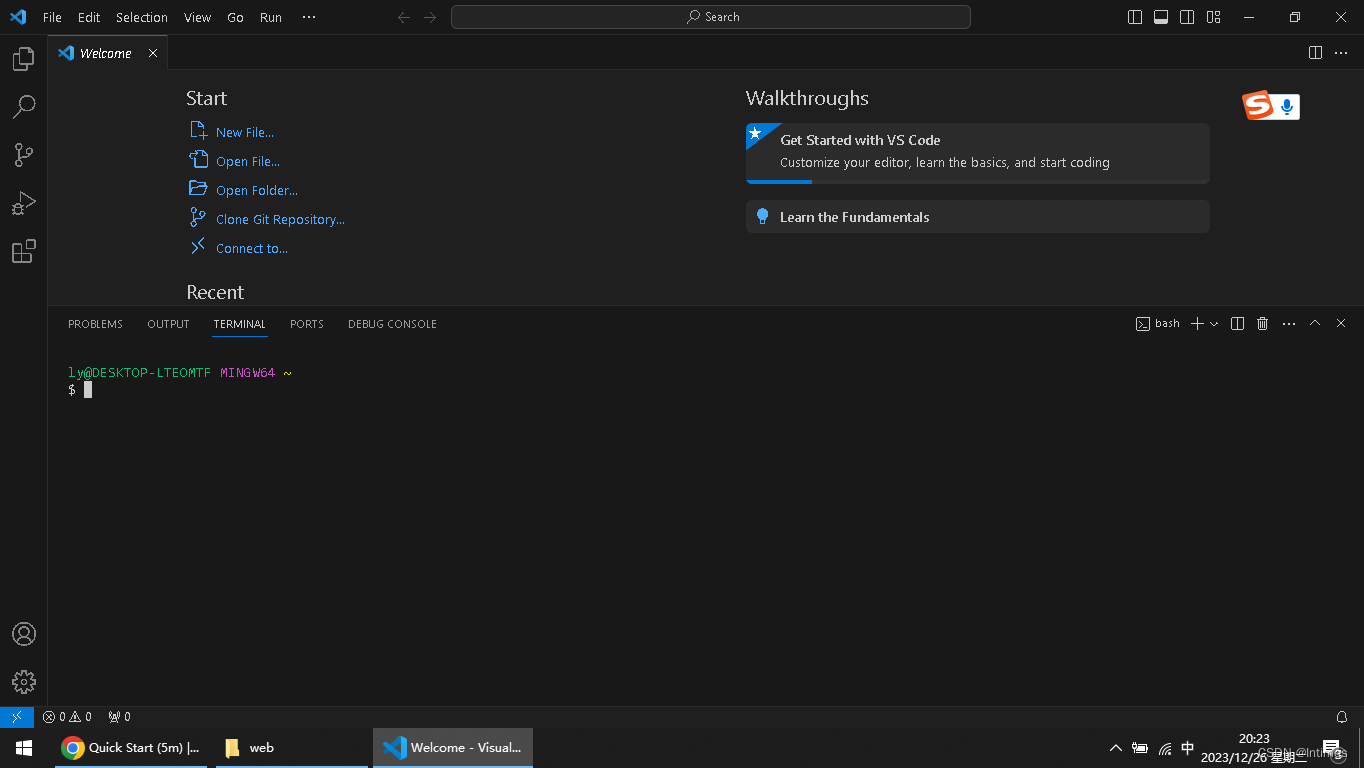
依次运行
mkdir my-remix-app
cd my-remix-app
npm init -y
这一步就是新建了空文件夹。

接下来进入文件夹并初始化
cd my-remix-app
npm init -y
这一步就是node的初始化。文件里生产package.json

看看这个package.json内容是什么
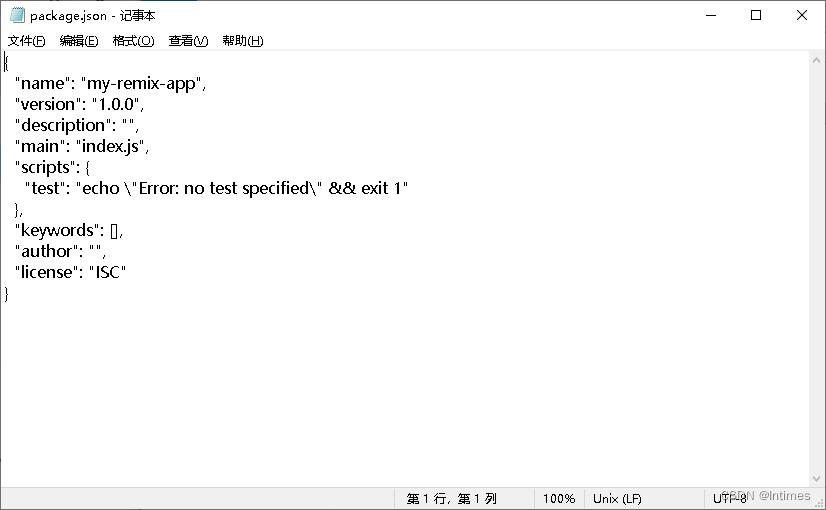
到这里都是没问题的,接下来安装依赖,这涉及到下载,要消耗一段时间。

可以看到,bash里面开始一顿下载了。执行完毕后是这样子:
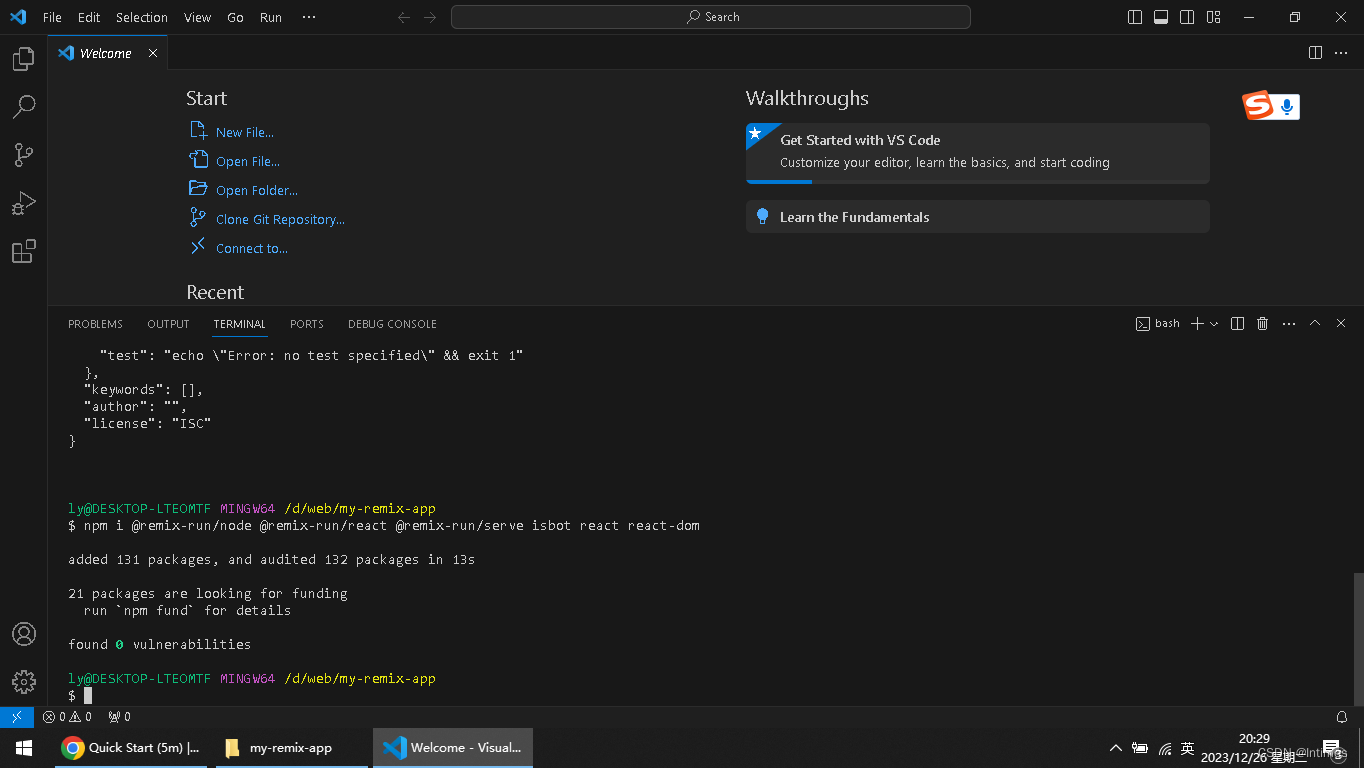
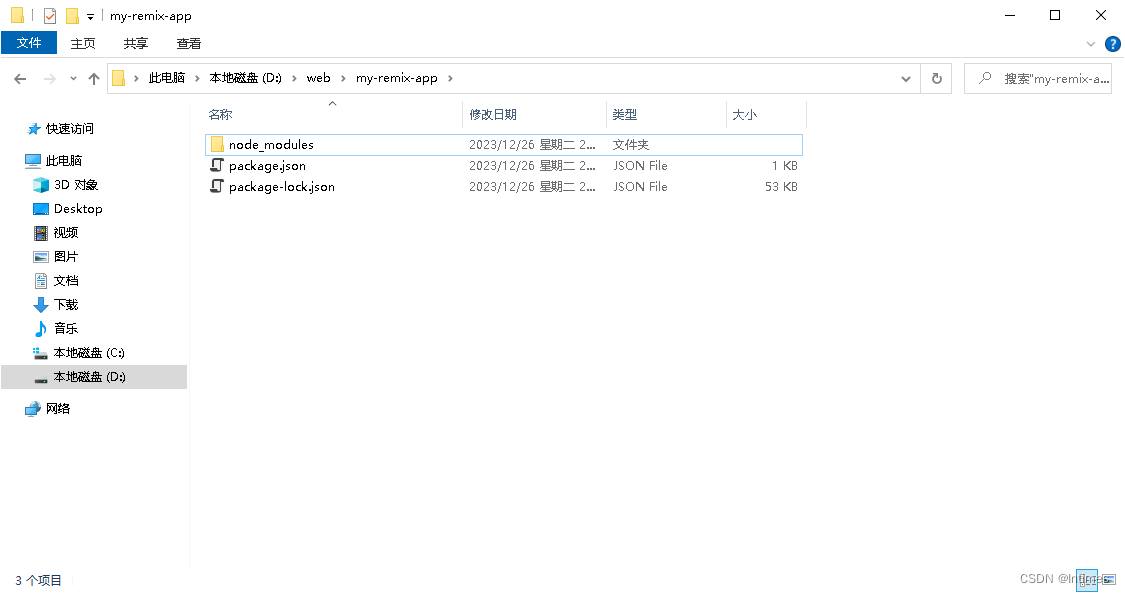
文件夹下多了依赖包
package.json也增加相应内容

我们继续,在安装开发依赖

这两段等待时间还行 不算太长。安装完是这样子:

再看看package.json
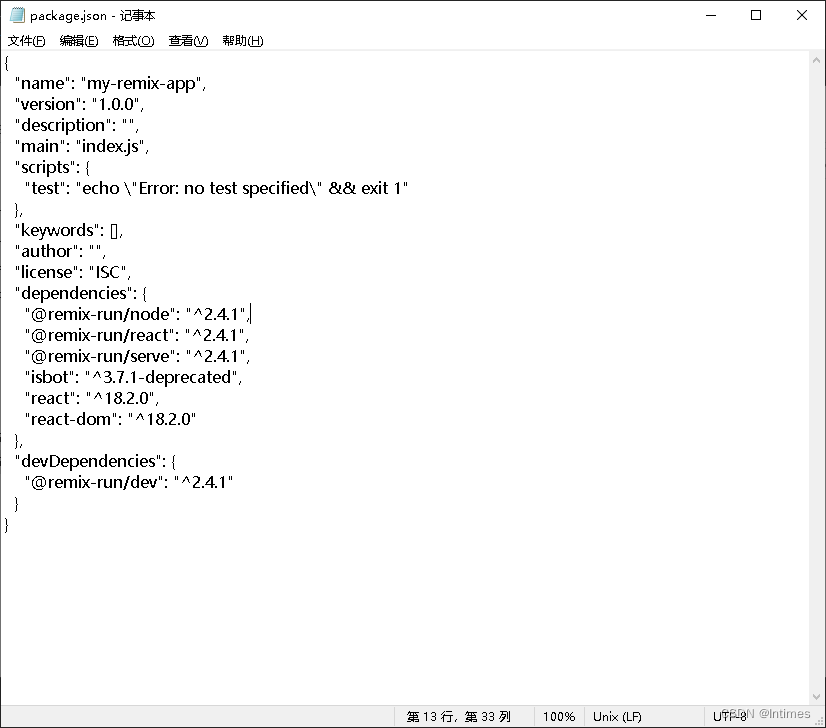
这就是配置好了。配置好的文件夹有100多M大。

4 设置根路由
按照官网文档,接下来设置根路由,也很简单,就是执行:
mkdir app
touch app/root.jsx
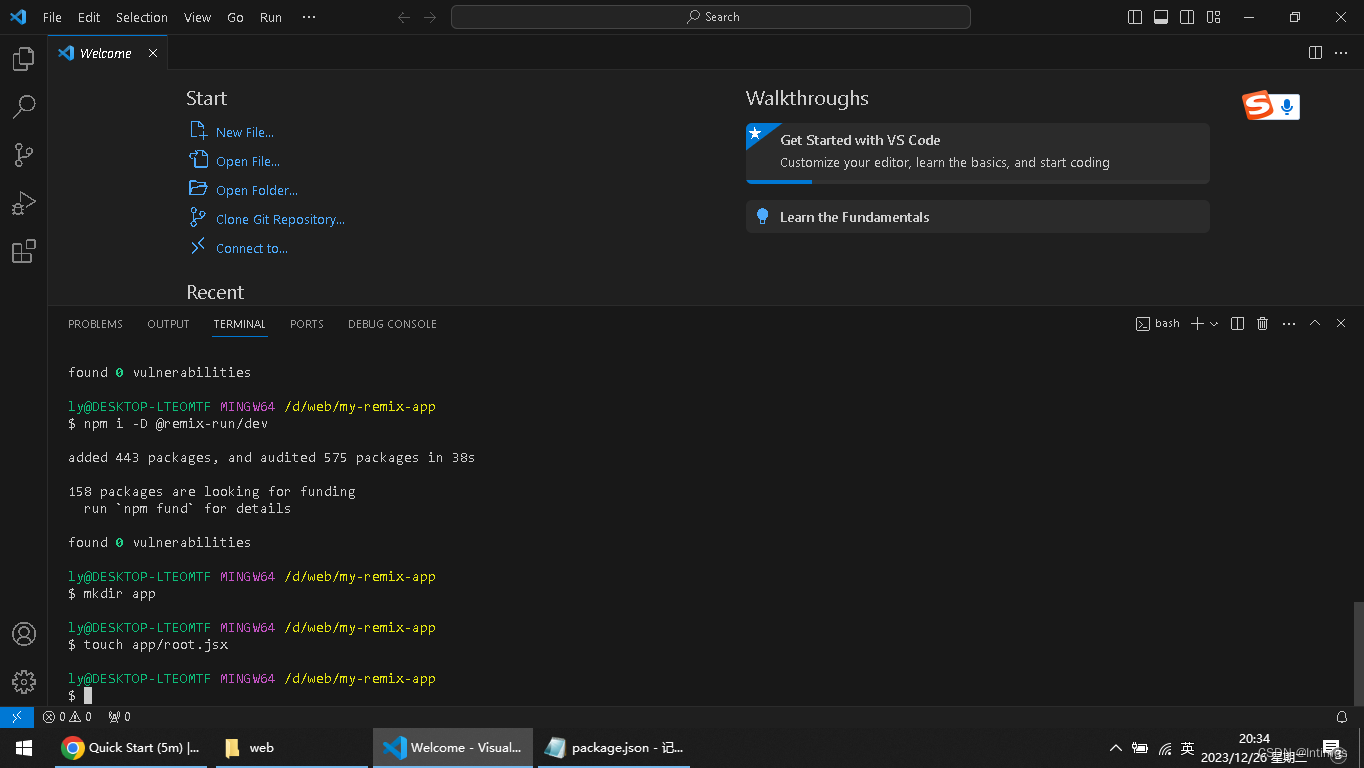
设置完以后,文件夹下多了app文件夹和root.jsx文件。这个文件是0字节的。

app/root.jsxis what we call the "Root Route". It's the root layout of your entire app. Here's the basic set of elements you'll need for any project:app/
root.jsx就是我们所说的“根路由”。这是你整个应用的根布局。以下是你在任何项目中都需要的基本元素。
我们需要在这个里面编代码的意思吗,下面是一段代码:
import {
  Links,
  Meta,
  Outlet,
  Scripts,
} from "@remix-run/react";

export default function App() {
  return (
    <html>
      <head>
        <link
          rel="icon"
          href="data:image/x-icon;base64,AA"
        />
        <Meta />
        <Links />
      </head>
      <body>
        <h1>Hello world!</h1>
        <Outlet />

        <Scripts />
      </body>
    </html>
  );
}
把这个代码要写到root.jsx里面去。我们设置一下vscode,打开项目文件夹。
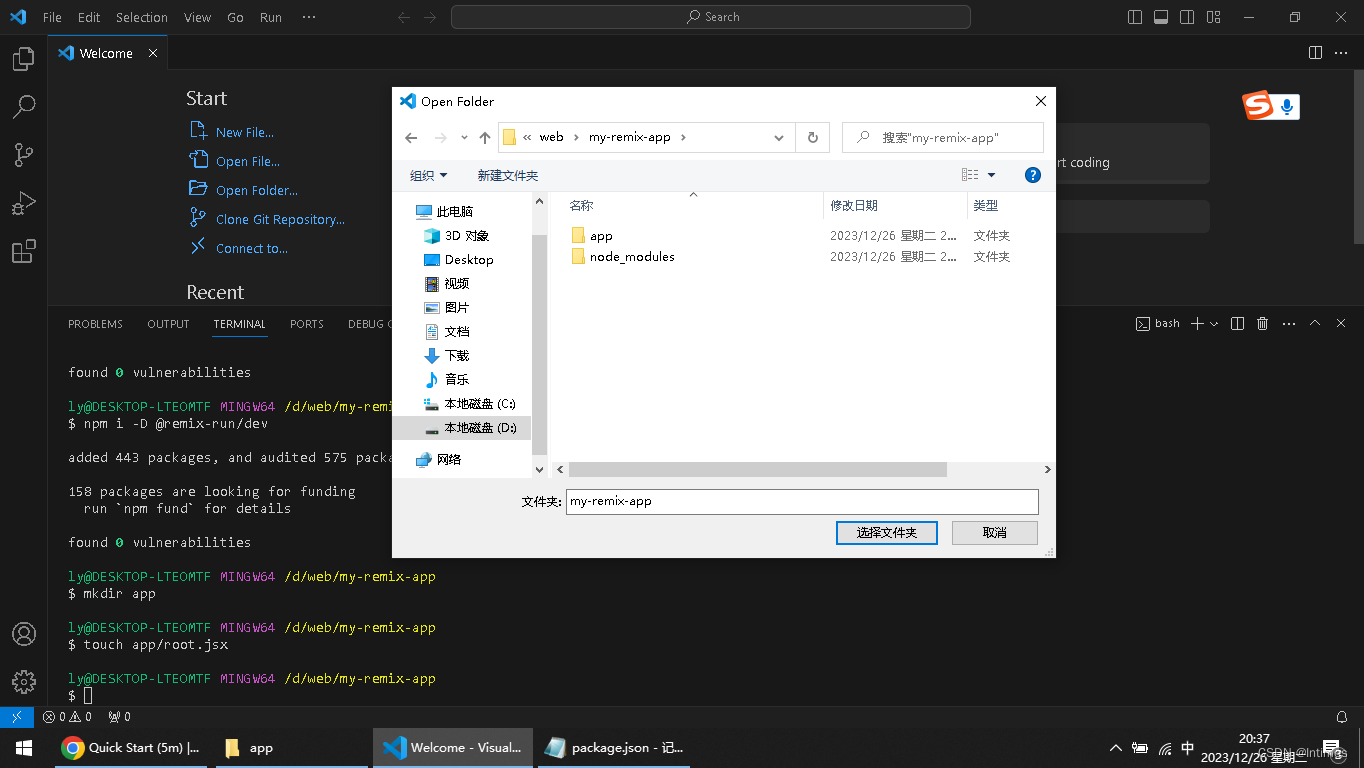
打开以后,bash貌似被清空了。
 把这段代码复制进去。

就算是设置完毕了。
5 编译运行
编译的命令是:
npx remix buildYou should now see a build/ folder (the server version of your app) and public/build folder (the browser version) with some build artifacts in them. (This is all configurable.)
现在你应该看到一个build/文件夹(应用程序的服务器版本)和public/build文件夹(浏览器版本),其中有一些编译文件。(这些都是可配置的。)

运行app的命令是:
remix-serve在运行前,需要先配置一下package.json
{
  "type": "module"
  // ...
}
意思就是在package.json里加入这个字段。

之后运行一下:
npx remix-serve build/index.js结果有错误,可能是package.json弄错了把,跟换了下type行位置,再运行,可以了。

看下浏览器效果:

这就算是成功了把。
6 自己的helloworld
下面对root.jsx进行修改。之后按ctrl+c打断运行,之后必须再次biuld,之后在run,才能运行出新的效果

写到这儿,我们的remix程序就算是配置成功了。
希望对小伙伴儿们有所帮助。
7 总结
一些用的着的命令集合:
安装:
mkdir my-remix-app
cd my-remix-app
npm init -y

# install runtime dependencies
npm i @remix-run/node @remix-run/react @remix-run/serve isbot react react-dom

# install dev dependencies
npm i -D @remix-run/dev
创建根路由
mkdir app
touch app/root.jsx
编译运行
npx remix build

# note the dash!
npx remix-serve build/index.js





![[Linux] MySQL数据库的备份与恢复](https://img-blog.csdnimg.cn/direct/1be5bfa02e6a4043a50643cd5ff816d7.png)

