文章目录
- tmux的使用
- 利用WSL2设置交换空间
- 通过编译产生的output安装
tmux的使用
参考:https://blog.csdn.net/weixin_43922901/article/details/89230499
参考:http://www.ruanyifeng.com/blog/2019/10/tmux.html
tmux用于远程编译,开启一个会话窗口,当ssh连接断开时,重新连接便无法继续上一次的内容,可以防止编译信息中途丢失。
登录cloudshell后,我们可以开启tmux

tmux ls可以显示当前开启的tmux
tmux attach -t 0
进入到0号tmux窗口,下面会显示绿色的窗格,就可以看到我们之前的命令了
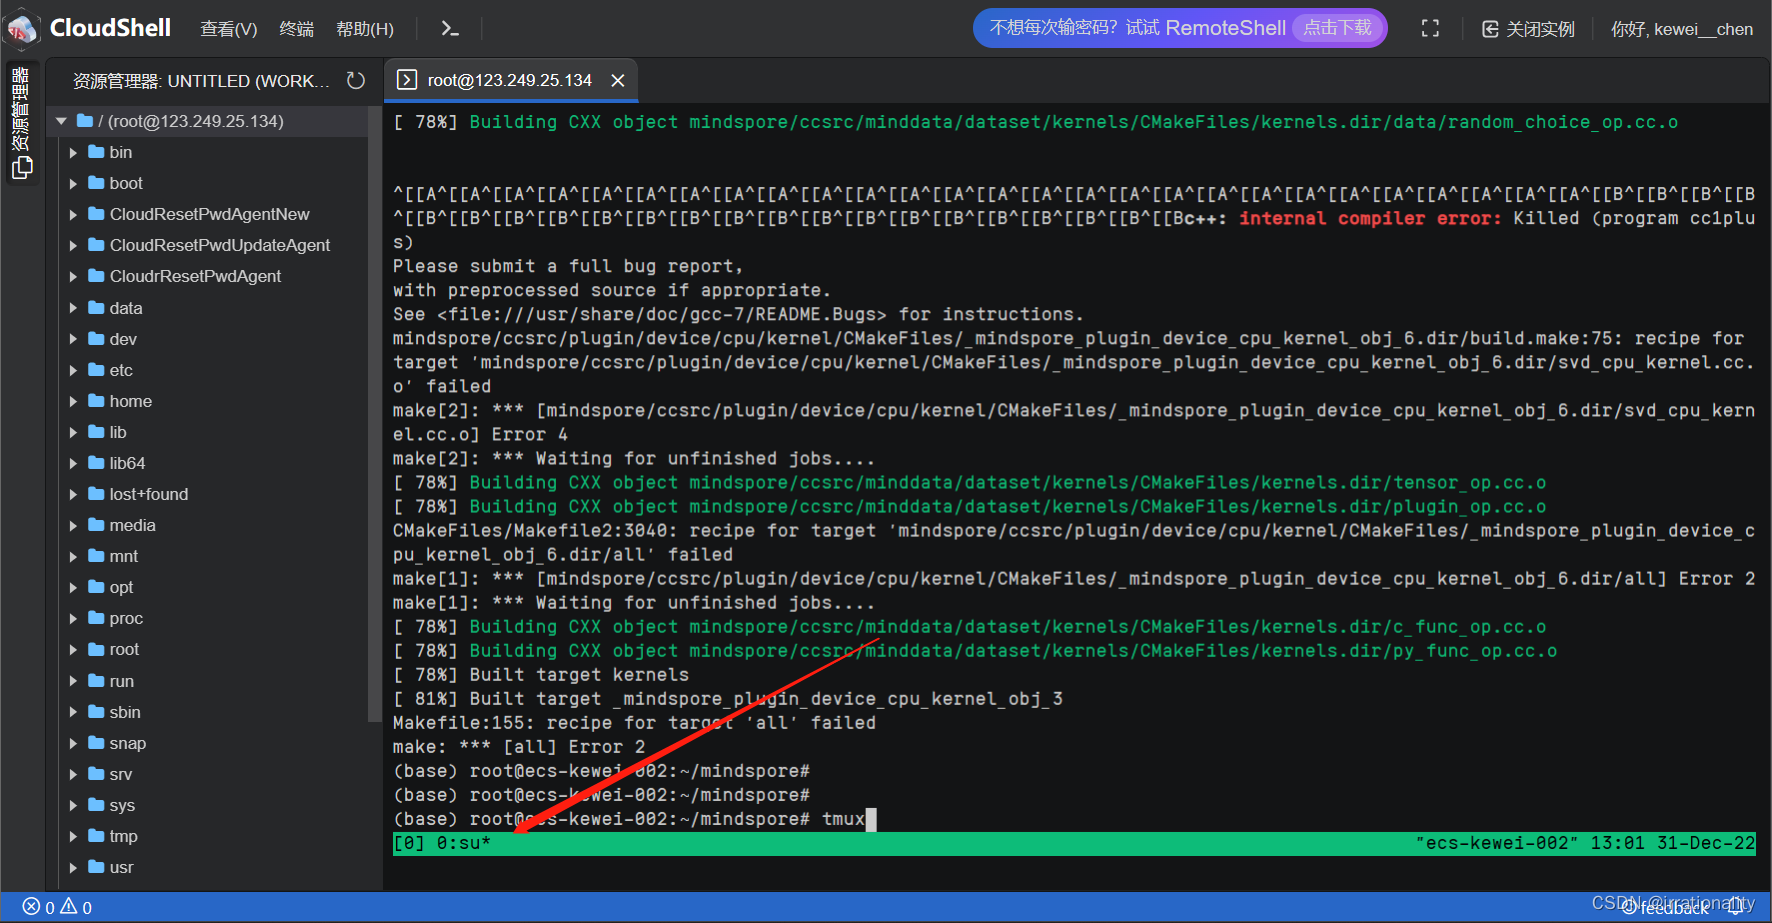
- ctrl+b再按[ 实现鼠标滚轮回滚,下面的绿色窗格会显示tmux*
- tmux ls命令可以查看当前所有的 Tmux 会话。
- 首先还是ssh连接主机,然后 使用tmux命令连接会话
- $ tmux attach -t 0
利用WSL2设置交换空间
wsl的设置方法比较简单,在%UserProfile%目录下,设置.wslconfig文件如下
# Settings apply across all Linux distros running on WSL 2
[wsl2]

# Limits VM memory to use no more than 4 GB, this can be set as whole numbers using GB or MB
memory=16GB

# Sets the VM to use two virtual processors
processors=8

# Specify a custom Linux kernel to use with your installed distros. The default kernel used can be found at https://github.com/microsoft/WSL2-Linux-Kernel
# kernel=C:\\temp\\myCustomKernel

# Sets additional kernel parameters, in this case enabling older Linux base images such as Centos 6
# kernelCommandLine = vsyscall=emulate

# Sets amount of swap storage space to 8GB, default is 25% of available RAM
swap=16GB

# Sets swapfile path location, default is %USERPROFILE%\AppData\Local\Temp\swap.vhdx
# swapfile=C:\\temp\\wsl-swap.vhdx

# Disable page reporting so WSL retains all allocated memory claimed from Windows and releases none back when free
# pageReporting=false

# Turn off default connection to bind WSL 2 localhost to Windows localhost
# localhostforwarding=true

# Disables nested virtualization
# nestedVirtualization=false

# Turns on output console showing contents of dmesg when opening a WSL 2 distro for debugging
# debugConsole=true
这样就可以充分利用物理机内存和交换空间。
通过编译产生的output安装


pip install output/mindspore-*.whl -i https://pypi.tuna.tsinghua.edu.cn/simple
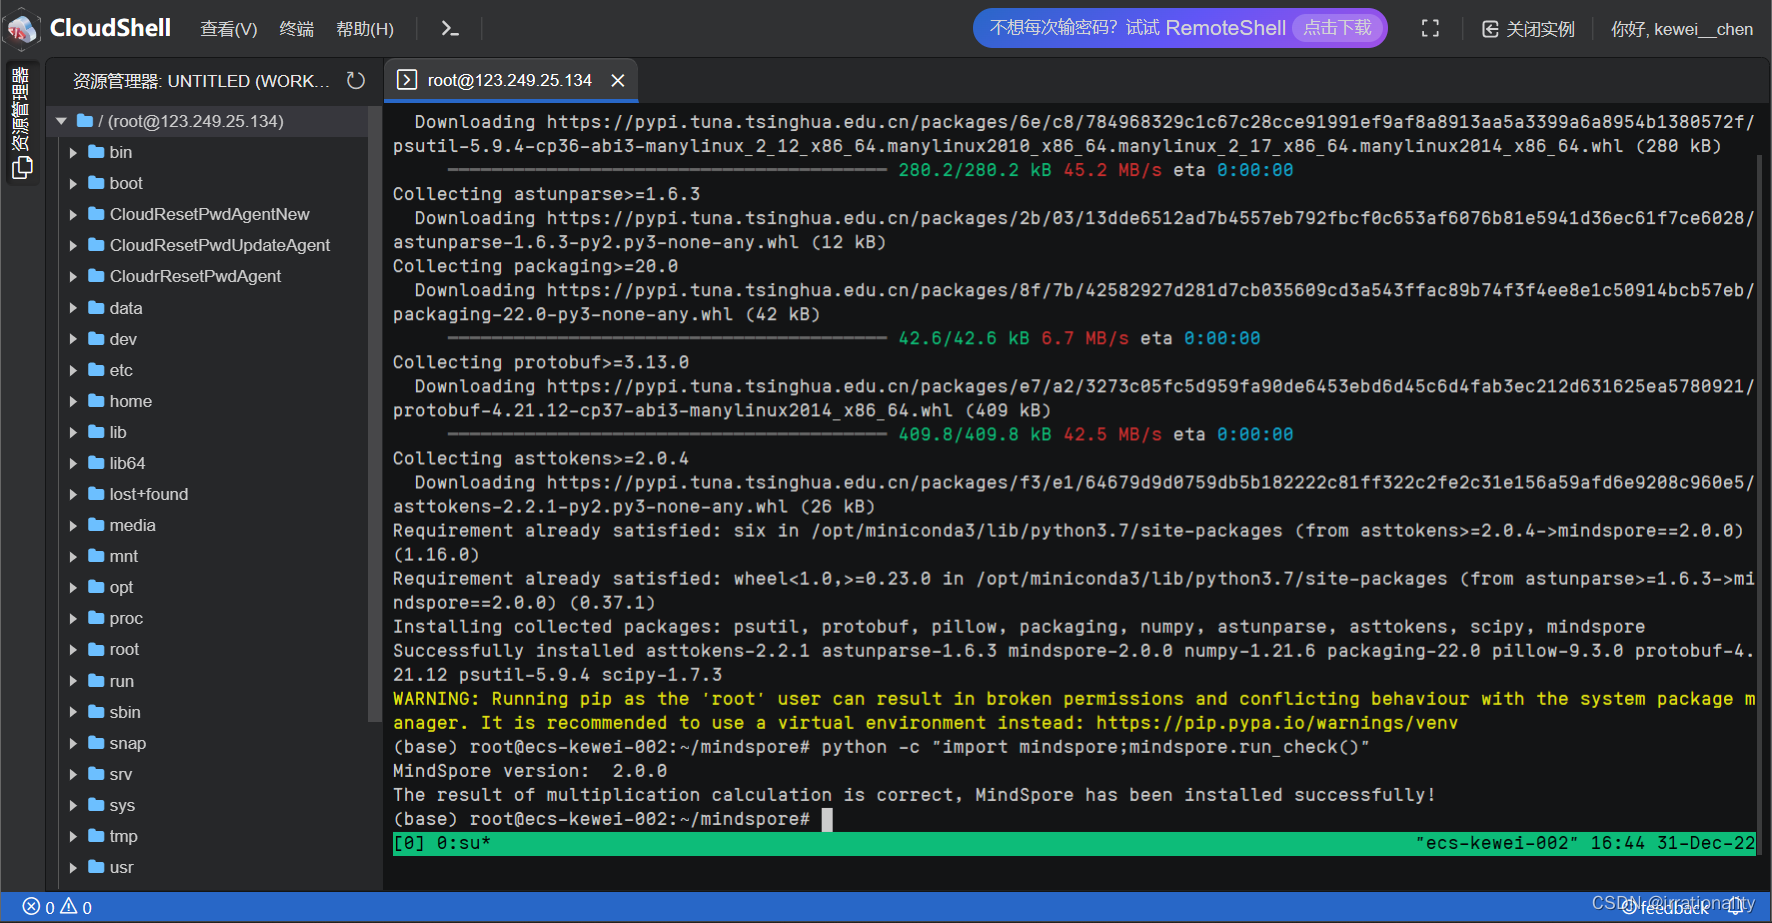
云服务器源码编译安装成功

