Android VpnService 使用(一)
本篇算是VpnService 使用的第一篇文章,主要讲述service创建,intent调用.
1: 申请权限
  <service android:name=".MyVpnService" android:permission="android.permission.BIND_VPN_SERVICE">
            <intent-filter>
                <action android:name="android.net.VpnService"/>
            </intent-filter>
        </service>
2: 实现
首选,我们需要调用VpnService.prepare函数. 该方法用于准备建立VPN连接.
- 如果VPN应用程序已经准备好,或者用户之前已经同意VPN应用程序 该函数返回null
- 否则则返回intent.
 Intent prepare = VpnService.prepare(getApplicationContext());
            if (prepare != null) {
                startActivityForResult(prepare, 0);
            } else {
                Log.d(TAG, "onCreate: onActivityResult");
                onActivityResult(0, RESULT_OK, null);
            }
@Override
protected void onActivityResult(int requestCode, int resultCode, @Nullable Intent data) {
    super.onActivityResult(requestCode, resultCode, data);
    if (resultCode == RESULT_OK) {
        Intent intent = new Intent(this, MyVpnService.class);
        startService(intent);
        Log.d(TAG, "onActivityResult: startService");
    }
}
import android.content.Intent;
import android.net.VpnService;
import android.os.ParcelFileDescriptor;
import android.util.Log;

/**
 * @Author: zh
 * @Time: 23-12-11.
 * @Email:
 * @Describe:
 */
public class MyVpnService extends VpnService {

    @Override
    public int onStartCommand(Intent intent, int flags, int startId) {
        VpnService.Builder builder = new VpnService.Builder();

        ParcelFileDescriptor parcelFileDescriptor = builder
                .addAddress("192.168.0.1", 24)
                .addRoute("0.0.0.0", 0)
                .addDnsServer("192.168.1.1").establish();
        if (parcelFileDescriptor==null ){
            Log.i("MyVpnService","MyVpnService not prepared");
            return START_STICKY;
        }
        return START_STICKY;
    }
}
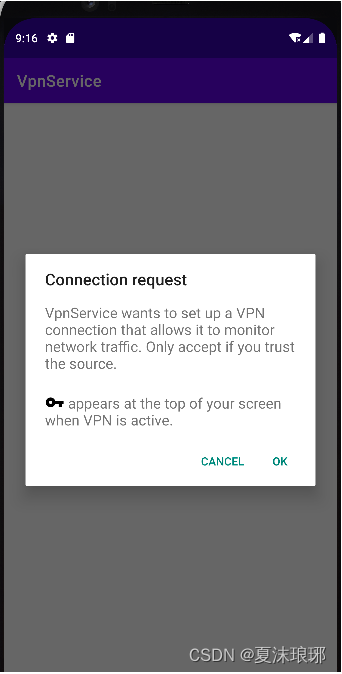
授权的弹框如下:
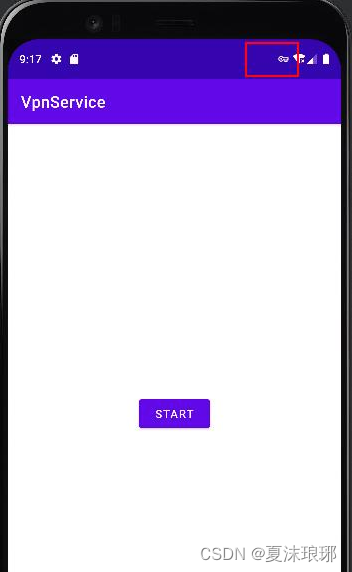
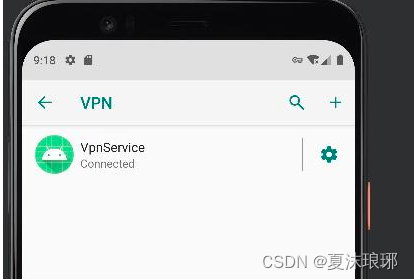
设置中可以找到对应的Vpnservice:




![[c++] 意识需要转变的一个例子,全局变量的构造函数先于main执行](https://img-blog.csdnimg.cn/direct/f8d511daa1704d4cb36a635b90c5ef1a.png)
