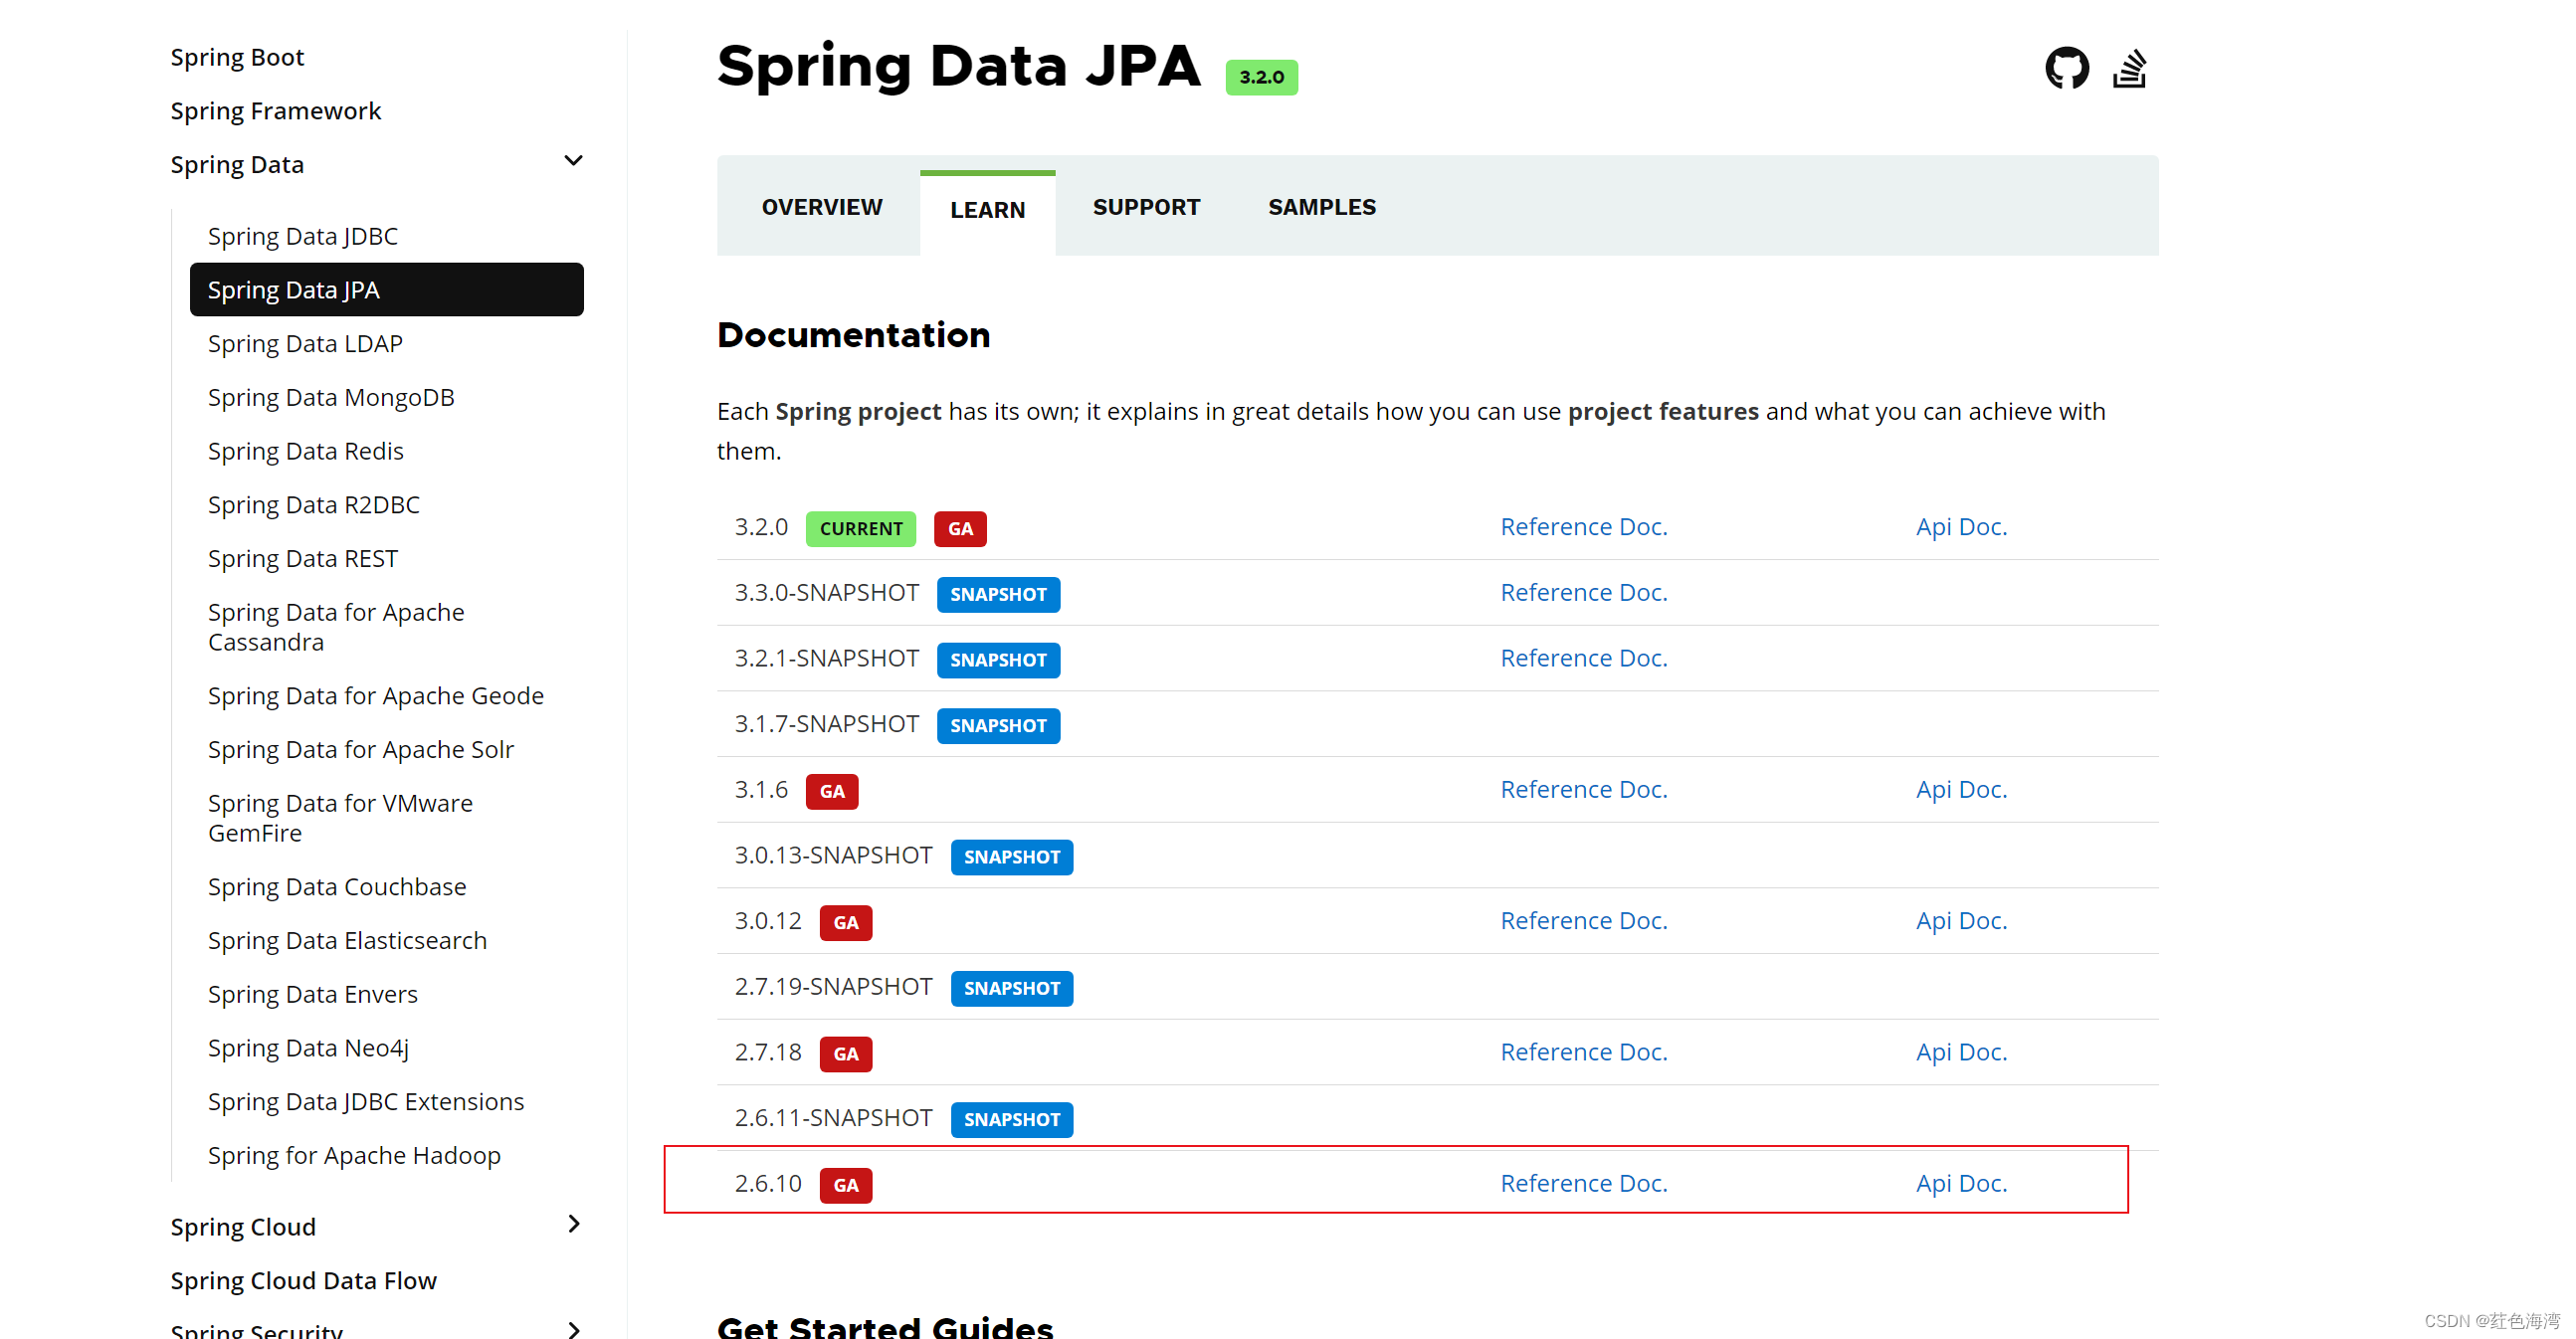
1.导入版本管理依赖 到父项目里
<dependencyManagement>
  <dependencies>
    <dependency>
      <groupId>org.springframework.data</groupId>
      <artifactId>spring-data-bom</artifactId>
      <version>2021.1.10</version>
      <scope>import</scope>
      <type>pom</type>
    </dependency>
  </dependencies>
</dependencyManagement>
2.导入spring-data-jpa 依赖 在子模块
  <dependencies>
             <!--    Junit    -->
        <dependency>
            <groupId>junit</groupId>
            <artifactId>junit</artifactId>
            <version>4.12</version>
            <scope>test</scope>
        </dependency>

        <!--   hibernate -->
        <dependency>
            <groupId>org.hibernate</groupId>
            <artifactId>hibernate-entitymanager</artifactId>
            <version>5.4.32.Final</version>
        </dependency>
        <!--        mysql  -->
        <dependency>
            <groupId>mysql</groupId>
            <artifactId>mysql-connector-java</artifactId>
            <version>5.1.47</version>
        </dependency>
        <!--        jpa  -->
        <dependency>
            <groupId>org.springframework.data</groupId>
            <artifactId>spring-data-jpa</artifactId>
        </dependency>
        <!--     连接池   -->
        <dependency>
            <groupId>com.alibaba</groupId>
            <artifactId>druid</artifactId>
            <version>1.2.8</version>
        </dependency>

        <!--     spring -  test    -->
        <dependency>
            <groupId>org.springframework</groupId>
            <artifactId>spring-test</artifactId>
            <version>5.3.10</version>
            <scope>test</scope>
        </dependency>
    </dependencies>
3.创建实体类
package com.kuang.pojo;

import javax.persistence.*;

@Entity//作为 hibernate实体类
@Table(name = "tb_customer")//映射的表名
public class Customer {

    /**
     * @Id: 声明主键的配置
     * @GeneratedValue: 配置主键的生成策略
     *        strategy :
     *            1. GenerationType.IDENTITY :自增 mysql
     *               底层数据库必须支持自动增长 (底层数据库支持的自动增长方式,对id自增)
     *            2. GenerationType.SEQUENCE : 序列 ,oracle
     *               底层书库必须支持序列
     *            3. GenerationType.TABLE : jpa 提供的一种机制, 通过一张数据库表的形式帮助我们完成主键的配置
     *            4. GenerationType.AUTO : 由程序自动的帮助我们选择主键生成策略
     *   @Column(name = "cust_id") 配置属性和字段的映射关系
     *       name: 数据库表中字段的名称
     */
    @Id
    @GeneratedValue(strategy = GenerationType.IDENTITY)
    @Column(name = "cust_id")
    private Long custId;//客户的主键

    @Column(name = "cust_name")
    private String custName;//客户的名称

    @Column(name = "cust_address")
    private String custAddress;

    public Long getCustId() {
        return custId;
    }

    public void setCustId(Long custId) {
        this.custId = custId;
    }

    public String getCustName() {
        return custName;
    }

    public void setCustName(String custName) {
        this.custName = custName;
    }

    public String getCustAddress() {
        return custAddress;
    }

    public void setCustAddress(String custAddress) {
        this.custAddress = custAddress;
    }

    @Override
    public String toString() {
        return "Customer{" +
                "custId=" + custId +
                ", custName='" + custName + '\'' +
                ", custAddress='" + custAddress + '\'' +
                '}';
    }
}
4.创建spring配置文件
<?xml version="1.0" encoding="UTF-8"?>
<beans xmlns="http://www.springframework.org/schema/beans"
xmlns:xsi="http://www.w3.org/2001/XMLSchema-instance"
xmlns:jpa="http://www.springframework.org/schema/data/jpa" xmlns:tx="http://www.springframework.org/schema/tx"
xsi:schemaLocation="http://www.springframework.org/schema/beans
https://www.springframework.org/schema/beans/spring-beans.xsd
http://www.springframework.org/schema/data/jpa
https://www.springframework.org/schema/data/jpa/spring-jpa.xsd http://www.springframework.org/schema/tx http://www.springframework.org/schema/tx/spring-tx.xsd">
<!-- 用于整合 jpa 相当于 @EnableJpaRepositories -->
<jpa:repositories base-package="com.kuang.repositories"
entity-manager-factory-ref="entityManagerFactory"
transaction-manager-ref="transactionManager"
/>
<!-- 配置 bean EntityManagerFactory -->
<bean id="entityManagerFactory" class="org.springframework.orm.jpa.LocalContainerEntityManagerFactoryBean">
<property name="jpaVendorAdapter">
<!-- Hibernate 实现 -->
<bean class="org.springframework.orm.jpa.vendor.HibernateJpaVendorAdapter">
<!-- 是否自动的表的生成 true 相当于之前的 update false 相当于 none -->
<property name="generateDdl" value="true"/>
<!-- 是否显示sql -->
<property name="showSql" value="true"/>
</bean>
</property>
<!-- 扫描实体类的包 来决定哪些实体类做 ORM映射 -->
<property name="packagesToScan" value="com.kuang.pojo"></property>
<!-- 数据源 druid -->
<property name="dataSource" ref="dataSource"/>
</bean>
<!-- 数据源-->
<bean class="com.alibaba.druid.pool.DruidDataSource" id="dataSource">
<property name="driverClassName" value="com.mysql.jdbc.Driver"/>
<property name="url" value="jdbc:mysql://localhost:3306/springdata_jpa?useUnicode=true&useSSL=false&characterEncoding=UTF-8"/>
<property name="username" value="root"/>
<property name="password" value="2001"/>
</bean>
<!-- 声明式事务 -->
<bean class="org.springframework.orm.jpa.JpaTransactionManager" id="transactionManager">
<property name="entityManagerFactory" ref="entityManagerFactory"/>
</bean>
<!-- 启动注解方式的声明式事务-->
<tx:annotation-driven transaction-manager="transactionManager"></tx:annotation-driven>
</beans>5.创建Repository接口
package com.kuang.repositories;

import com.kuang.pojo.Customer;
import org.springframework.data.repository.CrudRepository;

public interface CustomerRepository extends CrudRepository<Customer,Long> {

}
6.测试通过主键查询
package com.kuang.test;

import com.kuang.pojo.Customer;
import com.kuang.repositories.CustomerRepository;
import org.junit.Test;
import org.junit.runner.RunWith;
import org.springframework.beans.factory.annotation.Autowired;
import org.springframework.test.context.ContextConfiguration;
import org.springframework.test.context.junit4.SpringJUnit4ClassRunner;

import java.util.Optional;

@ContextConfiguration("/spring.xml")
@RunWith(SpringJUnit4ClassRunner.class)
public class SpringDataJpaTest {

    @Autowired
    private CustomerRepository customerRepository;

    @Test
    public void select() {
        Optional<Customer> byId = customerRepository.findById(1L);
        Customer customer = byId.get();
        System.out.println(customer);
    }
}

package com.kuang.test;

import com.kuang.pojo.Customer;
import com.kuang.repositories.CustomerRepository;
import org.junit.Test;
import org.junit.runner.RunWith;
import org.springframework.beans.factory.annotation.Autowired;
import org.springframework.test.context.ContextConfiguration;
import org.springframework.test.context.junit4.SpringJUnit4ClassRunner;

import java.util.Optional;

@ContextConfiguration("/spring.xml")
@RunWith(SpringJUnit4ClassRunner.class)
public class SpringDataJpaTest {

    @Autowired
    private CustomerRepository customerRepository;

    @Test
    public void select() {
        Optional<Customer> byId = customerRepository.findById(1L);
        Customer customer = byId.get();
        System.out.println(customer);
    }

    @Test
    public void insert() {
        Customer customer = new Customer();
        customer.setCustAddress("南环路");
        customer.setCustName("豪哥");
        Customer save = customerRepository.save(customer);
        save.setCustAddress("刘备");
        System.out.println(customer);
    }

    @Test
    public void update() {
        Customer customer = new Customer();
        customer.setCustId(1L);
        customer.setCustAddress("栖霞路");
        customer.setCustName("张飞");
        Customer save = customerRepository.save(customer);
    }

    @Test
    public void remove() {
        Customer customer = new Customer();
        customer.setCustId(1L);

         customerRepository.delete(customer);
    }
}
