确切地说就是讲如何给一个不带view的Activity添加一个view,就是添加一个layout文件。
新建安卓项目,如果选择: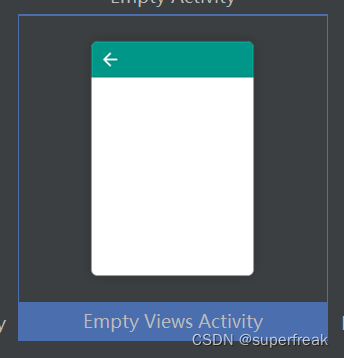 就会给你创建一个没有view的Activity,如果后来你发现需要为这个Activity添加view,就是添加一个布局文件怎么办呢?可以象我这样做,实践证明是可以成功的。
默认的时候给你创建的Activity代码如下:
package com.example.newactivitylifecycletest

import android.os.Bundle
import androidx.activity.ComponentActivity
import androidx.activity.compose.setContent
import androidx.compose.foundation.layout.fillMaxSize
import androidx.compose.material3.MaterialTheme
import androidx.compose.material3.Surface
import androidx.compose.material3.Text
import androidx.compose.runtime.Composable
import androidx.compose.ui.Modifier
import androidx.compose.ui.tooling.preview.Preview
import com.example.newactivitylifecycletest.ui.theme.NewActivityLifeCycleTestTheme

class MainActivity : ComponentActivity() {
    override fun onCreate(savedInstanceState: Bundle?) {
        super.onCreate(savedInstanceState)

        setContent {
            NewActivityLifeCycleTestTheme {
                // A surface container using the 'background' color from the theme
                Surface(
                    modifier = Modifier.fillMaxSize(),
                    color = MaterialTheme.colorScheme.background
                ) {
                    Greeting("Android")
                }
            }
        }
    }
}

@Composable
fun Greeting(name: String, modifier: Modifier = Modifier) {
    Text(
        text = "Hello $name!",
        modifier = modifier
    )
}

@Preview(showBackground = true)
@Composable
fun GreetingPreview() {
    NewActivityLifeCycleTestTheme {
        Greeting("Android")
    }
}
你会发现代码没有添加view,而是调用setContent()添加了内容,你可以把setContent()这段函数注释掉,添加 一句代码:setContentView(R.layout.activity_main),字面的意思就是设置内容的View,然后里面参数是布局的资源文件。这个布局资源文件这个时候还没有需要你去创建。
package com.example.newactivitylifecycletest

import android.os.Bundle
import androidx.activity.ComponentActivity
import androidx.activity.compose.setContent
import androidx.compose.foundation.layout.fillMaxSize
import androidx.compose.material3.MaterialTheme
import androidx.compose.material3.Surface
import androidx.compose.material3.Text
import androidx.compose.runtime.Composable
import androidx.compose.ui.Modifier
import androidx.compose.ui.tooling.preview.Preview
import com.example.newactivitylifecycletest.ui.theme.NewActivityLifeCycleTestTheme

class MainActivity : ComponentActivity() {
    override fun onCreate(savedInstanceState: Bundle?) {
        super.onCreate(savedInstanceState)
        setContentView(R.layout.activity_main)
        /*setContent {
            NewActivityLifeCycleTestTheme {
                // A surface container using the 'background' color from the theme
                Surface(
                    modifier = Modifier.fillMaxSize(),
                    color = MaterialTheme.colorScheme.background
                ) {
                    Greeting("Android")
                }
            }
        }*/
    }
}

@Composable
fun Greeting(name: String, modifier: Modifier = Modifier) {
    Text(
        text = "Hello $name!",
        modifier = modifier
    )
}

@Preview(showBackground = true)
@Composable
fun GreetingPreview() {
    NewActivityLifeCycleTestTheme {
        Greeting("Android")
    }
}
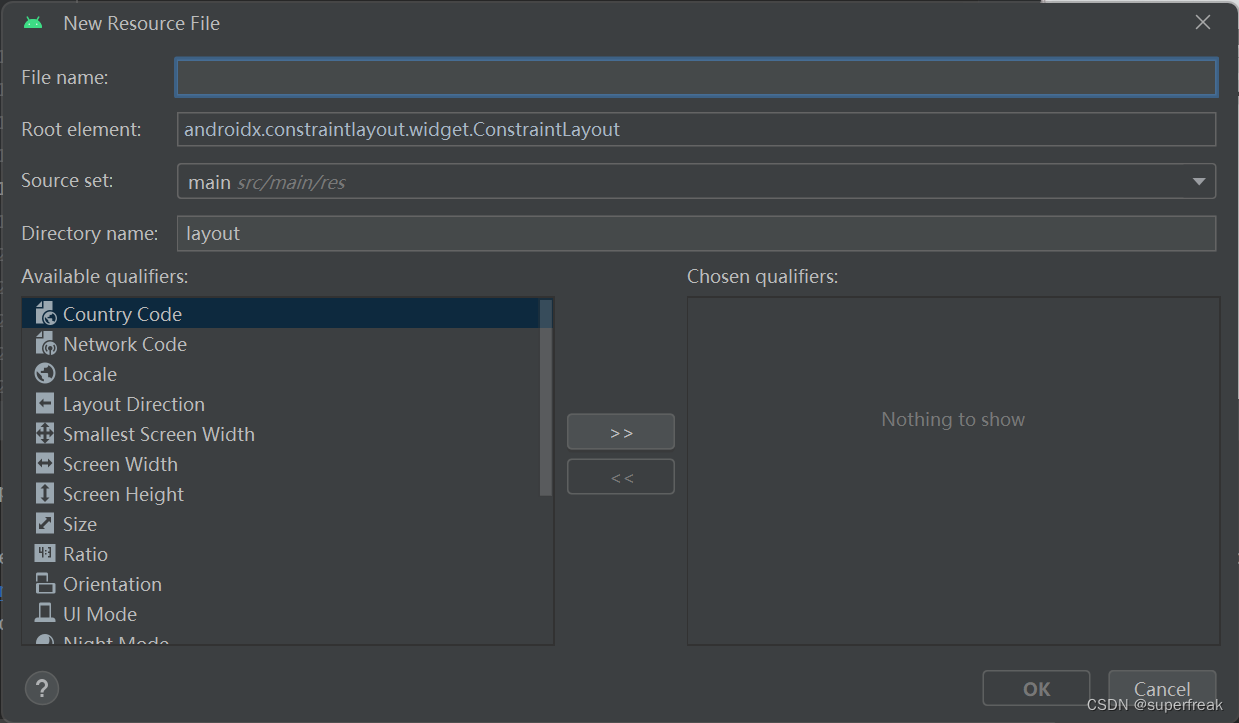
在目录res/layout中New一个layout resource file :起个名字,一般叫activity_main.xml,Root element 的那个地方有个默认的,用这个就可以。实际上初学者也不知道怎么改,我也不知道。点击OK,就创建了这个main Activity的view。你就可以修改layout文件的内容,来达到修改界面的目的。
如果按照《第一行代码》书中来说,为了出现两个上下关系的按钮,就必须用LinearLayout,还必须设置方向为vertical 垂直才行。最后的文件如下:
<?xml version="1.0" encoding="utf-8"?>
<LinearLayout xmlns:android="http://schemas.android.com/apk/res/android"
    xmlns:tools="http://schemas.android.com/tools"
    android:layout_width="match_parent"
    android:layout_height="match_parent"
    android:orientation="vertical">

    <Button
        android:id="@+id/startNormalActivity"
        android:layout_width="match_parent"
        android:layout_height="wrap_content"
        android:text="Start NormalActivity"
        tools:ignore="MissingConstraints" />
    <Button
        android:id="@+id/startDialogActivity"
        android:layout_width="match_parent"
        android:layout_height="wrap_content"
        android:text="Start DialogActivity"
        tools:ignore="MissingConstraints" />

</LinearLayout>
这个时候运行程序就出现了两个按钮。
