APIs
| 参数 | 说明 | 类型 | 默认值 | 必传 |
|---|---|---|---|---|
| width | 水印的宽度,默认值为 content 自身的宽度 | number | undefined | false |
| height | 水印的高度,默认值为 content 自身的高度 | number | undefined | false |
| rotate | 水印绘制时,旋转的角度,单位 ° | number | -22 | false |
| zIndex | 追加的水印元素的 z-index | number | 9 | false |
| image | 图片源,建议使用 2 倍或 3 倍图,优先级高于文字 | string | undefined | false |
| content | 水印文字内容 | string | string[] | ‘’ | false |
| color | 字体颜色 | string | ‘rgba(0,0,0,.15)’ | false |
| fontSize | 字体大小,单位px | number | 16 | false |
| fontWeight | 字体粗细 | ‘normal’ | ‘light’ | ‘weight’ | number | ‘normal’ | false |
| fontFamily | 字体类型 | string | ‘sans-serif’ | false |
| fontStyle | 字体样式 | ‘none’ | ‘normal’ | ‘italic’ | ‘oblique’ | ‘normal’ | false |
| gap | 水印之间的间距 | [number, number] | [100, 100] | false |
| offset | 水印距离容器左上角的偏移量,默认为 gap/2 | [number, number] | [50, 50] | false |
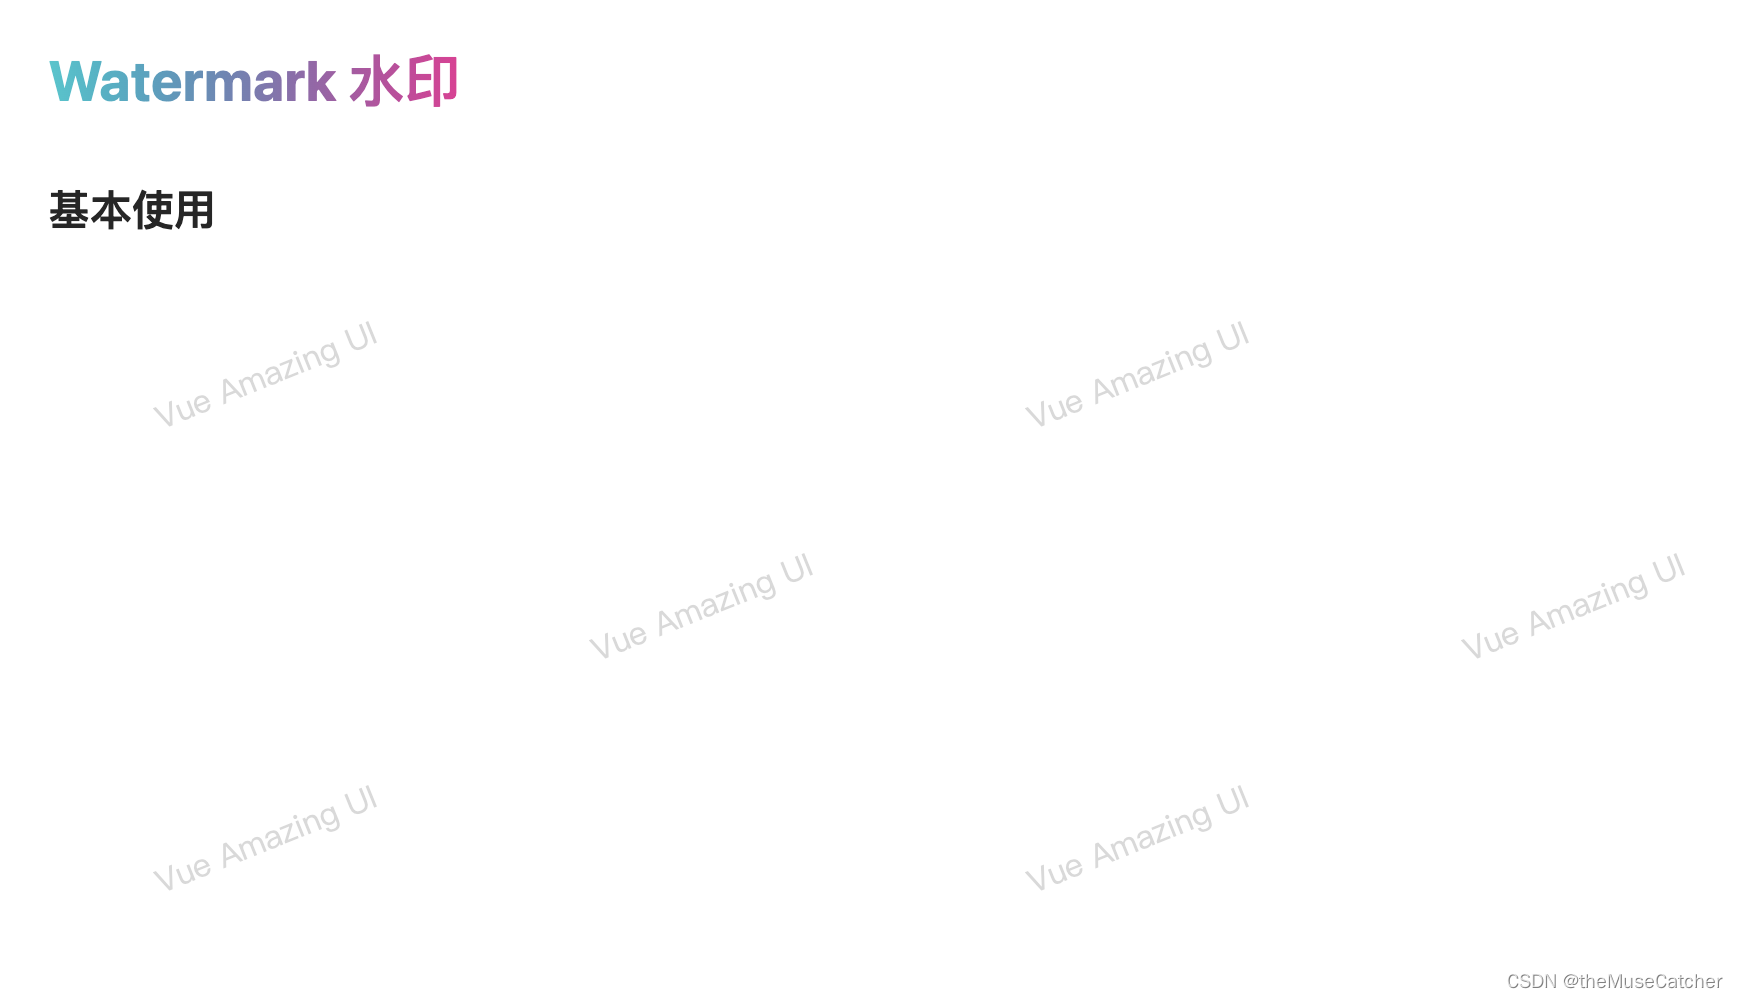
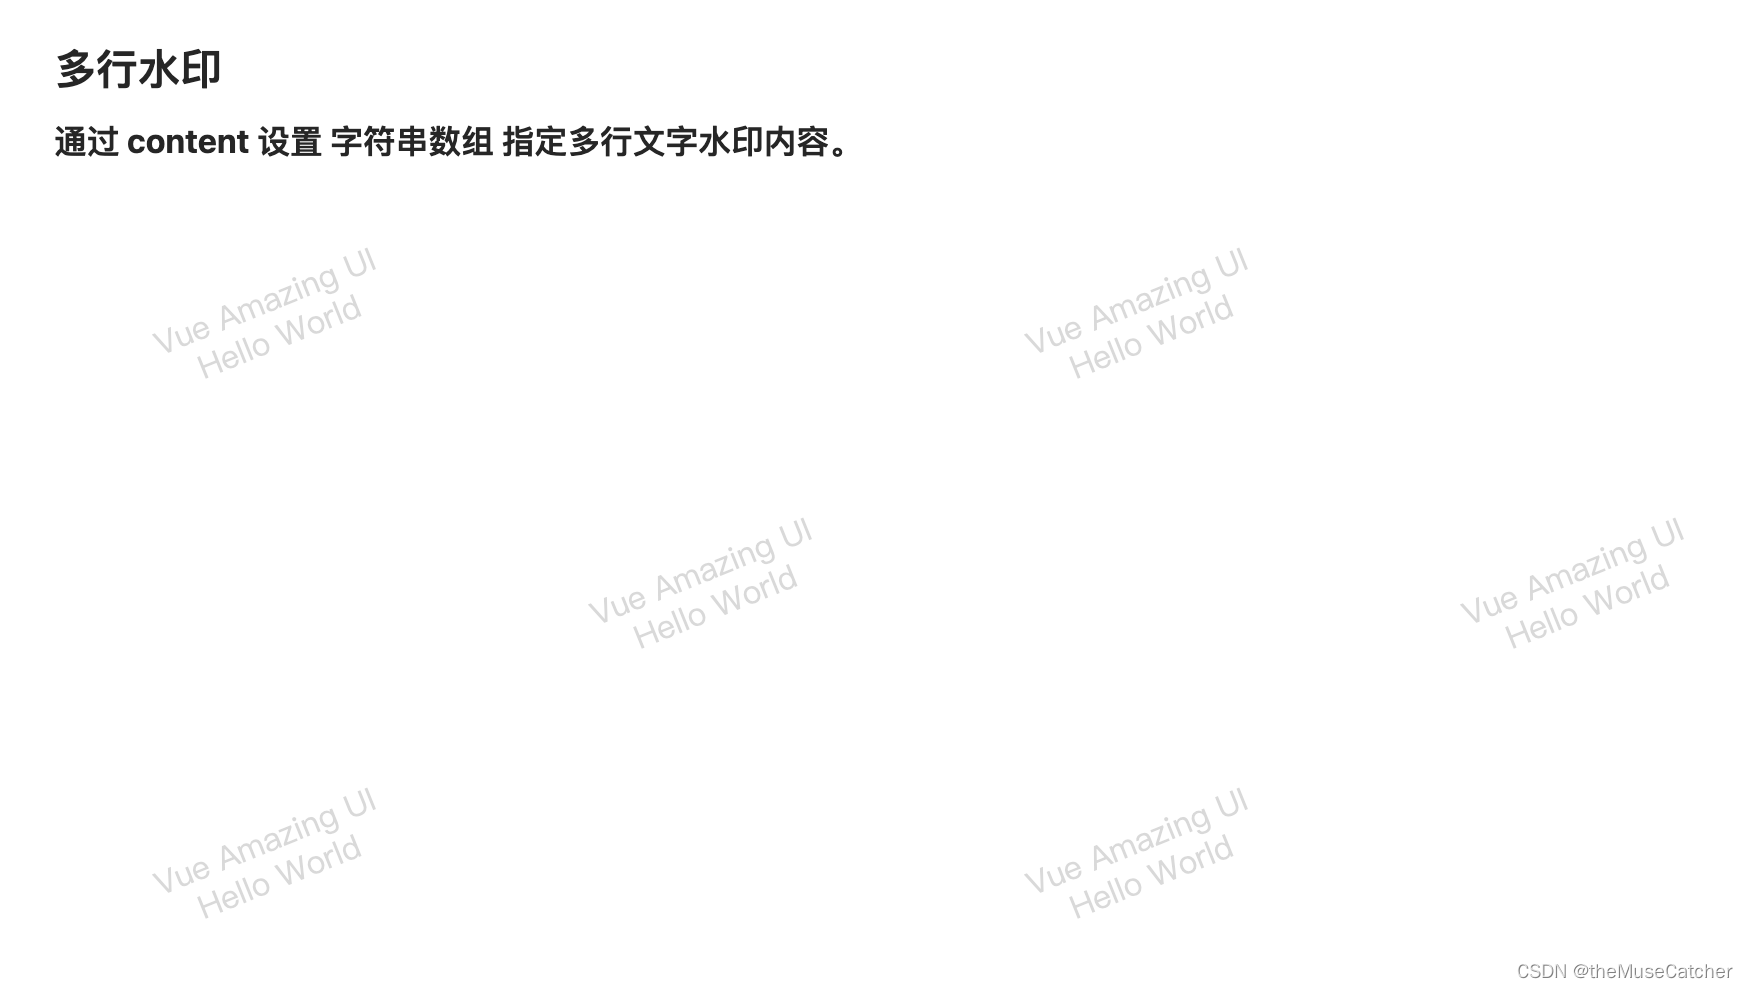
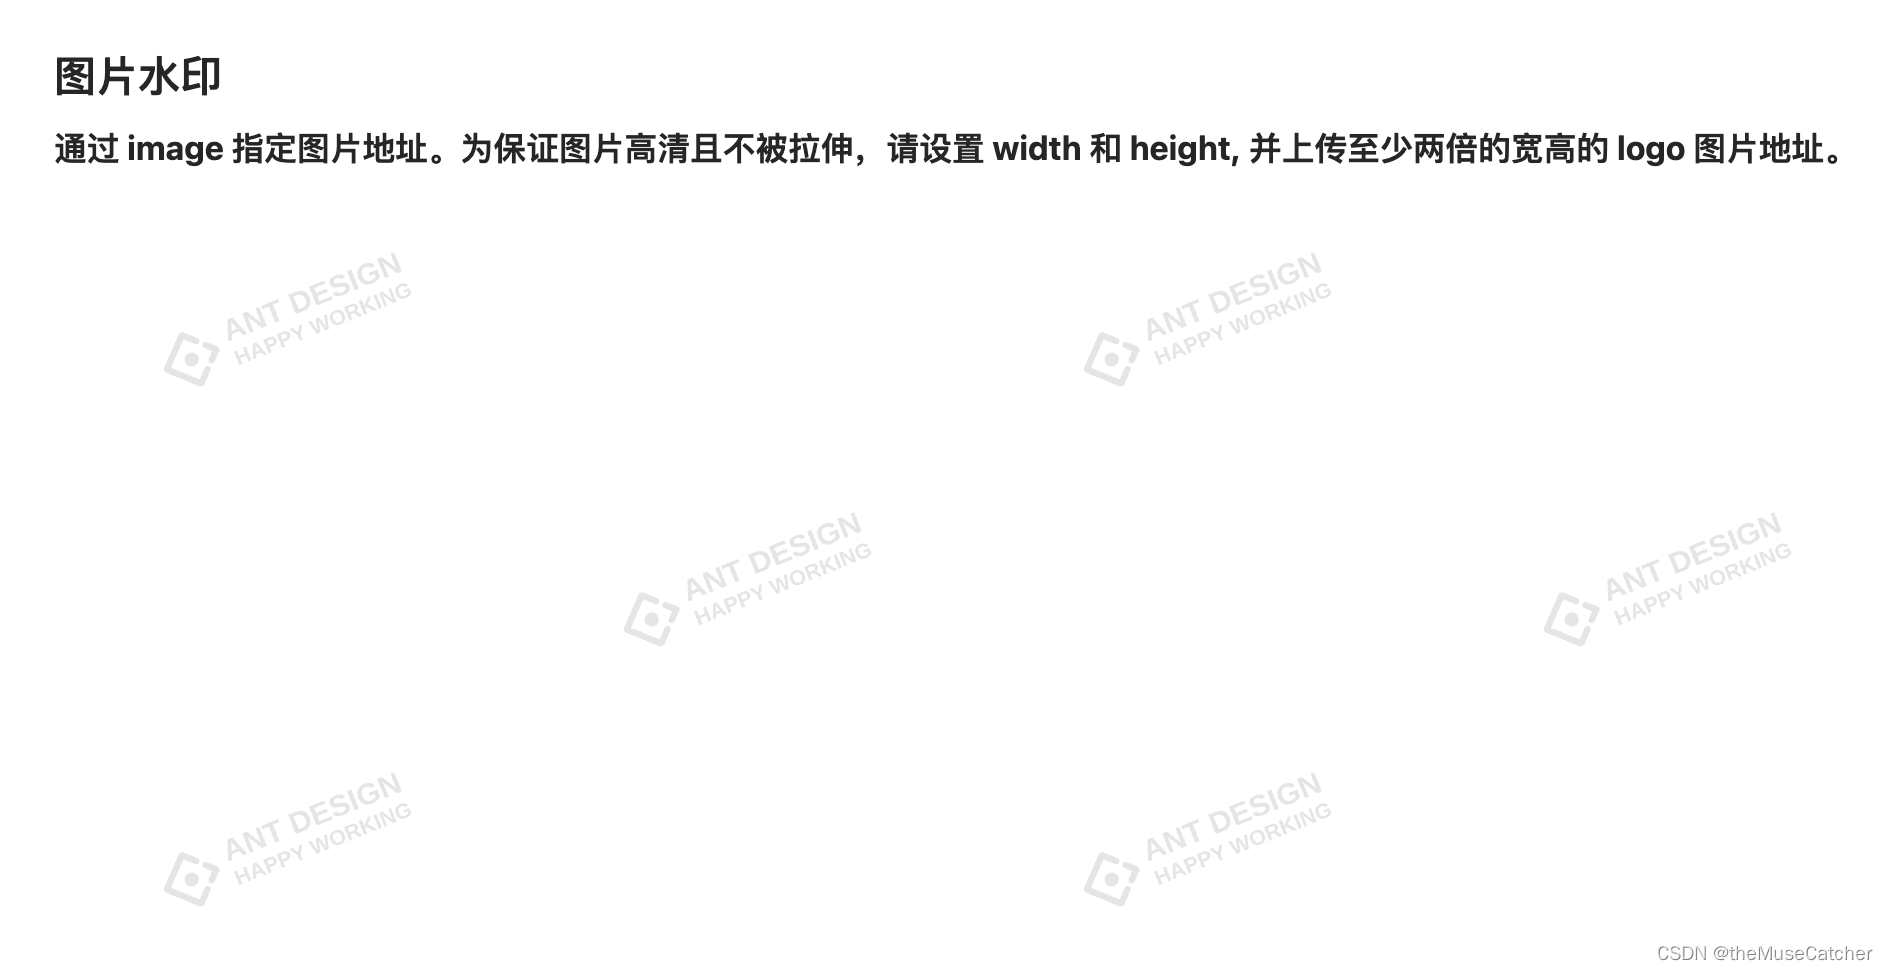
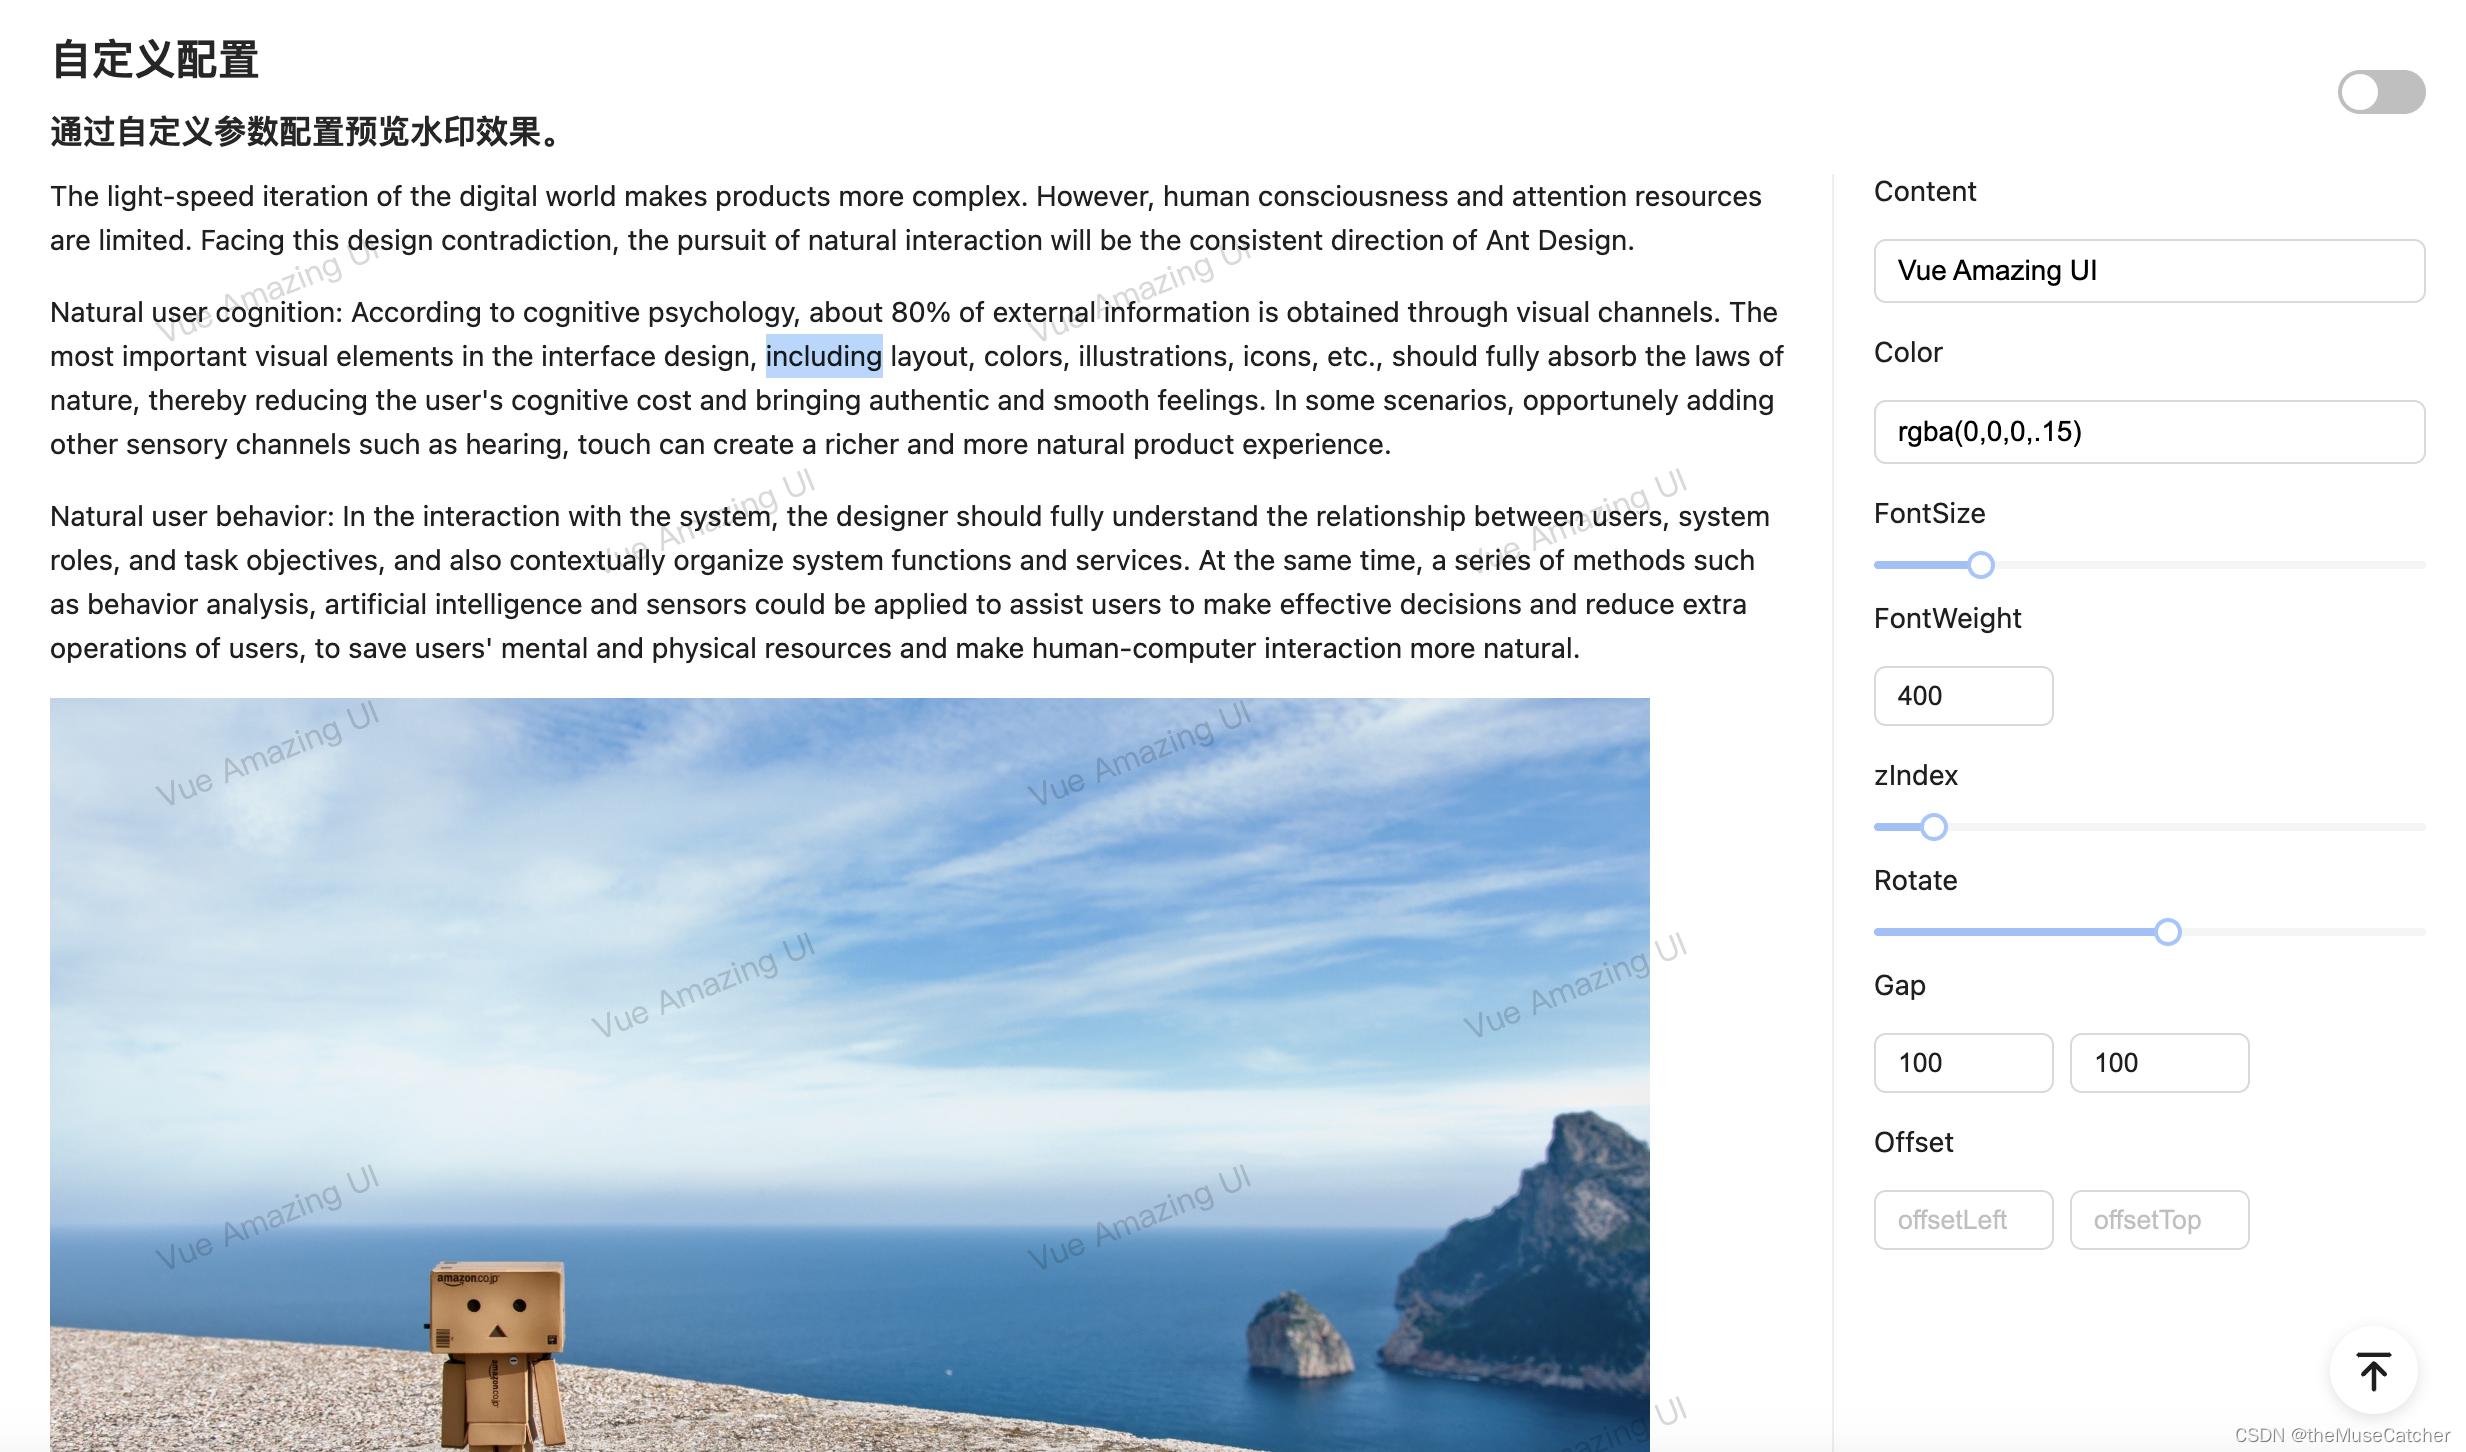
效果如下图:在线预览
创建水印组件Watermark.vue
<script setup lang="ts">
import {
  unref,
  shallowRef,
  computed,
  watch,
  onMounted,
  onBeforeUnmount,
  nextTick,
  getCurrentInstance,
  getCurrentScope,
  onScopeDispose
} from 'vue'
import type { CSSProperties } from 'vue'
interface Props {
  width?: number // 水印的宽度,默认值为 content 自身的宽度
  height?: number // 水印的高度,默认值为 content 自身的高度
  rotate?: number // 水印绘制时,旋转的角度,单位 °
  zIndex?: number // 追加的水印元素的 z-index
  image?: string // 图片源,建议使用 2 倍或 3 倍图,优先级高于文字
  content?: string|string[] // 水印文字内容
  color?: string // 字体颜色
  fontSize?: number // 字体大小
  fontWeight?: 'normal'|'light'|'weight'|number // 	字体粗细
  fontFamily?: string // 字体类型
  fontStyle?: 'none'|'normal'|'italic'|'oblique' // 字体样式
  gap?: [number, number] // 水印之间的间距
  offset?: [number, number] // 水印距离容器左上角的偏移量,默认为 gap/2
}
const props = withDefaults(defineProps<Props>(), {
  width: undefined,
  height: undefined,
  rotate: -22,
  zIndex: 9,
  image: undefined,
  content: '',
  color: 'rgba(0,0,0,.15)',
  fontSize: 16,
  fontWeight: 'normal',
  fontFamily: 'sans-serif',
  fontStyle: 'normal',
  gap: () => [100, 100],
  offset: () => [50, 50]
})
/**
 * Base size of the canvas, 1 for parallel layout and 2 for alternate layout
 * Only alternate layout is currently supported
 */
const BaseSize = 2
const FontGap = 3
// 和 ref() 不同,浅层 ref 的内部值将会原样存储和暴露,并且不会被深层递归地转为响应式。只有对 .value 的访问是响应式的。
const containerRef = shallowRef() // ref() 的浅层作用形式
const watermarkRef = shallowRef()
const stopObservation = shallowRef(false)
const gapX = computed(() => props.gap?.[0] ?? 100)
const gapY = computed(() => props.gap?.[1] ?? 100)
const gapXCenter = computed(() => gapX.value / 2)
const gapYCenter = computed(() => gapY.value / 2)
const offsetLeft = computed(() => props.offset?.[0] ?? gapXCenter.value)
const offsetTop = computed(() => props.offset?.[1] ?? gapYCenter.value)
const markStyle = computed(() => {
  const markStyle: CSSProperties = {
    zIndex: props.zIndex ?? 9,
    position: 'absolute',
    left: 0,
    top: 0,
    width: '100%',
    height: '100%',
    pointerEvents: 'none',
    backgroundRepeat: 'repeat'
  }
  /** Calculate the style of the offset */
  let positionLeft = offsetLeft.value - gapXCenter.value
  let positionTop = offsetTop.value - gapYCenter.value
  if (positionLeft > 0) {
    markStyle.left = `${positionLeft}px`
    markStyle.width = `calc(100% - ${positionLeft}px)`
    positionLeft = 0
  }
  if (positionTop > 0) {
    markStyle.top = `${positionTop}px`
    markStyle.height = `calc(100% - ${positionTop}px)`
    positionTop = 0
  }
  markStyle.backgroundPosition = `${positionLeft}px ${positionTop}px`

  return markStyle
})
const destroyWatermark = () => {
  if (watermarkRef.value) {
    watermarkRef.value.remove()
    watermarkRef.value = undefined
  }
}
const appendWatermark = (base64Url: string, markWidth: number) => {
  if (containerRef.value && watermarkRef.value) {
    stopObservation.value = true
    watermarkRef.value.setAttribute(
      'style',
      getStyleStr({
        ...markStyle.value,
        backgroundImage: `url('${base64Url}')`,
        backgroundSize: `${(gapX.value + markWidth) * BaseSize}px`
      })
    )
    containerRef.value?.append(watermarkRef.value)
    // Delayed execution
    setTimeout(() => {
      stopObservation.value = false
    })
  }
}
// converting camel-cased strings to be lowercase and link it with Separato
function toLowercaseSeparator(key: string) {
  return key.replace(/([A-Z])/g, '-$1').toLowerCase()
}
function getStyleStr(style: CSSProperties): string {
  return Object.keys(style)
    .map((key: any) => `${toLowercaseSeparator(key)}: ${style[key]};`)
    .join(' ')
}
/*
  Get the width and height of the watermark. The default values are as follows
  Image: [120, 64]; Content: It's calculated by content
*/
const getMarkSize = (ctx: CanvasRenderingContext2D) => {
  let defaultWidth = 120
  let defaultHeight = 64
  const content = props.content
  const image = props.image
  const width = props.width
  const height = props.height
  const fontSize = props.fontSize
  const fontFamily = props.fontFamily
  if (!image && ctx.measureText) {
    ctx.font = `${Number(fontSize)}px ${fontFamily}`
    const contents = Array.isArray(content) ? content : [content]
    const widths = contents.map(item => ctx.measureText(item!).width)
    defaultWidth = Math.ceil(Math.max(...widths))
    defaultHeight = Number(fontSize) * contents.length + (contents.length - 1) * FontGap
  }
  return [width ?? defaultWidth, height ?? defaultHeight] as const
}
// Returns the ratio of the device's physical pixel resolution to the css pixel resolution
function getPixelRatio () {
  return window.devicePixelRatio || 1
}
const fillTexts = (
  ctx: CanvasRenderingContext2D,
  drawX: number,
  drawY: number,
  drawWidth: number,
  drawHeight: number,
) => {
  const ratio = getPixelRatio()
  const content = props.content
  const fontSize = props.fontSize
  const fontWeight = props.fontWeight
  const fontFamily = props.fontFamily
  const fontStyle = props.fontStyle
  const color = props.color
  const mergedFontSize = Number(fontSize) * ratio
  ctx.font = `${fontStyle} normal ${fontWeight} ${mergedFontSize}px/${drawHeight}px ${fontFamily}`
  ctx.fillStyle = color
  ctx.textAlign = 'center'
  ctx.textBaseline = 'top'
  ctx.translate(drawWidth / 2, 0)
  const contents = Array.isArray(content) ? content : [content]
  contents?.forEach((item, index) => {
    ctx.fillText(item ?? '', drawX, drawY + index * (mergedFontSize + FontGap * ratio))
  })
}
const renderWatermark = () => {
  const canvas = document.createElement('canvas')
  const ctx = canvas.getContext('2d')
  const image = props.image
  const rotate = props.rotate ?? -22

  if (ctx) {
    if (!watermarkRef.value) {
      watermarkRef.value = document.createElement('div')
    }

    const ratio = getPixelRatio()
    const [markWidth, markHeight] = getMarkSize(ctx)
    const canvasWidth = (gapX.value + markWidth) * ratio
    const canvasHeight = (gapY.value + markHeight) * ratio
    canvas.setAttribute('width', `${canvasWidth * BaseSize}px`)
    canvas.setAttribute('height', `${canvasHeight * BaseSize}px`)

    const drawX = (gapX.value * ratio) / 2
    const drawY = (gapY.value * ratio) / 2
    const drawWidth = markWidth * ratio
    const drawHeight = markHeight * ratio
    const rotateX = (drawWidth + gapX.value * ratio) / 2
    const rotateY = (drawHeight + gapY.value * ratio) / 2
    /** Alternate drawing parameters */
    const alternateDrawX = drawX + canvasWidth
    const alternateDrawY = drawY + canvasHeight
    const alternateRotateX = rotateX + canvasWidth
    const alternateRotateY = rotateY + canvasHeight

    ctx.save()
    rotateWatermark(ctx, rotateX, rotateY, rotate)

    if (image) {
      const img = new Image()
      img.onload = () => {
        ctx.drawImage(img, drawX, drawY, drawWidth, drawHeight)
        /** Draw interleaved pictures after rotation */
        ctx.restore()
        rotateWatermark(ctx, alternateRotateX, alternateRotateY, rotate)
        ctx.drawImage(img, alternateDrawX, alternateDrawY, drawWidth, drawHeight)
        appendWatermark(canvas.toDataURL(), markWidth)
      }
      img.crossOrigin = 'anonymous'
      img.referrerPolicy = 'no-referrer'
      img.src = image
    } else {
      fillTexts(ctx, drawX, drawY, drawWidth, drawHeight)
      /** Fill the interleaved text after rotation */
      ctx.restore()
      rotateWatermark(ctx, alternateRotateX, alternateRotateY, rotate)
      fillTexts(ctx, alternateDrawX, alternateDrawY, drawWidth, drawHeight)
      appendWatermark(canvas.toDataURL(), markWidth)
    }
  }
}
// Rotate with the watermark as the center point
function rotateWatermark(
  ctx: CanvasRenderingContext2D,
  rotateX: number,
  rotateY: number,
  rotate: number
) {
  ctx.translate(rotateX, rotateY)
  ctx.rotate((Math.PI / 180) * Number(rotate))
  ctx.translate(-rotateX, -rotateY)
}
onMounted(() => {
  renderWatermark()
})
watch(
  () => [props],
  () => {
    renderWatermark()
  },
  {
    deep: true, // 强制转成深层侦听器
    flush: 'post' // 在侦听器回调中访问被 Vue 更新之后的 DOM
  },
)
onBeforeUnmount(() => {
  destroyWatermark()
})
// Whether to re-render the watermark
const reRendering = (mutation: MutationRecord, watermarkElement?: HTMLElement) => {
  let flag = false
  // Whether to delete the watermark node
  if (mutation.removedNodes.length) {
    flag = Array.from(mutation.removedNodes).some(node => node === watermarkElement)
  }
  // Whether the watermark dom property value has been modified
  if (mutation.type === 'attributes' && mutation.target === watermarkElement) {
    flag = true
  }
  return flag
}
const onMutate = (mutations: MutationRecord[]) => {
  if (stopObservation.value) {
    return
  }
  mutations.forEach(mutation => {
    if (reRendering(mutation, watermarkRef.value)) {
      destroyWatermark()
      renderWatermark()
    }
  })
}
const defaultWindow = typeof window !== 'undefined' ? window : undefined
type Fn = () => void
function tryOnMounted(fn: Fn, sync = true) {
  if (getCurrentInstance()) onMounted(fn)
  else if (sync) fn()
  else nextTick(fn)
}
function useSupported(callback: () => unknown, sync = false) {
  const isSupported = shallowRef<boolean>()
  const update = () => (isSupported.value = Boolean(callback()))
  update()
  tryOnMounted(update, sync)
  return isSupported
}
function useMutationObserver(
  target: any,
  callback: MutationCallback,
  options: any,
) {
  const { window = defaultWindow, ...mutationOptions } = options
  let observer: MutationObserver | undefined
  const isSupported = useSupported(() => window && 'MutationObserver' in window)

  const cleanup = () => {
    if (observer) {
      observer.disconnect()
      observer = undefined
    }
  }

  const stopWatch = watch(
    () => unref(target),
    el => {
      cleanup()

      if (isSupported.value && window && el) {
        observer = new MutationObserver(callback)
        observer!.observe(el, mutationOptions)
      }
    },
    { immediate: true }
  )

  const stop = () => {
    cleanup()
    stopWatch()
  }

  tryOnScopeDispose(stop)

  return {
    isSupported,
    stop
  }
}
function tryOnScopeDispose(fn: Fn) {
  if (getCurrentScope()) {
    onScopeDispose(fn)
    return true
  }
  return false
}
useMutationObserver(containerRef, onMutate, {
  attributes: true // 观察所有监听的节点属性值的变化
})
</script>
<template>
  <div ref="containerRef" style="position: relative;">
    <slot></slot>
  </div>
</template>
在要使用的页面引入
<script setup lang="ts">
import Watermark from './Watermark.vue'
import { reactive } from 'vue'
const model = reactive({
content: 'Vue Amazing UI',
color: 'rgba(0,0,0,.15)',
fontSize: 16,
fontWeight: 400,
zIndex: 9,
rotate: -22,
gap: [100, 100] as [number, number],
offset: []
})
</script>
<template>
<div>
<h1>Watermark 水印</h1>
<h2 class="mt30 mb10">基本使用</h2>
<Watermark content="Vue Amazing UI">
<div style="height: 360px" />
</Watermark>
<h2 class="mt30 mb10">多行水印</h2>
<h3 class="mb10">通过 content 设置 字符串数组 指定多行文字水印内容。</h3>
<Watermark :content="['Vue Amazing UI', 'Hello World']">
<div style="height: 400px" />
</Watermark>
<h2 class="mt30 mb10">图片水印</h2>
<h3 class="mb10">通过 image 指定图片地址。为保证图片高清且不被拉伸,请设置 width 和 height, 并上传至少两倍的宽高的 logo 图片地址。</h3>
<Watermark
:height="30"
:width="130"
image="https://mdn.alipayobjects.com/huamei_7uahnr/afts/img/A*lkAoRbywo0oAAAAAAAAAAAAADrJ8AQ/original">
<div style="height: 360px" />
</Watermark>
<h2 class="mt30 mb10">自定义配置</h2>
<h3 class="mb10">通过自定义参数配置预览水印效果。</h3>
<Flex>
<Watermark v-bind="model">
<p class="u-paragraph">
The light-speed iteration of the digital world makes products more complex. However, human
consciousness and attention resources are limited. Facing this design contradiction, the
pursuit of natural interaction will be the consistent direction of Ant Design.
</p>
<p class="u-paragraph">
Natural user cognition: According to cognitive psychology, about 80% of external
information is obtained through visual channels. The most important visual elements in the
interface design, including layout, colors, illustrations, icons, etc., should fully
absorb the laws of nature, thereby reducing the user's cognitive cost and bringing
authentic and smooth feelings. In some scenarios, opportunely adding other sensory
channels such as hearing, touch can create a richer and more natural product experience.
</p>
<p class="u-paragraph">
Natural user behavior: In the interaction with the system, the designer should fully
understand the relationship between users, system roles, and task objectives, and also
contextually organize system functions and services. At the same time, a series of methods
such as behavior analysis, artificial intelligence and sensors could be applied to assist
users to make effective decisions and reduce extra operations of users, to save
users' mental and physical resources and make human-computer interaction more
natural.
</p>
<img
style=" position: relative; z-index: 1; width: 100%; max-width: 800px;"
src="https://cdn.jsdelivr.net/gh/themusecatcher/resources@0.0.3/6.jpg"
alt="示例图片"
/>
</Watermark>
<Flex
style="
width: 25%;
flex-shrink: 0;
border-left: 1px solid #eee;
padding-left: 20px;
margin-left: 20px;
"
vertical
gap="middle"
>
<p>Content</p>
<Input v-model:value="model.content" />
<p>Color</p>
<Input v-model:value="model.color" />
<p>FontSize</p>
<Slider v-model:value="model.fontSize" :step="1" :min="0" :max="100" />
<p>FontWeight</p>
<InputNumber v-model:value="model.fontWeight" :step="100" :min="100" :max="1000" />
<p>zIndex</p>
<Slider v-model:value="model.zIndex" :step="1" :min="0" :max="100" />
<p>Rotate</p>
<Slider v-model:value="model.rotate" :step="1" :min="-180" :max="180" />
<p>Gap</p>
<Space style="display: flex" align="baseline">
<InputNumber v-model:value="model.gap[0]" placeholder="gapX" />
<InputNumber v-model:value="model.gap[1]" placeholder="gapY" />
</Space>
<p>Offset</p>
<Space style="display: flex" align="baseline">
<InputNumber v-model:value="model.offset[0]" placeholder="offsetLeft" />
<InputNumber v-model:value="model.offset[1]" placeholder="offsetTop" />
</Space>
</Flex>
</Flex>
</div>
</template>
<style>
.u-paragraph {
margin-bottom: 1em;
color: rgba(0, 0, 0, .88);
word-break: break-word;
line-height: 1.5714285714285714;
}
</style>

