概述
基于深度学习的人脸表情识别,数据集采用公开数据集fer2013,可直接运行,效果良好,可根据需求修改训练代码,自己训练模型。
详细
一、概述
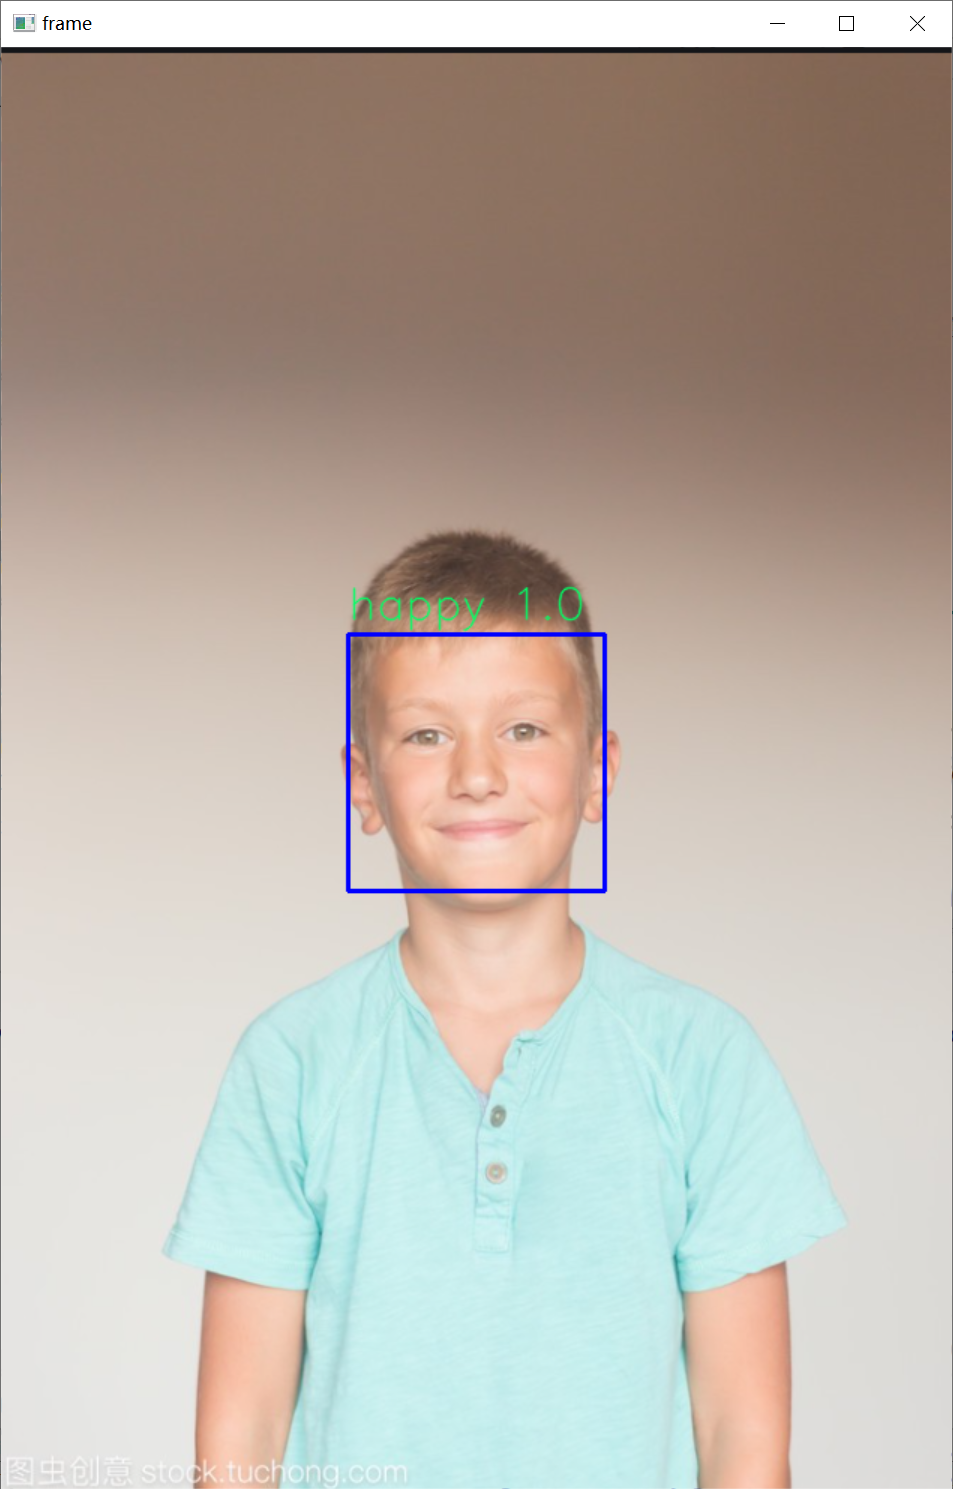
本项目以PyTorch为框架,搭建卷积神经网络模型,训练后可直接调用py文件进行人脸检测与表情识别,默认开启摄像头实时检测识别。效果良好,可根据个人需求加以修改。
二、演示效果:
三、实现过程
1. 搭建网络
def __init__(self):
    super(FaceCNN, self).__init__()

    # 第一次卷积、池化
    self.conv1 = nn.Sequential(
        nn.Conv2d(in_channels=1, out_channels=64, kernel_size=3, stride=1, padding=1),  # 卷积层
        # BatchNorm2d进行数据的归一化处理,这使得数据在进行Relu之前不会因为数据过大而导致网络性能的不稳定
        nn.BatchNorm2d(num_features=64),  # 归一化
        nn.RReLU(inplace=True),  # 激活函数
        nn.MaxPool2d(kernel_size=2, stride=2),  # 最大值池化
    )

    # 第二次卷积、池化
    self.conv2 = nn.Sequential(
        nn.Conv2d(in_channels=64, out_channels=128, kernel_size=3, stride=1, padding=1),
        nn.BatchNorm2d(num_features=128),
        nn.RReLU(inplace=True),
        nn.MaxPool2d(kernel_size=2, stride=2),
    )

    # 第三次卷积、池化
    self.conv3 = nn.Sequential(
        nn.Conv2d(in_channels=128, out_channels=256, kernel_size=3, stride=1, padding=1),
        nn.BatchNorm2d(num_features=256),
        nn.RReLU(inplace=True),
        nn.MaxPool2d(kernel_size=2, stride=2),
    )

    # 参数初始化
    self.conv1.apply(gaussian_weights_init)
    self.conv2.apply(gaussian_weights_init)
    self.conv3.apply(gaussian_weights_init)

    # 全连接层
    self.fc = nn.Sequential(
        nn.Dropout(p=0.2),
        nn.Linear(in_features=256 * 6 * 6, out_features=4096),
        nn.RReLU(inplace=True),
        nn.Dropout(p=0.5),
        nn.Linear(in_features=4096, out_features=1024),
        nn.RReLU(inplace=True),
        nn.Linear(in_features=1024, out_features=256),
        nn.RReLU(inplace=True),
        nn.Linear(in_features=256, out_features=7),
    )
2. 训练模型
# 载入数据并分割batch
train_loader = data.DataLoader(train_dataset, batch_size)
# 损失函数
loss_function = nn.CrossEntropyLoss()
# 学习率衰减
# scheduler = optim.lr_scheduler.StepLR(optimizer, step_size=10, gamma=0.8)
device = "cuda" if torch.cuda.is_available() else 'cpu'
# 构建模型
model = FaceCNN().to(device)
# 优化器
optimizer = optim.SGD(model.parameters(), lr=learning_rate, weight_decay=wt_decay)
# 逐轮训练
for epoch in range(epochs):
    if (epoch + 1) % 10 == 0:
        learning_rate = learning_rate * 0.1
    # 记录损失值
    loss_rate = 0
    # scheduler.step() # 学习率衰减
    model.train()  # 模型训练
    for images, labels in train_loader:
        images, labels = images.to(device), labels.to(device)
        # 梯度清零
        optimizer.zero_grad()
        # 前向传播
        output = model.forward(images)
        # 误差计算
        loss_rate = loss_function(output, labels)
        # 误差的反向传播
        loss_rate.backward()
        # 更新参数
        optimizer.step()
3. 模型预测
with torch.no_grad():
    pred = model(face)
    probability = torch.nn.functional.softmax(pred, dim=1)
    probability = np.round(probability.cpu().detach().numpy(), 3)
    max_prob = np.max(probability)
    # print(max_prob)
    predicted = classes[torch.argmax(pred[0])]
    cv2.putText(img, predicted + " " + str(max_prob), (x, y - 10), cv2.FONT_HERSHEY_SIMPLEX, 1, (100, 255, 0), 1, cv2.LINE_AA)
cv2.imshow('frame', img)
