- 学之思系统介绍
- 部署java环境
- 安装maven
- 安装node.js前端打包工具命令npm
- Git命令获取源代码
- 安装配置mysql
- 前端打包
- 打包jar包
- 服务上线
- !!!打jar包失败的解决方法
学之思系统介绍
学之思开源考试系统是一款 java + vue 的前后端不分离的考试系统。主要优点是开发、部署简单快捷、界面设计友好、代码结构清晰。支持web端和微信小程序,能覆盖到pc机和手机等设备。 支持多种部署方式:集成部署、前后端分离部署、docker部署。
部署java环境
#准备环境
yum -y install vim wget lrzsz
#上传jdk包
#解压安装到指定目录
[root@localhost ~]# tar -xf jdk-8u211-linux-x64.tar.gz  -C /usr/local
[root@localhost ~]# mv /usr/local/jdk1.8.0_211/  /usr/local/java
#修改系统环境变量
[root@localhost ~]# vim /etc/profile
JAVA_HOME=/usr/local/java
PATH=$JAVA_HOME/bin:$PATH
#重新加载环境变量
[root@localhost ~]# source /etc/profile
#查看java环境是否配置成功
[root@localhost ~]# java -version
java version "1.8.0_211"
Java(TM) SE Runtime Environment (build 1.8.0_211-b12)
Java HotSpot(TM) 64-Bit Server VM (build 25.211-b12, mixed mode)
安装maven
#下载maven的安装包
[root@localhost ~]# wget https://mirrors.tuna.tsinghua.edu.cn/apache/maven/maven-3/3.8.8/binaries/apache-maven-3.8.8-bin.tar.gz --no-check-certificate
#安装
[root@localhost ~]# tar -xf  apache-maven-3.8.8-bin.tar.gz  -C /usr/local
#配置系统变量
[root@localhost ~]# vim /etc/profile
MAVEN_HOME=/usr/local/maven
PATH=$PATH:$MAVEN_HOME/bin
#重新加载环境变量
[root@localhost ~]# source /etc/profile
#查看maven的版本
[root@localhost ~]# mvn -version
Apache Maven 3.8.8 (4c87b05d9aedce574290d1acc98575ed5eb6cd39)
Maven home: /usr/local/maven
Java version: 1.8.0_211, vendor: Oracle Corporation, runtime: /usr/local/java/jre
Default locale: en_US, platform encoding: UTF-8
OS name: "linux", version: "3.10.0-1160.el7.x86_64", arch: "amd64", family: "unix"
安装node.js前端打包工具命令npm
# 下载node安装包
[root@localhost ~]# wget https://nodejs.org/download/release/latest-v16.x/node-v16.20.2-linux-x64.tar.xz
#安装改名
[root@localhost ~]# tar -xf node-v16.20.2-linux-x64.tar.xz  -C /usr/local/
[root@localhost ~]# mv /usr/local/node-v16.20.2-linux-x64/ /usr/local/node
#配置环境变量
[root@localhost ~]# vim /etc/profile
NODE_HOME=/usr/local/node
PATH=$NODE_HOME/bin:$PATH
[root@localhost ~]# source /etc/profile
#查看node版本
[root@localhost ~]# node --version
v16.20.2
Git命令获取源代码
[root@web-nginx ~]# yum install -y git
[root@web-nginx ~]# git clone https://gitee.com/hyunze/xzs-mysql.git
安装配置mysql
#安装MySQL,修改密码
[root@localhost ~]# yum -y install mysql-server
[root@localhost ~]# systemctl start mysqld
[root@localhost ~]# grep pass /var/log/mysqld.log
2023-11-04T06:40:58.561457Z 1 [Note] A temporary password is generated for root@localhost: b/psllu>P0pd
[root@localhost ~]# mysqladmin -uroot -p'b/psllu>P0pd' password 'Qianfeng@123'

[root@localhost ~]# mysql -pQianfeng@123
mysql: [Warning] Using a password on the command line interface can be insecure.
Welcome to the MySQL monitor.  Commands end with ; or \g.
Your MySQL connection id is 3
Server version: 5.7.42 MySQL Community Server (GPL)

Copyright (c) 2000, 2023, Oracle and/or its affiliates.

Oracle is a registered trademark of Oracle Corporation and/or its
affiliates. Other names may be trademarks of their respective
owners.

Type 'help;' or '\h' for help. Type '\c' to clear the current input statement.
# 创建数据库xzs
mysql> create database xzs character set utf8 collate  utf8_general_ci;
Query OK, 1 row affected (0.00 sec)
#设置root允许远程登录
mysql> update mysql.user set host = '%' where user = 'root';
Query OK, 1 row affected (0.01 sec)
Rows matched: 1  Changed: 1  Warnings: 0

mysql> flush privileges;
Query OK, 0 rows affected (0.00 sec)

mysql> \q
Bye
#修改数据库信息
[root@web-nginx ~]# vim xzs-mysql/source/xzs/src/main/resources/application-prod.yml
logging:
  path: /usr/log/xzs/

spring:
  datasource:
    url: jdbc:mysql://192.168.1.101:3306/xzs?useSSL=false&useUnicode=true&serverTimezone=Asia/Shanghai&characterEncoding=utf8&zeroDateTimeBehavior=convertToNull&allowPublicKeyRetrieval=true&allowMultiQueries=true
    username: root
    password: QianFeng@123!
    driver-class-name: com.mysql.cj.jdbc.Driver

# 导入初始化sql
[root@web-nginx ~]# mysql -uroot -p'QianFeng@123!' xzs < xzs-mysql/sql/xzs-mysql.sql
前端打包
#学生端
[root@web-nginx ~]# cd xzs-mysql/source/vue/xzs-student/
[root@web-nginx xzs-student]# npm config set sass_binary_site https://npm.taobao.org/mirrors/node-sass/
[root@web-nginx xzs-student]# npm install --registry https://registry.npm.taobao.org
[root@web-nginx xzs-student]# npm run build
[root@web-nginx xzs-student]# cp -r student xzs-mysql/source/xzs/src/main/resources/static


#管理端
[root@web-nginx ~]# cd xzs-mysql/source/vue/xzs-admin/
[root@web-nginx xzs-admin]# npm config set sass_binary_site https://npm.taobao.org/mirrors/node-sass/
[root@web-nginx xzs-admin]# npm install --registry https://registry.npm.taobao.org
[root@web-nginx xzs-admin]# npm run build
[root@web-nginx xzs-admin]# cp -r admin xzs-mysql/source/xzs/src/main/resources/static
打包jar包
[root@web-nginx ~]# cd xzs-mysql/source/xzs
[root@web-nginx xzs]# mvn package
服务上线
[root@web-nginx ~]# mkdir -p /application/java-server
[root@web-nginx ~]# cp xzs-mysql/source/xzs/target/xzs-3.9.0.jar /application/java-server
[root@web-nginx ~]# cd /application/java-server
[root@web-nginx java-server]# nohup java -Duser.timezone=Asia/Shanghai -jar -Dspring.profiles.active=prod  xzs-3.9.0.jar  > start1.log  2>&1 &
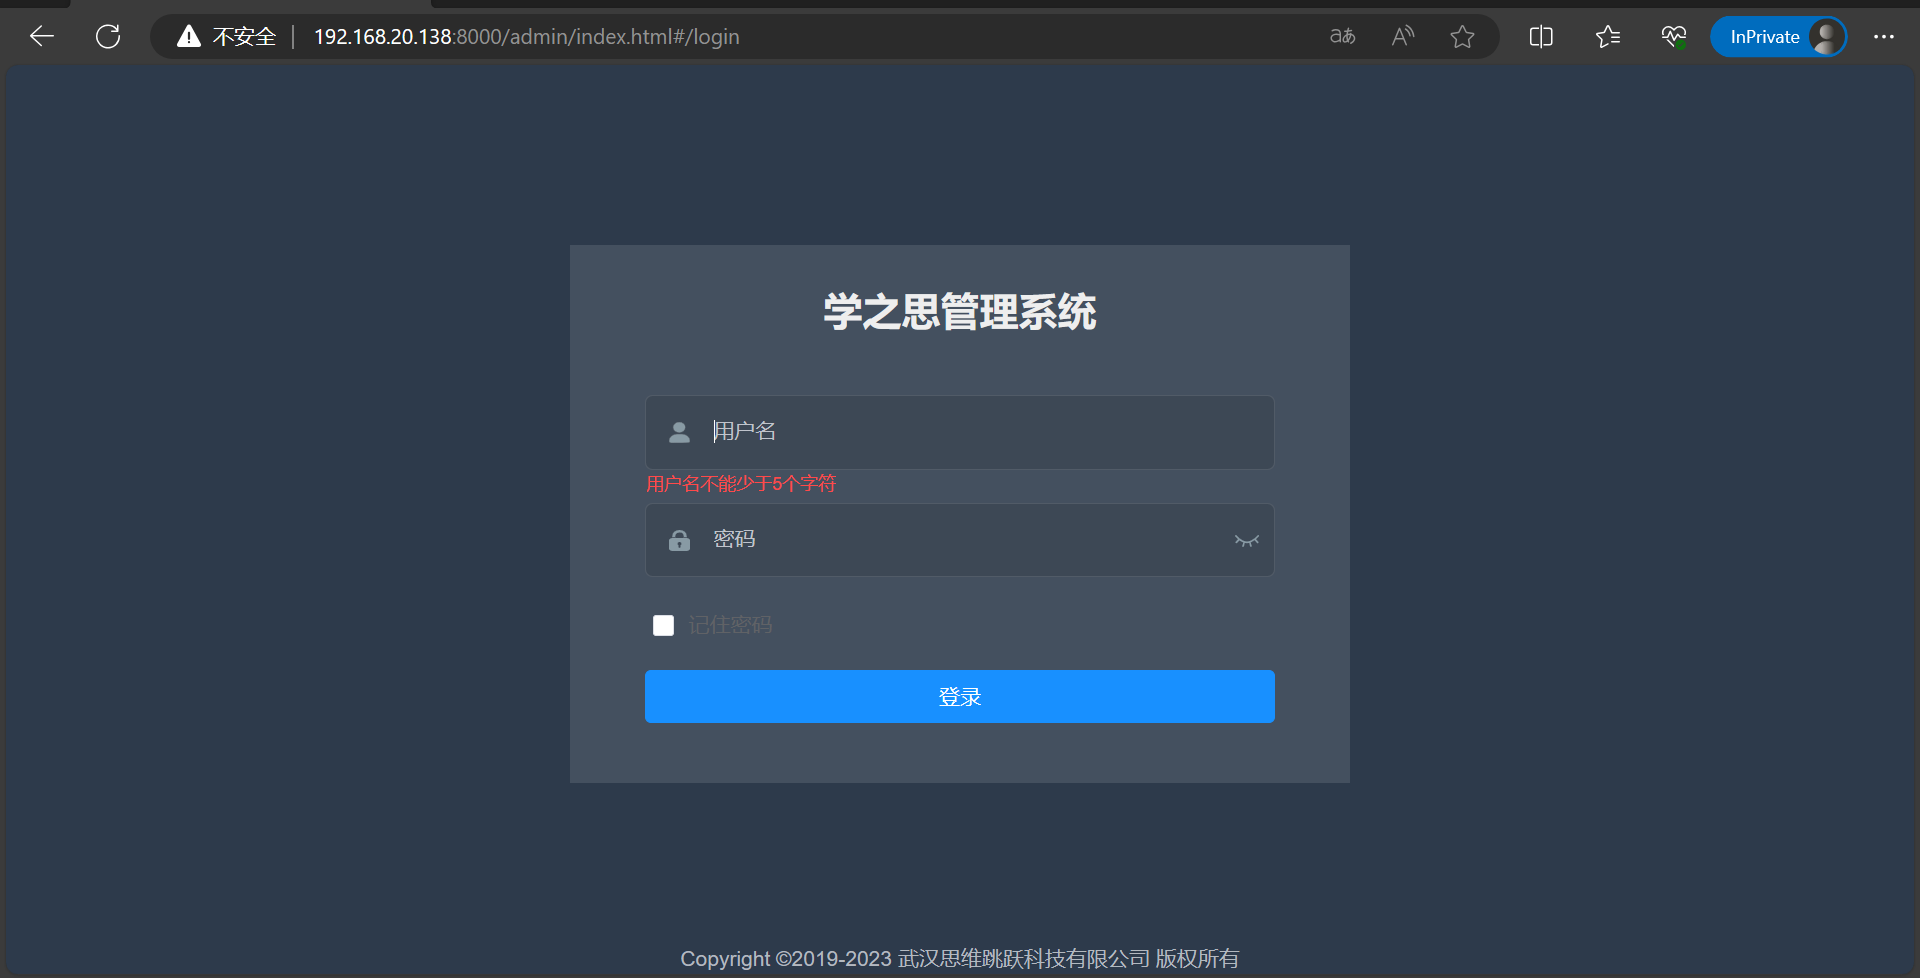
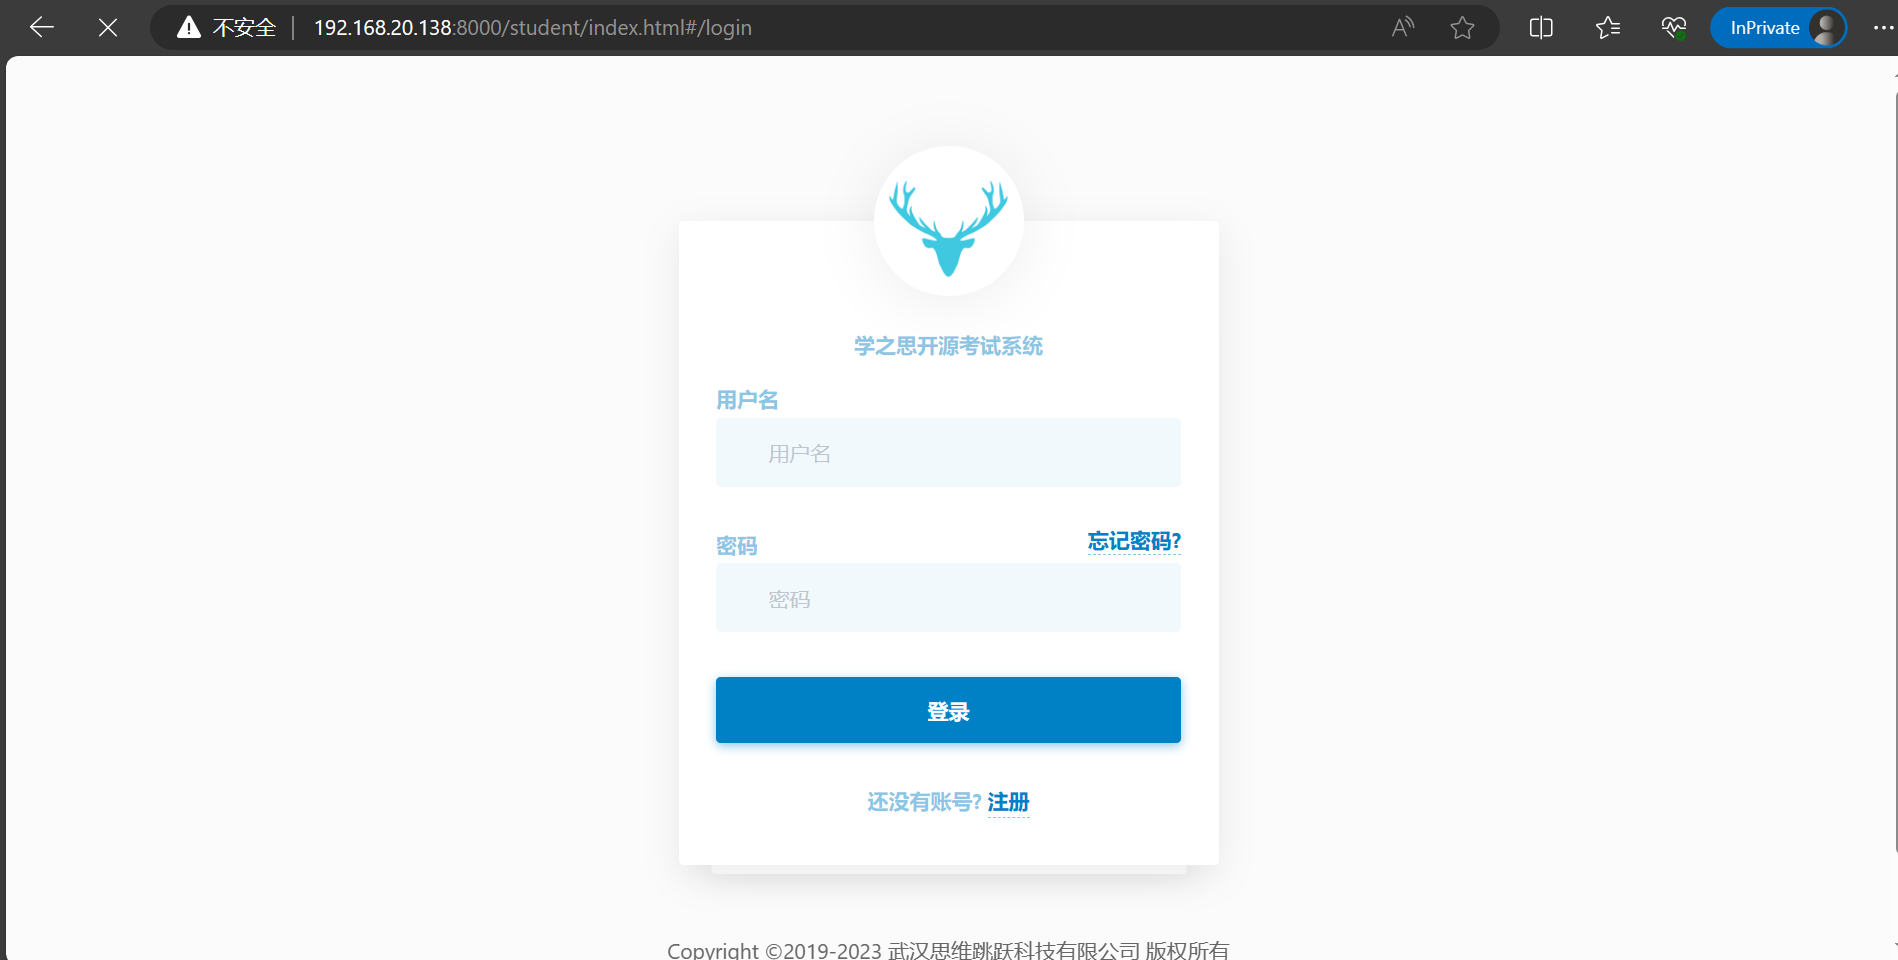
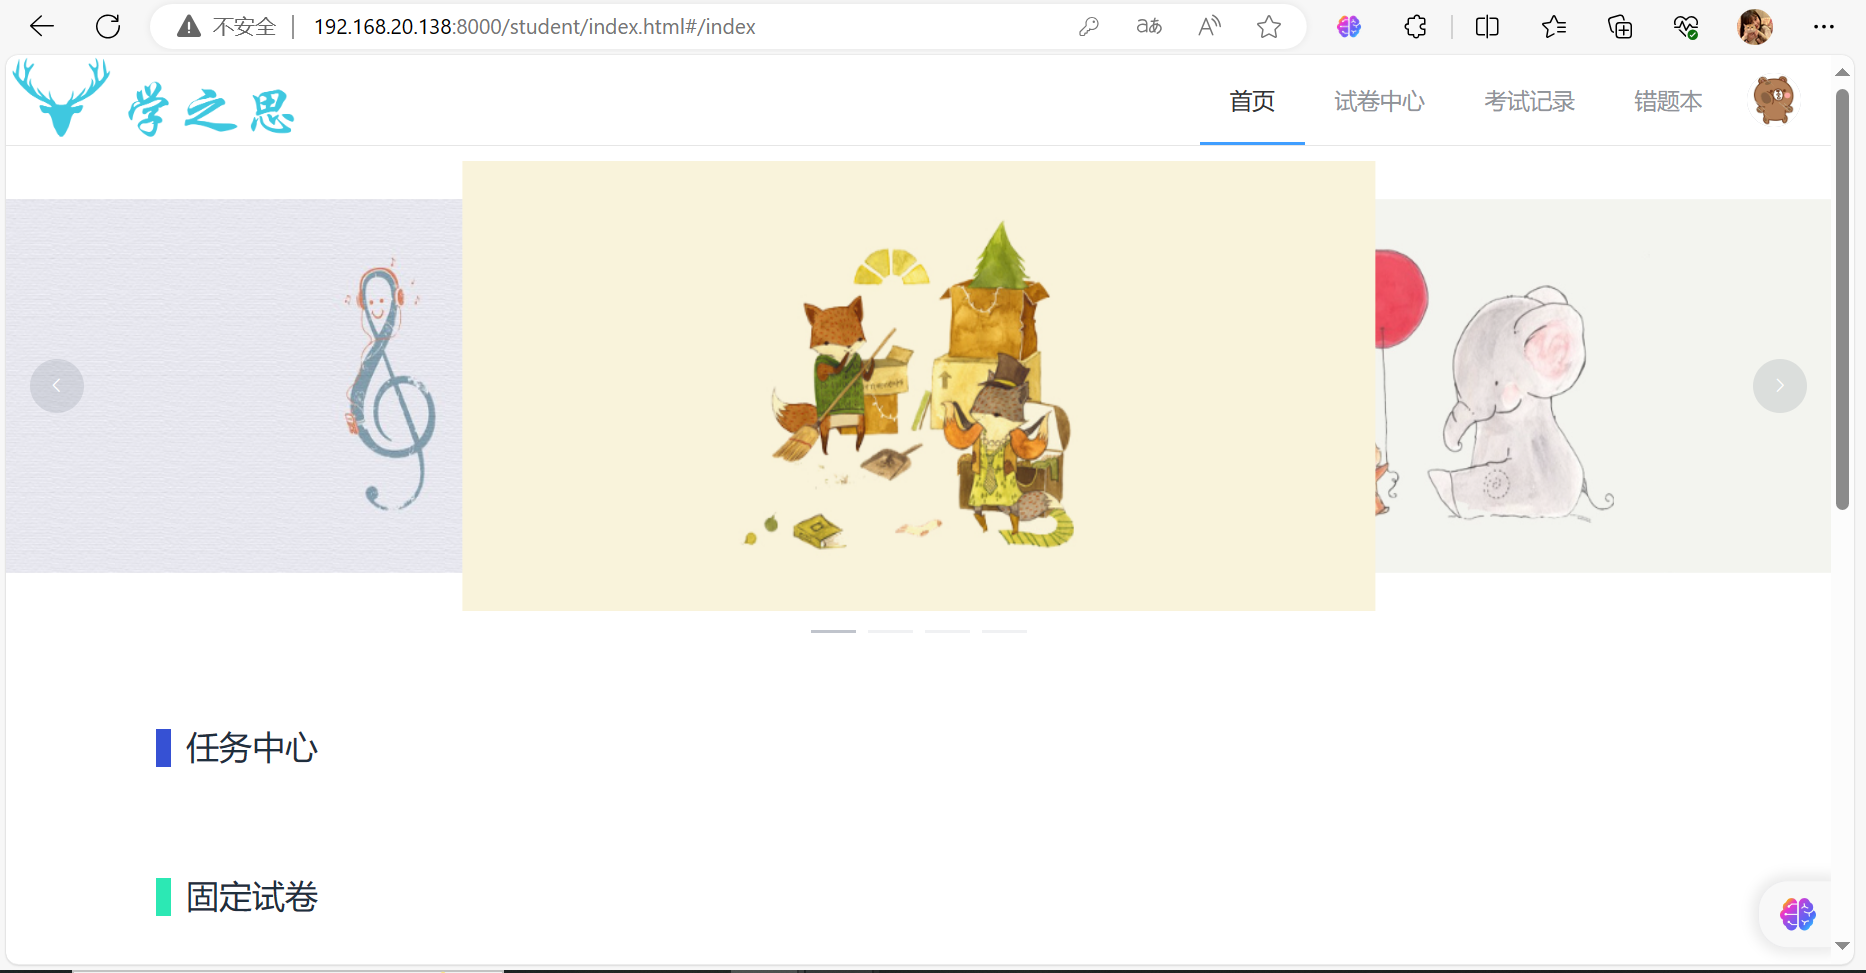
学生端访问地址为:http://ip:8000/student
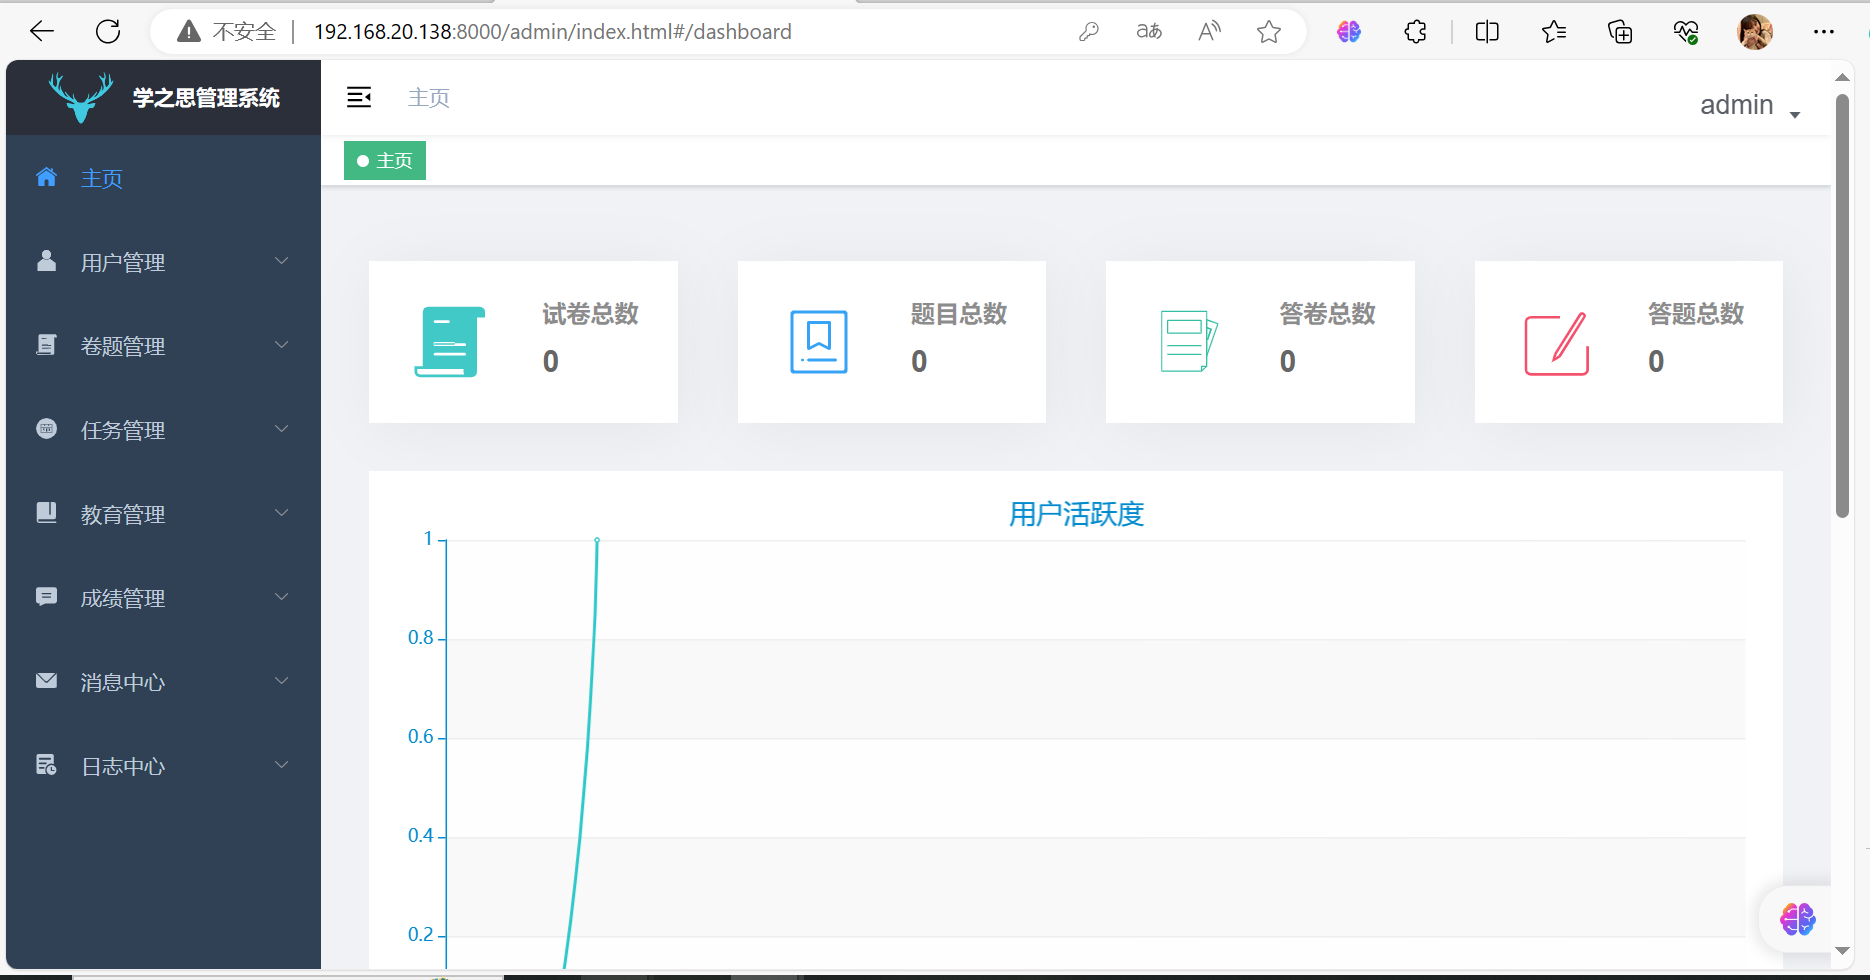
管理员端访问地址为:http://ip:8000/admin
学生端默认账号:student / 123456
管理端默认账号:admin / 123456
!!!打jar包失败的解决方法
将国外的maven镜像切换为国内的镜像源
阿里云maven镜像源
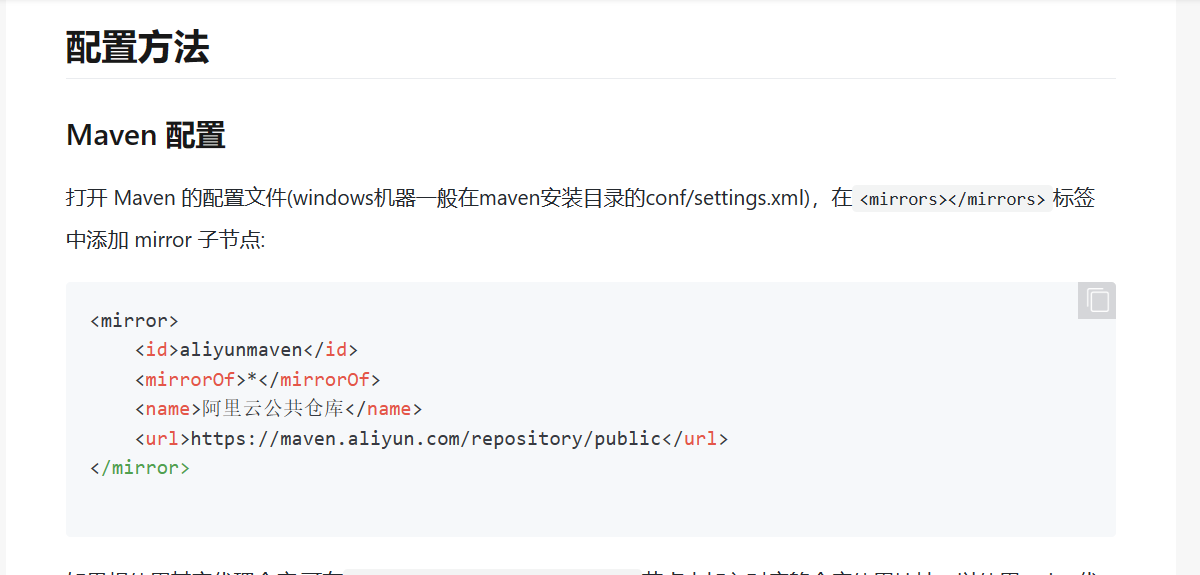
[root@web-nginx ~]# vim /usr/local/maven/conf/settings.xml
将配置文件中mirrors模块切换为阿里云镜像源如下图

修改完成后重新打包
[root@web-nginx ~]# cd xzs-mysql/source/xzs
[root@web-nginx xzs]# mvn package


![[鹏程杯2023]复现](https://img-blog.csdnimg.cn/4a8bb8034efe4f14b8880ef8cd8e55df.png)

