1.人形识别结果


2.代码
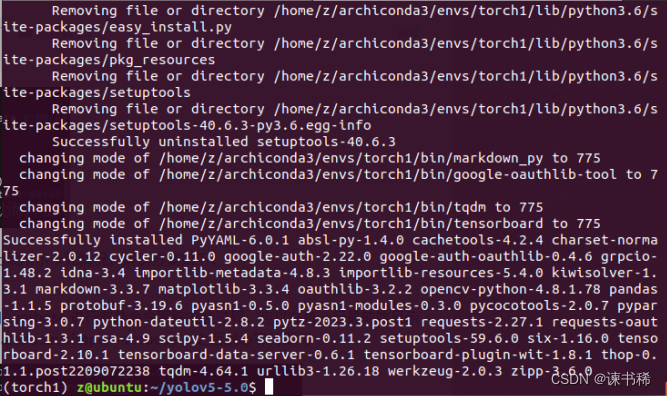
python+OpenCV+yolov3训练库,代码如下:
#!/usr/bin/env python3
# -*- coding: utf-8 -*-
import cv2
import numpy as np
import os

imgFiles=["pic03.jpg", "pic04.jpg"]

net=None
classes=None
colors=None

def recog_person(imgFile, ratio):
    print(imgFile)
    global net, classes, colors
    if(net==None):
        # 加载模型配置和权重
        net = cv2.dnn.readNet("../common/yolov3.weights", "../common/yolov3.cfg")

        # 加载对象类别
        classes = []
        with open("coco.names", "r") as f:
                classes = [line.strip() for line in f.readlines()]

        # 随机颜色
        colors = np.random.uniform(0, 255, size=(len(classes), 3))

    # 加载图像
    image = cv2.imread(imgFile)

    # 获取图像尺寸
    height, width, _ = image.shape

    new_height = 416
    new_width = int(width * (new_height / height))

    resized_image = cv2.resize(image, (new_width, new_height))

    # 构建输入blob
    blob = cv2.dnn.blobFromImage(image, 1/255.0, (416, 416), swapRB=True, crop=False)

    # 设置输入blob作为网络的输入
    net.setInput(blob)

    # 前向传递,获取输出层
    layer_names = net.getLayerNames()
    print("layer names counts=%d" %(len(layer_names)))
    print(net.getUnconnectedOutLayers())

    #print(length(layer_names))
    #output_layers = [layer_names[i[0] - 1] for i in net.getUnconnectedOutLayers()]
    output_layers = [layer_names[i - 1] for i in net.getUnconnectedOutLayers()]
    outs = net.forward(output_layers)

    # 初始化边界框、置信度和类别列表
    boxes = []
    confidences = []
    class_ids = []

    # 对每个输出层进行处理
    for out in outs:
        for detection in out:
            # 获取类别置信度
            scores = detection[5:]
            class_id = np.argmax(scores)
            confidence = scores[class_id]

            # 过滤掉低置信度的预测
            if confidence > ratio:
                # 获取边界框坐标
                center_x = int(detection[0] * width)
                center_y = int(detection[1] * height)
                w = int(detection[2] * width)
                h = int(detection[3] * height)

                # 边界框的左上角坐标
                x = int(center_x - w / 2)
                y = int(center_y - h / 2)

                # 更新边界框、置信度和类别列表
                boxes.append([x, y, w, h])
                confidences.append(float(confidence))
                class_ids.append(class_id)

    # 非最大值抑制
    indices = cv2.dnn.NMSBoxes(boxes, confidences, 0.5, 0.4)
    print("indices", len(indices), indices)
    print("-------------------------------")
    print("class_ids", len(class_ids), class_ids)
    print("classes", len(classes));
    print("colors", len(colors));
    print("boxes counts=", len(boxes), len(indices));

    # 绘制边界框和类别标签
    font = cv2.FONT_HERSHEY_SIMPLEX
    for i in range(len(boxes)):
        if i in indices:
            x, y, w, h = boxes[i]
            #label = classes[class_ids[i]]
            #color = colors[class_ids[i]]
            color = (128,0,128)
            cv2.rectangle(image, (x, y), (x+w, y+h), color, 2)
            #cv2.putText(image, label, (x, y-10), font, 0.5, color, 2)

    # 显示结果图像
    name, extension = os.path.splitext(imgFile)
    output_filename = name + ".ai.jpg";
    cv2.imwrite(output_filename, image)

for file in imgFiles:
    recog_person(file,0.5)
3.注意事项
3.1 yoloV3的训练库使用的分辨率是一个正方形的分辨率,416*416或者压缩,或者是扫描。
3.2上面筛选目标对象的代码没有代入,所以误识别到了一些其他物体。
3.3 yoloV3的训练库名称是:yolov3.weight yolov3.cfg
3.4 置信概率50%。
附录A 资源消耗
- CPU Intel(R) Core(TM) i5-9400 CPU @ 2.90GHz
- 上面第三组 takes 415 ms
- 复杂场景最高 takes 1945 ms