目录
- 1、安装nginx
- 1.1、nginx常用命令
- 1.2、将nginx注册为Windows系统服务
- 2、拷贝文件
- 3、修改配置文件
- 4、访问
1、安装nginx
官网下载:http://nginx.org/en/download.html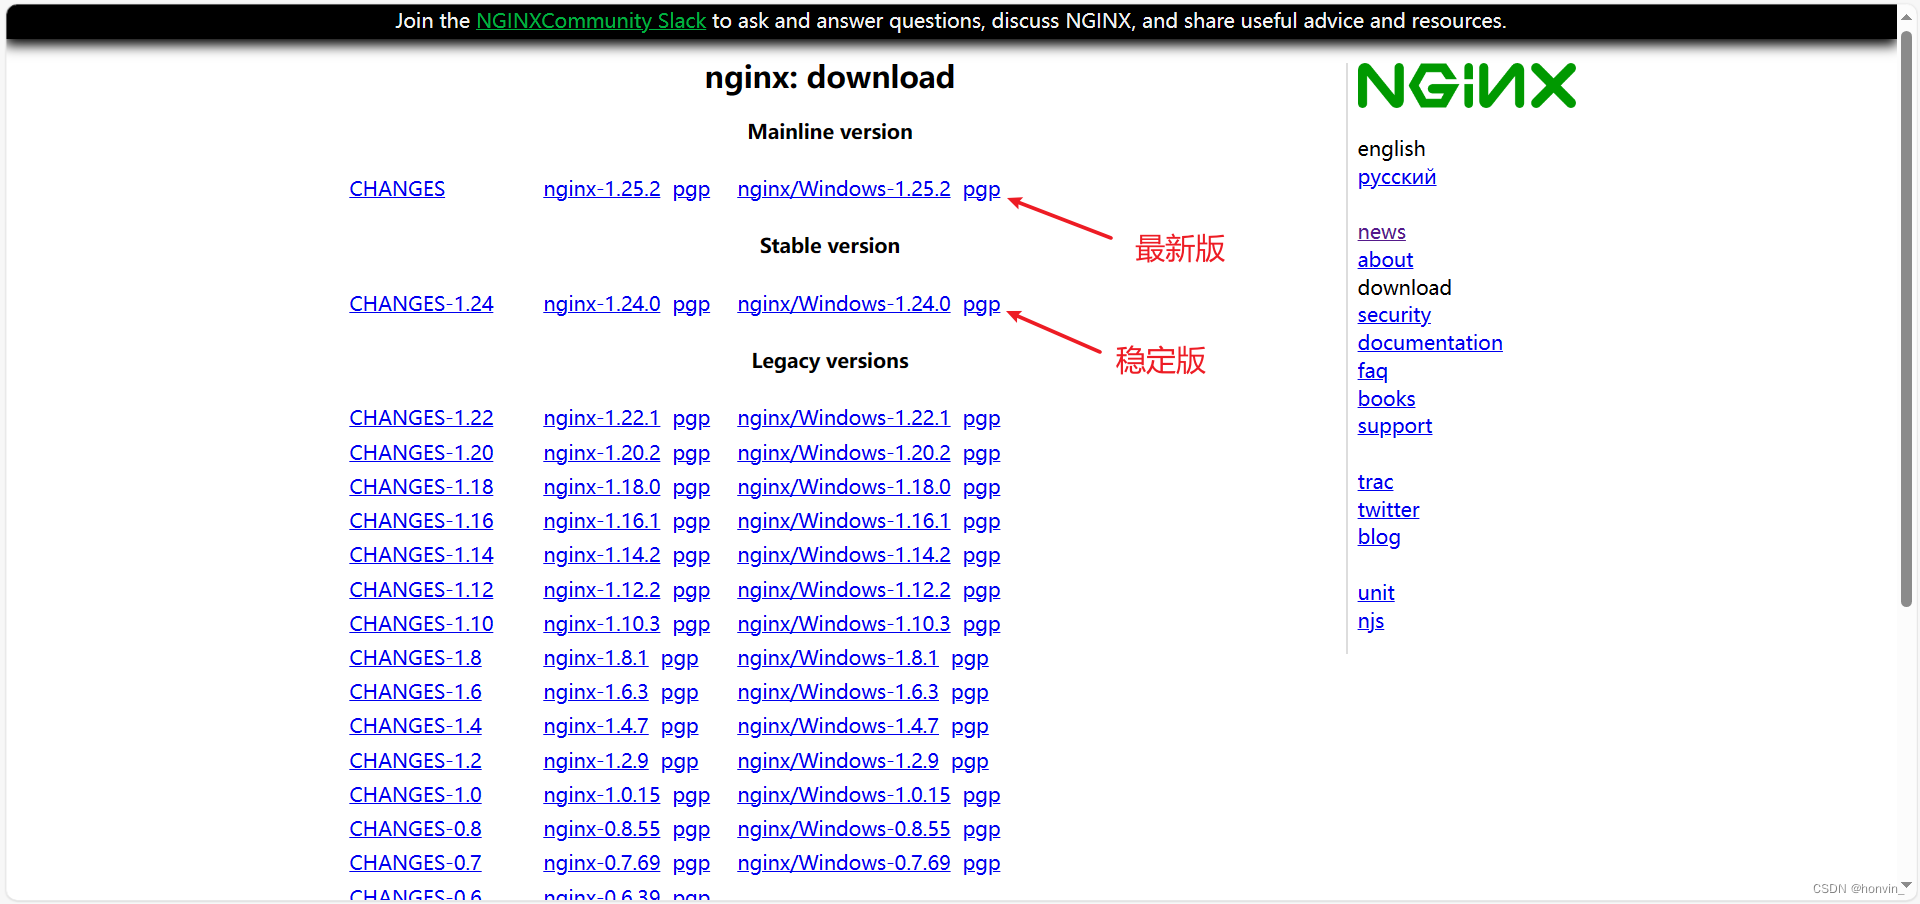
下载完之后直接解压即可
注:存放路径最好不要有中文、空格
1.1、nginx常用命令
# 启动
start nginx
# 关闭
nginx -s quit
# 重新加载
nginx -s reload

# 检查端口是否被占用:
netstat -ano | findstr 0.0.0.0:80
或
netstat -ano | findstr "80"
1.2、将nginx注册为Windows系统服务
参考博客:https://blog.csdn.net/hon_vin/article/details/133717846
2、拷贝文件
将dist整个文件夹拷贝到nginx根目录下的html文件夹中
这里需要将 vue.config.js 中的 publicPath 设为 /dist
3、修改配置文件
配置文件如下:
server {
	# 监听端口
	listen       80;
	# 服务名、域名+
	server_name  localhost;

	location / {
		root   html;
		index  index.html index.htm;
	}

	# 这里的dist就是之前拷贝到html目录下的文件夹名,可自行修改(目录名修改后将此处的dist也同步修改)
	location /dist{
		alias html/dist/;
		index  index.html index.htm;
		# 这里是为了防止刷新页面时404(下面有解释)
		try_files  $uri $uri/ /dist/index.html;
	}

	# 这里是为了防止刷新页面时404(下面有解释)
	location @router {
		rewrite ^.*$ /dist/index.html;
	}
}
首先解释下为什么会有刷新页面之后出现404的情况:
因为项目打包完部署后,地址栏的地址只是vue的路由,并不是实际的文件目录地址。
而所有的路由都是依赖于SPA单页应用的index.html,所以当页面刷新时,按照地址栏的地址,找不到对应的文件,就出现了404。

解决办法: 在nginx里配置 try_files,如果按照路径找不到文件时,就统一去找index.html
接着解释下try_files的作用:
try_files的作用是按顺序检查文件是否存在,举个例子:
假设我们的访问地址为 http://localhost:80/dist/login
1. 开始先通过 alias 确定访问的文件路径为 html/dist/
2. 再通过 try_files 配置,首先从 html/dist/ 下面找 $uri(login 这个文件)
3. 如果没找到 login 文件,再去找 $uri/ (/login/ 这个文件夹目录)
4. 如果还是没找到,就会重定向到 @router
5. 在定义的 @router 中,指向 /dist 目录下的 index.html 文件
4、访问
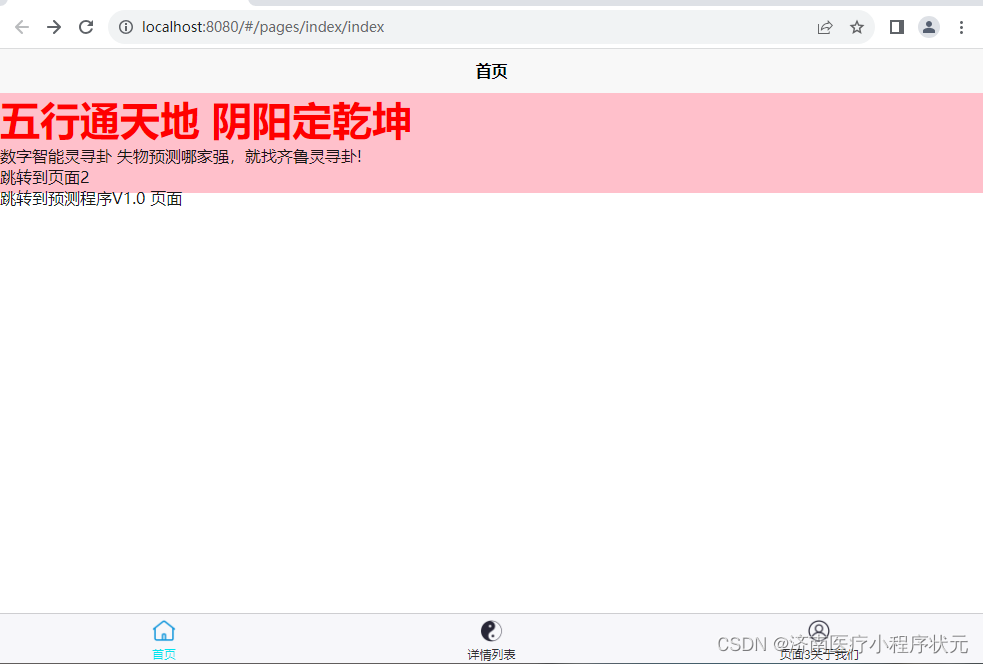
访问 http://localhost:80/dist 即可


![[护网杯 2018]easy_tornado 解析](https://img-blog.csdnimg.cn/8914be5e143641c7a07a1080b3297bde.png)
![[极客大挑战 2020]Roamphp2-Myblog - 伪协议+文件上传+(LFIZIP)||(LFIPhar)【***】](https://img-blog.csdnimg.cn/c524bfbd6e914877b368fa855a28756b.png)


