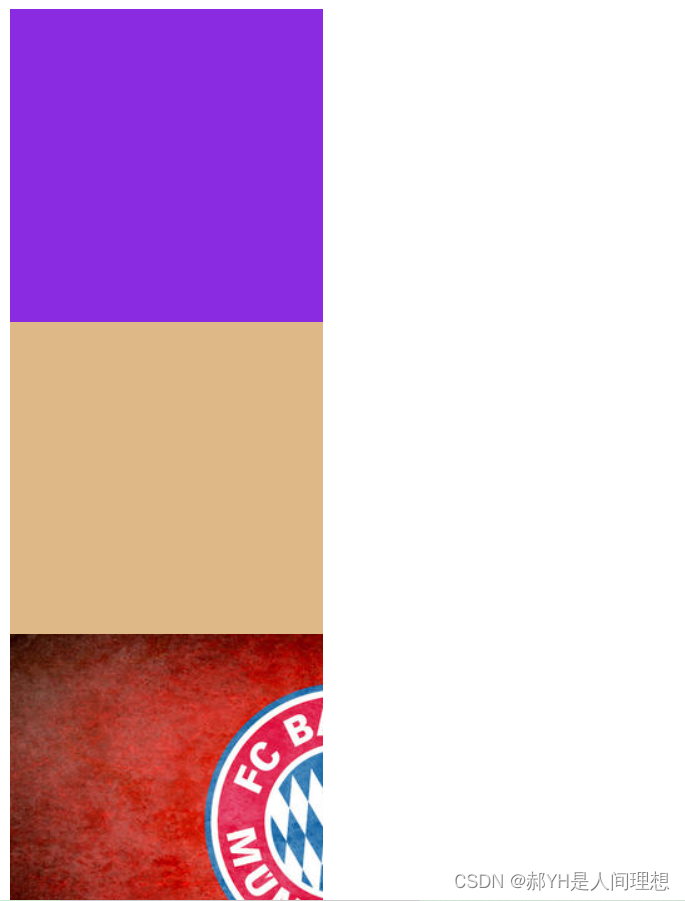
在遇到区域展示的时候我们就能看到炫酷的区域选中效果,那么代码是怎么编辑的呢,今天咱们就好好说说,下面看实现效果。
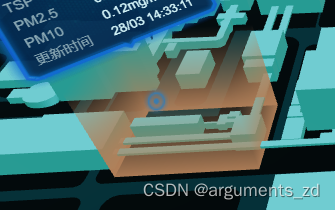
思路:
- 首先,光墙肯定有多个,那么必须要创建一个新的js文件来作为他的原型对象。
- 这个光墙是用c++写的,但是必须是拿js包裹的,否则加入不进Vue项目中。
- City文件加载引入,根据具体的传入参数一一对应上位置。
创建lightwall.js文件,传1表示是一个方的光柱,2是个圆的光柱
import * as THREE from "three";
import vertexShader from "@/shader/lightWall/vertex.js";
import fragmentShader from "@/shader/lightWall/fragment.js";
export default class LightWall {
  constructor(
    type = 1,
    radius = 5,
    radius1 = 5,
    length = 2,
    position = { x: 0, z: 0 },
  ) {
    this.geometry = null
    //type是1表示方形柱,2是圆形柱
    if (type == 1) {
      this.geometry = new THREE.BoxBufferGeometry(
        radius,
        20,
        radius1,
      );
    }
    if (type == 2) {
      this.geometry = new THREE.CylinderBufferGeometry(
        radius,
        radius1,
        20,
        32,
        1,
        true
      );
    }
    this.material = new THREE.ShaderMaterial({
      vertexShader: vertexShader,
      fragmentShader: fragmentShader,
      transparent: true,
      side: THREE.DoubleSide,
    });

    this.mesh = new THREE.Mesh(this.geometry, this.material);
    this.mesh.position.set(position.x, 78, position.z);
    this.mesh.geometry.computeBoundingBox();
    this.mesh.scale.set(length, 2, length);
    //   console.log(mesh.geometry.boundingBox);

    let { min, max } = this.mesh.geometry.boundingBox;
    //   获取物体的高度差
    let uHeight = max.y - min.y;
    this.material.uniforms.uHeight = {
      value: uHeight,
    };
  }

  remove () {
    this.mesh.remove();
    this.mesh.removeFromParent();
    this.mesh.geometry.dispose();
    this.mesh.material.dispose();
  }
}
再就是引入光墙的c++代码,也就是上面引入的vertex.js
const fragmentShader = /*glsl*/ `
varying vec3 vPosition;
uniform float uHeight;
void main(){
    // 设置混合的百分比
        float gradMix = (vPosition.y+uHeight/2.0)/uHeight;
      gl_FragColor = vec4(0.7,0.5,0.35,1.0-gradMix);

}`
export default fragmentShader
最后在主文件使用,引入到scene中
// 添加光墙
import LightWall from "./LightWall";
const lightWall = new LightWall(1, 12, 24, 10, { x: -78, z: -48 });
scene.add(lightWall.mesh);
以上就把这个光墙封装为一个类,当使用的时候只需要new就行了,是不是很方便呢,当然你也可以扩展增加参数使用这个东西,如果又不会的可以私信或者留言哦。
