Three 学习日志(三)—— 光源对物体表面的影响
一、设置材质为受光照影响
//MeshLambertMaterial受光照影响
const material = new THREE.MeshLambertMaterial();

此时,场景中一片漆黑,无法看到原来的物体,需要设置光源来照亮物体。
二、设置点光源
//点光源:两个参数分别表示光源颜色和光照强度
// 参数1:0xffffff是纯白光,表示光源颜色
// 参数2:1.0,表示光照强度,可以根据需要调整
const pointLight = new THREE.PointLight(0xffffff, 1.0);
//点光源位置
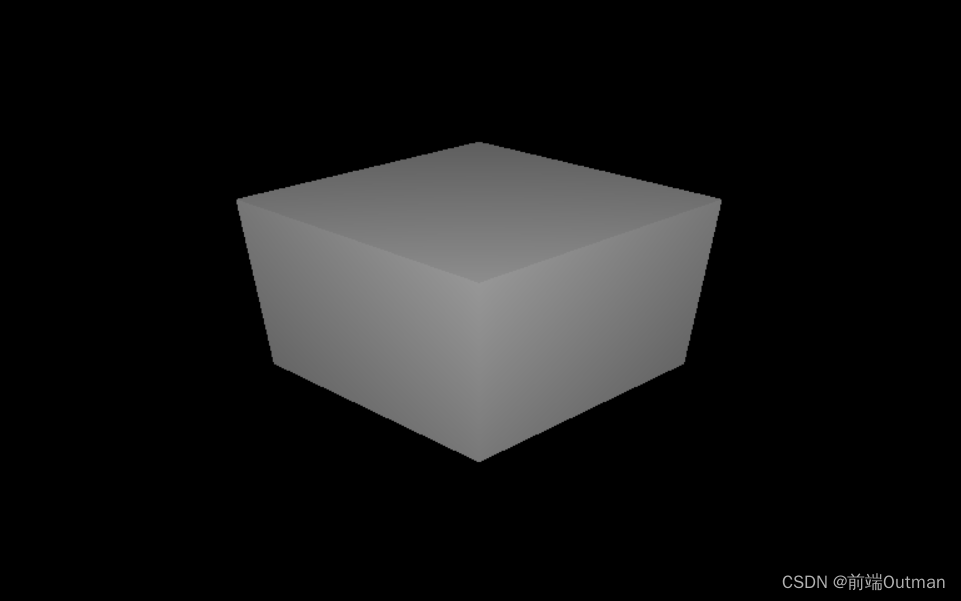
pointLight.position.set(200, 200, 200); //物体坐标为(100,100,100),设置光源在(200,200,200)从斜上方照射向物体
scene.add(pointLight); //点光源添加到场景中
三、完整代码
<!DOCTYPE html>
<html lang="en">

<head>
    <meta charset="UTF-8">
    <meta name="viewport" content="width=device-width, initial-scale=1.0">
    <title>Learn Three</title>
    <!-- 引入three,下载地址参考:http://www.webgl3d.cn/pages/aac9ab/#%E7%89%B9%E5%AE%9A%E7%89%88%E6%9C%ACthree-js%E6%96%87%E4%BB%B6%E5%8C%85%E4%B8%8B%E8%BD%BD -->
    <script src="../build/three.js"></script>
</head>

<body>
    <script>
        // 任意调用API,为了检测three.js是否引入成功
        console.log(THREE.Scene);
        // 创建3D场景对象Scene
        const scene = new THREE.Scene();
        // 创建一个长方体几何对象Geometry
        const geometry = new THREE.BoxGeometry(100, 100, 100);
        // 创建一个材质对象Material(MeshBasicMaterial 为网格基础材质)
        // const material = new THREE.MeshBasicMaterial({
        //     color: 0xff0000,//0xff0000设置材质颜色为红色
        // });

        // MeshLambertMaterial受光照影响
        const material = new THREE.MeshLambertMaterial();
        // 点光源:两个参数分别表示光源颜色和光照强度
        // 参数1:0xffffff是纯白光,表示光源颜色
        // 参数2:1.0,表示光照强度,可以根据需要调整
        const pointLight = new THREE.PointLight(0xffffff, 1.0);
        //点光源位置
        pointLight.position.set(200, 200, 200);
        scene.add(pointLight); //点光源添加到场景中

        // 创建物体:网格模型(Mesh为网格模型)
        // 两个参数分别为上面创建的几何体geometry、材质material
        const mesh = new THREE.Mesh(geometry, material); //网格模型对象Mesh
        // 设置网格模型在三维空间中的位置坐标,默认是坐标原点
        mesh.position.set(0, 10, 0);
        // 构建好物体后,将物体添加到场景中
        scene.add(mesh);
        // 至此,我们的物体已经添加到场景中,但我们并不能立即看到构建的物体,还需要通过虚拟相机进行渲染
        // 实例化一个透视投影相机对象
        const camera = new THREE.PerspectiveCamera();
        // 30:视场角度, width / height:Canvas画布宽高比, 1:近裁截面, 3000:远裁截面
        // const camera = new THREE.PerspectiveCamera(30, width / height, 1, 3000);
        // 根据需要设置相机位置具体值
        camera.position.set(200, 200, 200);
        //相机观察目标指向Threejs 3D空间中某个位置
        camera.lookAt(0, 0, 0); //坐标原点
        // camera.lookAt(mesh.position);//指向mesh对应的位置
        // 定义相机输出画布的尺寸(单位:像素px)
        const width = 800; //宽度
        const height = 500; //高度
        // 创建渲染器对象
        const renderer = new THREE.WebGLRenderer();
        // 设置渲染器宽高
        renderer.setSize(width, height);
        // 通过渲染器,将场景和相机进行结合、渲染,得到一个Canvas元素
        renderer.render(scene, camera); //执行渲染操作
        // 将渲染结果加入页面中
        document.body.appendChild(renderer.domElement);

    </script>
</body>

</html>
